Why Your Reformer Gear Bar Slides & How to Stop It
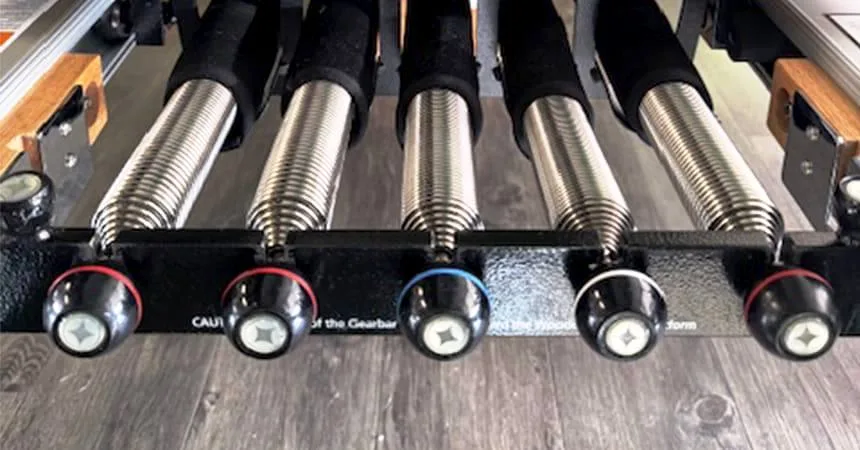
A slipping gear bar is one of the most jarring surprises you can experience during a Pilates session. Understanding why does reformer gear bar slide during exercise comes down to diagnosing how mechanical locks, spring tension, and frame geometry interact under load. When a gear bar slides unexpectedly, it instantly disrupts carriage resistance and compromises your stability.
Commercial reformer frames are engineered to withstand dynamic loads exceeding 300 pounds. Equipment safety standards from manufacturers like Balanced Body require positive mechanical engagement to prevent unwanted shifting. If your gear bar moves mid-repetition, a specific mechanical fault or setup oversight is almost always the cause.
Quick Answer
A reformer gear bar slides when it does not seat fully into its frame notches. Worn locking pins or rounded receiver slots also cause sudden shifting. Uneven spring tension can twist the bar out of position.
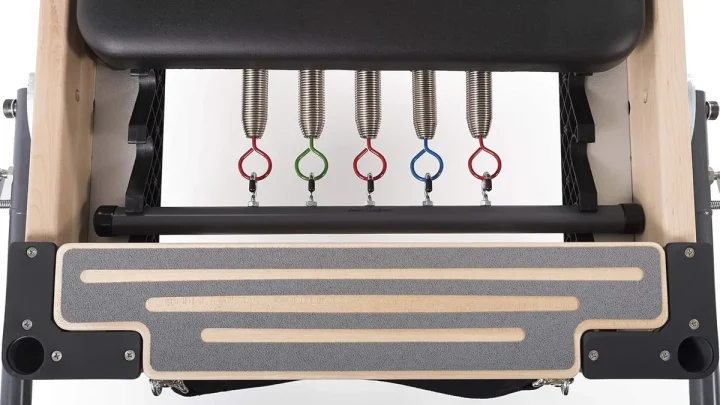
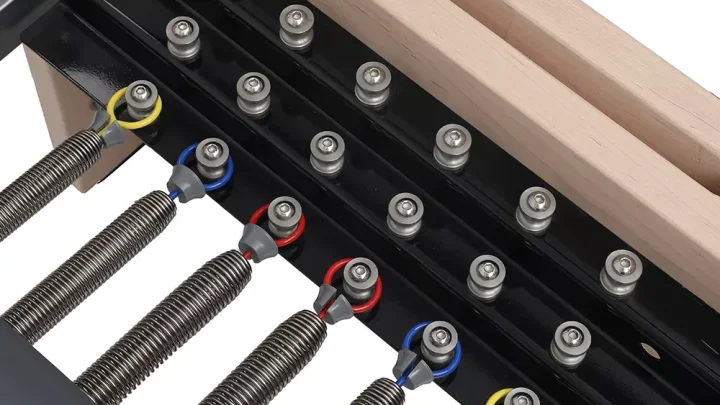
Insufficient spring preload allows the bar to bounce during rapid carriage returns.
Image source: Web (Bing) / longevitapilates.com (Web image (fair-use with source credit))
How Gear Bar Systems Actually Lock (Traditional vs. Modern Mechanisms)
To stop a gear bar from sliding, you first need to know how your specific reformer holds it in place. Different manufacturers use distinct mechanical designs to secure the spring bar against the frame.
Traditional reformers use a drop-in gear bar, often called a "cactus" or slotted system. These bars sit directly inside machined teeth or notches in the wooden or aluminum frame. Gravity and the pulling force of the attached springs keep the bar locked securely into the slot.
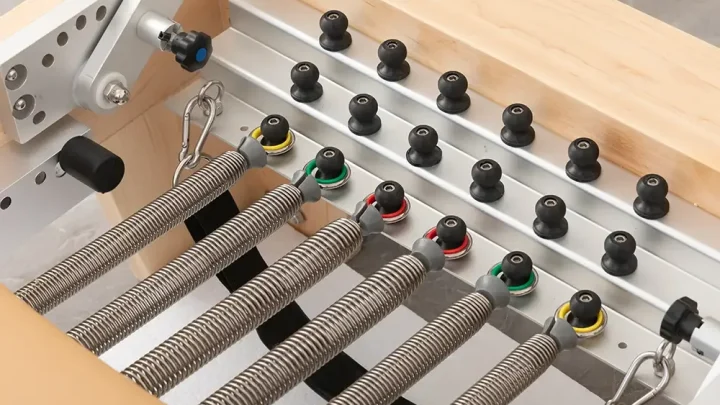
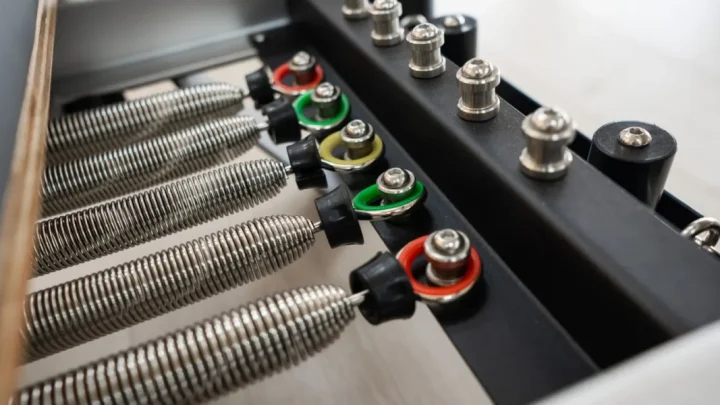
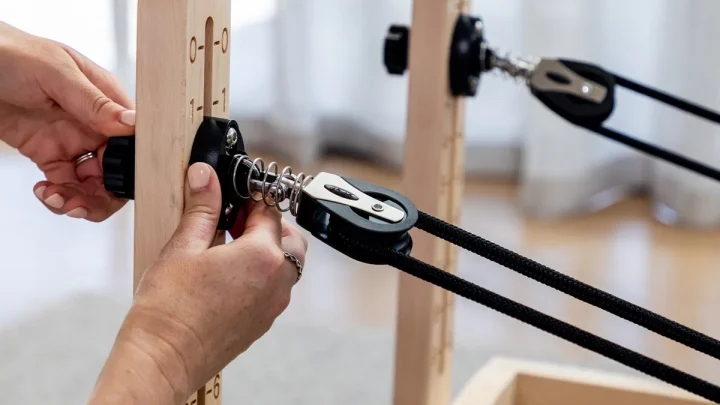
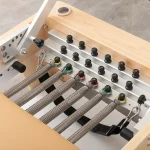
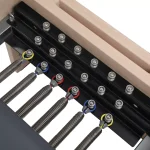
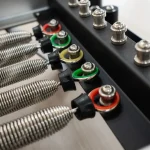
Modern studio reformers often feature integrated sliding assemblies, such as floating springbars or Revo systems. These designs let you slide the bar along continuous side tracks. They lock into place using spring-loaded plunger pins, cam levers, or index brackets.
| System Type | Common Brands | Locking Method | Primary Cause of Slippage |
|---|---|---|---|
| Drop-in Slotted Bar | Gratz, Peak Pilates, Classic Merrithew | Gravity, spring preload, and deep frame notches | Incomplete seating or rounded slot edges |
| Integrated Sliding Bar | Balanced Body (Revo), Basi Systems | Spring-loaded detent pins and locking cam levers | Unengaged pins or dirty track channels |
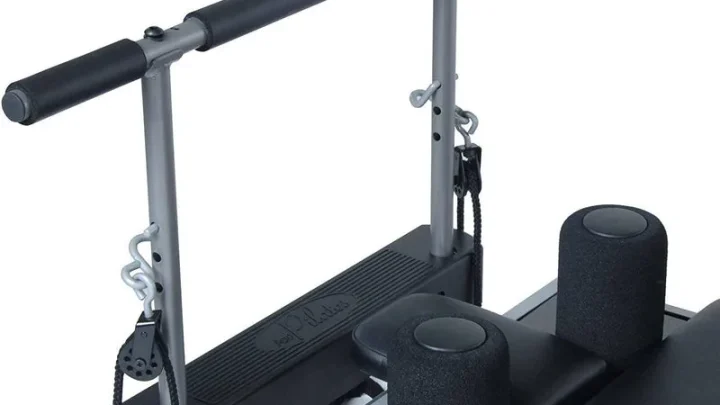
| Pop-Pin Pushbar | Contemporary home reformers | Threaded pull-pins or spring plungers | Loose locking knobs or worn pin tips |
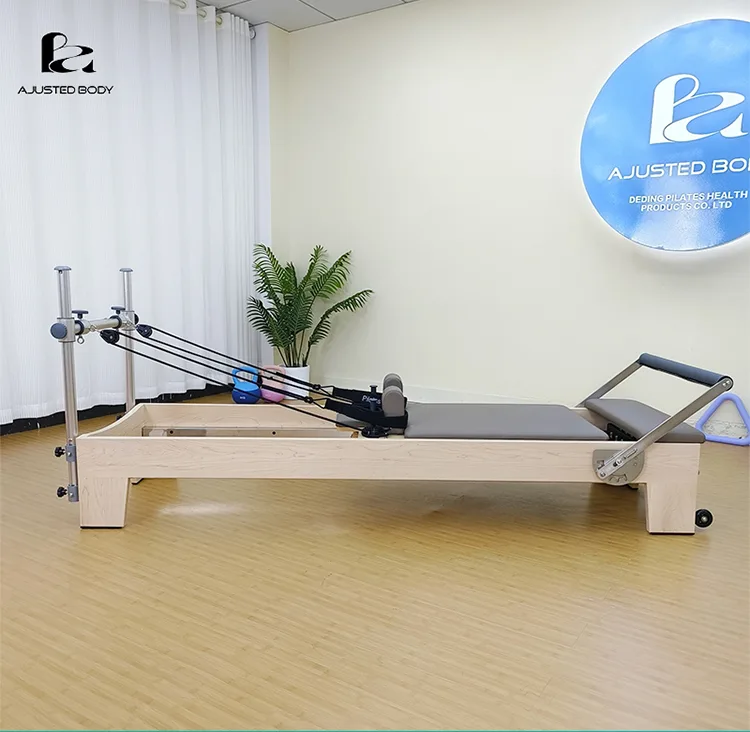
Image source: Web (Bing) / alibaba.com (Web image (fair-use with source credit))
Diagnostic Decision Tree: Identifying Why Your Gear Bar is Slipping
Follow this diagnostic workflow to pinpoint the exact reason your gear bar is moving during exercise.
Is the bar sliding during movement?
│
├── Slipping during carriage return?
│   └── Check: Spring Preload & Slack (Scenario A)
│
├── Slipping during high-force pushing?
│   └── Check: Teeth, Slots, and Detent Pins (Scenario B)
│
├── Twisting or shifting on one side?
│   └── Check: Spring Balance & Frame Squareness (Scenario C)
│
└── Slipping on an integrated track system?
    └── Check: Cam Latches & Pop-Pins (Scenario D)
Scenario A: The Bar Drops or Shifts on Rapid Return (Spring Preload & Slack Issues)
If the gear bar shifts only when the carriage returns to the home stopper, you are dealing with a loss of spring preload. Reformer springs must maintain a baseline tension (roughly 0.5 to 1 inch of stretch) even when the carriage rests against the bumper.
If there is no initial tension, the springs go completely slack on the return stroke. That sudden drop in tension allows a drop-in bar to bounce upward and slide out of its designated slot.
Scenario B: The Mechanism Pops Out During Heavy Footwork (Worn Teeth, Slots, or Pins)
If the bar slips when you push away from the footbar with heavy resistance, inspect the receiver notches. High-load movements like heavy footwork put direct shear force against the locking interface.
Over years of heavy use, aluminum and wooden receiver slots can round off at the contact edges. Once the lip of the slot wears smooth, heavy horizontal force will push the bar upward until it jumps out of gear.
Scenario C: The Bar Creeps Asymmetrically (Uneven Spring Loading & Frame Racking)
If only one side of the gear bar shifts forward, check your spring arrangement. Loading all your resistance onto the far left or far right spring eyelet creates asymmetrical torque across the bar.
This uneven pull can twist the bar diagonally. If the frame is slightly out of square, one side can easily lift out of its track during unilateral exercises like single-leg presses.
Scenario D: Integrated Sliding Systems Slipping Under Load (Latching & Pin Malfunctions)
If your modern sliding carriage bar slips between position numbers, the issue lies within the locking bracket. The internal plunger pin may not be extending fully into the indexing hole.
Lint, carpet fibers, and old grease often pack into the pin housing. When this happens, the pin looks engaged from the outside, but it only catches the very edge of the hole.
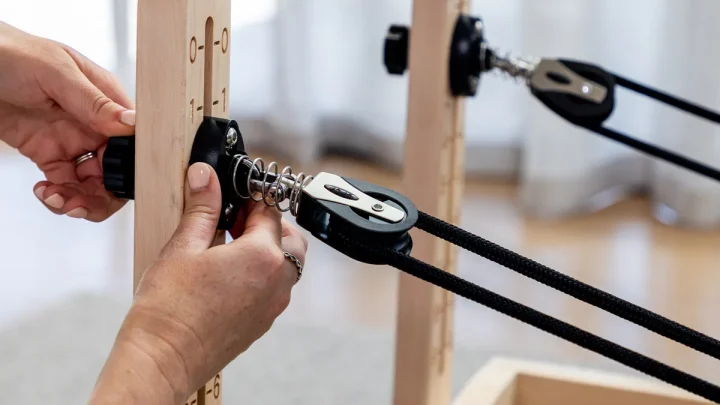
Step-by-Step Fixes for Every Slipping Scenario
Once you identify the mechanical trigger, apply these targeted fixes to secure your equipment.
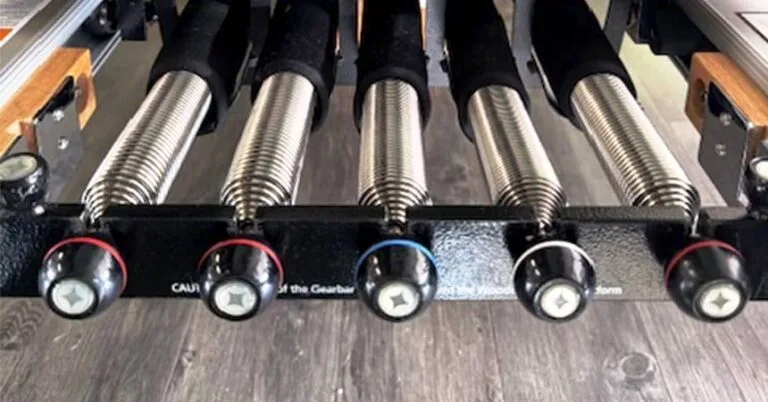
Image source: Web (Bing) / pilatesology.com (Web image (fair-use with source credit))
Re-Seating and Locking Manual Drop-In Gear Bars
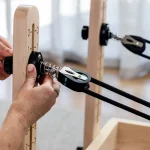
- Remove all active spring tension by unhooking springs from the carriage or lowering them to the resting plate.
- Lift the gear bar with both hands, keeping it level across the frame.
- Lower the bar firmly into your desired gear slot. Verify that both the left and right ends sit flat against the bottom of the notches.
- Hook your primary springs onto the bar before beginning any exercise. The springs must apply downward and forward tension to lock the bar in place.
Servicing Revo-Style Sliding Levers and Plunger Pins
- Inspect the locking cam lever or pop-pin knob on both sides of the carriage.
- Clean the indexing holes along the aluminum side rails using a clean cloth and a small nylon brush.
- Spray a dry silicone lubricant into the plunger housing. Avoid wet oils or grease, as they attract studio dust and hair.
- Pull and release the pin several times. Confirm that it snaps aggressively into every position along the rail.
Correcting Spring Placement and Tension Imbalances
- Balance your spring configuration symmetrically across the center of the bar whenever possible.
- If an exercise calls for a single spring, use the center hook rather than an outside post.
- Adjust your carriage stopper position. According to guidelines from Merrithew, the stopper must align with the gear position so springs maintain continuous preload at rest.
Inspecting and Replacing Worn Receivers and Hardware
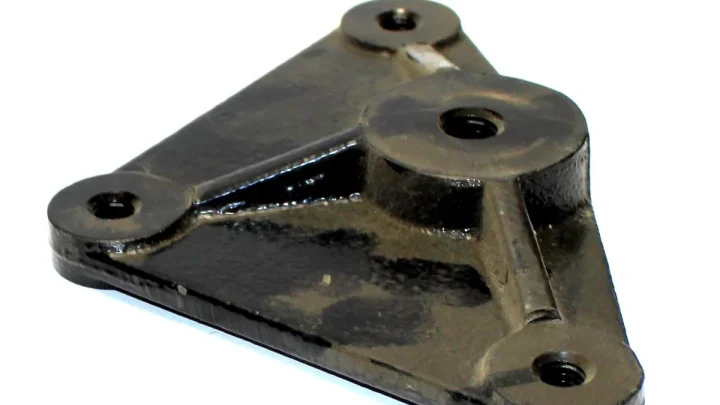
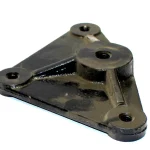
- Check the metal anchor plates for burrs, cracks, or rounded edges.
- Tighten all frame bolts and mounting brackets using the appropriate hex key. Most commercial units require a torque range of 10 to 15 Nm.
- If aluminum notches or wooden frame slots show significant metal loss or rounding, replace the receiver brackets immediately.
Common Setup Mistakes That Cause Sudden Slippage
Most gear bar issues stem from small errors made during quick transitions between exercises. Avoiding these four common missteps will keep your reformer safe and stable.
- Adjusting the bar under spring load: Never try to slide or lift the gear bar while springs are hooked up. The tension can cause the bar to snap free and jam crookedly between slots.
- Mismatched carriage stopper settings: Placing the gear bar in position 1 while leaving the carriage stopper in position 3 removes spring preload. Always adjust the stopper to match your gear position.
- Ignoring the audible pin click: With modern sliding bars, users often release the pin between indexing holes. Always wiggle the bar gently until you hear and feel the pin snap completely into place.
- Allowing studio debris to build up: Hair, dust, and grip-sock lint gather quickly inside lower frame channels. As of 2026, routine channel cleaning remains the simplest way to prevent pin engagement failures.
Safety Checks and Weekly Preventative Maintenance Protocol
Regular maintenance prevents the hardware wear that leads to gear bar slippage. Incorporating a short weekly inspection keeps your equipment safe for high-intensity workouts.
Start by examining the locking pins and receiver slots every week. Wipe down the aluminum tracks and gear teeth with a dry microfiber cloth to remove chalk, sweat, and hair. Check that spring hooks show no visible gaps or structural bending.
Every month, test the mechanical tension of your locking hardware. Tighten all side-bracket bolts with a hex wrench to ensure zero frame play. If your reformer uses pop-pins, lubricate the internal springs with dry silicone to maintain instant locking response.
| Maintenance Task | Frequency | Inspection Focus | Action Required |
|---|---|---|---|
| Track & Slot Cleaning | Weekly | Dust, lint, and hair buildup | Wipe clean with a dry microfiber cloth |
| Pin Engagement Test | Weekly | Spring plunger snap action | Clear debris and apply dry silicone |
| Receiver Slot Check | Monthly | Rounded metal edges or gouges | Replace worn brackets if metal is deformed |
| Frame Bolt Torque | Monthly | Loose mounting hardware | Tighten all hex bolts to 10–15 Nm |
Frequently Asked Questions About Reformer Gear Bar Movement
Can a gear bar slip because of weak springs?
Yes, worn or overstretched springs lose their resting tension. When springs cannot maintain tension at the carriage stopper, the bar bounces loose during rapid movements. Replacing old springs restores the downward pull needed to hold the bar firmly in place.
How do I know if my gear bar slots are worn out?
Look closely at the contact edges where the bar rests. New slots have crisp, perpendicular corners that cradle the bar securely. If the edges appear rounded, shiny, or shaved down, the metal has worn down and the bracket needs immediate replacement.
Is it safe to use a reformer if the gear bar slips occasionally?
No, exercising on an unstable gear bar creates a serious injury risk. A sudden slip under load can cause muscle tears, joint hyperextension, or falls. Stop using the machine immediately until you identify the cause and lock the mechanism securely.
Why does my gear bar stick instead of sliding smoothly during adjustments?
Sticking usually happens when the bar is pulled at an uneven angle or when track channels accumulate dirt. Clean the adjustment channels thoroughly and apply a light coat of dry silicone spray. Always use two hands to slide the bar evenly along both rails.
How often should reformer springs and gear components be replaced?
Commercial studios should replace reformer springs every one to two years depending on class volume. Home users can typically wait two to three years. Inspect gear brackets annually and replace them immediately if you notice metal fatigue or deep gouges.
Final Checklist: Making Your Reformer Rock-Solid Before Your Next Session
Running through a quick pre-flight check takes under thirty seconds and guarantees a stable carriage. Make this routine standard practice before starting your workout.
First, confirm that your gear bar matches your carriage stopper position. This alignment ensures baseline spring stretch when the carriage is parked. Next, pull firmly on the gear bar with your hands to verify that the locking pins or drop-in teeth are fully seated.
Finally, check your spring configuration for balance across the frame. Symmetrical spring placement distributes load evenly and prevents rotational torque. Once everything feels solid and locked, you can step onto the reformer with total confidence.

Similar Posts