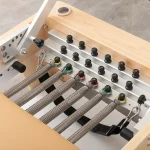
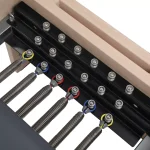
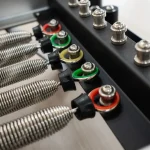
How to Secure a Reformer Gear Bar: Step-by-Step
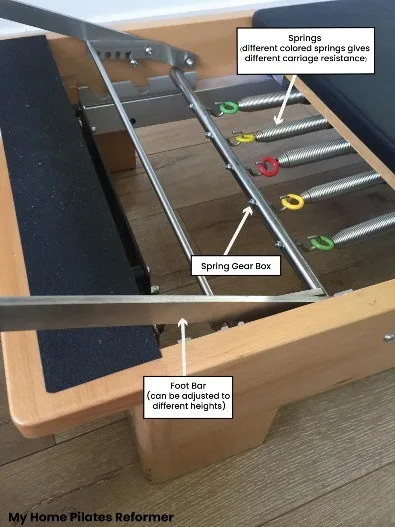
Learning how to secure reformer gear bar mechanisms correctly is essential for both user safety and workout performance. When you adjust the gear bar, you change the starting carriage distance from the footbar to match a user's height. A loose or partially seated bar can slip under heavy load, leading to sudden carriage movement and potential joint strain.
Reformer spring configurations can exert over 150 pounds of combined force during dynamic exercises like Footwork or Jumpboard series. Professional apparatus guidelines from the Pilates Method Alliance highlight apparatus setup as the first line of defense against equipment failure. Securing your gear system properly protects both the user and the mechanical life of the machine.
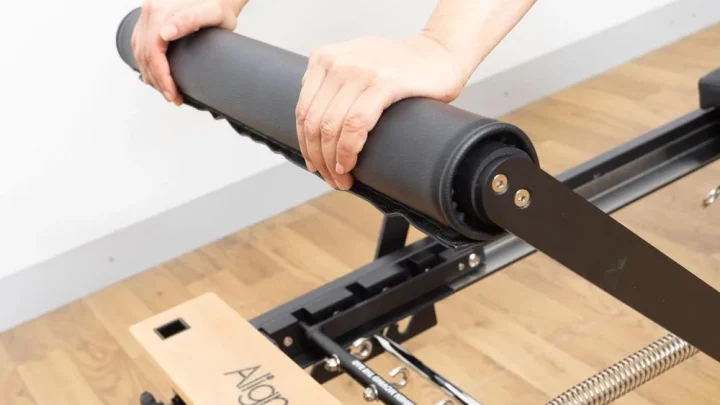
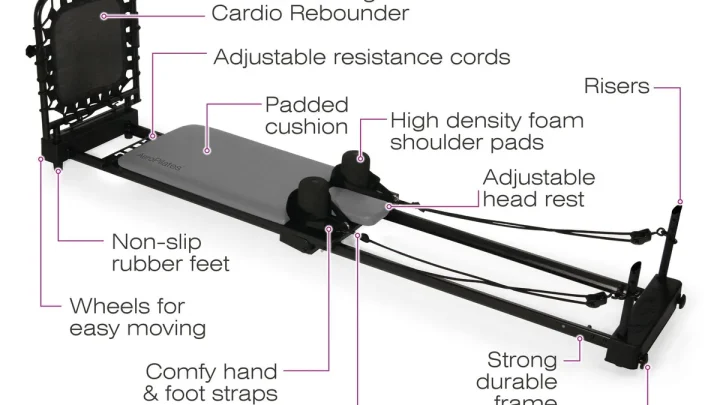
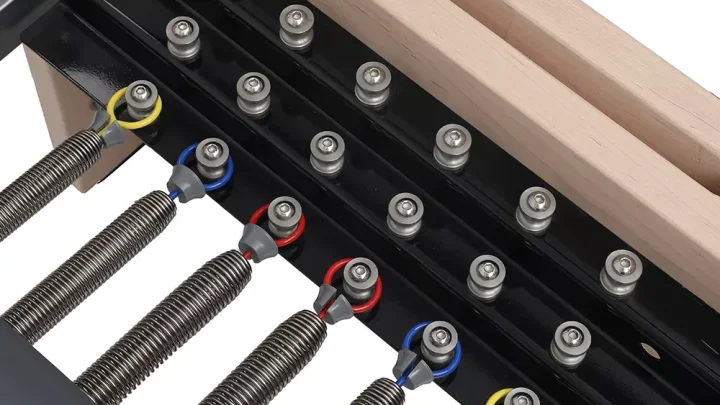
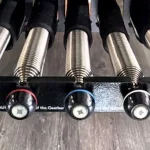
Image source: Web (Bing) / myhomepilatesreformer.com (Web image (fair-use with source credit))
Quick Answer
To secure a reformer gear bar, first disconnect every spring from the bar. Next, shift the bar into your desired numbered position. Ensure all locking pins, latches, or drop-in notches seat completely.
Push firmly against the bar to verify it cannot slip. Finally, reposition the carriage stops to match the gear setting before reattaching springs.
Why Securing Your Reformer Gear Bar Matters for Every Workout
The gear bar (often called a springbar) sets the home position of the carriage relative to the footbar. Adjusting this bar accommodates different body proportions, hip flexion angles, and knee ranges of motion. If a tall client uses a gear setting meant for a petite user, their knees and hips compress past optimal 90-degree angles.
Mechanical safety is the primary reason to lock the bar correctly. When you press out during leg presses or long stretch movements, you transfer intense force through the springs directly into the gear bar brackets. A half-latched gear bar can violently dislodge under load.
A properly seated gear bar also prevents dead zones in your carriage stroke. If the bar sits improperly, springs may sag or remain under unequal tension. This imbalance causes the carriage to track unevenly along the aluminum rails, creating unnecessary friction and wear.
Identify Your Reformer System: The 4 Common Gear Bar Mechanisms
Reformer manufacturers use distinct engineering approaches to manage spring anchorage. You must identify which style your apparatus uses before attempting to adjust it.
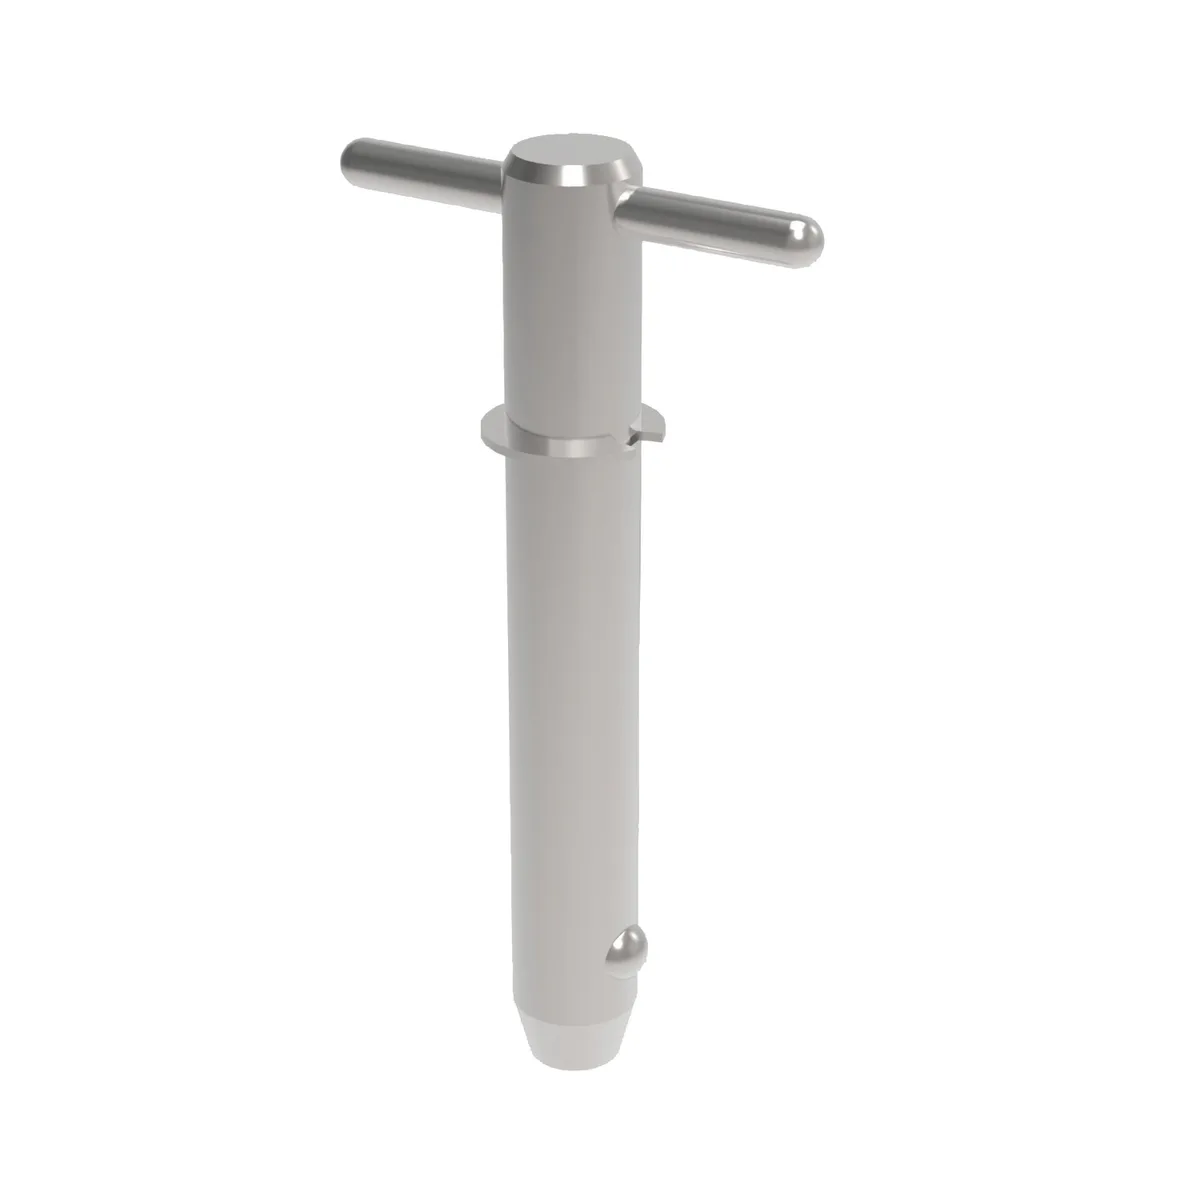
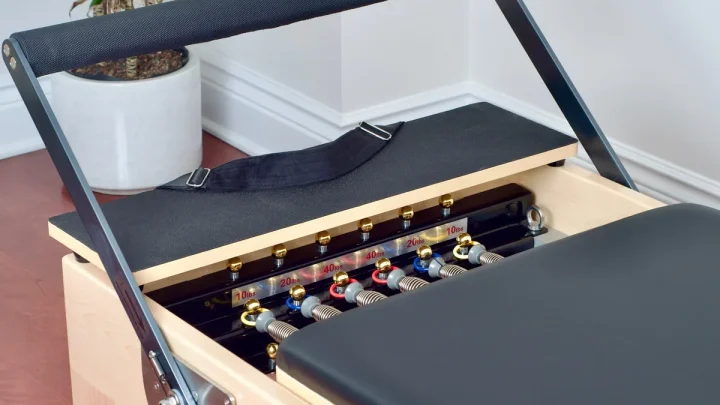
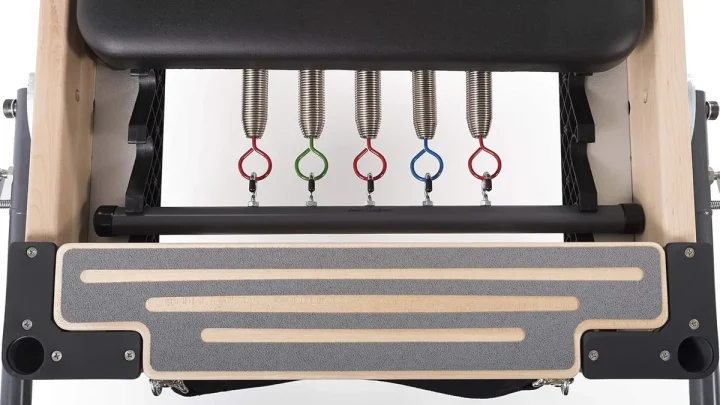
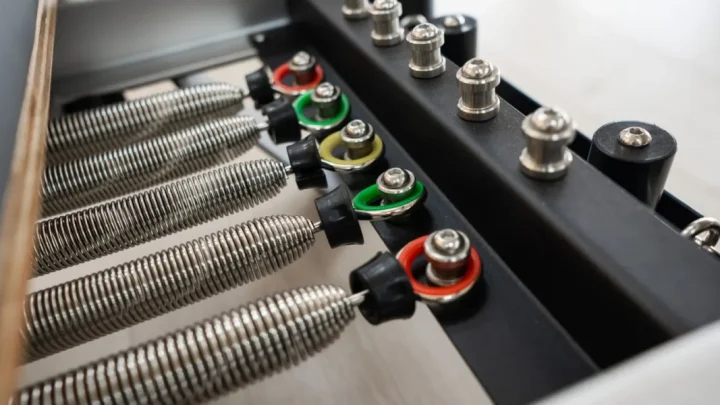
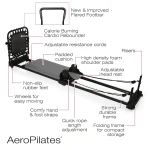
Image source: Web (Bing) / wixroyd.com (Web image (fair-use with source credit))
| Mechanism Type | Common Brands / Models | Locking Method | Key Identifier |
|---|---|---|---|
| Traditional Stepped Gear | Balanced Body Studio Reformer | Gravity drop-in slots | Chrome bar resting in numbered frame notches |
| Sliding Pull-Pin Bar | Merrithew SPX & Pro, Peak Pilates | Spring-loaded detent pins | Anodized bar with pop-pins on each bracket |
| Integrated Lever Cam | Balanced Body Allegro (Revo System) | Rotating cam latch | Single-hand lever adjusting both bar and footbar |
| Classic Floating Block | Gratz, Basil Solutions | Drop-in wood/composite block | Detached gear block placed against the frame stop |
Each system provides stable resistance when used according to manufacturer specifications. However, the exact locking action differs significantly across these four designs.
The Universal Rule: Disengaging Spring Tension Before You Adjust
Never attempt to shift, lift, or slide a gear bar while springs are hooked to it under tension. Moving a loaded gear bar is the most common cause of pinched fingers and gouged frame channels.
When springs remain attached, the tension pulls the bar forward with sudden force the moment it clears its locking slot. That snap-back force can damage the frame hooks, bend mounting brackets, and cause severe hand injuries.
Always unhook every spring to place the reformer in a zero-load state before touching the gear bar. Once the adjustment is fully locked in place, you can hook the selected springs back onto the eye bolts or cactus hooks.
Step-by-Step Guide: How to Lock and Secure Each Gear Bar Type
As of 2026, modern commercial studios and home setups feature diverse reformer models. Follow the specific workflow below for your machine's hardware design.
Traditional Slotted Notch and Drop-In Bars
Traditional slotted gear systems rely on gravity and precision-milled notches along the inner frame.
- Unhook all springs completely from the gear bar.
- Grasp the bar with both hands near the outer edges.
- Lift the bar straight up until the guide pins clear the frame slots.
- Shift the bar forward or backward to your target gear notch (Gear 1, 2, or 3).
- Lower both sides evenly into the slots.
- Push firmly against the front of the bar to ensure both ends rest flat in the bottom of the notches.
Sliding Springbars with Detent Pull-Pins
Many modern aluminum reformers use sliding springbars locked by spring-loaded plunger pins.
- Remove all spring tension by disconnecting springs from the hooks.
- Pull the locking plunger pins outward on both the left and right mounting brackets.
- Slide the springbar assembly smoothly along the side channels to the required numbered hole.
- Release the pull-pins and nudge the bar slightly until you hear an audible click.
- Visually inspect both pins to ensure the metal detent pins extend fully into the channel holes.
Integrated Revo-Style Cam and Lever Systems
Revo systems, developed by Balanced Body, link springbar placement with footbar adjustments for quick transitions.
- Ensure the carriage is at rest and clear of obstruction.
- Depress or lift the release lever located near the springbar handle.
- Slide the entire assembly forward or back to the desired position index.
- Release the lever and let the internal cam mechanism drop into the locked detent.
- Apply manual pressure to the footbar assembly to confirm the locking cam has engaged completely.
Classical Wooden Gear Blocks and Floating Bars
Classical apparatus designs utilize detached solid maple or composite gear blocks to set carriage travel distance.
- Disconnect all springs from the floating springbar hooks.
- Lift the floating gear bar and remove the existing gear block from the frame well.
- Insert the appropriate size gear block (Gear 1, Gear 2, or Gear 3 block) flush against the wooden headframe.
- Seat the floating springbar directly against the back edge of the placed gear block.
- Verify the block sits flat on the sub-floor without tipping or wobbling.
How to Match Your Carriage Stops and Eliminate Dead Zones
Securing the gear bar is only half the adjustment process. You must also align the carriage stop position with your selected gear setting.
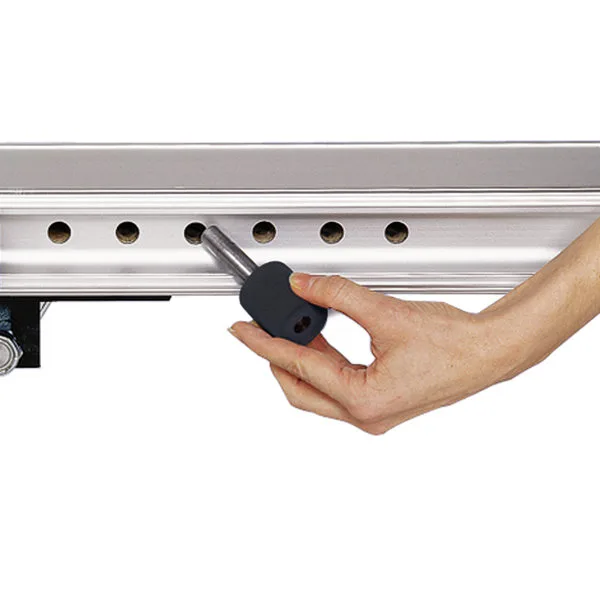
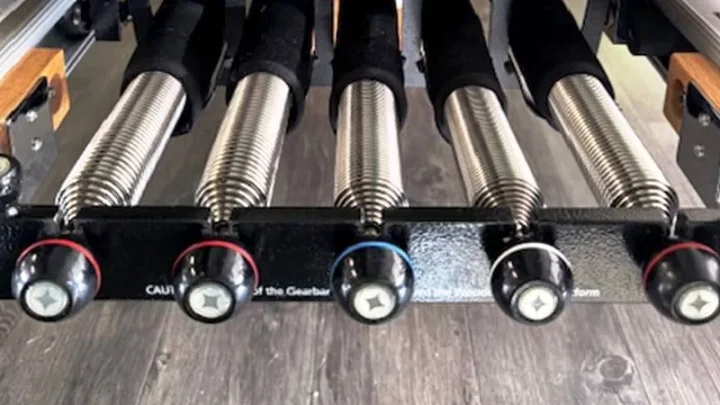
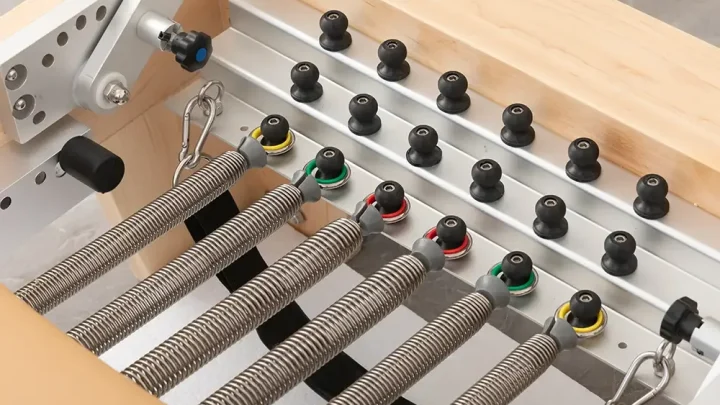
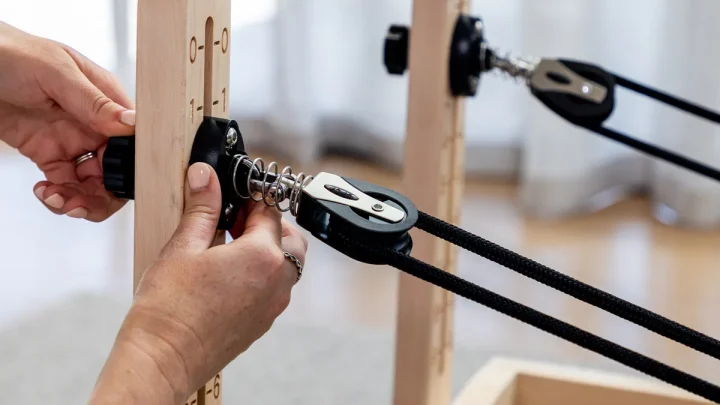
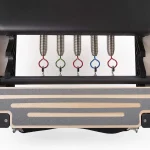
Image source: Web (Bing) / merrithew.com (Web image (fair-use with source credit))
Carriage stops are physical blocks or adjustable pins that limit how far inward the carriage can roll toward the footbar. If you move your gear bar outward to position 2 or 3 but leave the carriage stop at position 1, the springs will pull the carriage all the way forward. This leaves the springs slack when the carriage is at rest.
Slack springs create a dangerous dead zone where resistance abruptly drops off at the bottom of a repetition. To keep spring tension smooth and continuous:
- Set your carriage stop pin in the hole matching your chosen gear bar position number.
- On classical reformers, use the corresponding wooden stop block placed under the carriage tracks.
- On integrated systems, verify the carriage rests gently against the bumper pads with light baseline spring tension.
Critical Safety Mistakes That Cause Gear Bar Slippage
Gear bar slippage is almost always caused by user error during fast exercise transitions. The most frequent issue is the false latch. This happens when a pull-pin rests on the outer rim of an adjustment hole instead of penetrating the channel wall.
Another common hazard is uneven side-to-side alignment. On dual-pin sliding systems, setting the left pin in position 2 while the right pin sits in position 3 twists the entire springbar. This imbalance concentrates tension on one corner bracket, warping the metal hardware over time.
Rushing through group reformer classes creates added risks. Here are the critical red flags to avoid:
- Failing to perform a tactile check. Always give the bar a firm manual push before hooking heavy red or blue springs.
- Moving the gear bar while someone is sitting or lying on the carriage.
- Ignoring hair, grip-sock fuzz, or debris trapped inside gear notches.
- Leaving loose mounting bolts on aftermarket or older studio frames.
Maintenance Habits to Keep Your Locking Mechanisms Smooth and Safe
Routine maintenance prevents mechanical binding and ensures your locking hardware engages cleanly. Studio safety protocols recommend a weekly inspection of all locking pins, plungers, and notch channels.
Dust and studio lint collect quickly inside spring tracks. Clean aluminum channels weekly using a dry microfiber cloth or a mild silicone-safe cleaner. Never apply thick automotive grease or petroleum-based oils to plunger pins, as these attract grit and gum up internal springs.
Instead, apply a light spray of dry silicone lubricant to sticky spring-loaded pins once every few months. Wipe away any overspray immediately to prevent slick spots on the frame. Check the tightness of all bracket bolts every quarter to eliminate frame wobble.
Frequently Asked Questions About Reformer Gear Bar Adjustments
What happens if the gear bar is not fully locked?
If the gear bar is not fully locked, it can violently slip forward under spring load. This causes the carriage to slam into the frame stops, creating balance loss, strained joints, or pinched fingers.
How do I know which gear setting to use for my height?
Target a 90-degree angle at your hips and knees when your feet rest on the footbar. Shorter users generally use gear 1, while taller users shift to gear 2 or 3 to avoid excessive knee compression.
Can I change gear bar positions with springs attached?
No, you should never change gear bar positions with springs attached. Even a single attached spring creates sudden tension that can snap the bar forward, damaging the frame and risking serious hand injury.
Why does my springbar rattle during workouts?
A rattling springbar usually means a locking pin is half-seated or the carriage stops are mismatched. Verify that all detent pins are fully inserted into their numbered holes and all frame mounting bolts are tight.

Similar Posts