Eliminating Twisted Reformer Rope Kinking: Pulley Friction & Core Braiding Diagnostics
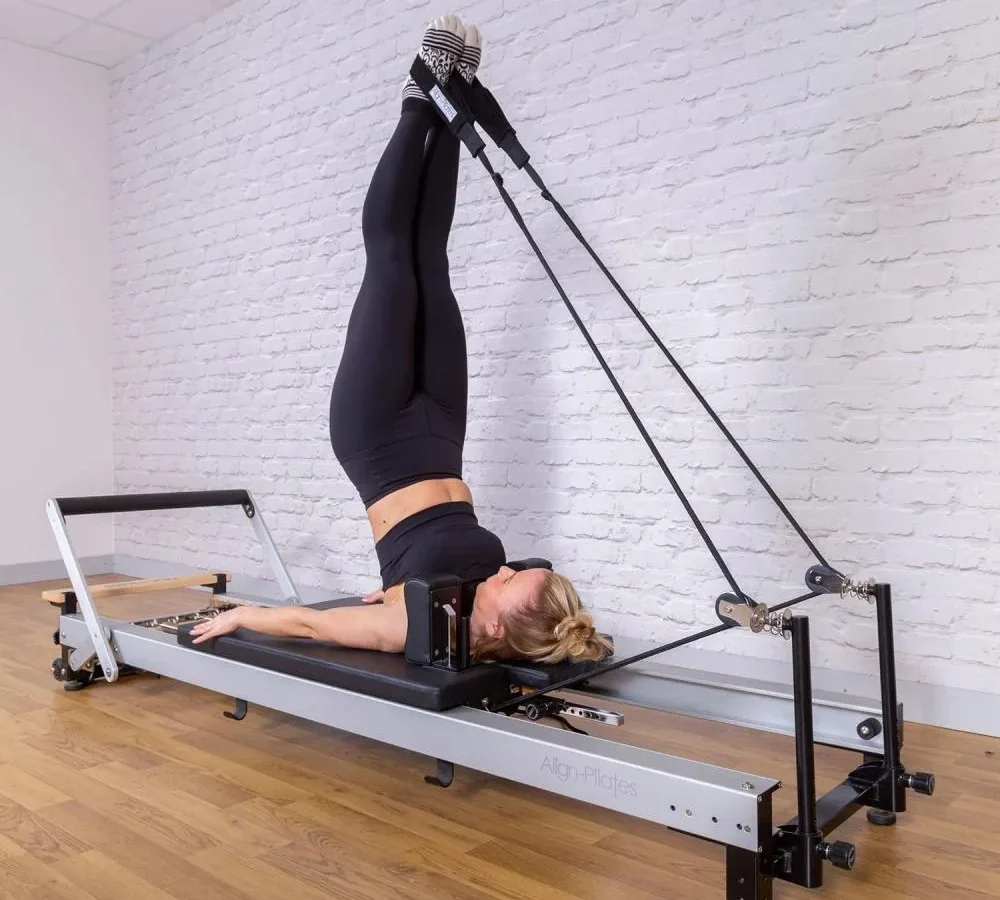
If you notice your carriage lagging or your cord jamming in the cleat, you are probably wondering why does reformer rope bunch up during normal use. It is a common frustration in both home gyms and commercial studios. Bunched cordage ruins the smooth glide of the carriage and can throw off your exercise alignment.
Per Cordage Institute technical standards for braided synthetic lines, repetitive cycling under dynamic tension causes micro-shifts between internal fibers. Equipment manuals from commercial manufacturers like Balanced Body also confirm that hardware friction and user habits play major roles. Here is what causes this problem and how you can fix it step by step.
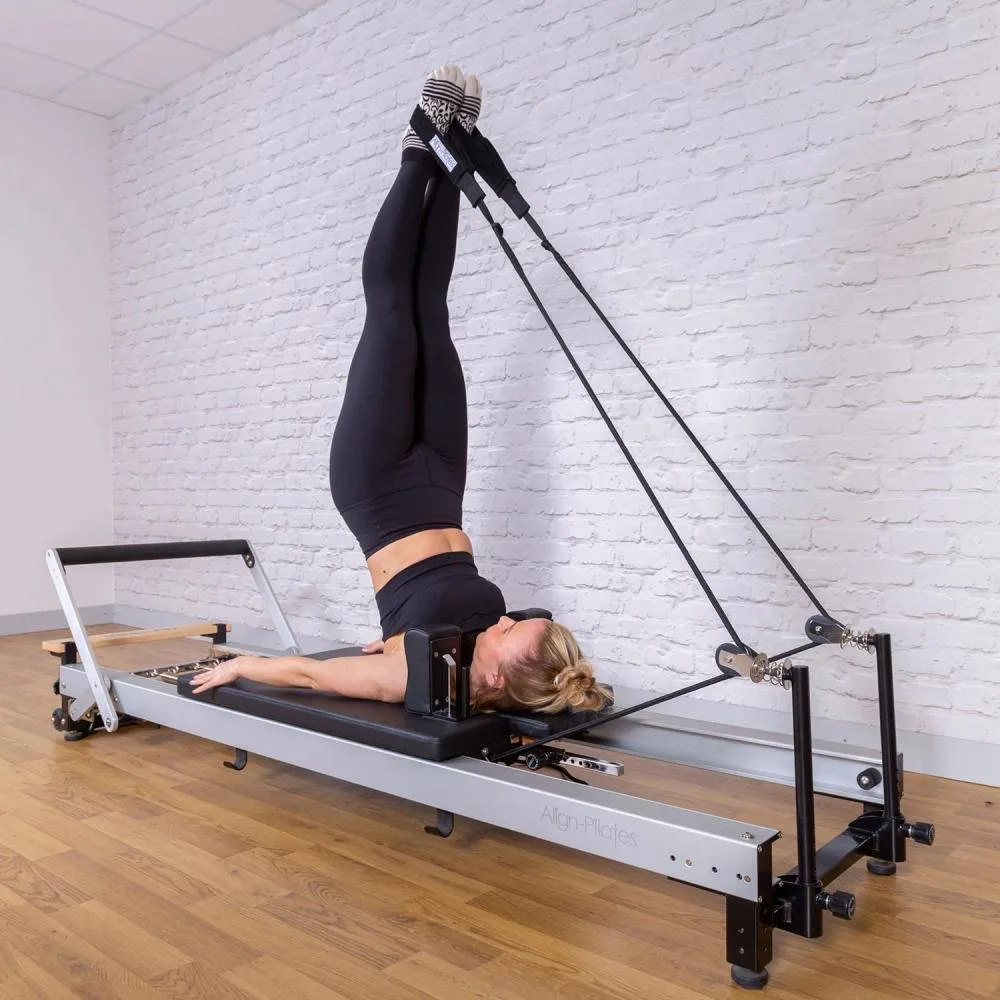
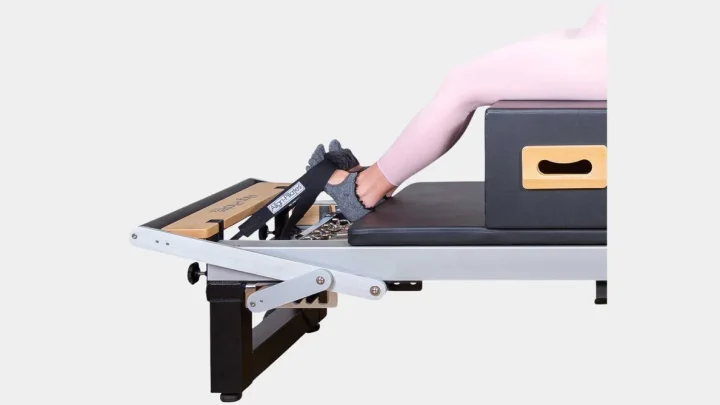
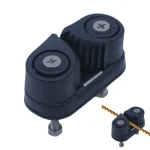
Image source: Web (Bing) / bodynova.de (Web image (fair-use with source credit))
Quick Answer
Reformer ropes bunch up due to core-sheath slippage, axial twisting, or hardware drag. Repeated cleat clamping forces the outer jacket to slide forward over the inner core. Rotating the carriage handles during exercises introduces severe spiral twists into the line.
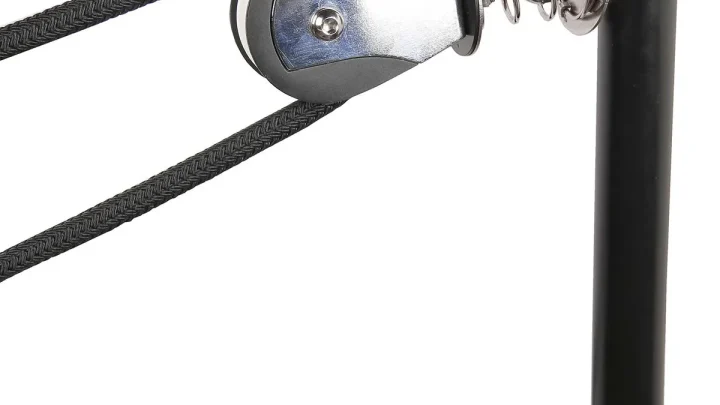
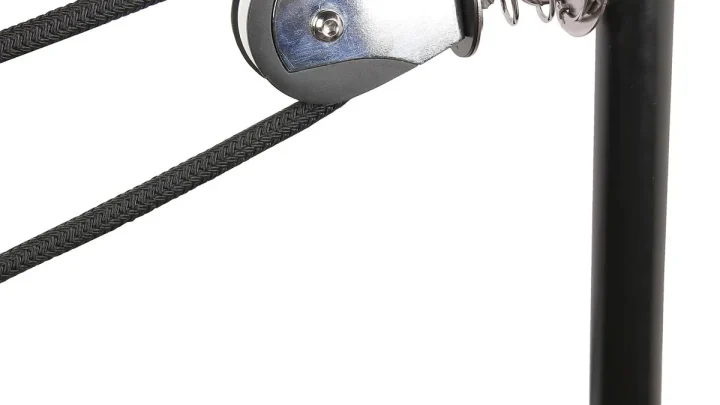
Misaligned pulley sheaves or worn bearings create friction that snags loose line slack.
The Anatomy of Reformer Rope Failure: Core vs. Sheath Dynamics
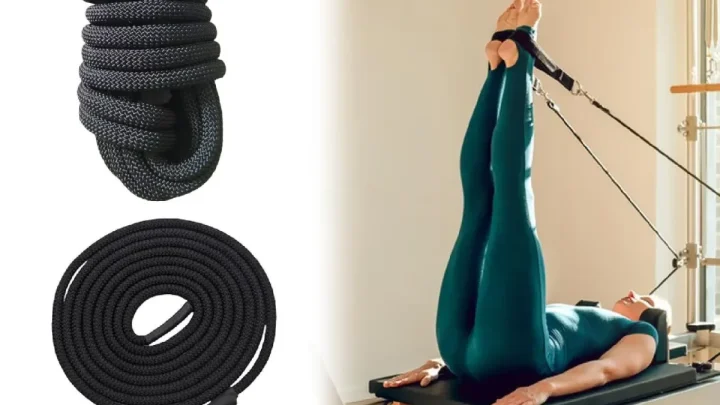
Most modern Pilates reformers use double-braided synthetic rope, usually made from polyester or nylon. This construction features a central load-bearing core surrounded by a tightly woven outer sheath. The core handles the mechanical tension from the springs, while the sheath protects against abrasion and provides grip for cam cleats.
Problems start when the bond between the core and the sheath breaks down. In the cordage industry, this movement is known as sheath slippage or "milking." Every time you engage a cam cleat, the metal teeth bite down on the exterior braided jacket. Over hundreds of workout sessions, this localized compression pushes the outer jacket along the core.
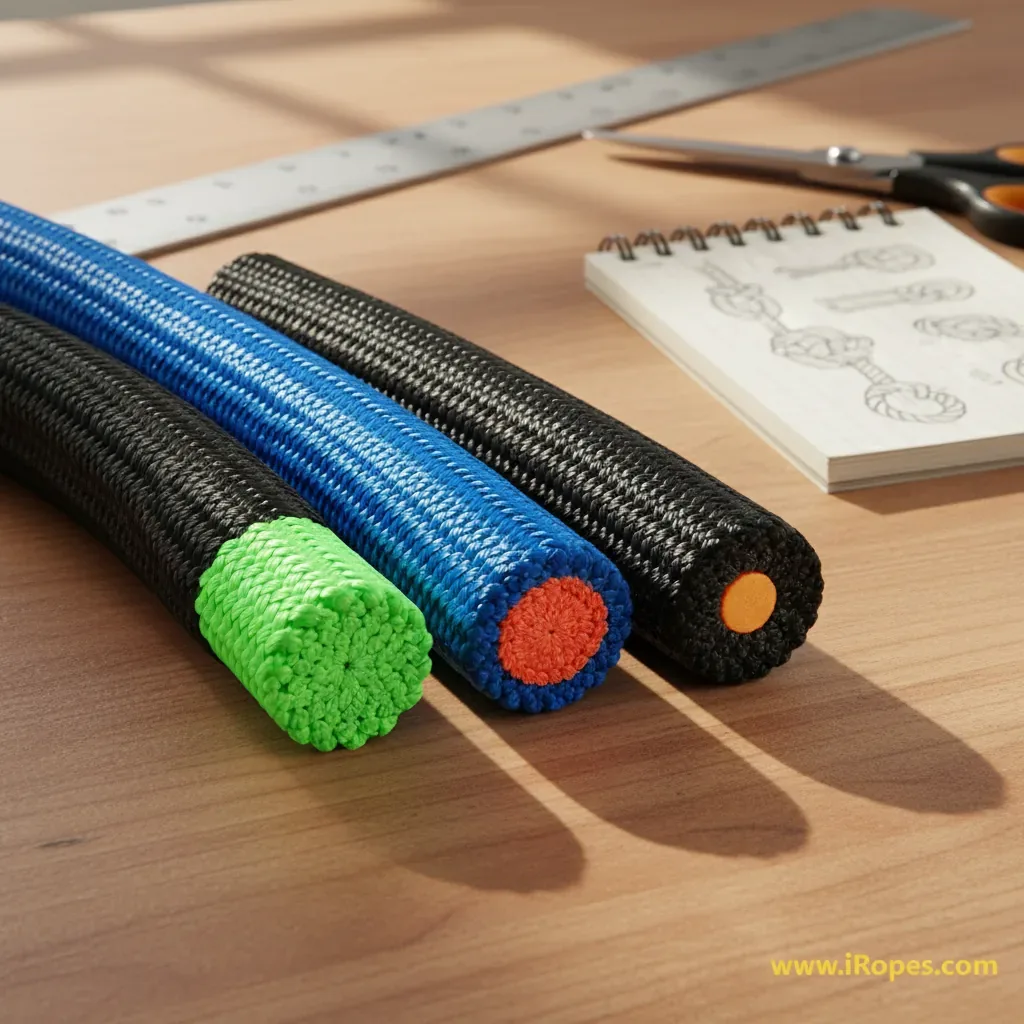
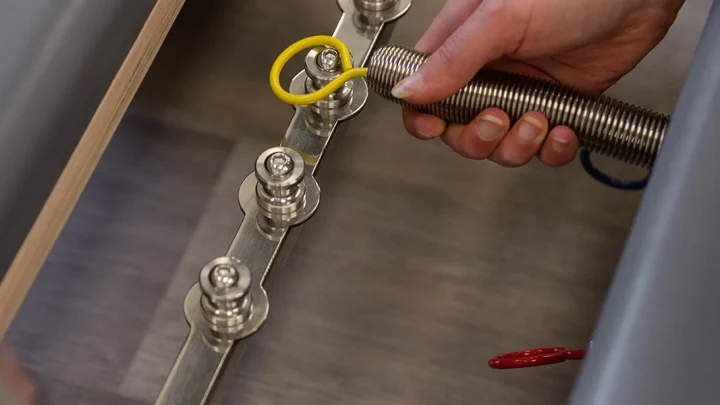
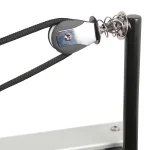
Image source: Web (Bing) / iropes.com (Web image (fair-use with source credit))
The bunched fabric eventually forms a bulbous knot right behind the cleat or in front of the pulley sheave. As of 2026, standard 8mm to 10mm ropes remain the studio benchmark, but even heavy-duty lines will deform if external friction exceeds internal core grip. When the sheath bunches, the rope diameter swells, preventing it from seating cleanly in the pulley groove.
| Component | Primary Function | Failure Mode Under Tension |
|---|---|---|
| Braided Sheath | Abrasion protection and cleat traction | Bunches, frays, and slips forward ("milking") |
| Inner Core | Tensile load support (spring resistance) | Structural stretch, core collapse, or internal snapping |
| Cam Cleat | Line locking and length adjustment | Crushes sheath fibers without securing the core |
| Pulley Sheave | Line redirection and low-friction glide | Side-flange binding, groove wear, or bearing lockup |
Diagnostic Decision Tree: Identifying Your Specific Bunching Cause
To fix the issue permanently, you must first isolate the physical mechanism causing your cord to deform. Follow this diagnostic workflow to identify your exact failure point.
                    [Is the rope bunching up?]
                                |
        +-----------------------+-----------------------+
        |                                               |
[Loose fabric lump near cleat?]              [Spiral kinks along length?]
        |                                               |
     YES: Branch 1 (Sheath Milking)                  YES: Branch 2 (Axial Twist)
        |                                               |
        NO                                              NO
        |                                               |
[Cord jumps off pulley on return?]           [Pulley squeaks or resists turning?]
        |                                               |
     YES: Branch 3 (Return Slack)                    YES: Branch 4 (Pulley Drag)
Branch 1: Sheath Bunching ("Milking") at the Cleat or Pulley
If you see a soft, wrinkled lump of excess outer fabric near the cleat, you have classic sheath slippage. This happens when the cleat teeth pull the cover forward while the core remains static. You will feel an irregular bump whenever you pull the cord through the riser.
Branch 2: Axial Twisting and Hockling Along the Line
If the rope forms rigid, corkscrew curls that twist back on themselves, you are dealing with axial twist. This is common when users spin the hand straps during transitions. Non-swivel pulley brackets accelerate this problem because the cord cannot naturally unwind.
Branch 3: Carriage Return Slack Catching on the Pulley Flange
If the line bunches only when the carriage returns to the home position, the cause is rapid eccentric recoil. When a user lets the springs pull the carriage back too fast, the line goes slack for a split second. The loose cord derails from the sheave and jams in the bracket gap.
Branch 4: Sheave Drag and Hardware Misalignment
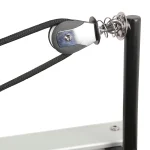
If the rope looks flattened or shows fuzzy surface abrasions, inspect the hardware. A seized pulley bearing forces the synthetic line to slide over stationary plastic rather than rolling over a wheel. The resulting friction scuffs the sheath and causes local bunching.
Step-by-Step Fixes for Every Bunching Scenario
Once you identify the failure mode, apply the targeted mechanical fix below. Always disengage all reformer springs or lock the carriage before working on line tension.
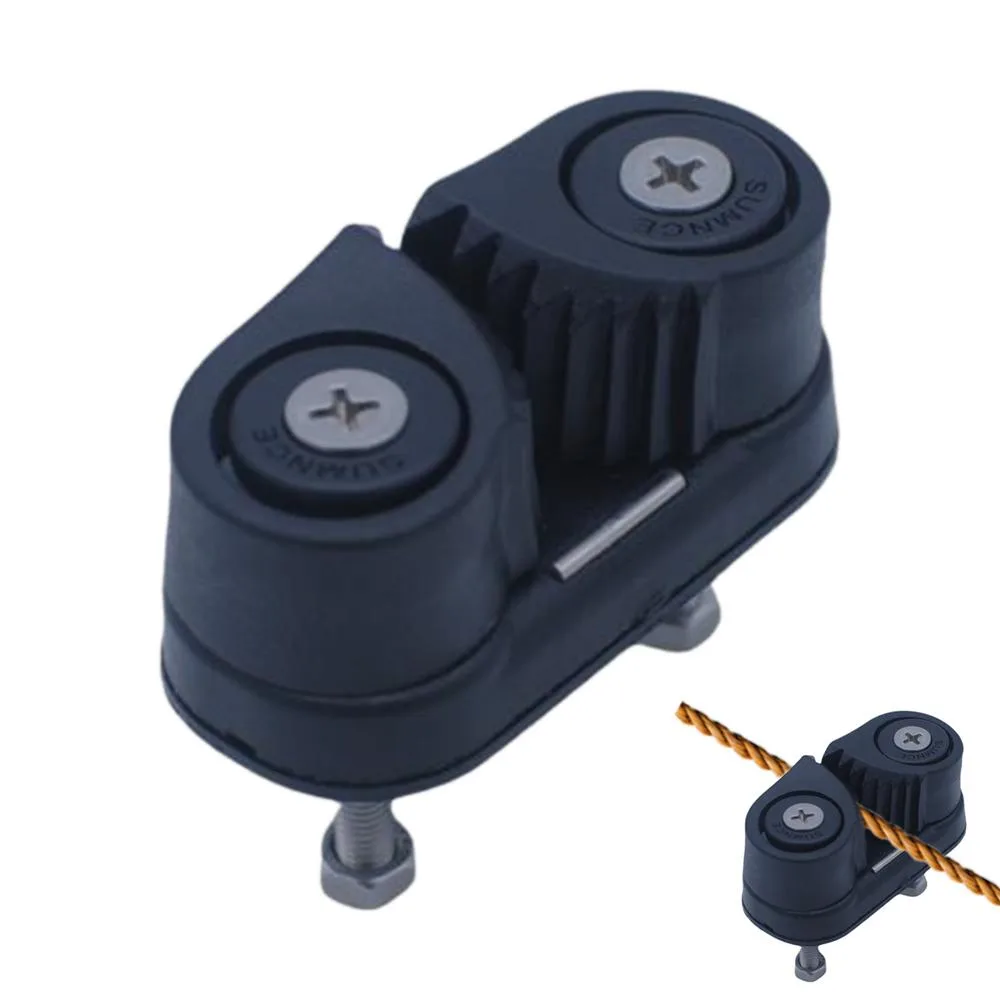
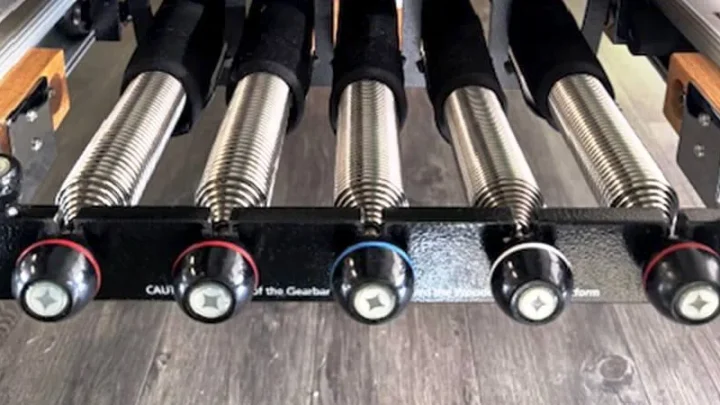
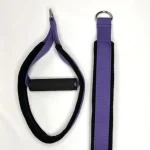
Image source: Web (Bing) / can.grandado.com (Web image (fair-use with source credit))
Method A: Stripping the Excess Sheath (De-Milking) and Trimming
Use this method when the outer jacket has bunched into a lump near the cleat:
- Unthread the working end of the rope from the cam cleat completely.
- Anchor the loop end to the carriage peg to keep base tension steady.
- Grip the rope firmly with a cloth just past the pulley riser.
- Slide your hand down the rope toward the free tail to smooth the bunched sheath flat.
- Repeat this stroking motion until the excess cover moves all the way to the bitter end.
- Cut off the excess empty sheath tail using sharp shears.
- Melt the fresh end immediately with a lighter or hot knife to fuse the core and sheath together.
Method B: Purging Axial Twist from the Free End
Use this method when the cord has formed spiral kinks:
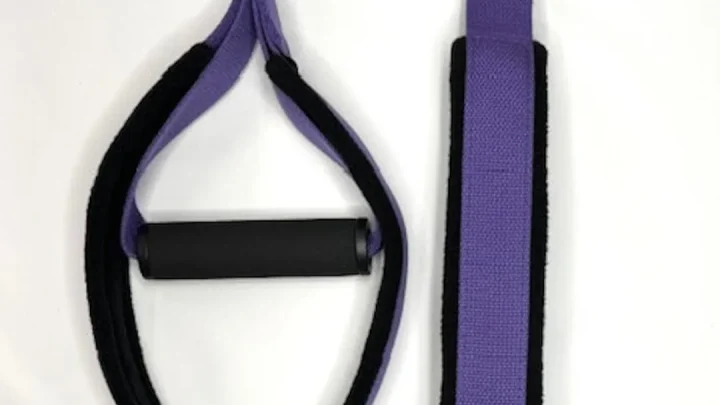
- Detach the hand loop or handle from the metal clip.
- Pull the entire length of the rope through the pulley so it hangs completely free.
- Let the line dangle freely without touching the floor for two minutes.
- Run your fingers from the carriage attachment down to the free tip to untwist the braid.
- Reattach the handle hardware, ensuring the swivel snap clip rotates smoothly.
Method C: Realigning Risers and Servicing Pulley Bearings
Use this method when hardware friction or tracking angles cause cord drag:
- Inspect the pulley wheel to ensure it spins freely without grinding.
- Clean dust and hair out of the axle gap using compressed air.
- Apply a single drop of dry PTFE lubricant to the central bearing. Avoid standard WD-40, as it attracts lint.
- Adjust the pulley riser height so the rope travels in a straight plane toward the carriage shoulder rests.
- Tighten the riser collar knob firmly to eliminate side-to-side wobble.
Maintenance Habits That Prevent Ropes from Kinking and Binding
Preventative care stops rope deformation before it damages the internal fibers. Incorporate these basic habits into your weekly equipment checks.
- Rotate the ropes between the left and right sides of the carriage every three months to balance wear patterns.
- Teach studio clients to control the eccentric return phase of every movement to prevent slack shock.
- Avoid spinning hand straps or cross-clipping loops during strap storage.
- Wipe down the ropes monthly with a damp microfiber cloth to remove body oils and chalk.
- Check cam cleat teeth for debris or worn metal ridges that crush synthetic cordage.
When to Repair vs. When to Replace Your Reformer Ropes
Deciding whether to dress a deformed line or replace it depends on the structural condition of the inner core. Surface bunching is often fixable, but internal core damage presents a serious safety risk.
If the outer sheath has shifted but the line feels firm and cylindrical underneath, stripping and trimming the excess jacket will restore smooth operation. You can safely reuse the line once you heat-seal the freshly cut end.
If you pinch the rope and feel flat spots, hollow voids, or severed core strands, retire the cord immediately. A compromised core can snap without warning during high-load exercises like Short Box or Long Spine Massage. In commercial studios, manufacturer service guidelines recommend replacing synthetic reformer ropes every 12 to 24 months regardless of visible condition.
For home setups, replacing ropes every two to three years ensures reliable grip and consistent carriage calibration.
| Condition Symptom | Recommended Action | Safety Risk Level |
|---|---|---|
| Loose outer sheath only | Milk excess jacket to bitter end and heat-seal | Low |
| Axial twist / spiral kinks | Detach handle clip and decant tension manually | Low |
| Frayed sheath near cam cleat | Cut damaged segment if length permits, or replace | Medium |
| Hollow core / crushed flat spots | Full rope replacement (replace as a matched pair) | High |
| Snagged core fibers poking out | Immediate full rope replacement | Critical |
Frequently Asked Questions About Pilates Reformer Ropes
Can I fix a bunched rope without cutting it?
Yes, you can fix mild bunching by anchoring one end and manually smoothing the outer sheath toward the free tail. This redistributes the jacket evenly over the core. If the sheath has stretched permanently past the core tip, you must cut and melt the excess end.
How do I know if my reformer rope core is broken?
Squeeze the rope firmly between your thumb and index finger along its entire working length. A healthy rope feels dense, uniform, and round. If you encounter soft pockets, abrupt thinning, or a floppy section that bends sharply without resistance, the load-bearing core is severed.
Why do my reformer ropes keep twisting into spirals?
Ropes twist into spirals when handles rotate continuously during workouts without an active swivel clip. Without a 360-degree rotational attachment point, every wrist turn forces an axial twist into the line. The accumulated torsional tension eventually causes the line to kink back on itself.
What diameter rope do Pilates reformers use?
Most modern reformers use synthetic double-braided cord measuring 8mm (5/16-inch) or 9.5mm (3/8-inch) in diameter. Using an undersized line causes cam cleat slippage, while an oversized line binds against the pulley bracket walls and bunches during carriage return.
Should I replace both reformer ropes at the same time?
Always replace reformer ropes in matched pairs. Installing only one new rope creates uneven line elasticity, differing grip friction in the cleats, and asymmetrical carriage resistance across your left and right sides. Matched pairs ensure proper limb alignment and balanced tracking.
🩰 Technician Recommended: Commercial Straps, Ropes & Springs
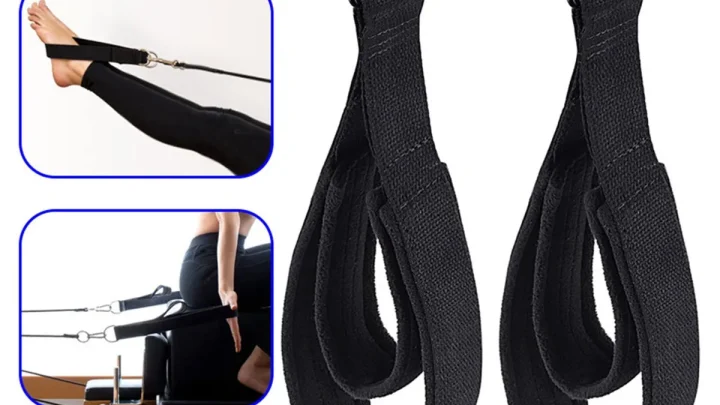
Eliminate rope bunching and uneven spring drag with studio-grade double-loop straps and calibrated replacement springs:
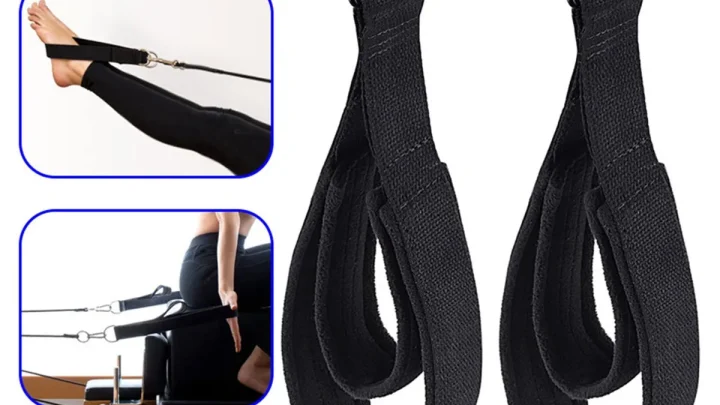
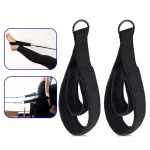
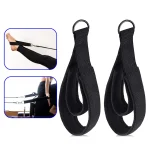
- Commercial Double-Loop Reformer Straps:Check Double-Loop Pilates Straps on Amazon →
- Replacement Reformer Springs (Calibrated):Check Replacement Reformer Springs on Amazon →
*FTC Disclosure: As an Amazon Associate, Smart Body Pilates earns from qualifying purchases. Learn more about our hands-on testing methodology.*

Similar Posts