How to Secure Reformer Rope Ends: Step-by-Step Guide
Loose reformer ropes can disrupt your workout flow and create serious safety hazards. Learning how to secure reformer rope ends properly keeps your carriage aligned and prevents sudden rope slippage under bodyweight tension. Whether you manage a busy studio or practice at home, locking down your rope tails takes just a couple of minutes.
Pilates reformer ropes routinely support dynamic loads exceeding 200 pounds during suspended movements. Manufacturer guidelines from equipment leaders like Balanced Body specify that rope anchoring mechanisms must be checked before every training session. Here is how to identify your locking system and secure your rope ends for a safe, balanced workout.
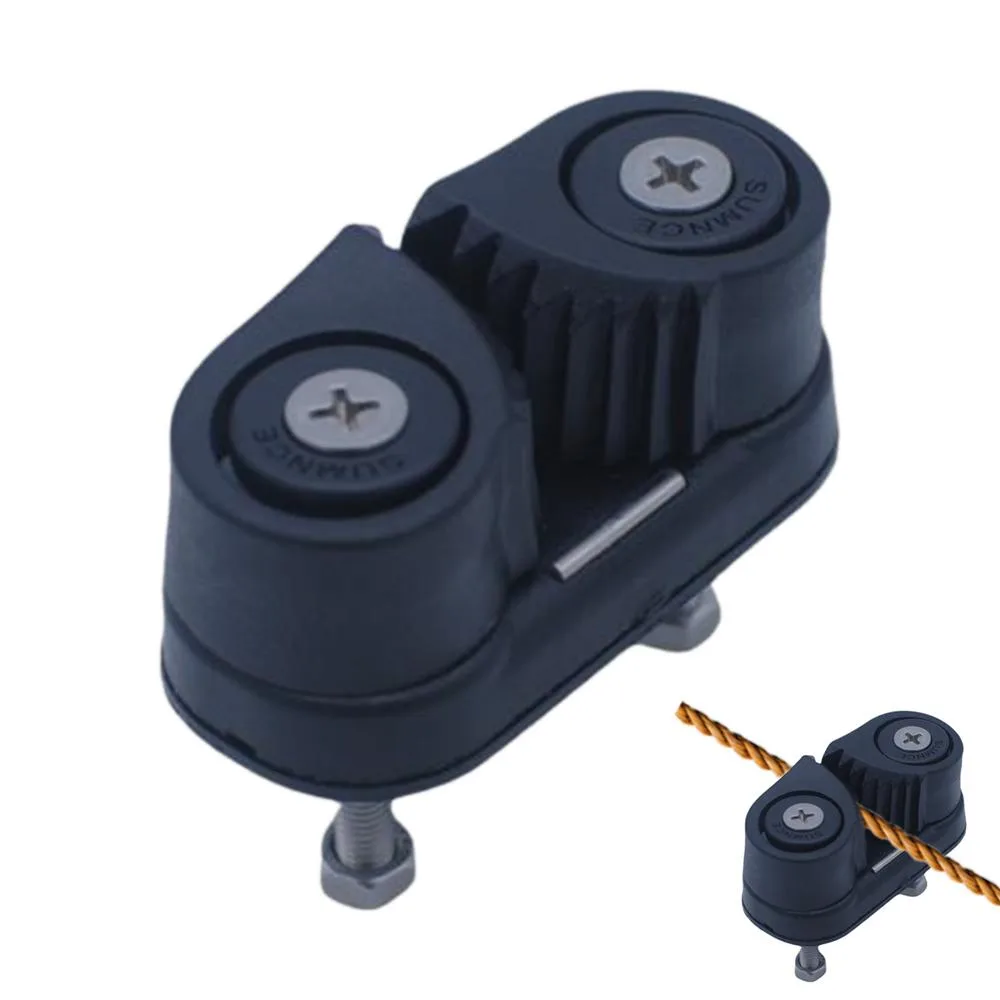
Image source: Web (Bing) / uk.vicedeal.com (Web image (fair-use with source credit))
Quick Answer
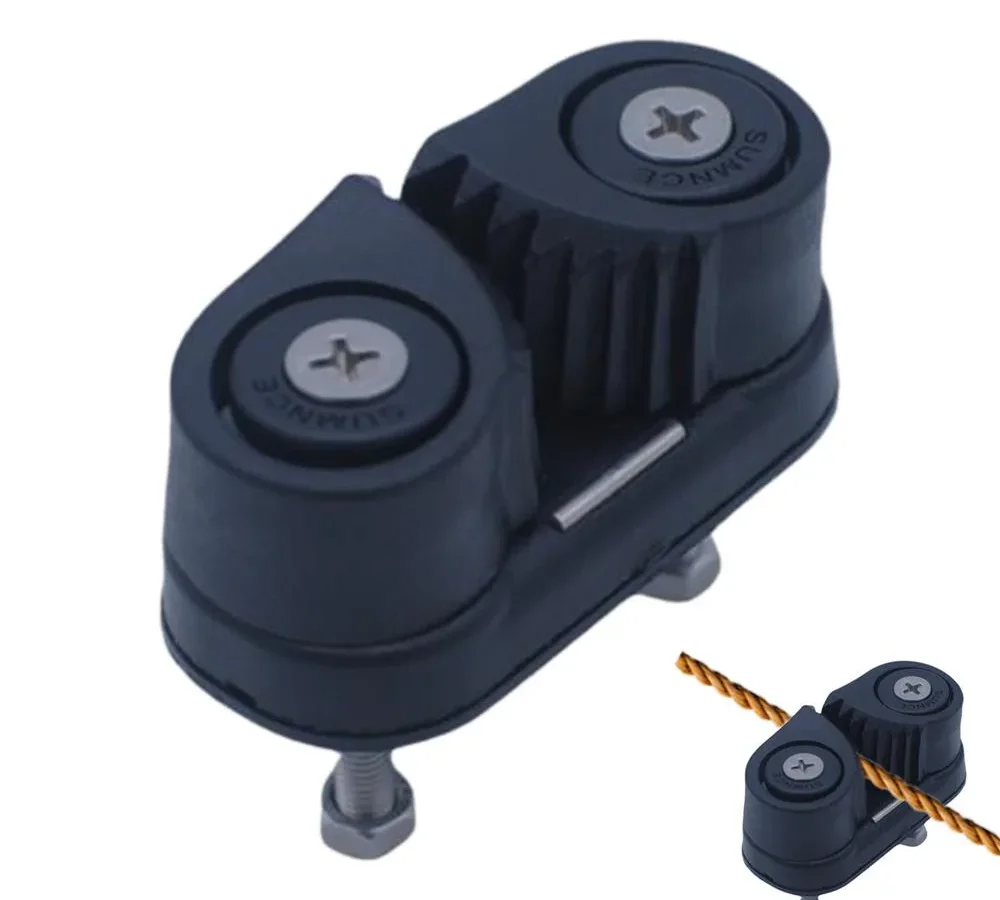
To secure reformer rope ends, route the rope through the pulley and locking mechanism. Pull the cord taut to match your desired carriage alignment. Press the cord firmly into the cam cleat teeth or wrap it around the undercarriage anchor.
Always tie a figure-8 stopper knot two to three inches behind the lock. Tuck the loose tail into the storage pocket under the carriage.
Why Securing Reformer Ropes Correctly Is a Critical Safety Step
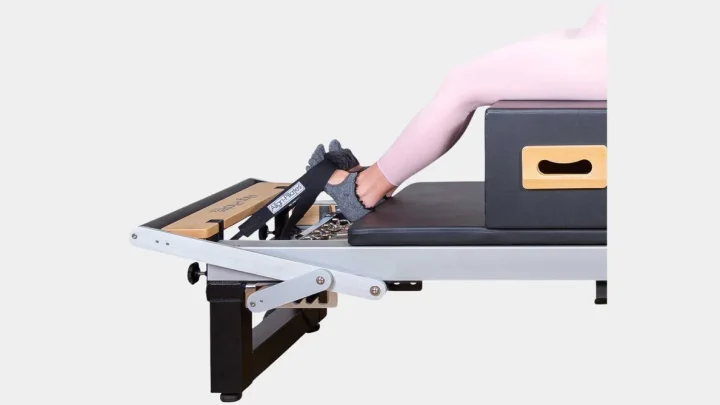
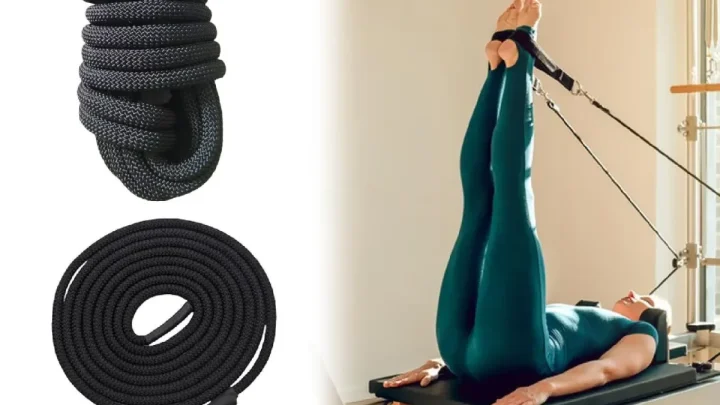
Reformer ropes take the full brunt of your movement. When you perform exercises like Feet in Straps, Long Spine, or heavy leg presses, your body weight transfers directly into the cord. If a rope end slips from its anchor, the carriage can jerk forward instantly.
That sudden drop risks muscle strains, joint hyper-extension, or direct impact with the frame.
Carriage alignment also depends entirely on rope security. If one rope slips even an inch, your pelvis and spine will compensate for the uneven pull. This imbalance undermines your form and causes asymmetrical muscle loading over time.
Loose rope tails bring their own set of mechanical problems. Stray cord ends can easily drop below the frame and wrap around carriage wheels. When rope fibers get caught in the roller bearings, they chew up the synthetic sheath and cause sudden carriage jams.
Securing both the anchor point and the tail keeps your machine running quietly and safely.
Decision Tree: Identifying Your Reformer Anchor System
Different reformer models use distinct hardware systems to lock rope ends. Look at your machine to find where the rope secures, then follow the matching path below.
                    Where is your rope locking mechanism located?
                                      |
         -----------------------------------------------------------
        |                                                           |
   ON TOP OF FRAME                                         UNDER THE CARRIAGE
        |                                                           |
   Does it have ribbed, spring-loaded jaws?                What style of hardware is fitted?
        |                                                           |
   -----------                             ---------------------------------------------------
  |           |                           |                         |                         |
 YES          NO                     CAM / CLEAT              HORN BRACKET             LEATHER STRAP
  |           |                           |                         |                         |
Cam Cleat   Classical Post           Undercarriage Cleat     Peg Wrap System         Buckle / Stud System
System      (Gratz style)            (Merrithew style)       (Legacy Peak style)     (Classical style)
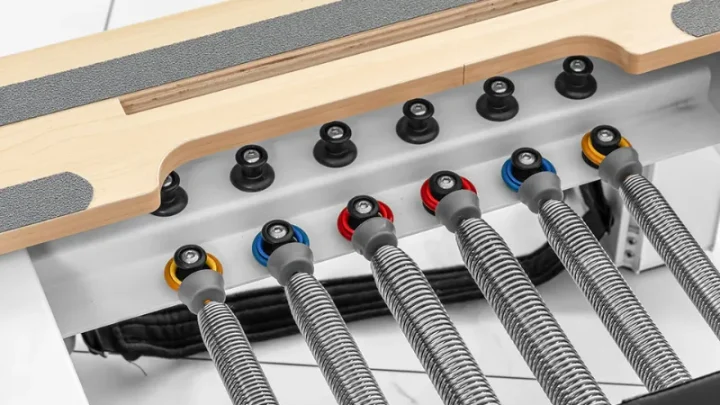
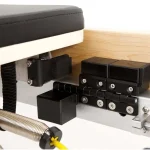
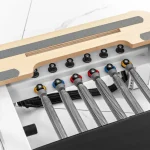
- If your reformer has top-mounted cam cleats: You have ribbed, spring-loaded jaws sitting behind the shoulder rests or headrest. Press the rope between the teeth to lock it, then secure the tail with a stopper knot.
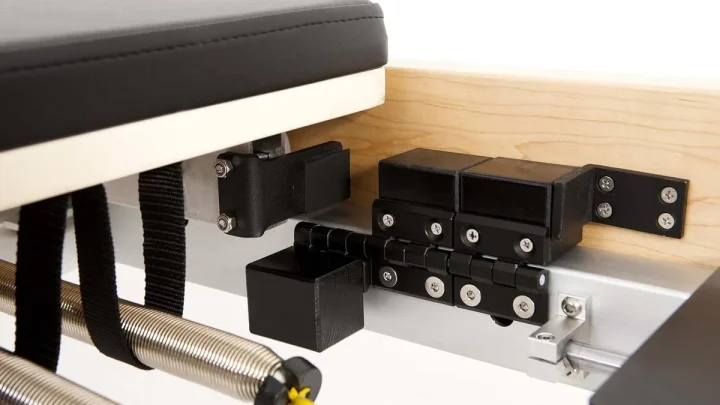
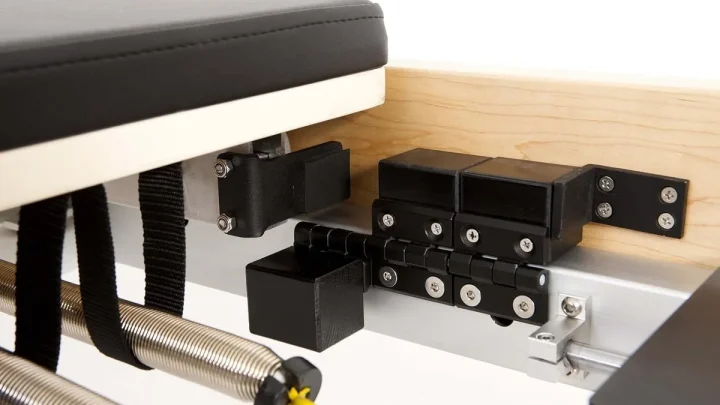
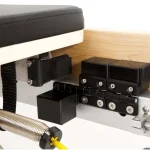
- If your reformer has undercarriage rope locks: The cleats sit underneath the wooden or aluminum carriage bed. You will lift the headrest or carriage pad to access the locking channels.
- If your reformer uses classical leather straps: You will not find synthetic ropes or cleats. Instead, adjust the leather straps using metal buckle prongs or stud holes attached to extension chains under the carriage.
| Anchor System Type | Common Brands & Models | Locking Mechanism | Primary Tail Securing Method |
|---|---|---|---|
| Top Cam Cleat | Balanced Body Studio, Allegro, Rialto | Spring-loaded serrated jaws | Figure-8 knot + under-carriage tuck |
| Undercarriage Cleat | Merrithew SPX Max, Professional | Underside v-cleats or cam teeth | Stopper knot + underside strap holder |
| Undercarriage Pegs | Peak Pilates Casa, Fit, vintage models | Metal wrap horns / cleats | Cleat hitch wrap + friction tuck |
| Classical Studs | Gratz, Basil, legacy apparatus | Punched leather holes & brass studs | Stud engagement + eyelet keeper loop |
Step-by-Step Guide: How to Secure Ropes on Cam Cleat Reformers
Top-mounted cam cleats use spring-loaded jaws with directional teeth that grip the rope sheath under tension. Follow these steps to set and secure them properly.
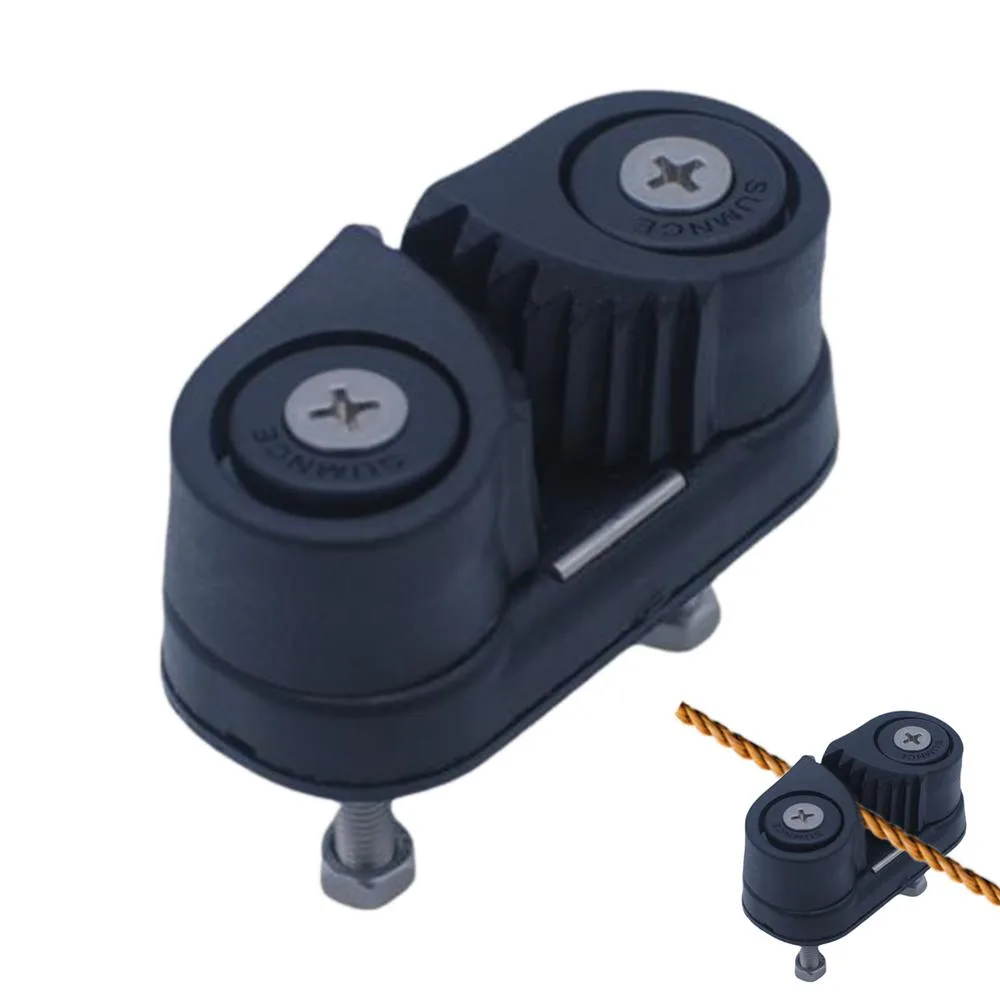
Image source: Bing (Web (fair-use with source credit))
Step 1: Set Your Zero Point
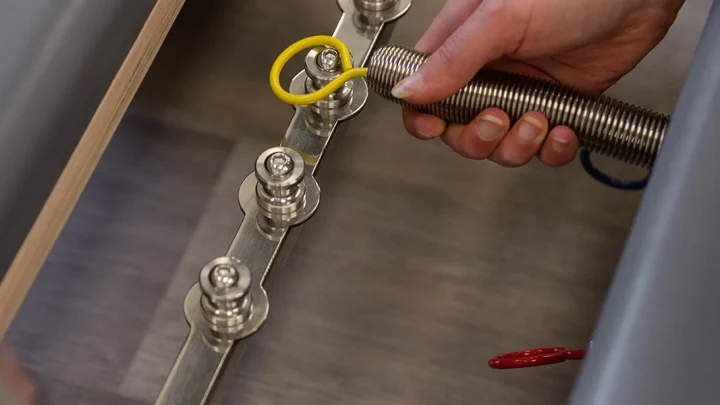
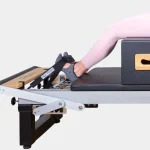
Rest the carriage completely against the head-end frame bumpers. Make sure your springs are attached to the spring bar so the carriage cannot roll forward while you work. Set your pulley risers to your preferred height setting.
Step 2: Thread Through the Fairlead
Feed the raw end of the rope from the back of the reformer through the pulley wheel. Bring the rope forward toward the carriage and slide it through the metal loop or fairlead guide positioned directly in front of the cam cleat. The fairlead prevents the rope from jumping out of the cleat jaws during lateral movements.
Step 3: Align Your Straps Evenly
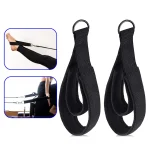
Pull both ropes toward the footbar to check length symmetry. Place the loops over the shoulder rests. Pull the rope tails until the metal rings or bases of the double loops sit flush against the front edge of the shoulder rest posts.
Step 4: Seat the Rope in the Cleat
Pull the rope firmly downward between the ribbed cam jaws. You should feel the teeth bite into the braided sheath. Tug hard on the working end of the strap from the carriage side to confirm the jaws lock tight under load.
Step 5: Secure the Exit Tail
Leave at least four to six inches of excess rope extending past the exit side of the cam cleat. Tie a stopper knot in this tail section, then drop the remaining rope length through the frame access hole so it rests out of the way.
Step-by-Step Guide: How to Secure Ropes on Undercarriage and Classical Reformers
Undercarriage systems keep rope hardware tucked away for a clean aesthetic, but they require careful manual locking.
Securing Undercarriage Cam and V-Cleats
- Access the underside: Lift the reformer headrest to its highest position or remove the carriage pad insert, depending on your frame design.
- Route through the floor grommet: Feed the rope down through the guide hole in the carriage deck.
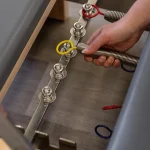
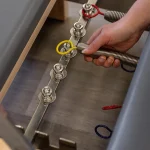
- Engage the locking channel: Pull the rope through the underside cleat until your straps match the shoulder rests. Press the rope firmly into the v-groove or spring jaws until the teeth grip.
- Tie and stow: Tie a stopper knot against the cleat base. Tuck the loose tail into the elastic bands or storage pocket mounted beneath the carriage bed.
Securing Horn Bracket Systems
- Pull to tension: Guide the rope through the carriage pulley and draw it tight against the underside horn bracket.
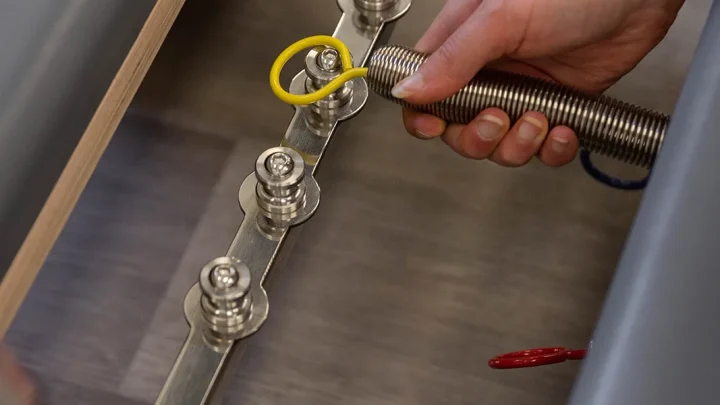
- Apply a cleat hitch: Wrap the rope around the base of the bracket once. Cross over the top to form a figure-eight pattern around the two horn prongs.
- Finish with a half hitch: Create an underhand loop on the final pass and cinch it over the horn prong to lock the friction hold.
Securing Classical Leather Straps
Classical systems replace braided rope with thick bridle leather. Thread the strap end through the underside carriage bracket. Line up the punched adjustment hole with the brass post, push the post through the leather, and slide the metal keeper loop over the strap tail to prevent it from unseating.
Essential Stopper Knots and Tail Management Techniques
A cam cleat or horn wrap holds the working load, but a stopper knot provides your backup safety catch. If a cleat slips under heavy resistance, the stopper knot jams against the hardware entrance and stops the rope from pulling through completely.
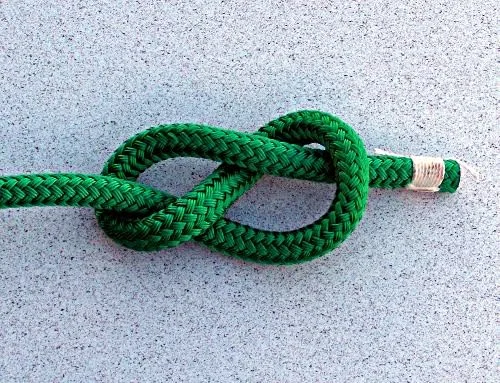
Image source: Bing (Web (fair-use with source credit))
How to Tie a Figure-8 Stopper Knot
Standard overhand knots can bind tightly under load, making them nearly impossible to untie later. A figure-8 knot creates a secure, bulky block that stays easy to release after holding heavy tension.
- Measure two to three inches of clear space along the rope tail past the cleat exit.
- Form an open loop by crossing the tail over the standing line.
- Wrap the tail completely around behind the standing line.
- Push the tail down through the front of the original loop.
- Pull both ends firmly to dress and tighten the knot.
Managing Excess Tail Length
Never let extra rope drag loose on the floor or rest near the carriage runners. Studio equipment updates as of 2026 emphasize clean undercarriage cable management to reduce studio trip hazards.
If your machine features under-bed tail sleeves or mesh bags, fold the excess rope into clean coils and slide it inside. For open-frame wood reformers, coil the excess tail and secure it with a small elastic band directly below the carriage frame. Always verify that carriage travel remains clear across the entire length of the aluminum tracks.
Common Rope Securing Mistakes and How to Fix Them
Setting up reformer ropes seems straightforward, but small mistakes can lead to slipping hardware and uneven carriage resistance. Here are the most frequent errors and how to correct them.
- Failing to tie a backup knot: Relying entirely on cam cleat friction is a safety risk. Cleat teeth can slip when ropes are brand new or slick with sweat. Always tie a figure-8 knot behind the cleat exit.
- Leaving tails too short: Trimming rope tails flush to the cleat prevents you from tying a stopper knot. Keep at least four to six inches of tail extending past the locking mechanism.
- Skipping the fairlead guide: If you bypass the metal guide loop, the rope enters the cleat at an awkward angle. This misdirection causes the cord to pop out during lateral movements like side-arm work.
- Ignoring carriage zero-alignment: Locking ropes while the carriage sits away from the head bumpers creates uneven tension. Always rest the carriage firmly against the bumpers before locking your lengths.
| Mistake | Operational Risk | Immediate Fix |
|---|---|---|
| No Stopper Knot | Sudden rope slip under load | Add a figure-8 knot 2 inches behind the cleat |
| Rope Tail in Wheel Track | Jammed carriage roller bearings | Coil tail into undercarriage mesh bags |
| Worn Cleat Teeth | Gradual rope slippage during use | Clean debris or replace cam cleat assembly |
| Uneven Strap Heights | Asymmetrical pelvic alignment | Re-measure loop bases against shoulder posts |
Inspection and Replacement: When Reformer Ropes Need Swapping
Ropes endure substantial dynamic friction during regular studio workouts. Over time, internal fibers degrade even if the outer braided sheath appears intact. Safety guidelines from organizations like the National Pilates Certification Program emphasize regular equipment audits to prevent hardware failure.
Warning Signs of Rope Wear
Inspect your cords monthly along their entire length. Run your fingers over high-friction contact points near the pulley risers and cleat teeth.
- Core herniation: If you feel flat spots, hollow pockets, or lumpy bulges, the internal load-bearing core has snapped. Replace the rope immediately.
- Fuzzy sheath abrasion: Light surface fuzz is normal. Severe fraying that exposes white inner core strands means the rope has lost structural integrity.
- Hard, glazed sections: Friction generates heat. Glazed or melted patches from cleat teeth reduce grip and cause unexpected slipping.
Recommended Replacement Intervals
For high-volume commercial studios running multiple classes daily, replace reformer ropes every 12 to 24 months. For home reformers used by one or two people, ropes typically last two to four years. Always replace ropes in pairs so both sides share identical elasticity and diameter.
Frequently Asked Questions About Securing Reformer Ropes
How tight should reformer ropes be when securing them?
Reformer ropes should be snug enough to remove slack without pulling the carriage away from the head bumpers. With the carriage resting against its stops, adjust both ropes until the loop bases align evenly with the front edge of the shoulder rest posts.
Why do my reformer ropes keep slipping in the cam cleats?
Ropes slip when the diameter is too thin for the cleat, when the teeth are clogged with lint, or when the rope was not pressed fully into the jaws. Clean the cleat teeth with a small brush and ensure your rope diameter matches manufacturer specifications.
Can I use standard climbing rope to replace reformer cords?
You can use dynamic or semi-static braided ropes if the diameter matches your machine hardware. Most modern reformers use 8mm to 10mm high-tenacity synthetic cord. Avoid hardware-store polypropylene ropes because they stretch unpredictably and slip in cam cleats.
What should I do with extra rope tail length under the carriage?
Tuck excess rope tails into the undercarriage elastic straps or storage sleeves. If your frame lacks storage channels, coil the tail loosely and secure it beneath the carriage platform to keep it away from wheels and rails.
🩰 Technician Recommended: Commercial Straps, Ropes & Springs
Eliminate rope bunching and uneven spring drag with studio-grade double-loop straps and calibrated replacement springs:
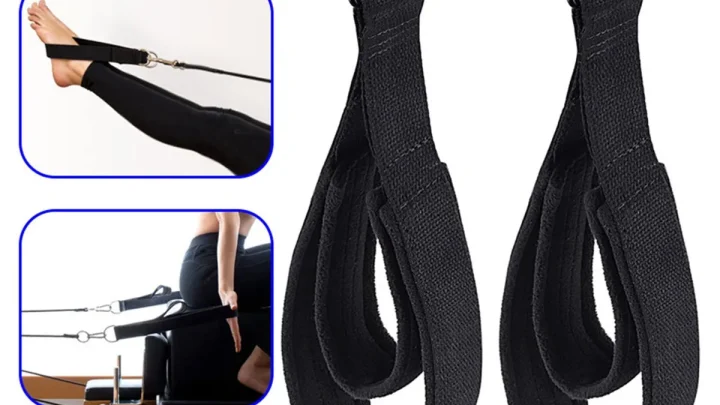
- Commercial Double-Loop Reformer Straps:Check Double-Loop Pilates Straps on Amazon →
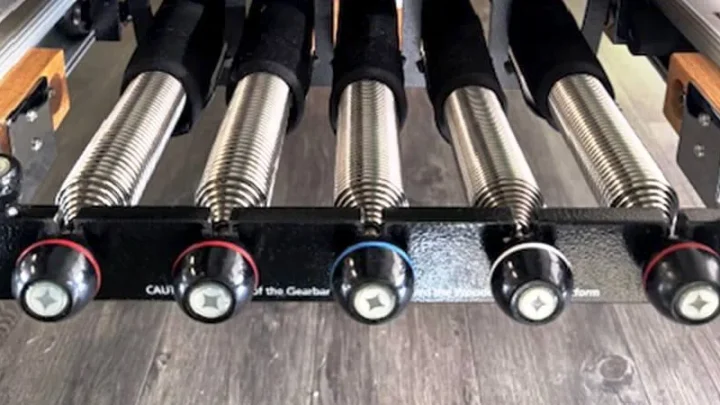
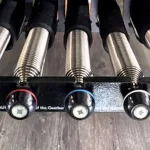
- Replacement Reformer Springs (Calibrated):Check Replacement Reformer Springs on Amazon →
*FTC Disclosure: As an Amazon Associate, Smart Body Pilates earns from qualifying purchases. Learn more about our hands-on testing methodology.*

Similar Posts