When to Replace Your Pilates Reformer Pulley Wheel
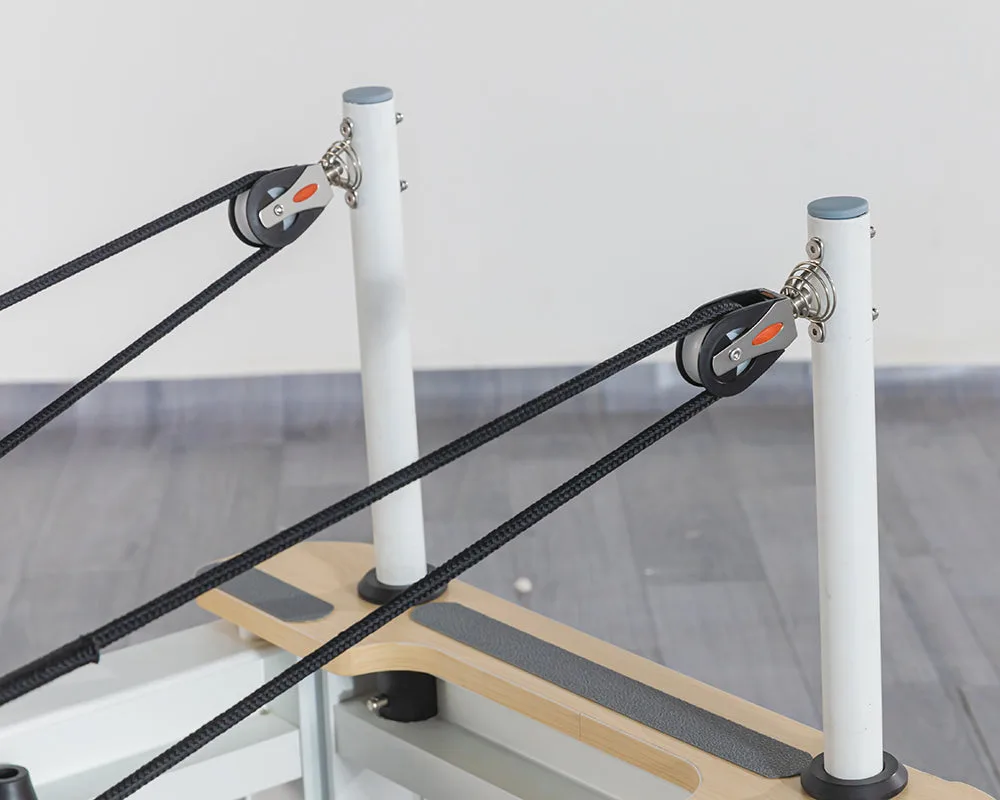
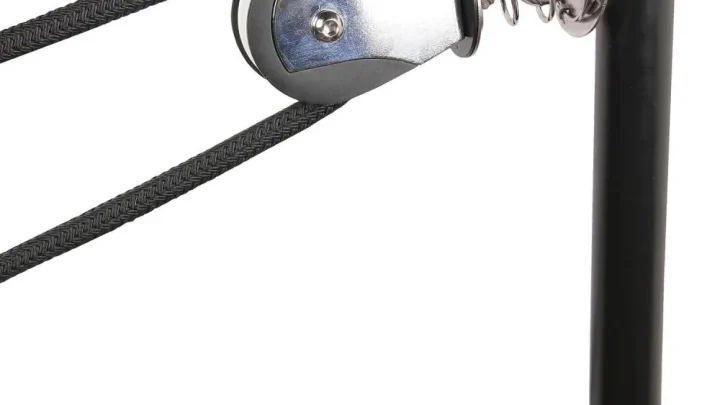
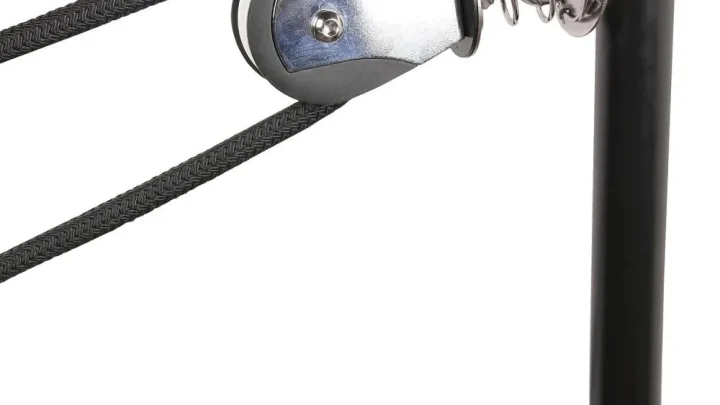
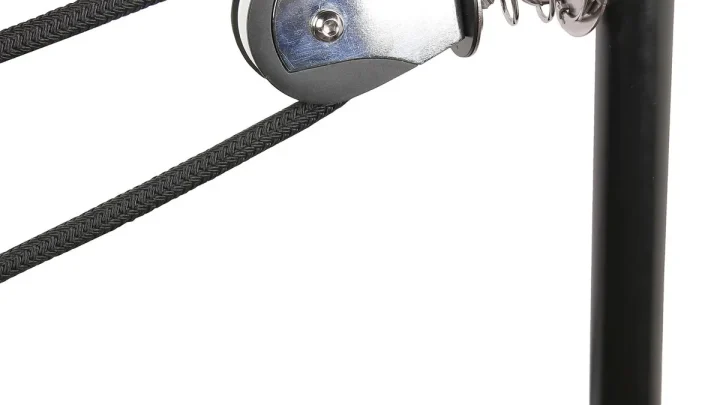
Knowing when to replace a pilates reformer pulley wheel keeps your workouts smooth and safe. A worn sheave creates parasitic drag and ruins rope alignment. Left unchecked, worn hardware damages synthetic ropes and can cause sudden failures during high-tension exercises.
Studio maintenance guidelines from equipment manufacturers emphasize routine mechanical hardware inspections. Pulleys with more than 1 millimeter of lateral bearing play pose an immediate mechanical risk. Identifying these red flags early saves your ropes and protects your clients.
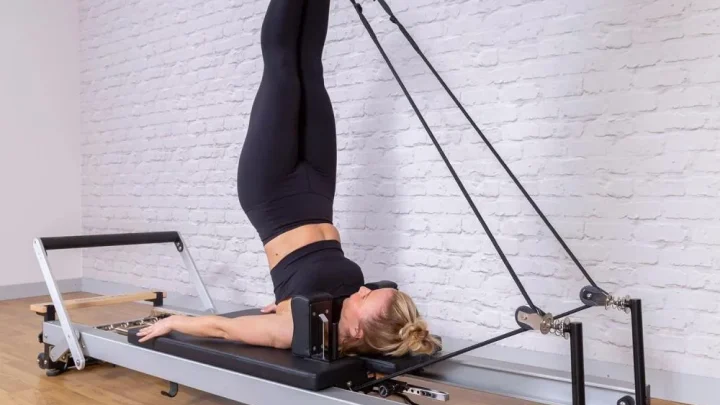
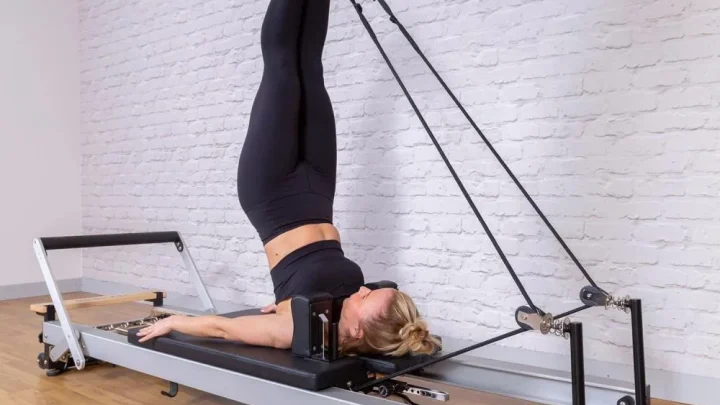
Image source: Bing (Web (fair-use with source credit))
Quick Answer
Replace a Pilates reformer pulley wheel when you feel rough resistance. Replace it if the wheel wobbles side to side. Deep rope grooves require immediate wheel replacement.
Grinding bearing noises mean internal ball failure has occurred. Most commercial studios replace pulley wheels every two years.
Warning Signs Your Pilates Reformer Pulley Wheel Is Failing
A failing reformer pulley gives clear physical and auditory warnings before it breaks completely. Paying attention to how the carriage glides under light spring tension is your first line of defense.
The most common warning signs include:
- Auditory grinding or squeaking: A healthy sealed cartridge bearing spins silently. Chirping, clicking, or metal-on-metal grinding points to internal ball bearing failure or blown grease seals.
- Asymmetrical rope tracking: If the rope rides high against the outer flange of the wheel, the axle bolt is bent or the internal bearing race is loose.
- Flat spots on the sheave: When a pulley seizes, the rope drags across a frozen wheel. This friction grinds a flat notch into nylon or Delrin wheels within a few workouts.
- Fine black or metallic dust: Look at the base of your pulley risers. Piles of fine plastic shavings or dark metal powder indicate heavy friction and structural wear.
- Phantom drag during arm series: If one arm feels noticeably heavier than the other during light spring work, uneven pulley resistance is usually the cause.
The 4-Step Pulley Diagnostic Test: Noise, Free-Spin, Play, and Groove Wear
You do not need specialized mechanical tools to evaluate your reformer hardware. Perform this four-step diagnostic check every month on every machine in your studio.
| Test Step | Diagnostic Action | Pass Condition | Failure Trigger (Replace) |
|---|---|---|---|
| 1. Spin-Down | Flick the empty sheave with your thumb | Spins smoothly for 1.5 to 3 seconds | Stops instantly or grinds to a halt |
| 2. Lateral Play | Wiggle the wheel rim left to right | Less than 0.5 mm movement | Greater than 1 mm wobble / clunking |
| 3. Groove Depth | Inspect the inner rope channel profile | Smooth, symmetrical U-shape | Deep V-groove wear exceeding 1.5 mm |
| 4. Swivel Action | Rotate the pulley block 360 degrees | Smooth rotation around the eye bolt | Sticking, binding, or notched rotation |
1. The Spin-Down Test
Remove the rope from the pulley wheel completely. Give the wheel a brisk flick with your thumb. A healthy ABEC-rated bearing spins quietly for one to three seconds before coming to a gentle rest.
If the wheel stops dead immediately, the internal lubricant has hardened or debris has locked the axle.
2. The Lateral Play Wiggle Test
Pinch the top edge of the pulley wheel between your index finger and thumb. Try to rock the wheel sideways across its axle bolt. There should be almost zero detectable side-to-side play.
If the wheel rocks more than 1 millimeter, the bearing races have worn out and the wheel must be replaced.
3. The Groove Wear Check
Examine the channel where the rope sits. Manufacturer specifications from brands like Balanced Body design these channels with a rounded U-profile to cradle 8mm to 10mm ropes. If the rope has carved a sharp V-groove deeper than 1.5 millimeters into the plastic, replace the sheave.
4. The Swivel Rotation Check
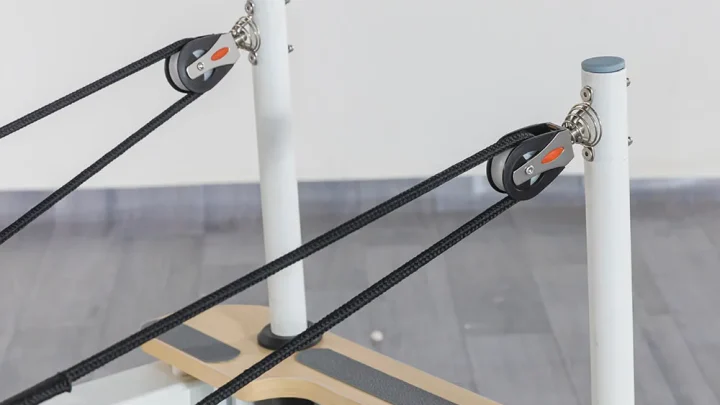
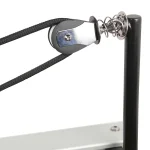
Reformer pulleys sit on swivel brackets so they can follow your movement angles. Rotate the entire pulley housing in a full circle. If the swivel binds, catches, or resists angle changes, replace the bracket assembly to prevent rope abrasion.
Pulley Decision Matrix: When to Clean, Relubricate, or Replace
Not every noisy pulley requires a trip to the parts store. Studio lint and stray hair frequently wrap around the axle pin, mimicking bearing failure. Use this decision workflow to choose the right fix.
- Condition 1: Hair or lint is visible behind the sheave wheel.
- Action: Do not replace yet. Unbolt the pulley and remove all trapped fibers with tweezers. Clean the axle with a dry cloth and test the spin again.
- Condition 2: The bearing squeaks, but spins freely without wobble.
- Action: Check if your pulley uses open bushings or sealed bearings. For sealed bearings, squeaking means the factory grease is gone. Do not spray penetrating oil into sealed bearings. Replace the pulley unit.
- Condition 3: The pulley wheel has visible flat spots or flange cracks.
- Action: Replace immediately. A cracked flange can slice through your rope core during loaded movements like Long Spine Massage.
- Condition 4: The wheel wobbles laterally more than 1 millimeter.
- Action: Replace immediately. Tightening the axle bolt will not fix a collapsed bearing race and will only pinch the housing.
Replacement Lifespans: Commercial Studios vs. Home Practice
Pulley wear depends directly on machine operating hours, spring resistance loads, and room cleanliness.
As of 2026, equipment maintenance data from high-volume studios shows clear replacement timelines based on use:
- Commercial Studios (25 to 40+ class hours per week): Expect to replace pulley wheels every 12 to 24 months. High client turnover introduces studio dust, sweat, and hair that accelerates bearing breakdown.
- Light Commercial & Clinical Settings (10 to 20 hours per week): Physical therapy clinics and boutique private studios generally replace pulleys every 2 to 3 years.
- Home Reformer Practice (3 to 5 hours per week): Home users enjoy much longer component life. Under normal conditions, home pulleys last 4 to 6 years if kept clean and free of pet hair.
- High-Humidity Coastal Studios: Salt air speeds up bearing corrosion. Studios near the ocean often need pulley replacements every 12 months, regardless of weekly class volume.
Step-by-Step Guide: How to Replace a Reformer Pulley Assembly
Replacing a reformer pulley takes less than ten minutes per side. You will need a basic metric hex key set, an adjustable wrench, and your manufacturer-approved replacement pulley assembly.
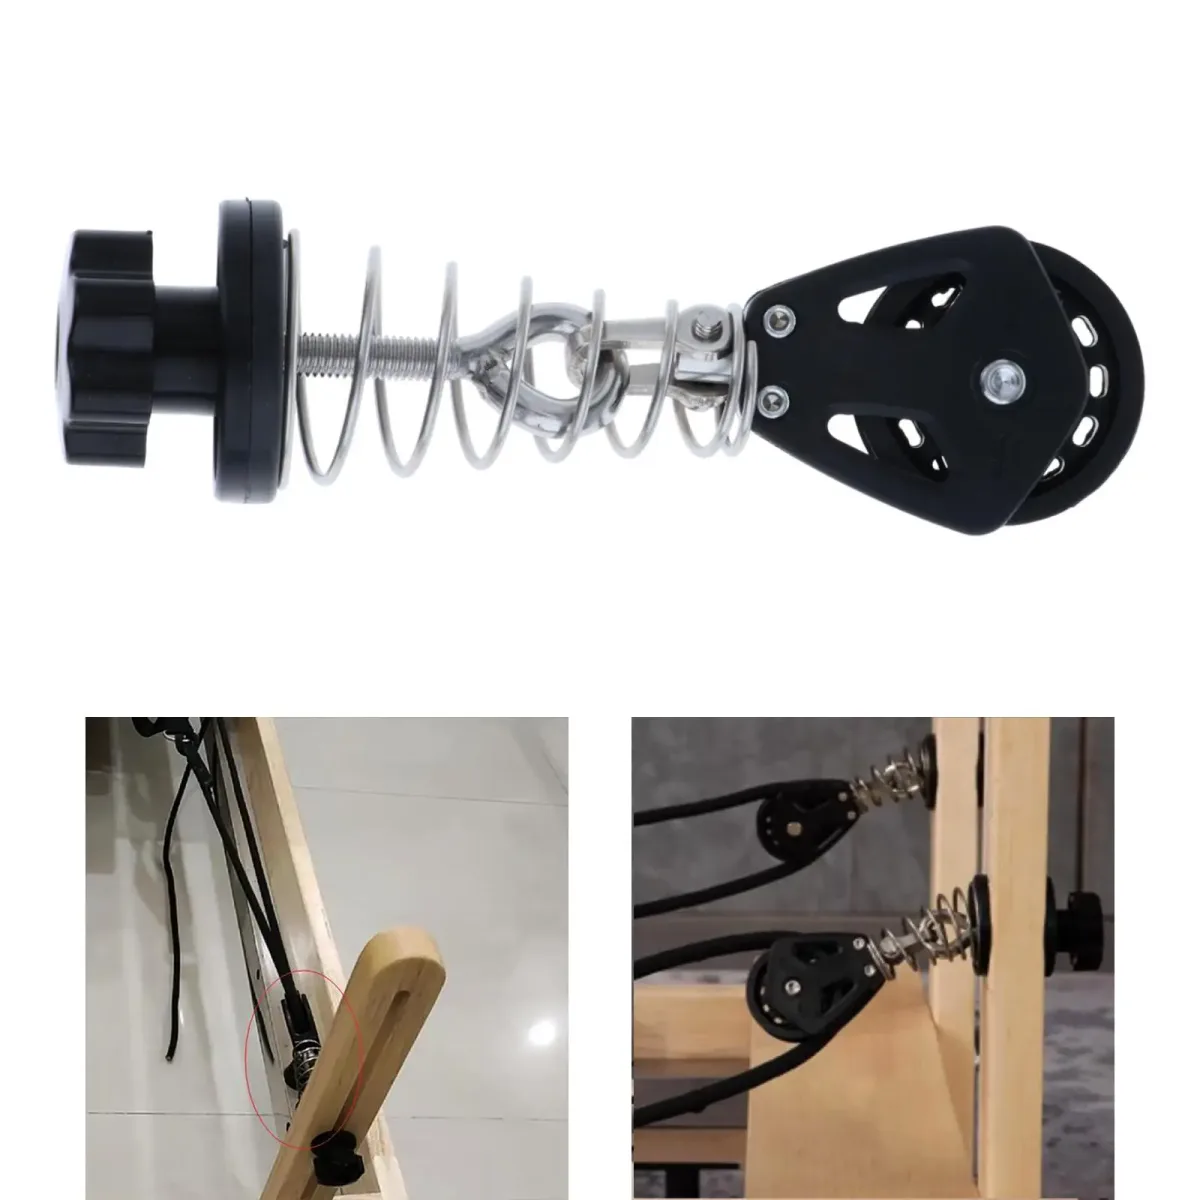
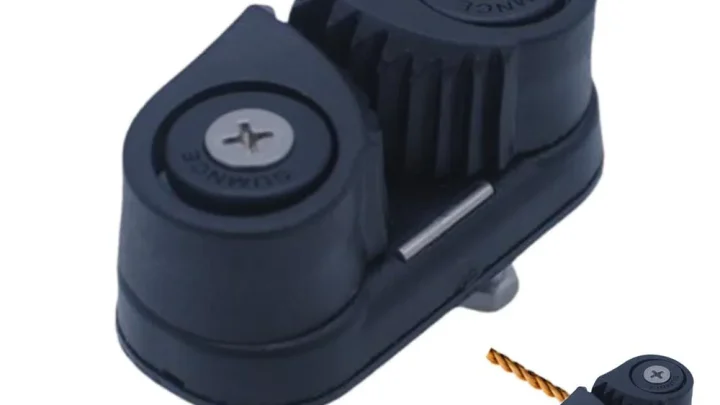
Image source: Bing (Web (fair-use with source credit))
Step 1: Remove Ropes and Secure the Carriage
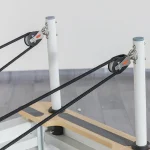
Park your carriage against the front stopper and attach all springs to lock it in place. Unthread the rope completely from the riser pulley and lay it flat along the carriage bed.
Step 2: Unbolt the Pulley Assembly from the Riser
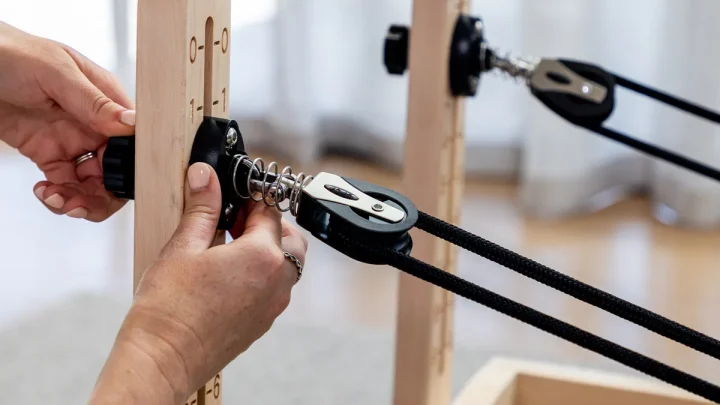
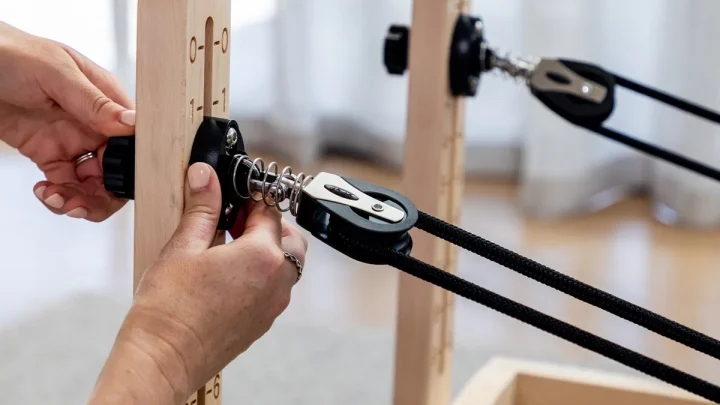
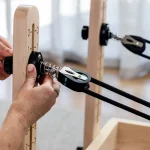
Hold the back of the riser eye-bolt or mounting post with your adjustable wrench. Use the correct size hex key to unthread the retaining screw. Remove the old pulley assembly, keeping track of any spacers or nylon washers.
Step 3: Inspect the Riser Post and Eyelet
Wipe down the metal riser post with a clean microfiber cloth. Check the mounting hole for metal burrs or oval elongation. If the riser post itself is notched or bent, replace the post alongside the pulley.
Step 4: Install the New Pulley Block
Align the new pulley bracket with the riser mounting point. Slide the shoulder bolt through the bracket, adding the factory washers in their original order. Thread on the nylon-insert locknut.
Step 5: Torque and Align
Tighten the locknut until snug, but do not overtighten. The pulley bracket must pivot smoothly across its full range of motion. Re-thread your reformer rope through the new sheave and test the carriage travel for smooth, silent glide.
5 Maintenance Mistakes That Ruin Reformer Pulleys and Ropes
Even quality commercial hardware fails early if serviced incorrectly. Avoiding these five common maintenance errors will protect your investment and keep your carriage glide silent.
- Spraying WD-40 into sealed bearings: Penetrating spray solvents dissolve the factory grease inside sealed cartridge bearings. Once the grease washes out, bare metal friction destroys the bearing balls within days.
- Overtightening the axle bolt: Cranking the locknut down too hard pinches the pulley bracket against the sheave. The wheel will bind, causing the rope to slide and flat-spot the rim.
- Replacing only one side: Pulleys wear down gradually. Swapping out only the broken left pulley creates asymmetrical rope drag against the older right pulley. Always replace them in pairs.
- Ignoring studio lint and hair: Long hair easily wraps around the central axle. Over time, friction from spinning fibers cuts right into the plastic hub.
- Using abrasive replacement ropes: Standard hardware store ropes often feature rough outer braids. Official maintenance guidelines from Merrithew specify soft, marine-grade synthetic braids that match the sheave channel perfectly.
Frequently Asked Questions About Reformer Pulley Replacement
Can I lubricate a squeaking reformer pulley instead of replacing it?
You can only lubricate pulleys that use open bronze bushings. Modern reformers use sealed ball bearings packed with factory synthetic grease. If a sealed bearing squeaks or clicks, the internal seal has failed and the entire pulley wheel requires replacement.
Should I replace both reformer pulleys at the same time?
Yes, you should always replace pulley wheels in matched pairs. Installing a single new wheel causes uneven friction between the left and right sides. Matched pulleys ensure balanced resistance during bilateral arm and leg strap exercises.
Can I use sailing blocks or hardware store pulleys as replacements?
High-end marine sailing blocks from brands like Harken work well if the rope diameter matches. Avoid generic hardware store pulleys. Utility pulleys use rough metal castings and open axles that shred soft Pilates ropes and generate loud noise.
How do I know if noise comes from the pulley or carriage wheels?
Unthread the ropes completely and roll the carriage along the rails. If the noise vanishes, your pulley wheels or rope risers are the source. If the noise continues without ropes attached, inspect your carriage wheels and aluminum rail channels instead.
Can a worn pulley wheel snap a reformer rope?
A seized pulley wheel creates sharp friction points that wear down the rope sheath quickly. If the sheave develops a cracked or grooved edge, it will cut through the synthetic fibers under load. Regular pulley checks prevent sudden rope failure.

Similar Posts