How to Check Your Reformer Pulley Alignment at Home
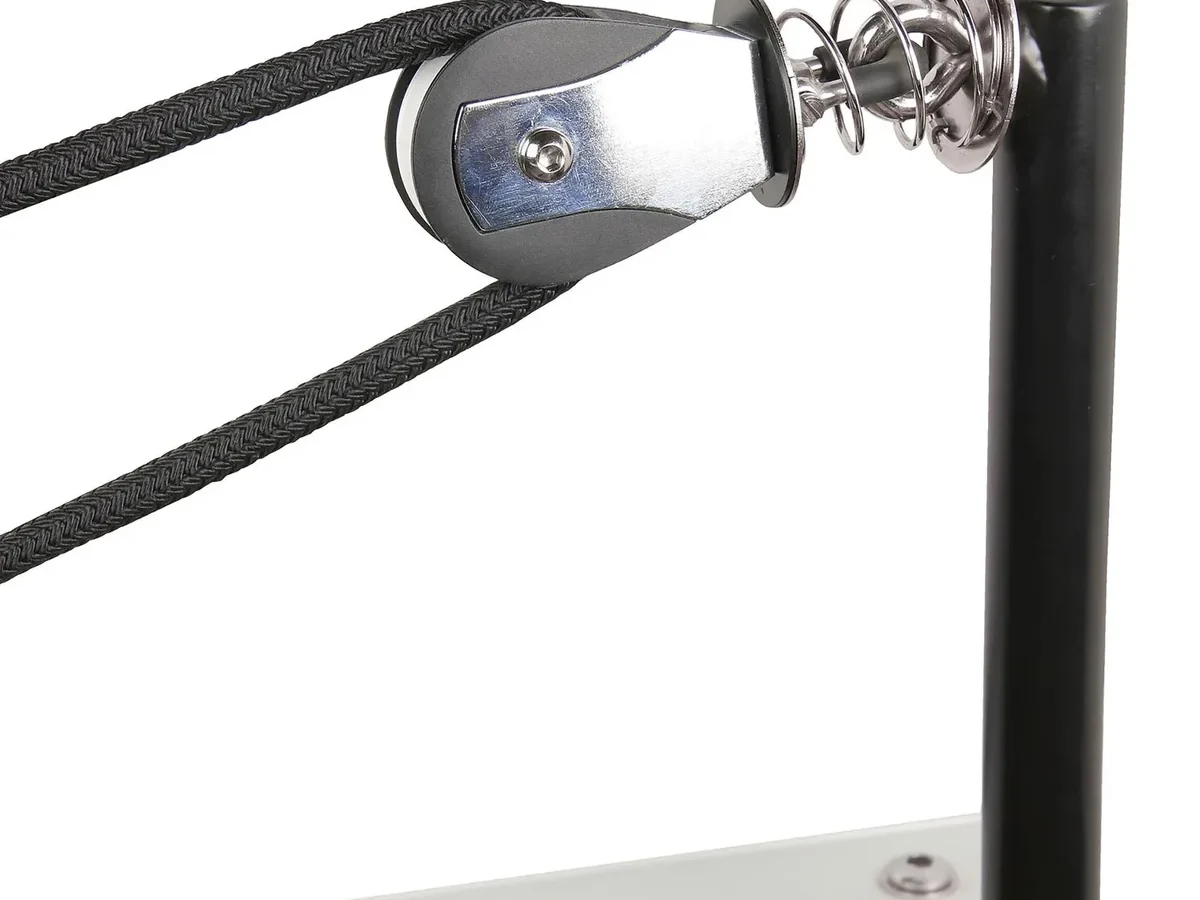
If you notice your Pilates carriage pulling slightly to one side, or you spot fine fuzz gathering around your ropes, your pulleys are likely off-kilter. Learning how to check reformer pulley alignment at home keeps your carriage gliding smoothly and protects your expensive hardware from premature wear. A quick visual inspection takes just a few minutes and restores that effortless, silent float you expect from your machine.
According to equipment maintenance guidelines from industry leaders like Balanced Body, misaligned risers can double cord friction and create asymmetrical drag across your joints during bilateral exercises. In our research across commercial and home reformer designs as of 2026, catching a canted riser early prevents permanent track groove wear and uneven spring fatigue.
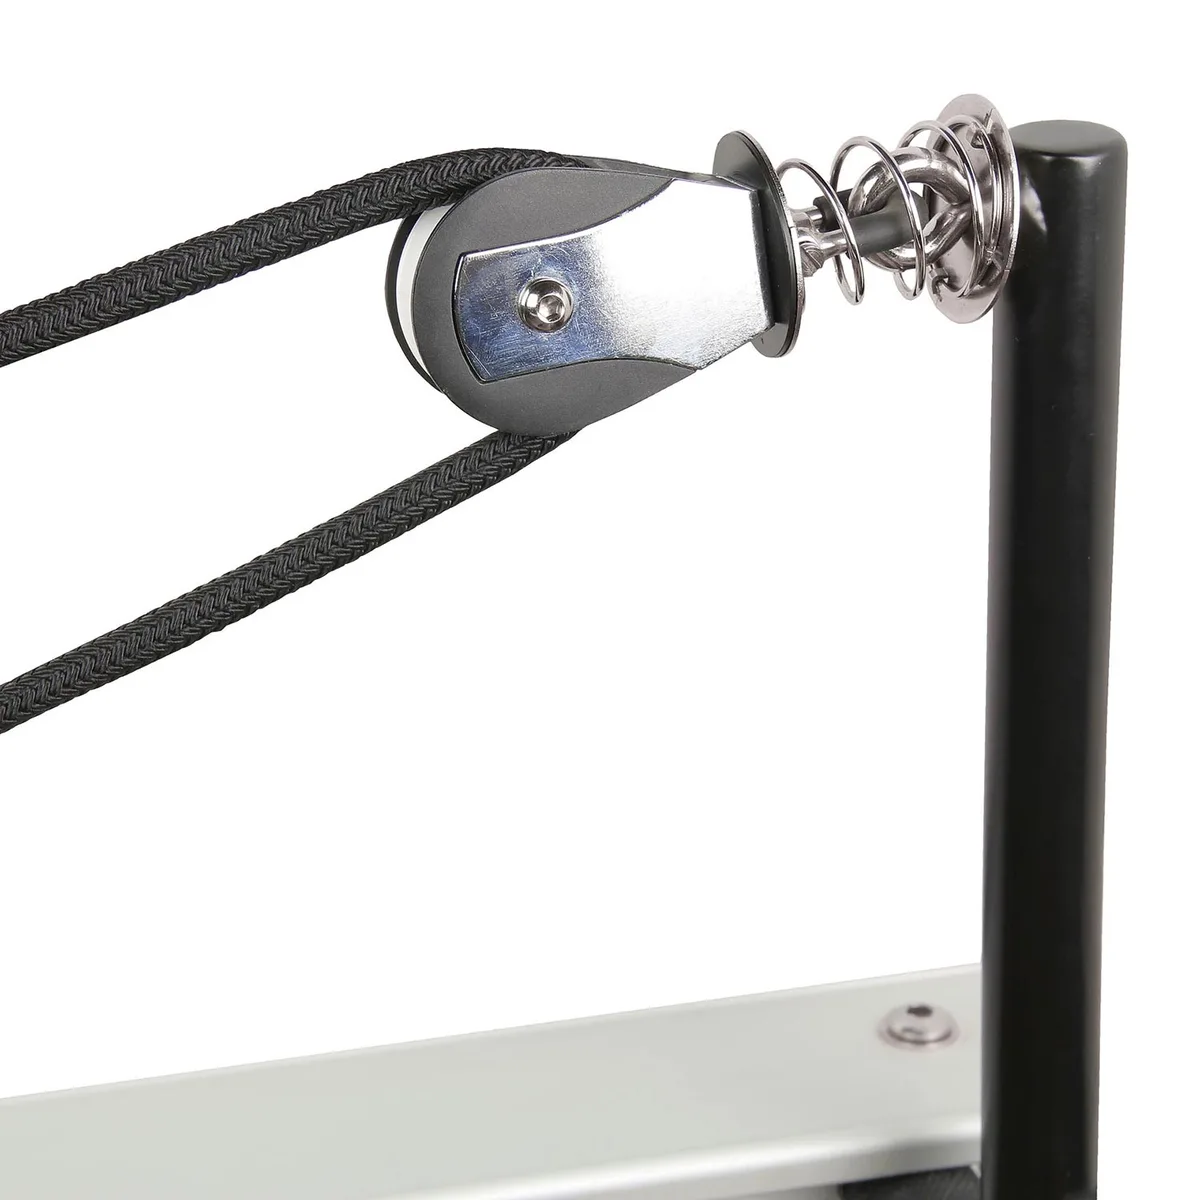
Image source: Web (Bing) / bodynova.de (Web image (fair-use with source credit))
Quick Answer
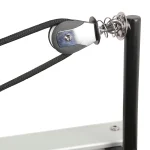
To check reformer pulley alignment at home, perform a visual sightline test first. Look directly down the frame rail toward the pulley sheave. The synthetic cord must enter and exit dead-center in the wheel groove.
Next, check vertical perpendicularity with a small carpenter square. The pulley riser must stand at a true 90-degree angle to the frame. Finally, inspect the inner sheave walls for uneven cord fuzz or rubbing marks.
Why Reformer Pulley Misalignment Destroys Ropes and Ruins Resistance
A misaligned pulley creates off-axis lateral drag every time you pull the straps. When the rope pulls against the raised side flange instead of resting deep in the sheave groove, friction spikes dramatically. This extra friction acts like an uncalibrated mini-brake on your carriage stroke.
You will feel this drag immediately in your movement. One arm ends up pulling more resistance than the other, even if your springs are evenly balanced. Over time, this imbalance reinforces poor movement patterns and strains your wrists and shoulders.
Misalignment also destroys synthetic ropes quickly. As the braided sheath grinds against the hard aluminum or composite pulley edge, the fibers heat up and fray. Left unchecked, the cord core thins out, leading to sudden failure under tension.
The Anatomy of a Healthy Pulley Setup: Visual Indicators to Look For
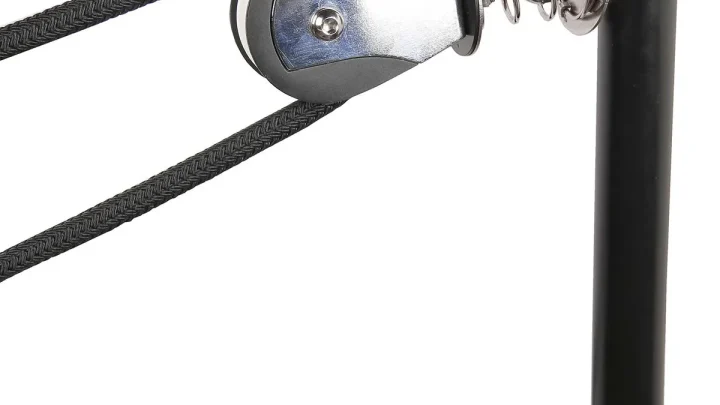
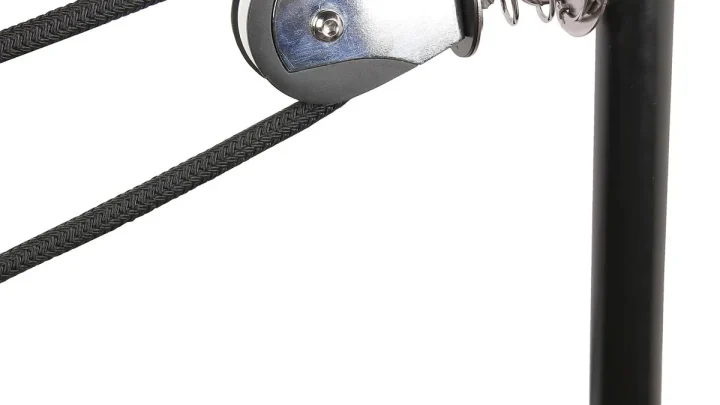
A properly tuned reformer pulley consists of four main components that must work in harmony. The riser post holds the hardware at your chosen height. The universal swivel eye allows fluid side-to-side tracking.
The sheave wheel guides the rope, and the housing holds the axle assembly secure.
When your setup is healthy, the rope sits centered in the bottom of the sheave groove. You should see an even gap of roughly 1 to 2 mm between the outer diameter of the rope and the side flanges.
| Component | Healthy Visual State | Warning Sign of Misalignment |
|---|---|---|
| Pulley Riser Post | Perfectly plumb at 90° to the wooden or metal frame | Canted inward toward carriage or twisted outward |
| Swivel Eyelet | Rotates freely through 180° with zero hitching | Sticky rotation, clicks under load, or binds sideways |
| Sheave Wheel | Spins freely for over 3 seconds when flicked | Wobbles on axle, rubs inner housing, or shows deep groove ridges |
| Rope Seating | Dead-center tracking with equal clearance on both sides | Cord rides high on one flange, pinching against the bracket |
Tools You Need at Home Before Checking Pulley Geometry
You do not need specialized studio mechanic tools to verify your alignment. Most items are standard household goods or basic hand tools found in any basic toolkit.
Gather these items before starting your inspection:
- Small framing square or carpenter’s level: Used to verify that your risers stand perpendicular to the reformer side rails.
- Tape measure or sewing gauge: Used to confirm symmetrical riser height notches and cord length equality.
- Painter’s masking tape: Used to mark reference points along the carriage headrest and frame.
- Fine piece of non-stretch string (like mason line or kite string): Used for running sightlines down the center rail channels.
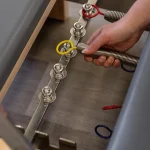
- Appropriate hex key (Allen wrench): Needed if you discover loose set screws or riser collars that need tightening.
Step-by-Step Visual Alignment Checks: Sightlines, Plumbs, and Tension Tests
Checking your pulley alignment is a methodical process. Work through these three visual tests to pinpoint where any twist or slant exists.
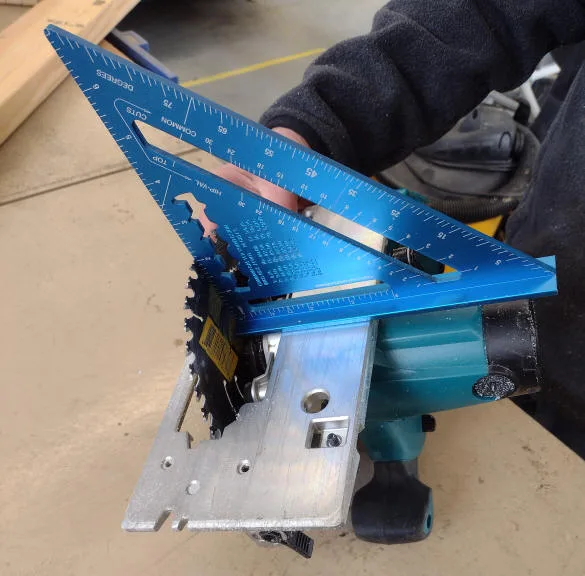
Image source: Web (Bing) / agedweb.org (Web image (fair-use with source credit))
1. The 90-Degree Plumb Test
Disengage all carriage springs so the system sits slack, then lock the carriage at the home position. Place your framing square flush against the top face of the rear frame rail. Slide the square directly up against the vertical riser post.
The post should make full contact with the vertical edge of the square from base to top collar. If you see a triangular daylight gap, your riser is canted forward or backward. Repeat this check on the side of the riser to ensure it does not lean inward toward the center of the bed.
2. The String-Line Sightline Test
Tie your piece of string to the carriage rope attachment point or headrest eyelet. Run the string straight back through the center of the pulley sheave. Pull the string taut and stand directly behind the reformer.
Crouch down until your eye is level with the pulley axle. Look straight down the line toward the carriage. The string should bisect the center groove of the sheave perfectly without touching either side flange.
3. The Dynamic Spring Load Test
Attach two medium springs to the carriage to introduce standard working tension. Pull both straps smoothly all the way out to full extension while watching the pulley heads.
The swivel pulleys should pivot smoothly toward your hands as the angle changes. If a pulley hesitates, tilts crookedly, or snaps into position with a visible jolt, the swivel bearing is sticking or the mounting bracket is twisted.
Visual Diagnostics: Reading Rope Wear and Sheave Rub Patterns
Your ropes and pulley wheels leave visual clues whenever alignment drifts. Inspecting these wear patterns tells you exactly what kind of mechanical adjustment you need to make.
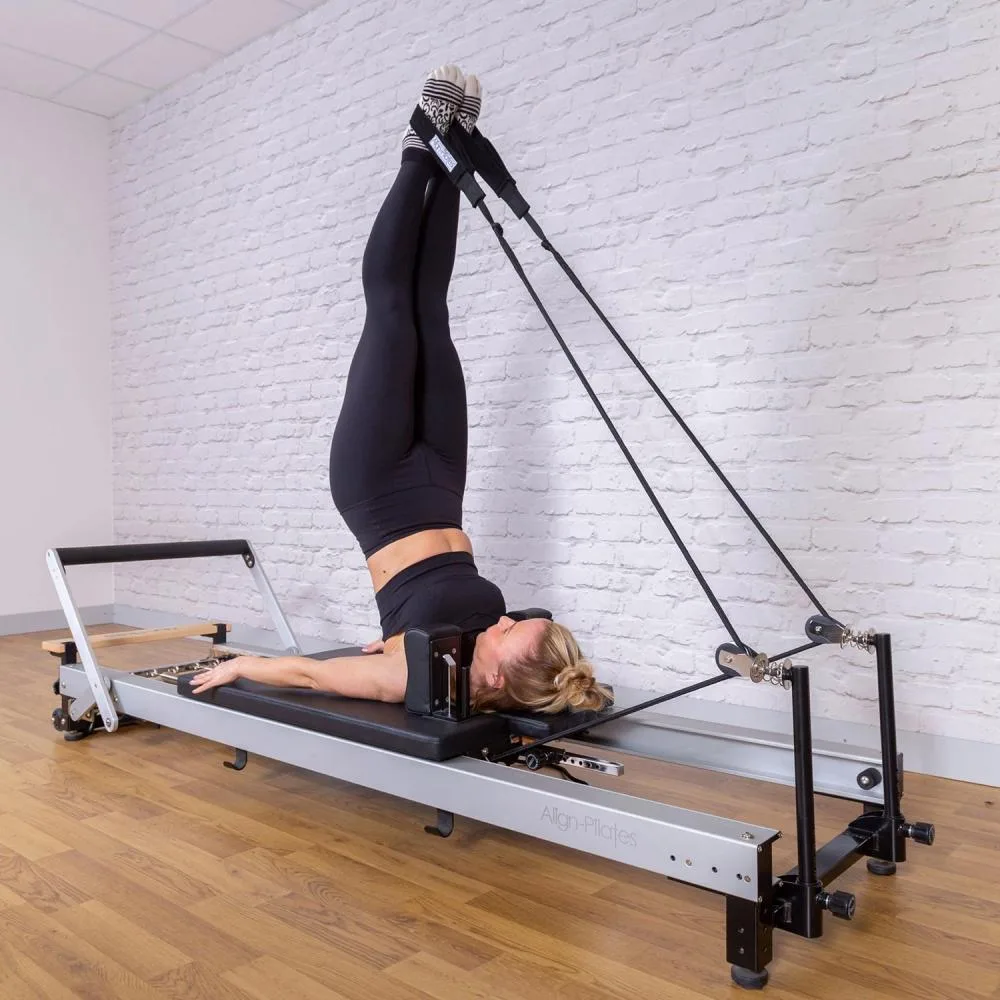
Image source: Web (Bing) / bodynova.de (Web image (fair-use with source credit))
- One-sided fiber fuzzing: If fuzz accumulates only on the inside face of your rope, the riser post is twisted inward. The rope is constantly dragging across the interior flange during arm work.
- Glazed or flattened rope spots: Shiny, melted-looking patches on synthetic cords indicate extreme localized friction. This happens when a sheave wheel axle freezes and the rope drags across a stationary wheel.
- Black metallic dust on the frame: Fine dark powder below the riser base points to metal-on-metal rubbing. The swivel housing or collar lock is grinding against the frame bracket.
- Asymmetrical cord length drift: If one rope consistently feels longer despite matching cleat settings, check for sheave drag. The side with higher friction resists return travel, stretching the braided core unevenly over time.
Common DIY Alignment Mistakes and How to Correct Riser Canting
The most frequent DIY mistake is adjusting pulley hardware while the carriage is still under spring tension. Dynamic load twists the riser in its socket as you loosen the collar, resulting in immediate canting the moment you tighten it back down. Always unhook all springs and let the carriage rest completely slack before touching any adjustment knobs.
Another common error is overtightening riser lock-pins or thumb screws. Cranking down too hard on an aluminum collar can distort the mounting sleeve, causing the post to tilt permanently inward.
To correct a canted riser post, follow these adjustment steps:
- Loosen the base mounting hardware: Back off the locking knob or set screws by two full turns so the riser moves freely.
- Set your framing square: Hold your square flush against the top reformer rail and the side of the riser post.
- Apply manual counter-pressure: Gently pull the top of the riser outward until the daylight gap disappears completely.
- Snug hardware incrementally: Tighten the fasteners alternating a half-turn at a time while holding the square in place to keep the post true.
Frequently Asked Questions About Reformer Pulley Maintenance
How often should I check my reformer pulley alignment?
You should perform a quick visual check once every month in a home setting. If you share your reformer or change riser heights frequently between workouts, inspect the hardware weekly. Regular spot checks catch loose set screws before they cause permanent rope wear.
What causes reformer pulleys to squeak during use?
Squeaking usually comes from dirt buildup inside the wheel hub or off-center rope rub against the housing. If the cord rubs the side flange due to misalignment, it produces a rhythmic chirp. Check the wheel alignment first before applying any dry silicone lubricant.
Can misaligned pulleys cause shoulder or back pain?
Yes, misaligned pulleys create unequal resistance curves across your arms and torso. When one pulley binds, that side requires more force to move the carriage. This asymmetrical load can strain your rotator cuff, neck, and lower back during bilateral exercises.
When should I replace my reformer ropes completely?
Replace your ropes immediately if you see exposed core fibers, localized flattening, or severe sheath fuzzing. Most manufacturers recommend swapping cords every twelve to twenty-four months with regular home use. Never use cords that have sustained heavy friction burns from a jammed pulley wheel.
Should I oil or lubricate my reformer pulley sheaves?
Never use wet oils, grease, or standard WD-40 on your reformer pulleys. Wet lubricants attract dust and pet hair, which quickly turns into a gummy paste that locks up bearings. If a clean pulley still sticks, use a tiny spray of dry PTFE or silicone lubricant.
🩰 Technician Recommended: Commercial Straps, Ropes & Springs
Eliminate rope bunching and uneven spring drag with studio-grade double-loop straps and calibrated replacement springs:
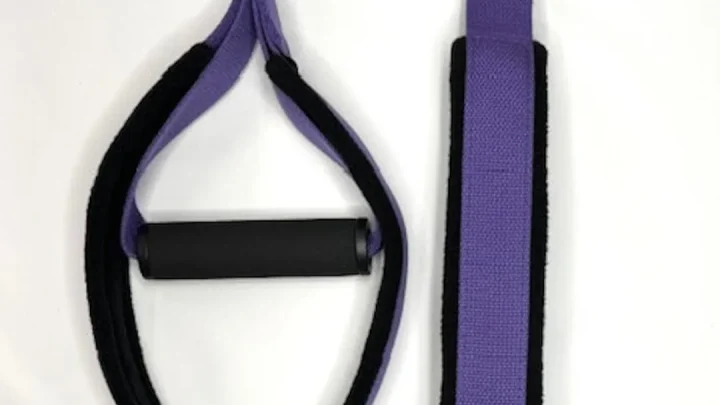
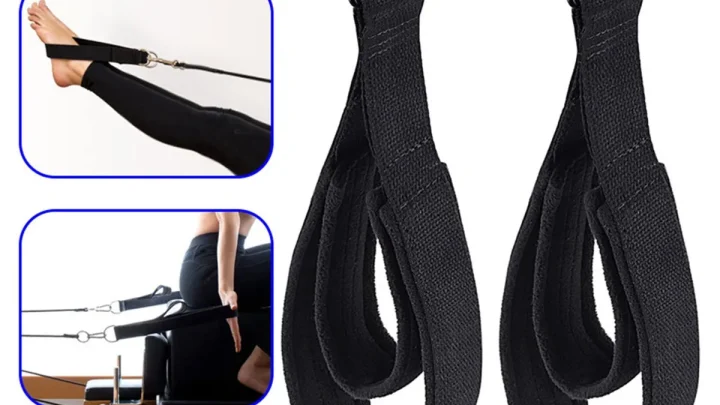
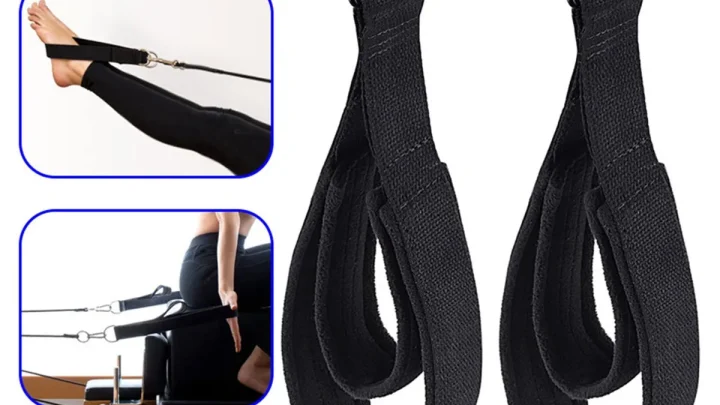
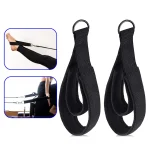
- Commercial Double-Loop Reformer Straps:Check Double-Loop Pilates Straps on Amazon →
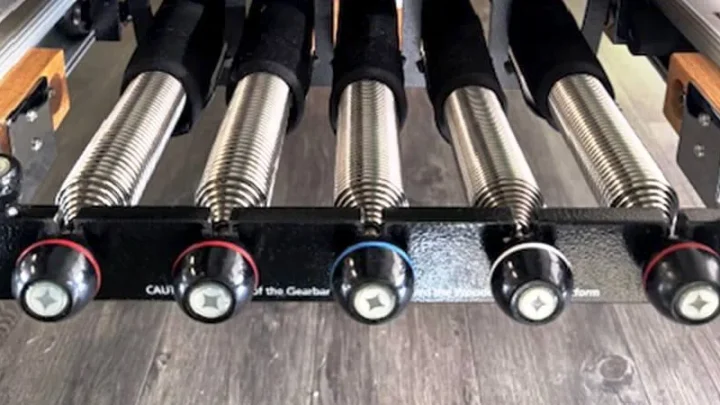
- Replacement Reformer Springs (Calibrated):Check Replacement Reformer Springs on Amazon →
*FTC Disclosure: As an Amazon Associate, Smart Body Pilates earns from qualifying purchases. Learn more about our hands-on testing methodology.*

Similar Posts