How to Safely Inspect Reformer Rope Connection Points
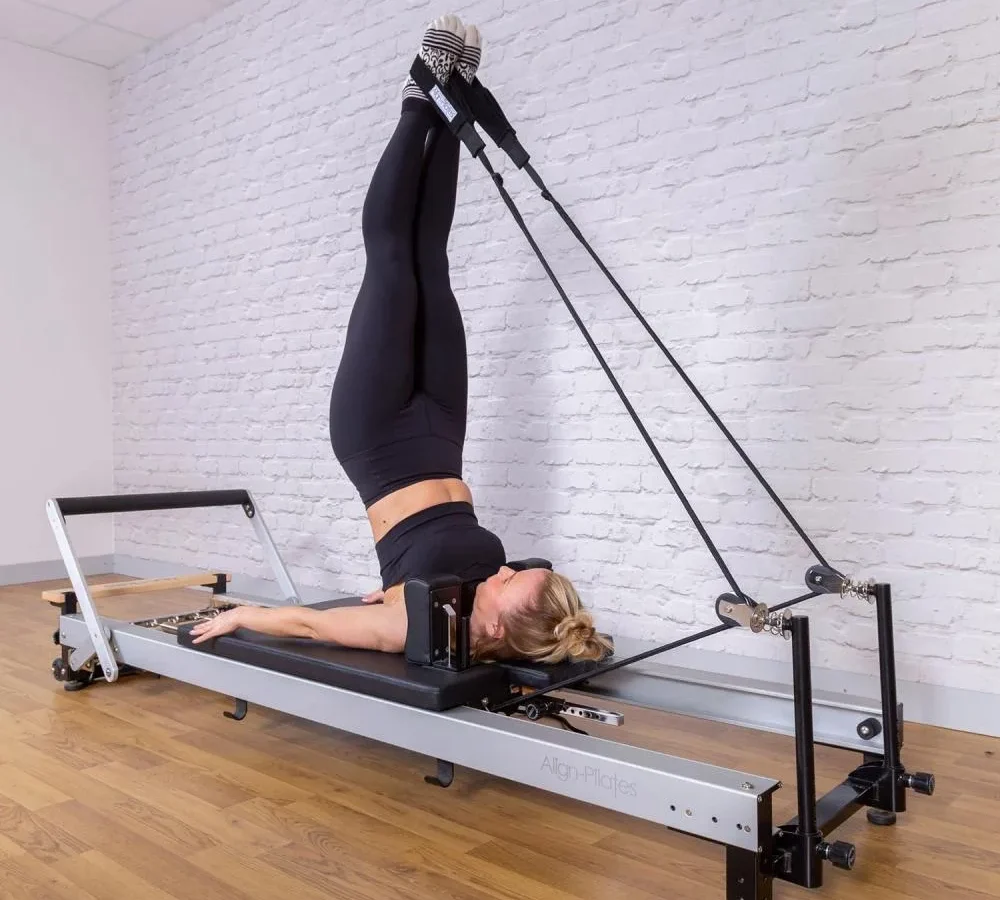
Knowing how to inspect reformer rope connection points is essential for studio safety and client protection. A single frayed fiber, jammed pulley, or cracked carabiner can cause sudden failure during high-tension exercises. Regular visual and tactile audits keep your studio compliant, protect clients from injury, and extend the working life of your equipment.
According to cordage safety guidelines from the Cordage Institute, synthetic ropes can lose significant core strength before external abrasion looks severe. Pilates reformer cordage routinely endures dynamic loads exceeding 200 pounds during athletic movements. Learning the right inspection sequence helps you catch microscopic damage before it turns into equipment failure.
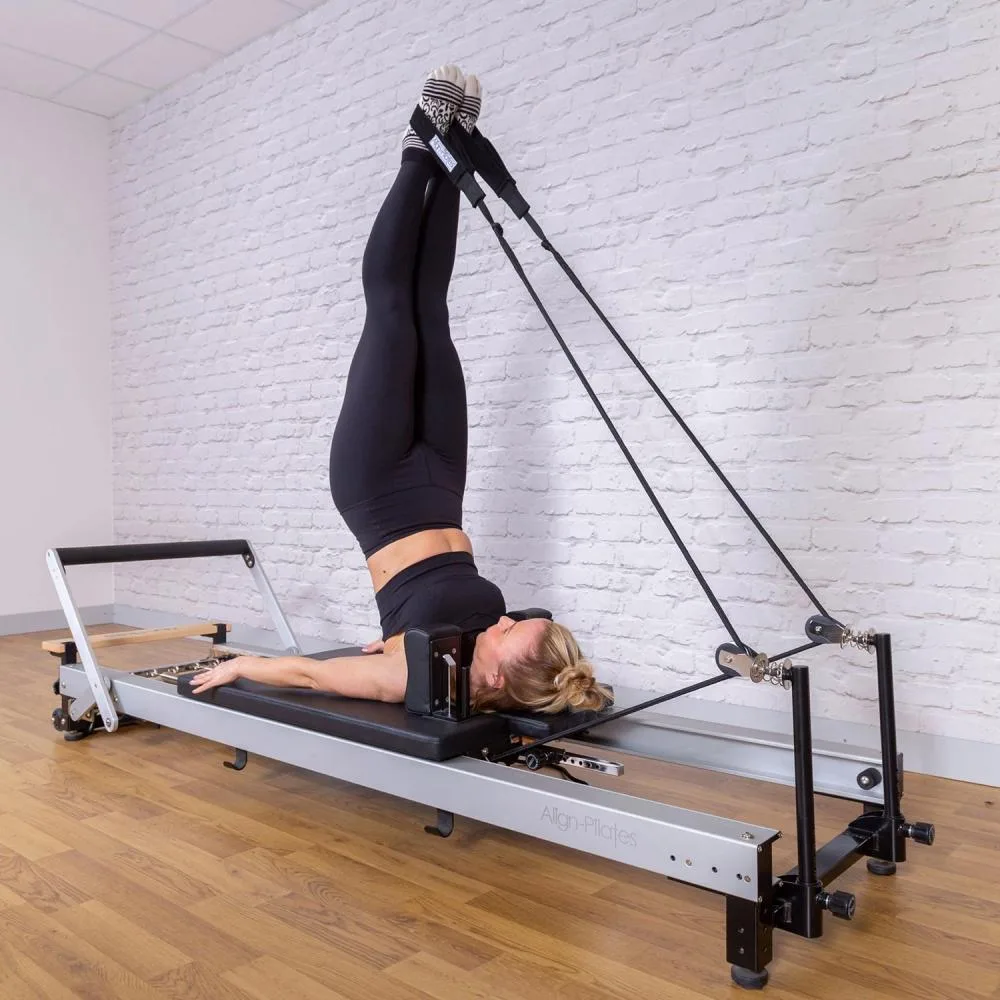
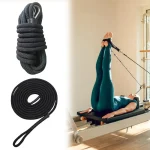
Image source: Web (Bing) / bodynova.de (Web image (fair-use with source credit))
Quick Answer
To inspect reformer rope connection points, check hardware and cordage under bright light. Squeeze the rope along its length to find internal flat spots. Inspect cam cleat teeth and pulley sheaves for sharp metal burrs.
Test carabiners and swivel brackets for smooth rotation. Retire ropes showing core exposure, flattening, or ten percent thinning immediately.
The High Stakes of Reformer Rope and Connection Point Failure
A snapped reformer rope under spring tension does not just drop to the floor. It releases stored kinetic energy instantly. If a rope breaks during exercises like Feet in Straps, Long Spine, or Back Rowing, the carriage slams into the stopper or shoots forward.
The client can suffer severe whiplash, neck trauma, or a fall from the machine.
Beyond client safety, hardware failure exposes studio owners to substantial liability. Equipment manufacturers outline clear inspection protocols in their operator manuals. Ignoring these steps weakens legal protections under general duty safety standards.
Dynamic fatigue happens quietly. Synthetic cordage stretches and relaxes thousands of times each month. Friction against metal eyelets and pulleys generates internal heat.
This heat degrades internal load-bearing cores while leaving the outer jacket looking mostly intact. Routine physical inspections reveal this hidden damage before an accident happens.
The Four Critical Connection Points on a Pilates Reformer
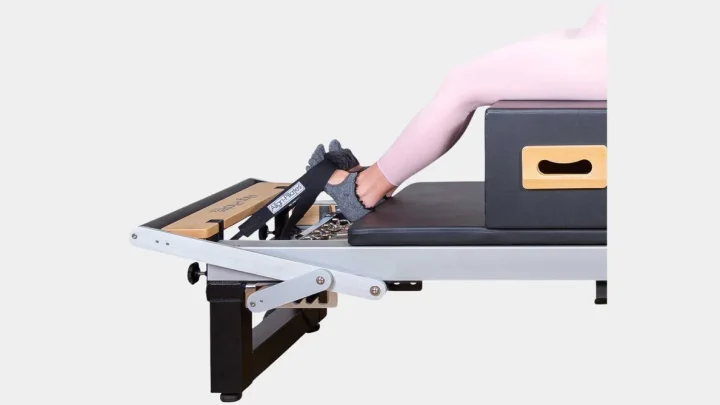
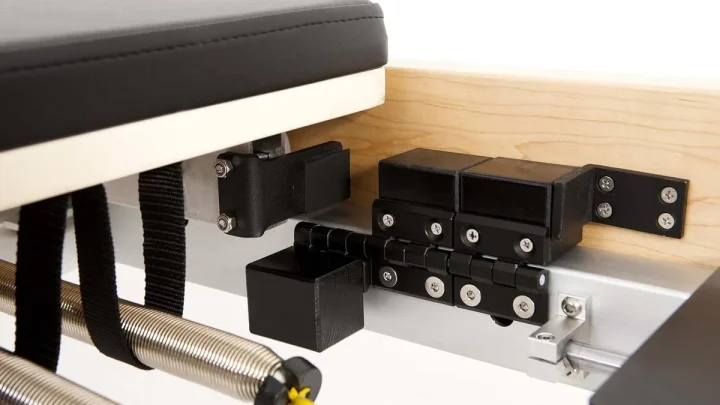
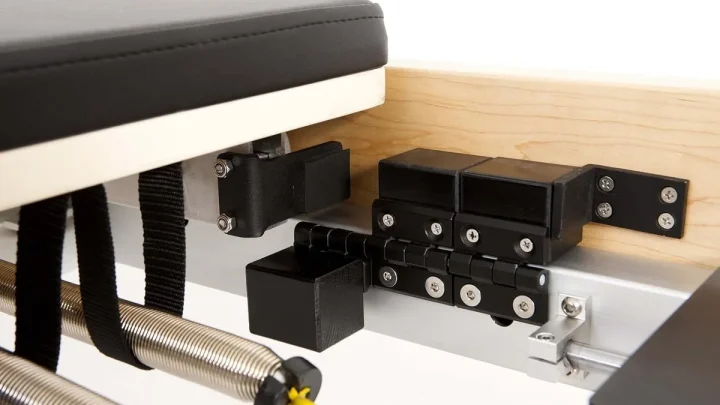
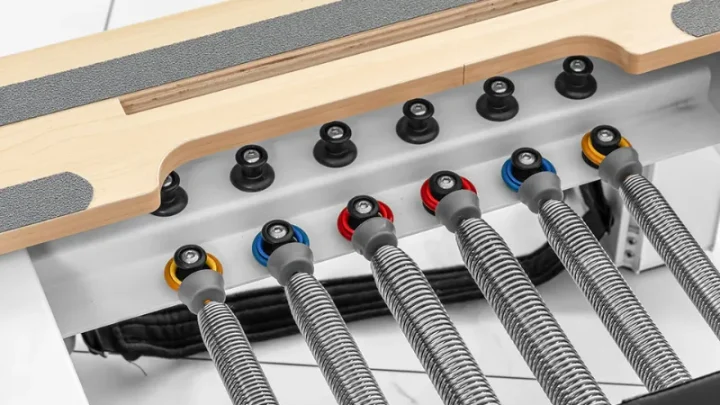
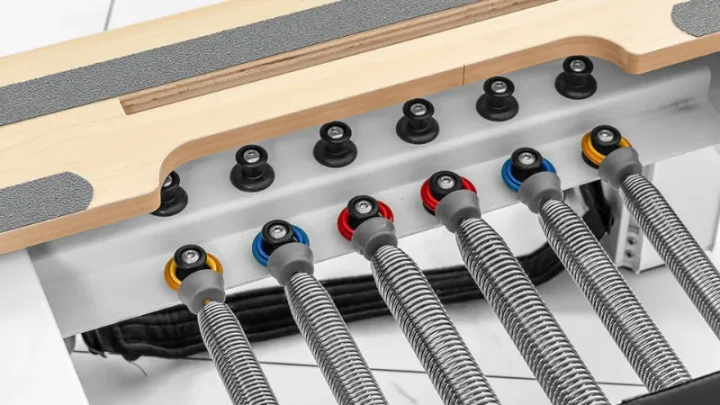
Every standard commercial reformer relies on four structural hardware junctions to transfer spring resistance to the user. Each point encounters unique mechanical stresses.
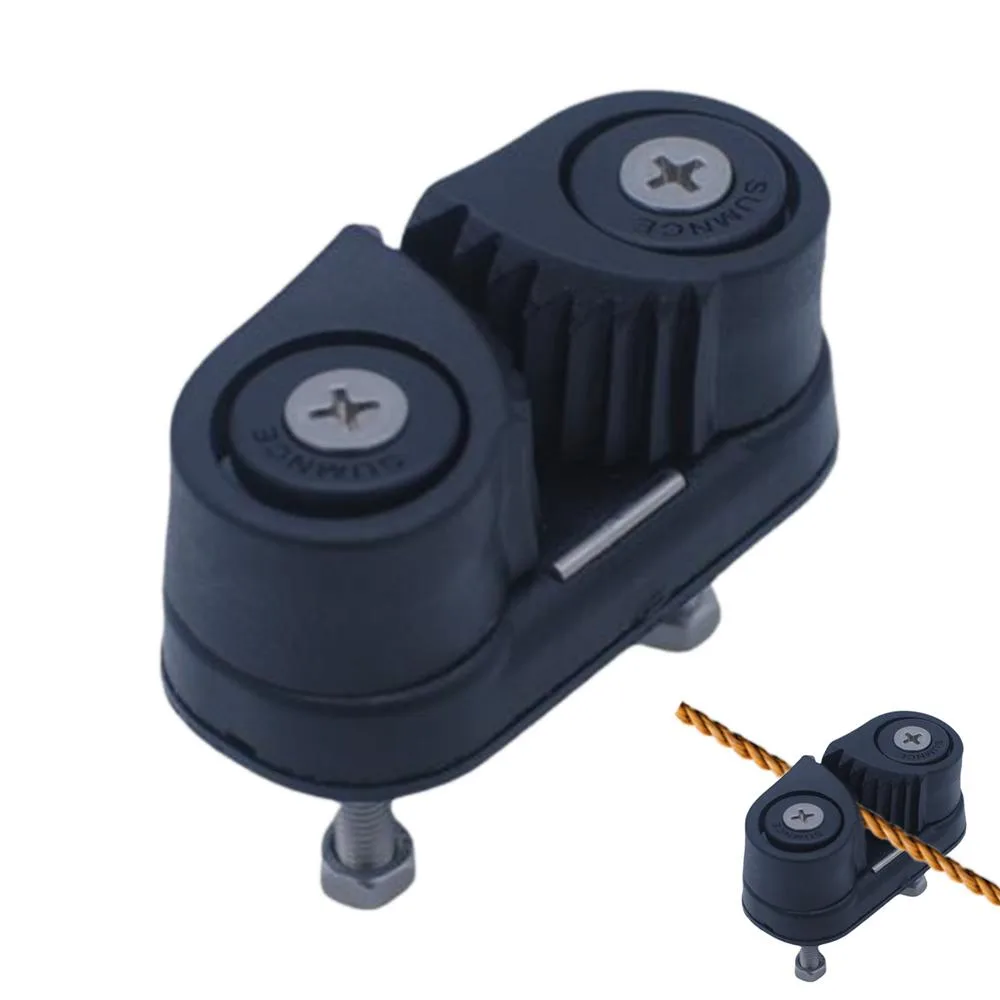
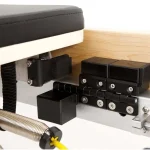
Image source: Web (Bing) / ebay.com.au (Web image (fair-use with source credit))
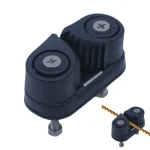
- Cam cleats and rope risers: The spring-loaded cam cleat locks rope length with directional teeth. Repeated adjustment under load creates friction points, localized crushing, and tooth wear.
- Pulley blocks and swivel housings: Pulley wheels, also called sheaves, spin on internal bearings. The swivel housing rotates as the rope angle changes. Dirt, hair, and lubrication breakdown can seize these parts.
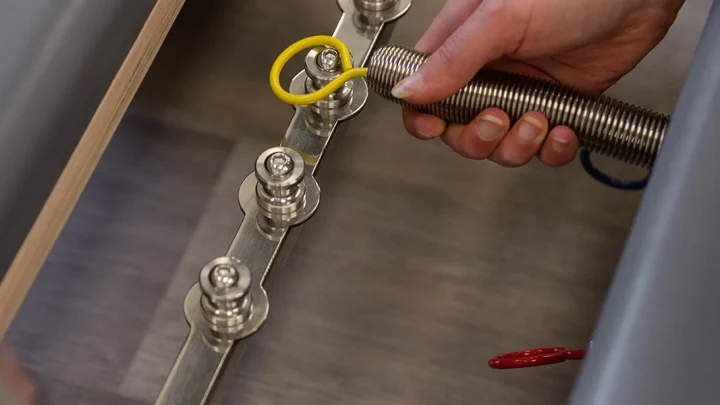
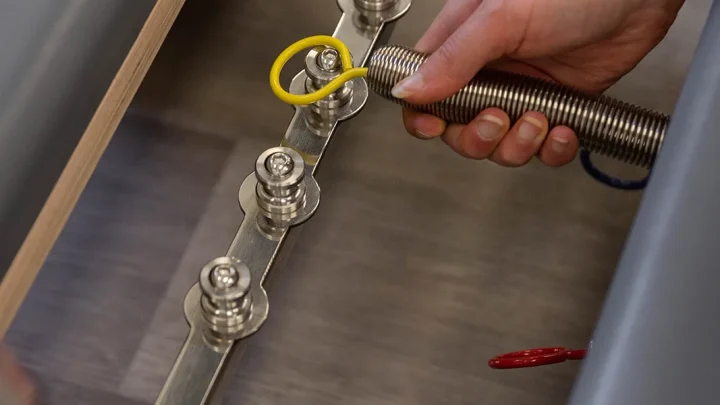
- Carriage anchor brackets and eyelets: Beneath or behind the carriage frame, ropes terminate through eye bolts, loop pegs, or knotted stays. Metal-on-metal friction here can create razor-sharp burrs.
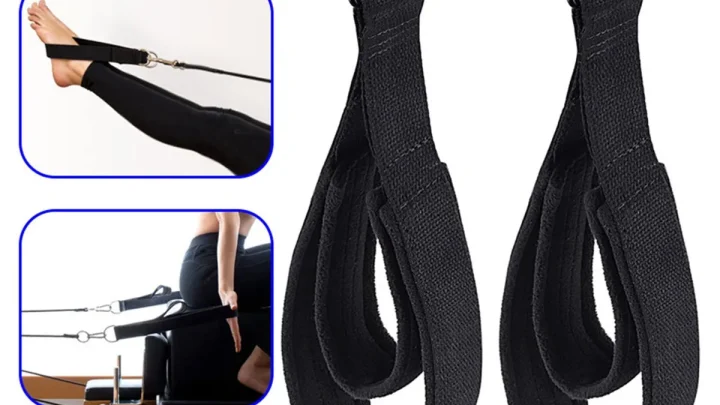
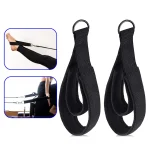
- Snap carabiners and loop straps: Carabiners connect the cord to hand and foot straps. The gate hinge, spring mechanism, and internal hook are primary stress points for metal fatigue.
Step-by-Step Protocol for Inspecting Reformer Ropes and Hardware
Follow this systematic five-step audit for every reformer in your space. Conduct this process with the carriage unweighted and springs disengaged.
Step 1: Perform the Tactile Pinch Test
Release the rope from its cleat. Slide your bare hand firmly along the full length of the rope, from the carriage anchor to the strap clip. Pinch the cord every two inches between your thumb and index finger.
The rope should feel uniformly firm, round, and slightly flexible. If your fingers sink into a soft, hollow spot, the inner core has snapped. If you feel a rock-hard lump, friction has melted internal fibers together.
Both conditions require instant rope replacement.
Step 2: Audit Cam Cleat Teeth and Housing
Pry open the cam cleat cams with your fingers. Use a bright flashlight to inspect the individual grip ridges. Over time, continuous rope slippage files down the teeth, turning sharp gripping edges into smooth ramps.
Wipe away accumulated fiber dust and lint with a dry microfiber cloth. Check that both cam arms spring back instantly when opened and released. A sluggish cam spring can slip under sudden dynamic tension.
Step 3: Test Pulley Rotation and Swivel Range
Spin the pulley sheave by hand. It should spin silently without grinding, wobbling, or resistance. A sticky sheave drags against the synthetic cord, melting the outer jacket through friction.
Next, grasp the entire pulley bracket and rotate it through its full 360-degree swivel arc. The swivel assembly must turn freely without binding. A stuck pulley bracket forces the rope to rub across the sharp metal edges of the housing rather than inside the wheel channel.
Step 4: Inspect Carabiners, Eyelets, and Termination Loops
Examine the metal carabiners and eye bolts for wear grooves. Pay close attention to the inside bend where the clip meets the rope loop or strap ring. If metal friction has carved a distinct notch deeper than 1 millimeter, replace the hardware immediately.
Open the carabiner spring gate several times. It must snap closed instantly without manual assistance. If the gate sticks open or wobbles sideways, the internal pin has failed.
Step 5: Check Length Symmetry
Re-cleat both ropes and pull the carriage back to the stopper. Bring both strap rings together over the center of the carriage.
The connection ends should align perfectly. A length mismatch greater than one inch indicates uneven cord stretch, improper cleat bite, or asymmetrical wear. Uneven ropes place unbalanced torque on the client's pelvis and spine during bilateral exercises.
Critical Red Flags: Normal Cosmetic Wear vs. Immediate Retirement Hazards
Not every sign of wear means you must discard the rope immediately. Knowing the difference between cosmetic fuzz and catastrophic structural failure prevents unnecessary expense while protecting user safety.
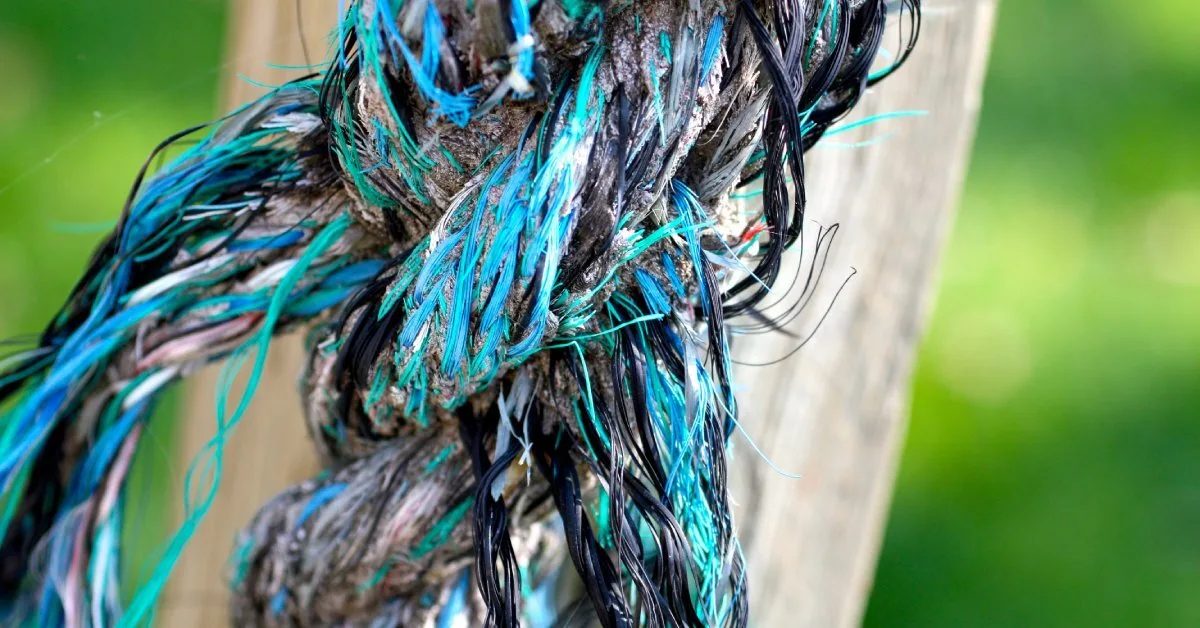
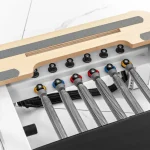
Image source: Web (Bing) / monarchrope.com (Web image (fair-use with source credit))
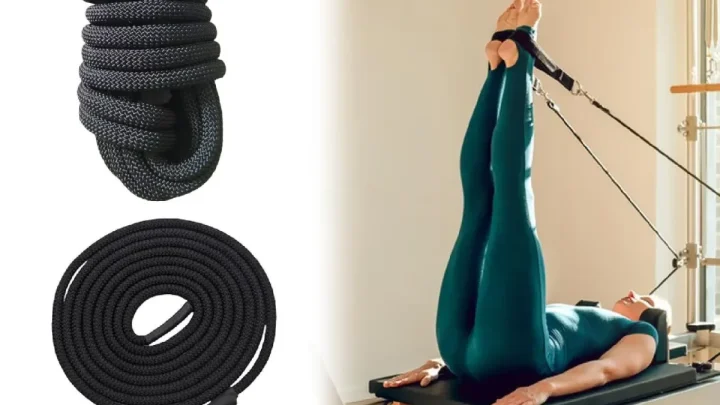
Light surface fuzzing is normal on braided synthetic cordage. It happens as the outer sheath brushes against pulleys during daily use. This surface layer actually creates a small protective cushion for the load-bearing core underneath.
However, you must distinguish benign fuzzing from core herniation or localized necking. Necking happens when the rope diameter narrows noticeably at a specific pressure point. This is common directly where the cam cleat bites into the rope.
| Visual Indicator | Condition Severity | Required Action |
|---|---|---|
| Light, uniform surface fuzz | Cosmetic wear | Monitor during monthly checks. Rope remains safe. |
| Localized narrowing (necking >10%) | Structural fatigue | Replace rope pair immediately. |
| Hard, shiny, or glassy spots | Friction thermal damage | Retire rope immediately. Core is brittle. |
| White inner core fibers poking through | Sheath rupture | Immediate out-of-service tag. Do not use. |
| Cleat teeth worn flat | Mechanical failure | Replace cam cleat assembly before next session. |
| Carabiner groove >1mm deep | Hardware wear | Replace carabiner immediately to prevent shearing. |
| Sticky, squeaking pulley wheel | Bearing failure | Clean or replace pulley assembly immediately. |
Inspection Thresholds, Cordage Specs, and Replacement Timelines
Reformer ropes are typically made from marine-grade synthetic fibers like double-braided polyester, nylon, or high-tensile polypropylene. These materials offer tensile strengths between 1,500 and 2,500 pounds when new. However, dynamic studio use slowly degrades this safety margin.
In accordance with general workplace safety guidelines outlined by OSHA, load-bearing equipment must be inspected consistently and retired at established thresholds. As of 2026, leading equipment manufacturers recommend replacing synthetic reformer ropes every 12 to 24 months, regardless of visual appearance.
High-volume commercial studios running 25 to 40 classes per week should replace cordage every 12 months. Low-volume home studios can safely operate on an 18 to 24-month replacement cycle.
Retire any rope immediately if you observe any of the following technical thresholds:
- Diameter reduction: A drop of 10 to 15 percent or more in rope diameter at the cleat bite zone.
- Core protrusion: Any visibility of internal white core yarns through the outer colored sheath.
- Hardware groove depth: Any hardware notch or metal wear line exceeding 1 millimeter.
- Stiffness loss: Permanent limpness or a soft, squishy feel indicating internal strand disintegration.
Maintenance Schedules, Logbooks, and Tag-Out Procedures
Establishing a structured inspection schedule ensures that hardware wear never catches you by surprise. Studios that run regular maintenance checks experience significantly fewer equipment breakdowns and lower long-term repair costs.
A complete maintenance framework uses three distinct inspection intervals:
- Daily visual check (30 seconds per reformer): Instructors check that ropes are properly seated in cam cleats. They confirm carabiners snap shut and look for obvious external frays before the first class starts.
- Monthly structural audit (5 minutes per reformer): Perform the full hands-on pinch test. Inspect pulley bearings, check cleat teeth for rounded edges, and test swivel bracket rotation.
- Annual cordage retirement: Replace synthetic ropes every 12 to 24 months. Always replace ropes in matched pairs to maintain even tension and length.
Maintain a physical or digital maintenance logbook. Record the date of inspection, machine identifier, inspector name, and specific findings. If you discover a damaged component during an inspection, apply a formal tag-out procedure.
Hang a high-visibility Out of Service tag directly over the footbar or carriage. Unhook all springs from the gearbar to ensure no one attempts to use the machine. Never leave a compromised reformer accessible to clients while waiting for replacement parts.
Frequently Asked Questions About Reformer Rope Safety
How often should I inspect reformer rope connection points?
Inspect connection points visually every day before teaching classes. Conduct a detailed tactile inspection of the cordage, cam cleats, and pulleys once a month. High-traffic commercial studios running multiple daily group classes should log monthly audits for insurance compliance.
Can I replace only one damaged reformer rope?
You should always replace reformer ropes in pairs. Installing a single new rope causes uneven carriage movement because the older rope has already stretched. Replacing both ropes ensures equal resistance, balanced length symmetry, and uniform wear across both sides of the carriage.
What should I do if a pulley wheel squeaks or sticks?
Clean the pulley sheave immediately with a dry cloth to clear hair and dust buildup. If sticking continues, check manufacturer guidelines before applying lubricants. Some sealed bearing systems require complete replacement rather than oil, which can attract grit and damage synthetic fibers.
Is surface fuzzing on reformer ropes dangerous?
Light, uniform fuzz on the outer braid is normal cosmetic wear. It naturally occurs as the rope rubs against pulleys. However, if the fuzz gathers into clumps, exposes white inner core strands, or reveals thin flat spots, retire the rope right away.
How tight should cam cleats hold the rope?
Cam cleats should clamp the cord firmly without slipping when dynamic tension is applied. If the rope slips during normal footwork or strap exercises, inspect the cleat teeth for wear. Worn teeth or fatigued internal springs require immediate cleat replacement.
🔧 Technician Recommended: Reformer Maintenance Tools & Rail Care
Keep your reformer whisper-quiet and prevent stripped aluminum threads with verified studio-grade tools and pure silicone rail lubricants:
- 100% Pure Silicone Rail Spray:Check Pure Silicone Fitness Lubricants on Amazon →
- Precision Hex/Allen Wrench Tool Set:Check Studio Maintenance Hex Key Sets on Amazon →
*FTC Disclosure: As an Amazon Associate, Smart Body Pilates earns from qualifying purchases. Learn more about our hands-on testing methodology.*

Similar Posts