How to Check Pilates Reformer Frame Hardware for Safety
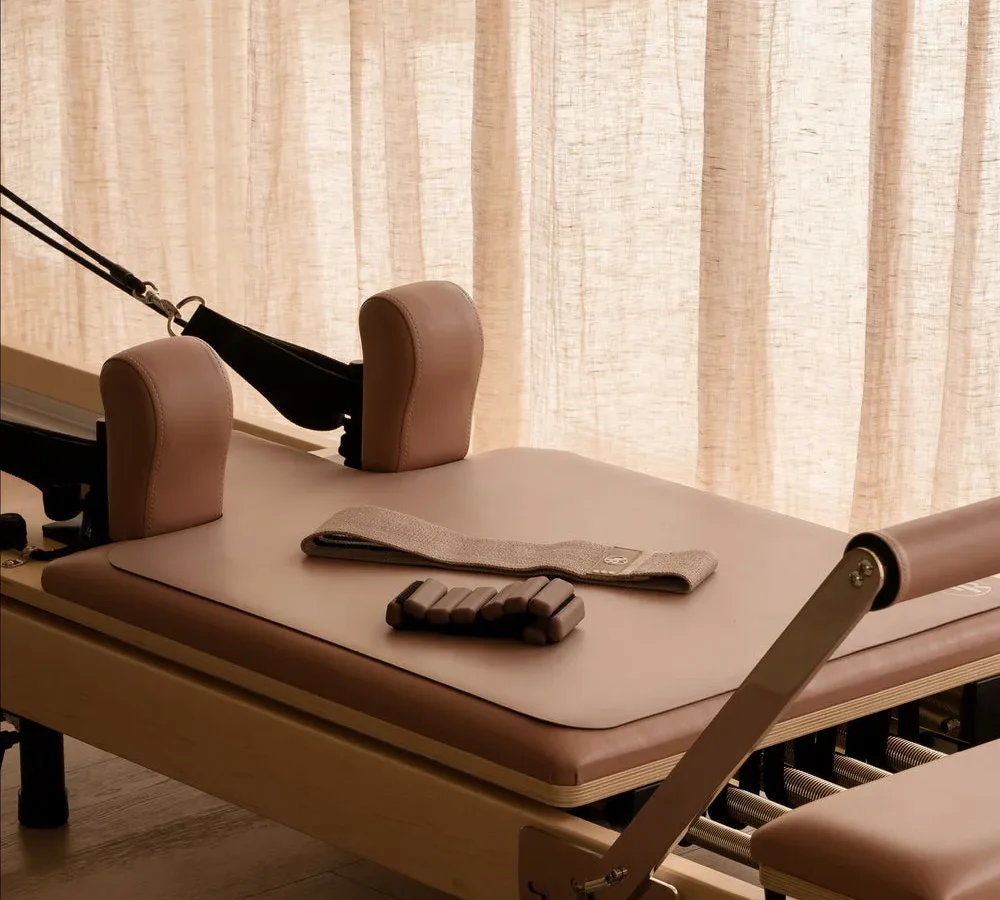
Knowing how to check reformer frame hardware protects both your clients and your investment. A loose bolt or cracked bracket can turn routine carriage motion into an unexpected structural failure. Catching mechanical wear early keeps your studio running smoothly and safely.
Pilates reformers withstand dynamic loads that easily exceed several hundred pounds during explosive jumpboard work or standing balance exercises. Per standard fitness equipment safety guidelines published by ASTM International, regular structural audits prevent joint fatigue and dangerous mechanical breakdowns. Here is how to systematically audit every critical fastener on your machine.
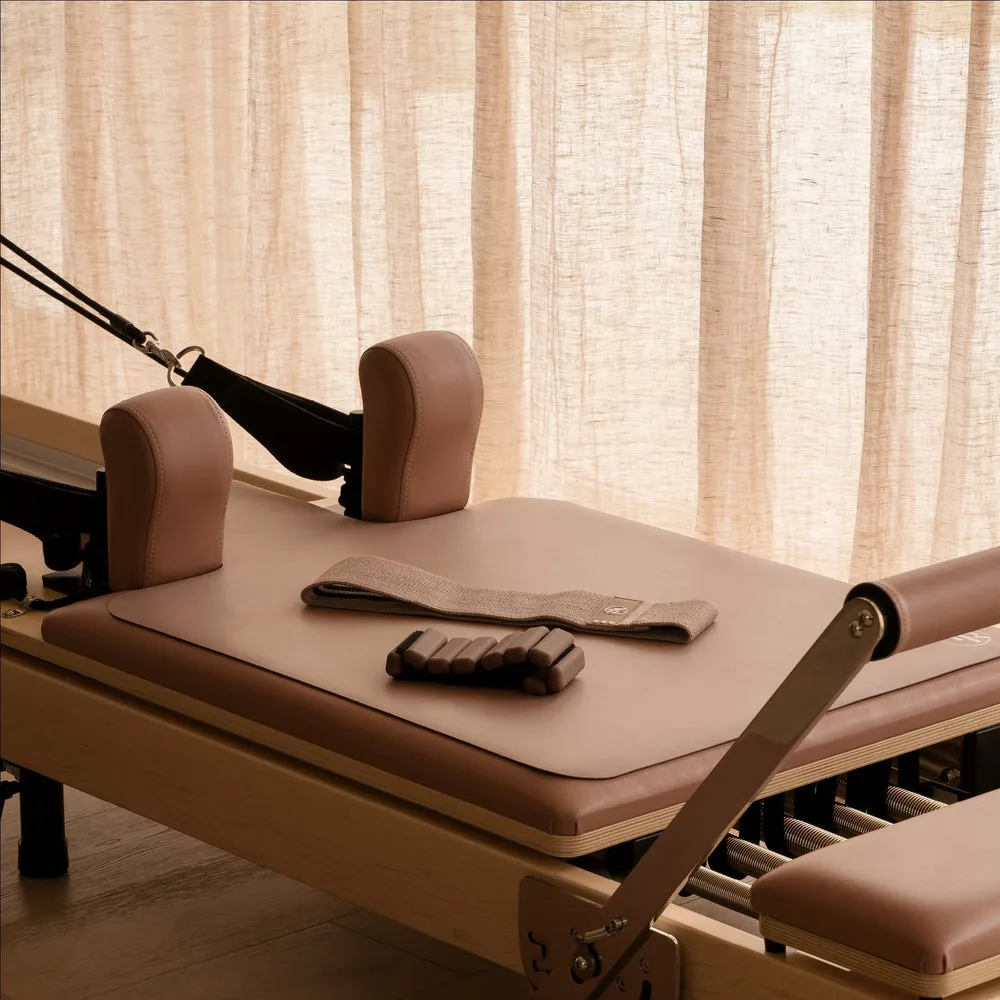
Image source: Bing (Web (fair-use with source credit))
Quick Answer
Learn how to check reformer frame hardware by inspecting all structural connections. Begin with a visual sweep for metal filings and loose brackets. Manually shake the footbar, legs, and rails to detect mechanical play.
Torque loose fasteners with appropriate hex keys using cross-pattern tightening. Replace worn bolts immediately rather than over-tightening damaged threads.
The High Stakes of Reformer Hardware Failure: What Every Studio Owner and Home User Needs to Know
Reformer hardware operates under constant cyclic stress. Every time a user presses against the footbar, springs stretch and transfer dynamic force into the frame. Over thousands of repetitions, minor vibrations work critical fasteners loose.
In a commercial studio, equipment failure carries serious legal liability. A failing footbar bracket during a standing tendon stretch can cause a severe fall. Routine maintenance preserves client trust and defends your business against negligence claims.
For home practitioners, regular checks prevent expensive structural repairs. Catching a loose crossbar screw early protects aluminum channels from wallowing out. Once metal tracks deform from loose hardware, you often have to replace the entire side rail.
Hardware wear happens quietly. Fasteners rarely snap without warning. Instead, they loosen by fractions of a millimeter, creating micro-play that accelerates metal fatigue.
A disciplined check process stops that progression before it becomes hazardous.
Essential Inspection Tools and Preparation Before Touching a Single Bolt
Before starting your hardware audit, gather the correct diagnostic tools. Using the wrong tool size strips bolt heads and damages soft aluminum frames.
| Tool | Purpose | Key Specification |
|---|---|---|
| Hex Key Set (Allen Wrenches) | Snug bolt inspection | Both Metric and Imperial sets |
| Torque Wrench | Precision fastener tightening | Low-range (2 to 20 Nm / 20 to 180 in-lbs) |
| Non-Permanent Threadlocker | Securing metal-to-metal bolts | Blue formula (removable with hand tools) |
| Inspection Flashlight | Spotting hairline metal cracks | High-lumen LED penlight |
| Microfiber Cloth | Clearing grease to inspect threads | Clean, lint-free fabric |
Clear a working perimeter around the reformer. Disconnect all carriage springs from the gearbar and park the carriage at the head end. Lock the carriage in place using a stopper block or strap so it cannot roll while you work.
Wipe down the frame rails and bracket joints with your dry microfiber cloth. Grease and dust hide hairline cracks, metal shavings, and loose washers. Clean surfaces make structural defects immediately visible under your flashlight beam.
Critical Frame Fasteners: A Component-by-Component Check Map
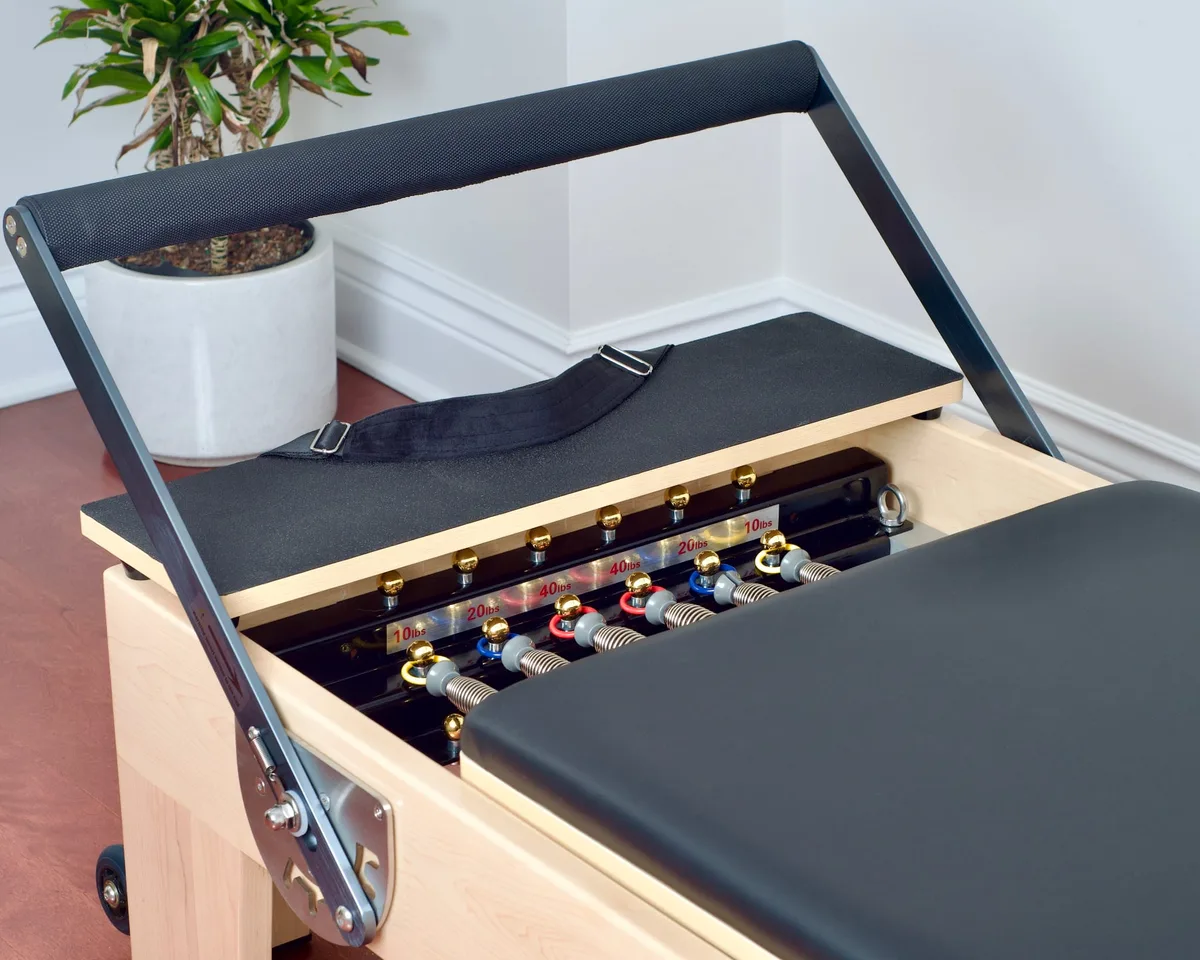
Image source: Bing (Web (fair-use with source credit))
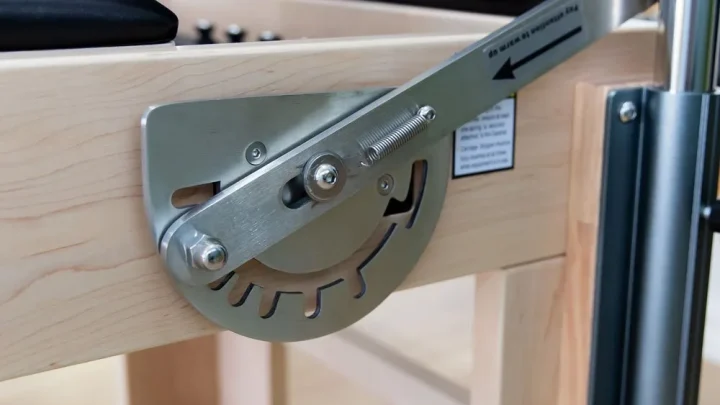
Footbar Trunnions, Selector Pins, and Linkage Plates
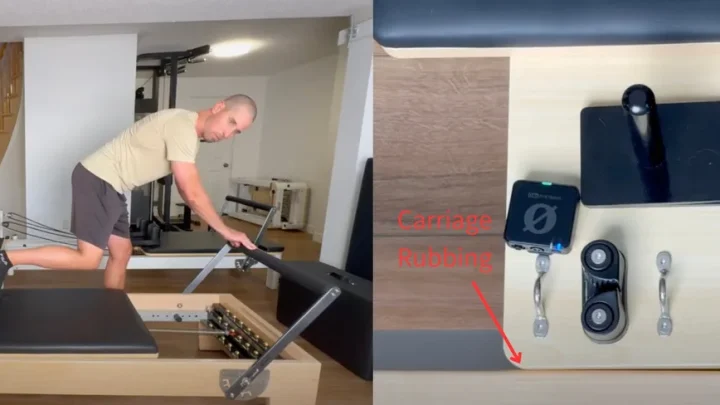
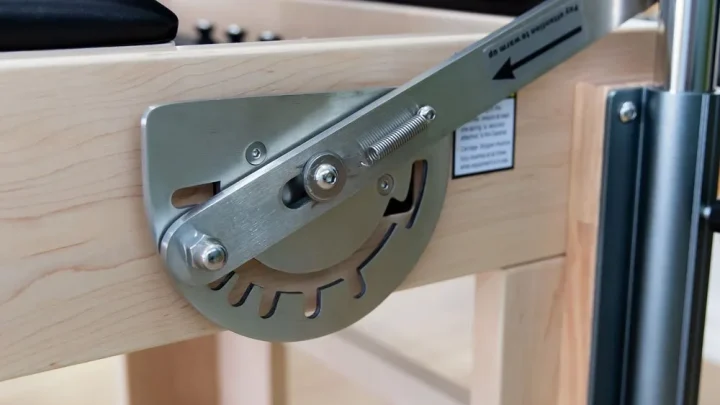
The footbar assembly absorbs more direct force than any other reformer component. Inspect the pivot bolts attaching the footbar arms to the slider plates. Look closely for bent indexing pins, loose pivot bushings, or elongated mounting holes.
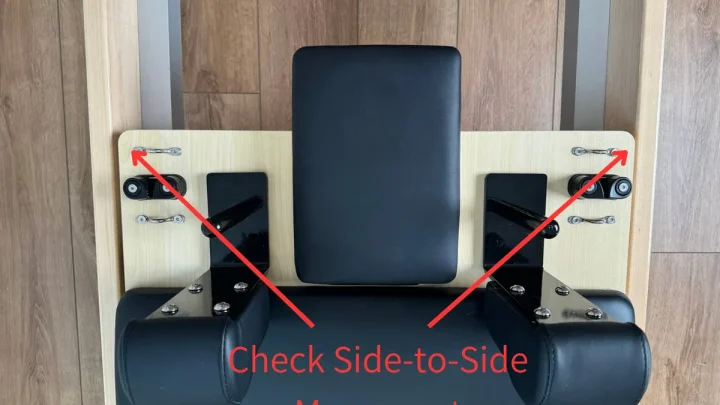
Check the trunnion bracket bolts that clamp the assembly to the side rails. If these fasteners back out, the footbar will wobble laterally under load. Any lateral play greater than 1 millimeter indicates worn hardware or loose retention bolts.
Aluminum Rails, Structural Crossbars, and Corner Brackets
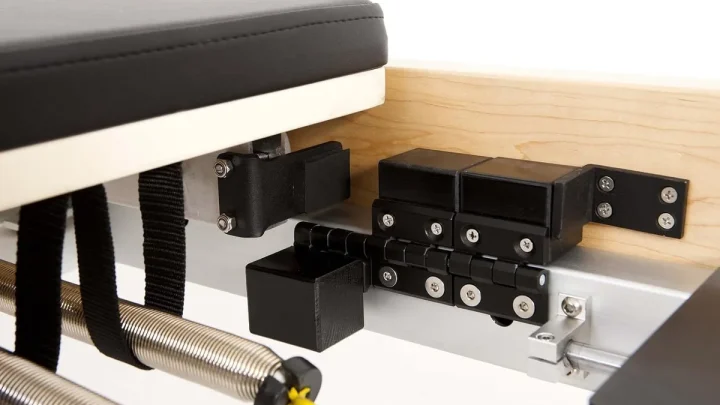
Examine the crossbars connecting the left and right rails. These horizontal struts maintain the square shape of the frame. Inspect the corner brackets at the head and foot ends for loose socket head cap screws.
Look along the inside tracks where carriage wheels glide. Check the counter-sunk screws that secure track inserts to the main aluminum extrusions. Raised screw heads will chew into carriage wheels and ruin your smooth glide.
Leg Mounts, Standing Platforms, and Pulley Riser Assemblies
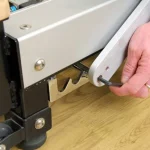
Inspect the bolts securing the reformer legs to the frame body. Loose leg bolts cause the entire frame to flex and twist during jumpboard exercises. Ensure all floor leveler lock nuts remain tight against the leg base.
Next, test the standing platform fasteners. The standing platform takes full body weight during lunges and splits. Finish by checking the pulley riser brackets at the head end, ensuring the eye-bolts and riser clamp knobs hold firmly without slipping.
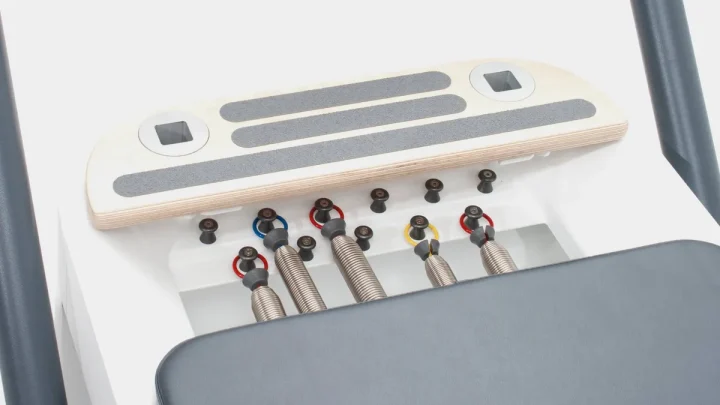
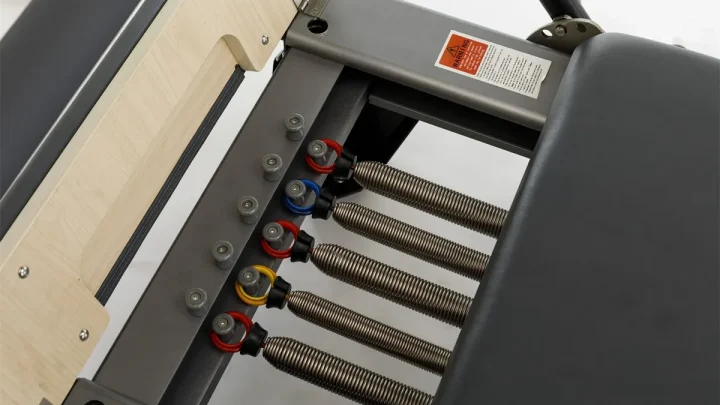
Gearbar Channels and Spring Anchor Points
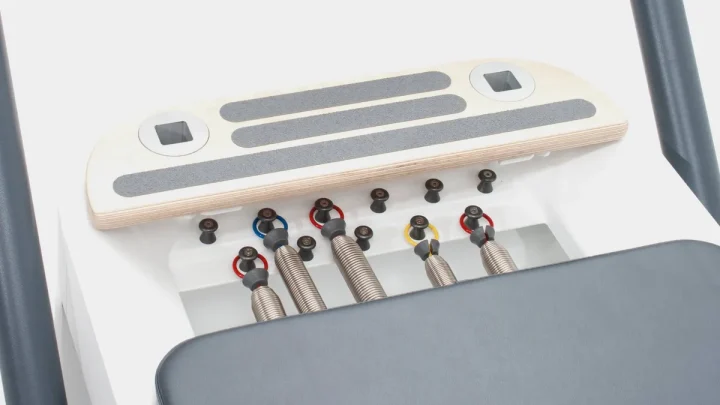
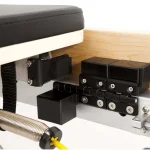
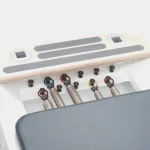
The gearbar and spring hooks handle massive spring tension. Check the bolts anchoring the springbar brackets to the frame bed. A stripped bracket bolt can rip free under five-spring tension, causing an immediate hazard.
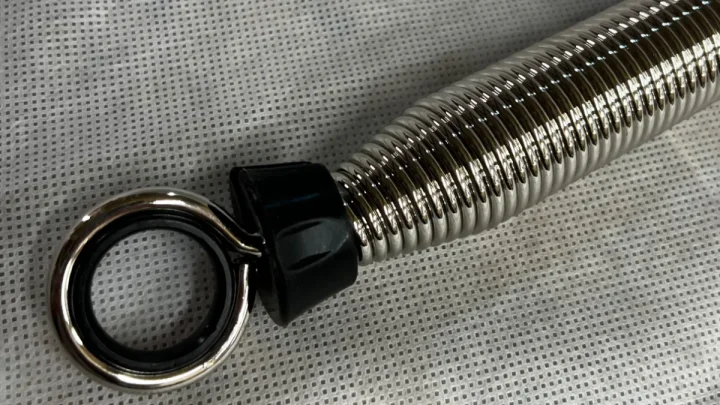
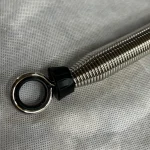
Inspect each individual spring hook or eyelet. Look for thread elongation or loosening where hooks screw into the gearbar plate. Replace any hook showing visible bending or thread deformation immediately.
The Step-by-Step Reformer Hardware Inspection Protocol
Phase 1: The Static Visual and Tactile Sweep
Begin with a hands-on sweep of the entire machine. Shine your flashlight directly onto every fastener junction. Look for fine grey dust, which is actually pulverized aluminum residue caused by metal-on-metal friction from loose parts.
Grasp each bracket firmly with your bare hand and attempt to wiggle it. Do not rely solely on your eyes. Often a bolt appears seated flush even though thread engagement has worked completely loose underneath.
Phase 2: Dynamic Stress and Load Testing
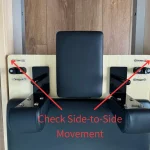
After the static check, apply dynamic stress to the frame. Stand at the foot of the reformer and grip the footbar with both hands. Apply firm downward, upward, and lateral pressure while listening for creaks or clicks.
Move to the side of the reformer and gently rock the frame diagonally. If you feel frame racking or see corners lifting unevenly, corner fasteners have loosened. Dynamic testing reveals hardware play that stays hidden while the machine sits idle.
[Visual Sweep: Spot Metal Dust/Gaps]
                  │
                  ▼
[Tactile Pull Test: Hand-Check Components]
                  │
                  ▼
[Dynamic Stress Test: Apply Multi-Directional Force]
                  │
         ─────────┴─────────
        │                   │
   [Play Detected]     [Solid / No Play]
        │                   │
        ▼                   ▼
[Torque & Apply     [Log Inspection Date]
 Threadlocker]
Phase 3: Controlled Re-Torquing and Thread Management
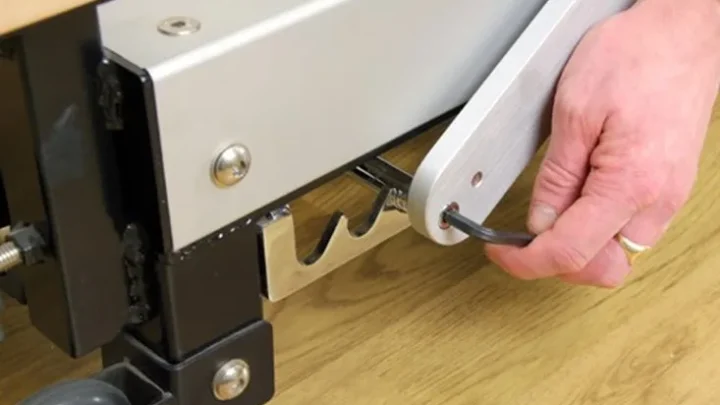
When you find loose bolts, do not simply wrench them as hard as you can. Insert the correct hex wrench fully into the bolt head to prevent stripping the socket. Turn the fastener clockwise until it makes firm contact with the substrate.
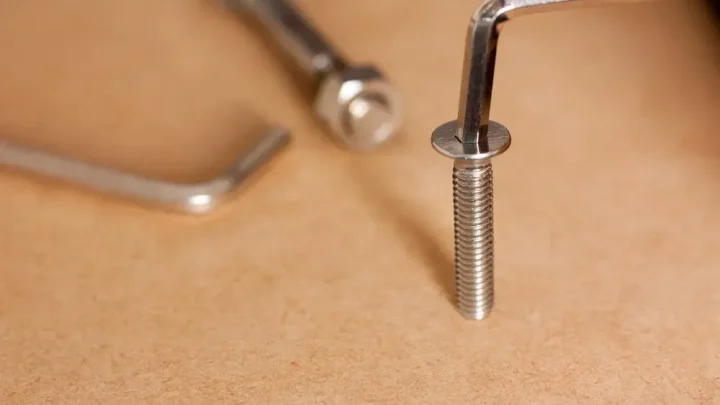
For metal-to-metal connections that repeatedly work loose, back the bolt out completely. Apply one small drop of blue medium-strength threadlocker to the male threads. Re-insert the bolt and tighten it snugly to manufacturer specifications.
Wood vs. Aluminum Frames: Key Differences in Hardware Behavior and Torque Limits
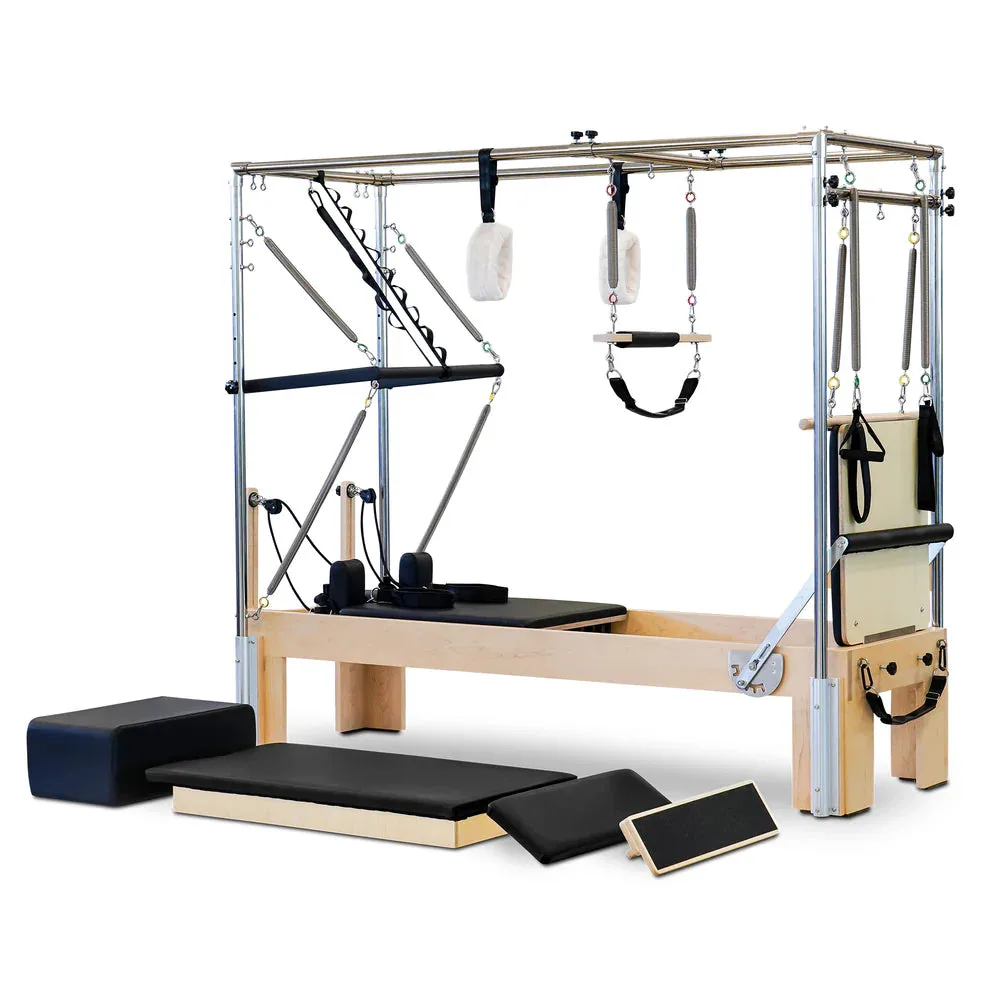
Image source: Bing (Web (fair-use with source credit))
Wood and aluminum reformers handle hardware tension differently. Hardwood frames, typically built from solid rock maple or oak, use metal threaded inserts embedded inside the timber. Over-tightening a bolt in a wood frame can tear the brass insert right out of the grain.
Aluminum frames use channel nuts and direct machine threads tapped into aluminum extrusions. Aluminum is a relatively soft metal. As of 2026, modern manufacturing relies on precise torque ratings because excessive force strips internal aluminum threads permanently.
| Feature | Solid Wood Frames | Extruded Aluminum Frames |
|---|---|---|
| Fastener Substrate | Threaded brass/steel wood inserts | Tapped aluminum channels and slide nuts |
| Loosening Cause | Seasonal humidity and wood contraction | Mechanical vibration and track flex |
| Torque Approach | Hand-tight only; feel for firm resistance | Calibrated low-torque wrench (8 to 12 Nm) |
| Threadlocker Use | Never apply directly to bare wood | Recommended for metal-to-metal bracket bolts |
| Common Failure Point | Stripped wood fibers around corner bolts | Cross-threaded channel bolts in rail tracks |
Environmental moisture directly impacts wood frame hardware. When seasonal humidity drops in winter, hardwood shrinks slightly, causing joint bolts to lose preload tension. Check wooden frame bolts at the start of every season change to account for this natural wood movement.
Critical Fastener Mistakes That Void Warranties and Risk Client Injury
The most dangerous mistake is using permanent high-strength red threadlocker on frame bolts. Red threadlocker requires high heat to release, which ruins powder coating and melts internal plastic bushings. Always use medium-strength blue compound so you can remove fasteners for routine servicing later.
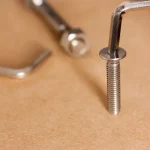
Another common error is replacing lost OEM bolts with generic zinc hardware from a local home center. Reformer manufacturers engineer specific fastener grades, such as high-tensile Grade 8 steel or 18-8 stainless steel, to manage continuous shear forces. Soft, generic bolts can shear suddenly under dynamic spring loading, dropping a client mid-movement.
Never ignore a spinning bolt that refuses to snug down. A spinning fastener means the internal threads have stripped completely. Tightening an adjacent bolt harder to compensate simply twists the frame out of alignment.
If a thread strips, install a proper threaded insert or replace the tapped extrusion bracket immediately.
Studio Maintenance Schedules, Logging Protocols, and When to Replace Hardware
Commercial facilities need a structured maintenance rhythm to satisfy liability insurance requirements. Our research shows that leading equipment manufacturers recommend a three-tiered inspection routine.
- Weekly Visual Sweep: Check footbar trunnions, carriage eyebolts, and spring attachments for looseness or metal dust.
- Monthly Hardware Audit: Hand-check every frame bolt, leg fastener, and pulley mount with manual hex wrenches.
- Quarterly Torque Verification: Audit all structural fasteners against manufacturer torque specifications using a calibrated torque wrench.
Maintain a physical or digital maintenance log for every machine by serial number. Record the inspection date, technician initials, and any parts replaced. If an incident ever occurs, detailed service logs prove you maintained a rigorous standard of care.
Retire and replace hardware immediately if you see thread elongation, rust pitting, or visible metal grooving. Fasteners are inexpensive wear items. Replacing a suspect five-dollar shoulder bolt saves thousands in major structural repairs and protects client safety.
Frequently Asked Questions About Reformer Hardware Safety
How often should you check reformer frame hardware?
Perform a quick visual check weekly and a comprehensive tool audit every month. High-volume commercial studios running eight or more classes daily should complete tactile checks bi-weekly. Inspect wooden frames at the beginning of each season to account for humidity changes.
Can you use standard hardware store bolts to replace reformer fasteners?
No, you should never replace reformer bolts with generic hardware store fasteners. Reformers require specific high-tensile steel grades and thread pitches engineered to withstand dynamic bodyweight loads. Always order direct OEM replacement hardware from your equipment manufacturer to ensure safety and preserve your warranty.
Which type of threadlocker is safe for reformer hardware?
Use only medium-strength removable blue threadlocker on metal-to-metal frame bolts. Blue threadlocker secures fasteners against vibration while still allowing removal with standard hand tools. Never use permanent red threadlocker or apply liquid threadlockers to bare wood surfaces.
What causes reformer frame creaking during workouts?
Frame creaking usually stems from loose corner brackets, dry pivot bushings, or unlevel leg levelers. When frame fasteners back out, structural metal struts rub together under dynamic loads to create squeaks. Tighten all crossbar bolts and ensure all four legs sit flush on the floor.
How do you fix a stripped screw hole in a wooden reformer?
Fix a stripped hole in a hardwood frame by replacing the embedded brass threaded insert. Back out the damaged insert using an extractor tool, then epoxy a new insert flush into the wood grain. Never attempt to force an oversized machine bolt directly into stripped timber fibers.

Similar Posts