How to Safely Tighten Loose Reformer Screws
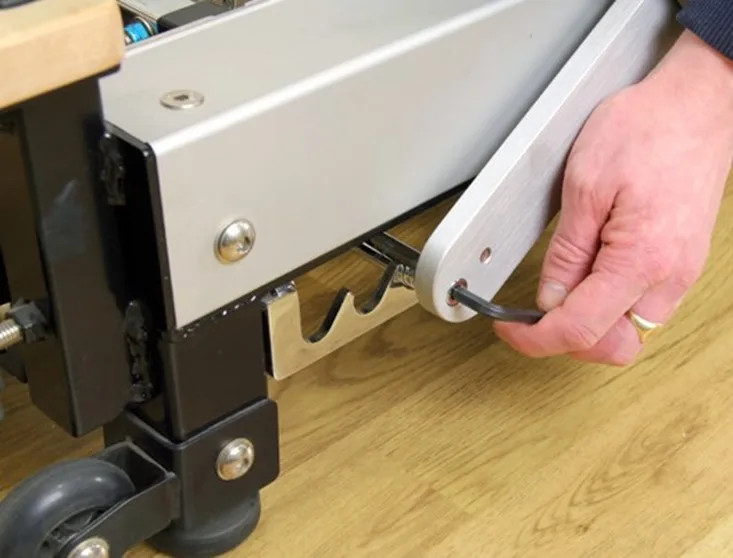
If your carriage wobbles or your footbar clanks during exercise, you need to know how to tighten loose reformer screws before a minor rattle turns into an equipment failure. Pilates reformers absorb continuous dynamic loads and cyclic vibration that gradually back out hardware over time. Catching loose hardware early protects your frame, keeps your carriage glide silent, and protects the person on the carriage.
Per mechanical fastening principles outlined by standard bodies like the American Society of Mechanical Engineers, threaded fasteners subjected to repetitive motion inevitably lose clamping force without thread-locking retention. Routine inspection stops thread damage in its tracks and prevents costly frame replacements. Here is the exact diagnostic workflow and step-by-step tightening process to secure your reformer properly.
Quick Answer
To know how to tighten loose reformer screws, first disconnect all carriage springs.
Identify whether the loose screw mounts into wood, steel, or aluminum.
Back the bolt out slightly to inspect the threads for damage.
Apply one drop of medium-strength blue threadlocker to the leading threads.
Hand-thread the fastener to prevent cross-threading.
Tighten the bolt until snug without overtightening delicate wheel bearings.
Image source: Bing (Web (fair-use with source credit))
The Safety Risk of Loose Reformer Hardware
Loose screws on a reformer are never just a cosmetic annoyance. When a client performs standing lunges, jumpboard intervals, or long stretches, dynamic force transfers directly through the frame, footbar, and carriage risers. If a critical fastener fails under load, the risk of sudden collapse is real.
Mechanical hardware that backs out also causes progressive structural damage. A loose bolt wobbling inside a mounting hole gradually ovalizes the opening in softer metals like aluminum rails. Once a bolt hole is enlarged or stripped, simply tightening the screw will not fix the play.
Studio owners face clear liability risks if equipment fails during a session. Implementing regular bolt-tightening protocols protects both the practitioner and the lifespan of the machine.
Essential Tools and Supplies to Have on Hand
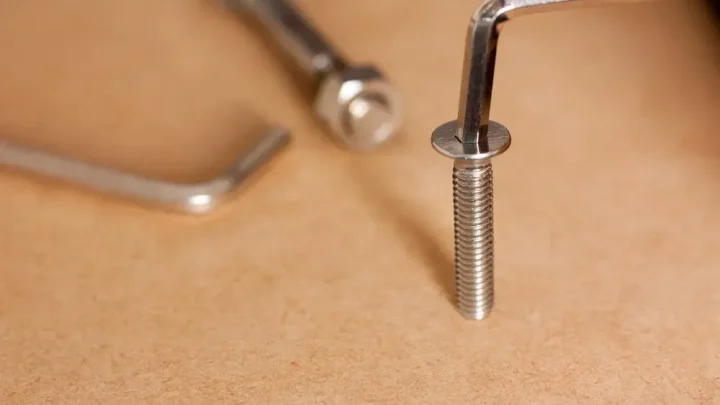
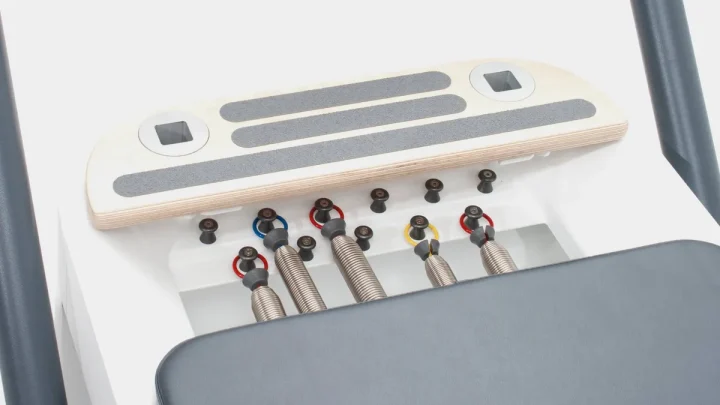
Reformer hardware varies between brands like Balanced Body, Merrithew, Peak Pilates, and Gratz. Having the right tools ready prevents rounded bolt heads and damaged threads.
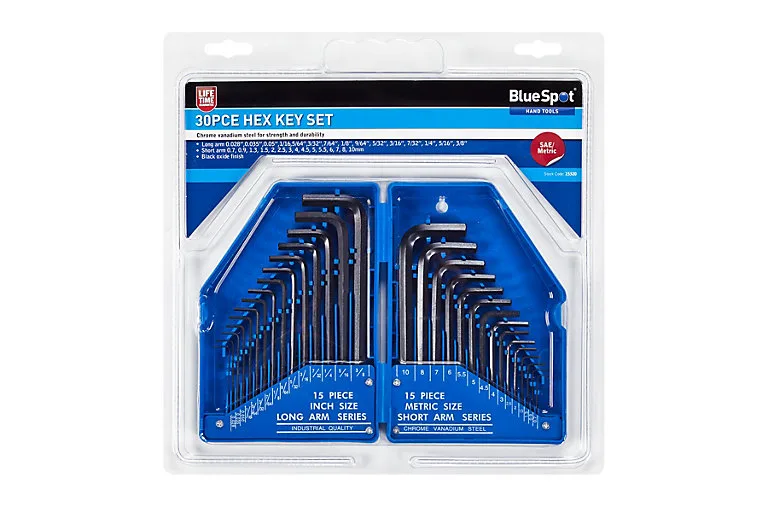
Image source: Bing (Web (fair-use with source credit))
As of 2026, most commercial reformers use a combination of metric socket head cap screws and imperial hardware. Never guess wrench sizes, as an ill-fitting tool quickly strips internal hex sockets.
| Tool / Supply | Purpose | Why It Matters |
|---|---|---|
| Hex Key Set (Metric & Imperial) | Tightening socket head bolts on footbars and carriages | Prevents cam-out and stripped Allen heads |
| Open-End Combo Wrenches | Holding backing nuts on wheel axles and risers | Allows proper two-tool tightening |
| Medium Blue Threadlocker | Preventing vibration-induced loosening | Secures threads without requiring heat to remove |
| 90%+ Isopropyl Alcohol | Degreasing dirty bolt threads before adhesive application | Ensures chemical threadlockers bond properly |
| Microfiber Cloths | Cleaning rail channels and hardware | Keeps grit out of internal threads |
Diagnostic Workflow: Where Is the Noise or Play Coming From?
Before you pick up a wrench, locate the exact origin of the movement. Follow this diagnostic workflow to identify which assembly needs attention.
Branch 1: Footbar Wobble and Pivot Trunnions
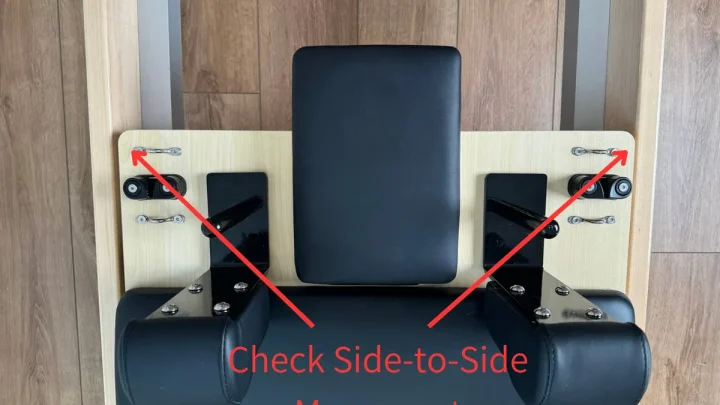
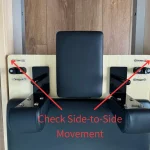
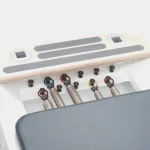
If the footbar rocks back and forth when locked into position, check the trunnion bracket bolts.
- If the side plates shift against the frame: Tighten the structural mounting bolts holding the bracket to the aluminum rail or wooden chassis.
- If the pivot pins themselves are loose: Inspect the internal shoulder bolts. Tighten them just enough to eliminate lateral wobble without binding the swing mechanism.
- If the locking pin does not seat fully: Clear debris from the indexing holes before adjusting mounting hardware.
Branch 2: Carriage Wheels and Tracking Play
If the carriage rattles, drifts sideways, or feels bumpy during movement, the wheel hardware is the primary suspect.
- If the carriage rocks diagonally: A guide wheel or vertical load wheel bolt has loosened. Check the axle bolts underneath the carriage deck.
- If the wheel wobbles on its axle: Check if the axle bolt is loose or if the internal bearing has failed. Tighten the axle bolt to eliminate side-to-side play, but ensure the wheel still spins freely by hand.
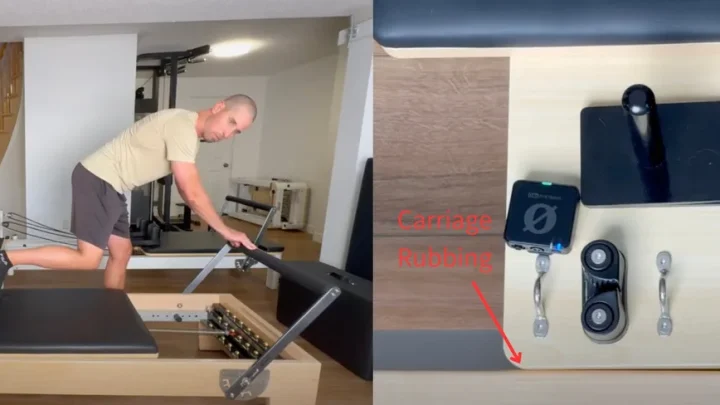
- If the carriage rubs against the side rail: Loosen the horizontal guide wheel mounts, center the carriage, and re-snug the hardware.
Branch 3: Frame Joints, Pulley Risers, and Gearbars
If you hear creaking during heavy spring transitions, inspect static frame components.
- If pulley risers lean under load: Tighten the riser base clamps or the mounting hardware beneath the wooden frame.
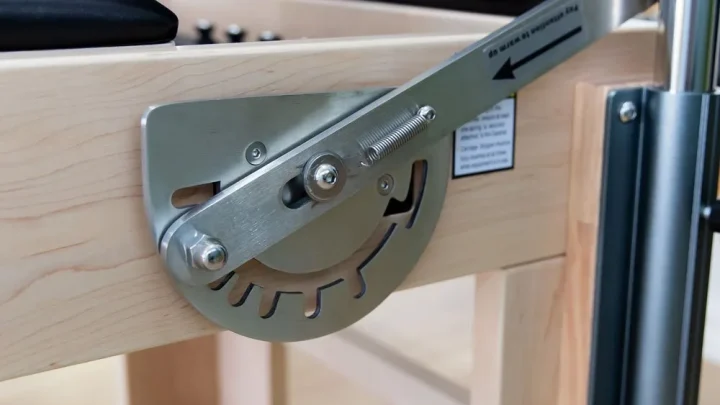
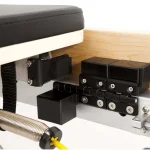
- If the gearbar lifts or shifts: Check the detent bracket screws and spring anchor mounts.
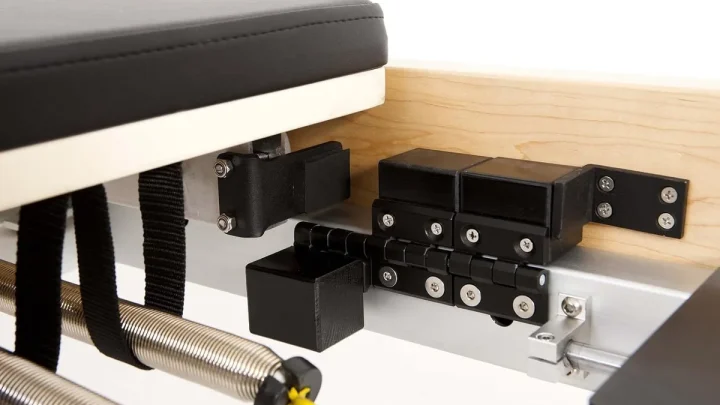
- If a wooden frame creaks: Inspect the corner brackets and leg attachment bolts. Wood expands and contracts with humidity, requiring seasonal snugging.
Step-by-Step Procedure for Tightening and Securing Screws
Follow this standard procedure whenever you identify loose hardware on your reformer.
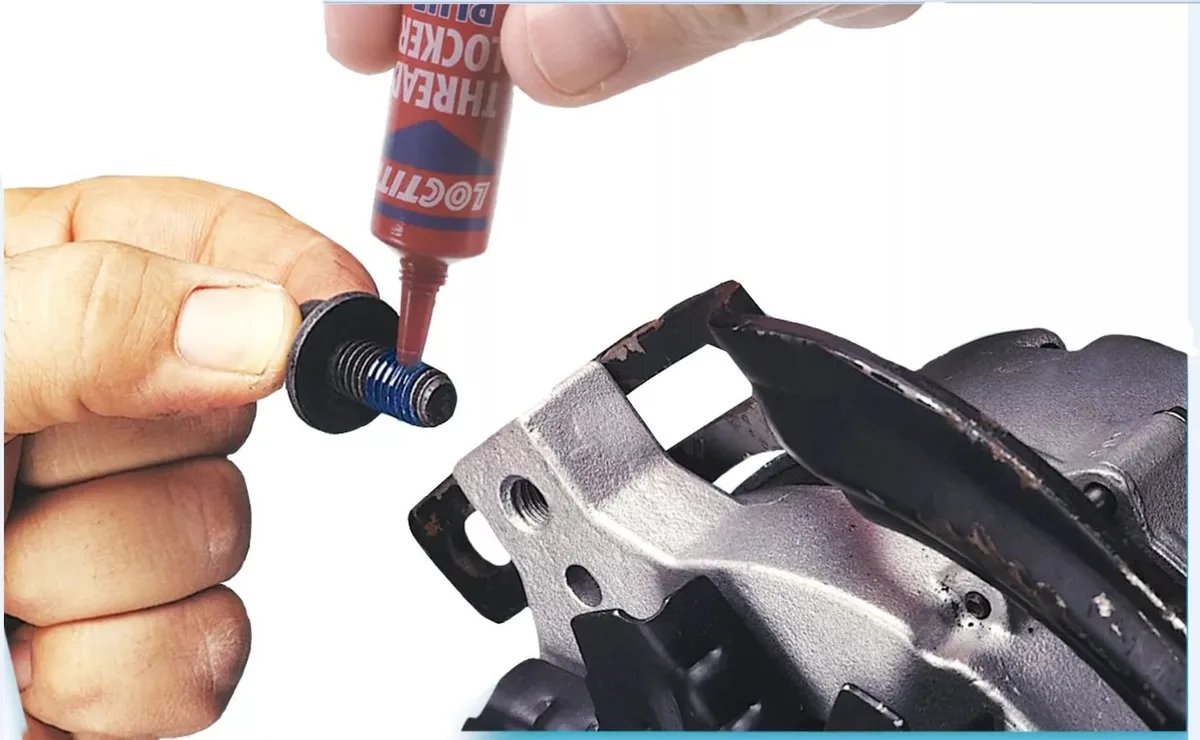
Image source: Bing (Web (fair-use with source credit))
Step 1: Safety Lockout and Preparation
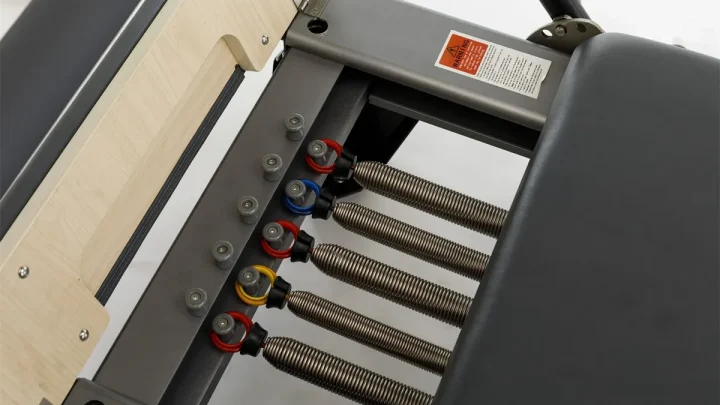
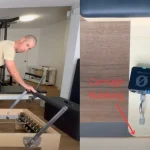
Unclip all springs from the gearbar to remove tension from the carriage. If working on a footbar or pulley riser, move the carriage to the opposite end of the frame and lock it in place. This prevents accidental roll-aways while your hands are near moving tracks.
Step 2: Thread Cleaning and Inspection
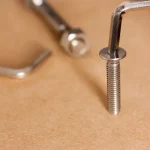
Back the loose screw out by two or three full turns. Inspect the exposed threads for signs of stripping, cross-threading, or metal shavings. Wipe away old, dried threadlocker and grime using a microfiber cloth dampened with isopropyl alcohol.
Step 3: Applying Medium Threadlocker Correctly
Apply one single drop of medium-strength blue threadlocker (such as Loctite 242) directly to the leading threads of the screw.
- Do not coat the entire length of the bolt.
- Never use permanent red threadlocker, which requires 500-degree heat to remove.
- Avoid getting liquid threadlocker on plastic wheels, rubber bumpers, or wooden finishes.
Step 4: Torquing and Alignment Checks
Start threading the bolt by hand for at least three full turns to ensure proper alignment. Once the threads engage cleanly, use the correct hex key or wrench to snug down the fastener.
Tighten until the joint is firm and play disappears. After tightening, manually test the component. If you tightened a wheel axle, spin the wheel to confirm the bearing rotates freely without drag.
Allow 20 minutes for the thread compound to set before placing the machine back into service.
Critical Fastener Mistakes That Can Damage Your Reformer
Avoiding common tightening mistakes is just as important as fixing the loose bolt itself. Small errors during maintenance often lead to costly component damage.
- Crushing wheel bearings by overtightening: Carriage wheel axle bolts do not require extreme torque. Over-torquing pinches the bearing race, causing premature bearing failure and a rough glide.
- Mixing up metric and imperial tools: Many reformer components look similar but use different standards. Using a 4mm hex key on a 5/32-inch bolt strips the fastener socket immediately.
- Cross-threading into aluminum: Steel bolts entering aluminum frame tracks must be started by hand. If you feel sudden resistance on the first turn, back out immediately and realign.
- Using red threadlocker: High-strength red threadlocker permanently locks hardware. Future routine adjustments will result in snapped bolt heads or ruined components.
- Ignoring stripped wood holes: On wooden reformers, repeatedly driving screws into stripped pilot holes provides zero clamping force. Fill stripped screw holes with hardwood dowels and wood glue before re-driving fasteners.
Routine Maintenance Schedules for Home and Studio Reformers
Preventative fastener checks take only minutes and keep your reformer functioning safely. The frequency of your inspections depends directly on daily machine usage. Commercial studios with back-to-back classes experience far higher cyclic vibration than single-user home reformers.
For commercial environments, establish a logged inspection routine. Loose fasteners often develop quietly over dozens of workout hours before rattling becomes audible.
| Frequency | Target Components | Required Action |
|---|---|---|
| Weekly (Studio) / Monthly (Home) | Footbar trunnion pins, spring bar anchors, riser knobs | Wiggle by hand to detect lateral play. Snug any loose bolts immediately. |
| Monthly (Studio) / Quarterly (Home) | Carriage wheel axles, guide wheels, frame corner brackets | Check bearing smoothness. Apply blue threadlocker to any backing hardware. |
| Semi-Annually (Both) | Complete frame sub-structure, leg bolts, headrest hinges | Full fastener torque audit. Inspect wood joints for seasonal expansion gaps. |
Tracking your maintenance in a dedicated equipment log creates an operational record. This documentation helps verify equipment safety and supports manufacturer warranty claims if parts fail prematurely.
Frequently Asked Questions About Reformer Maintenance
How tight should reformer wheel bolts be?
Carriage wheel axle bolts should be snug enough to eliminate side-to-side wobble without compressing the bearings. Tighten the bolt until play disappears, then spin the wheel by hand. If the wheel stops immediately or feels gritty, loosen the bolt by a quarter turn until it spins freely.
Can I use WD-40 to fix squeaking reformer screws?
No, you should never spray standard WD-40 on reformer hardware. Standard WD-40 is a solvent that breaks down existing threadlockers and attracts dust into wheel bearings. To resolve squeaks, remove the fastener, clean the threads with alcohol, apply fresh threadlocker, and snug it properly.
What should I do if a reformer screw hole is stripped?
For stripped aluminum rail threads, install a stainless steel threaded insert such as a Helicoil. For stripped wooden frames, fill the stripped hole with wood glue and hardwood golf tees or dowel pins. Allow the glue to dry completely for 24 hours, then drill a new pilot hole.
How often should I check screws on a home Pilates reformer?
Home reformers should receive a basic hardware check once every month. Focus on high-stress contact points like the footbar brackets, carriage shoulder rests, and pulley risers. Perform a comprehensive bolt audit twice a year to ensure frame fasteners remain secure.
Why does my reformer footbar still wobble after tightening?
A persistent wobble usually means the internal pivot bushings or trunnion plates are worn out. Tightening outer bolts will not fix worn internal bronze or nylon bushings. In that scenario, order a replacement trunnion rebuild kit directly from your reformer manufacturer.

Similar Posts