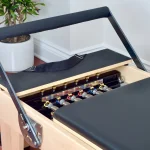
How to Fix an Uneven Pilates Reformer Footbar
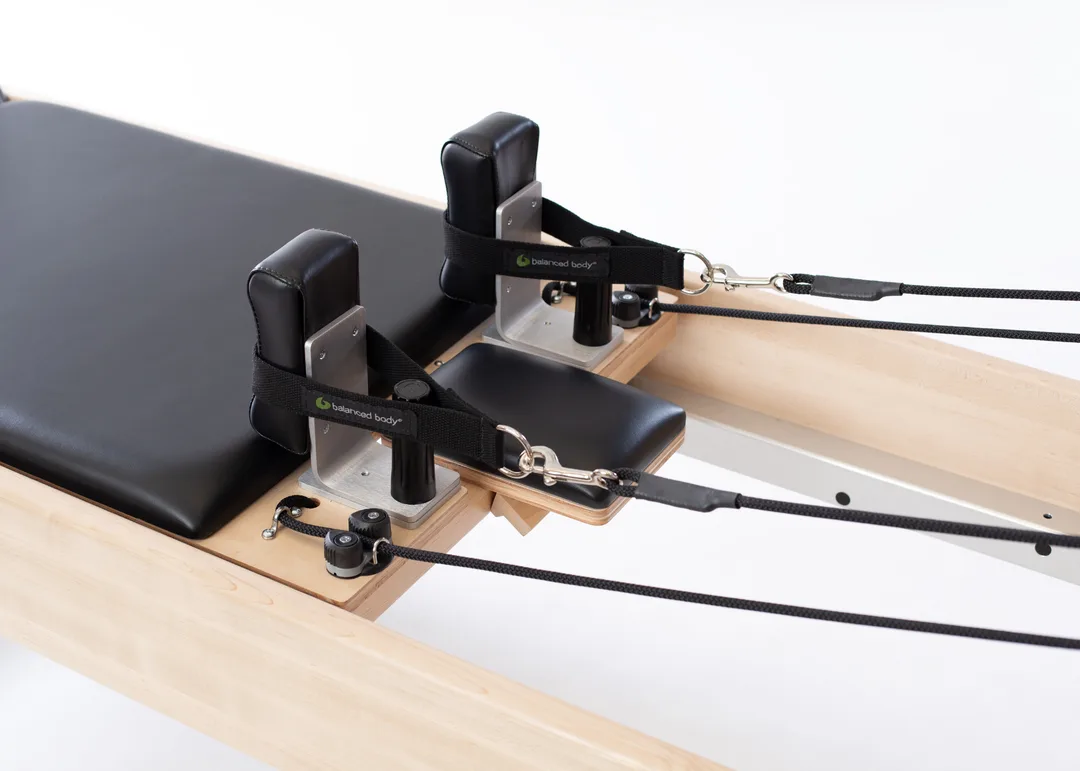
A lopsided footbar throws off your alignment and makes every footwork series feel twisted. Learning how to fix uneven reformer footbar height prevents joint strain and keeps your reformer operating safely. Most height discrepancies take under ten minutes to diagnose and resolve with basic tools.
Equipment standards from organizations like ASTM International highlight the importance of structural symmetry in load-bearing fitness frames. A footbar variance as small as one-eighth of an inch can alter pelvic mechanics during weight-bearing exercises. Here is how to diagnose the slant, isolate the mechanical cause, and level your footbar.
Quick Answer
To fix an uneven reformer footbar height, check both indexing pins first. Make sure both pins rest in identical adjustment holes. Inspect the rubber stop bumpers for uneven wear or cracks.
Loosen the trunnion bracket bolts slightly to square the frame. Tighten all hardware evenly while holding the bar completely level.
Image source: Bing (Web (fair-use with source credit))
Why a Slanted Footbar Ruins Alignment (and How to Spot It Fast)
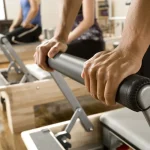
A crooked footbar creates asymmetrical force through the ankles, knees, and hips. When you press against an uneven bar during footwork or jumping, one side of your body absorbs extra load. Over time, this imbalance strains the sacroiliac joint and encourages uneven muscle recruitment.
You can spot a height difference through several physical signs:
- The footbar looks visibly tilted against the horizontal line of the carriage.
- The carriage drifts toward one side rail when pressing out.
- You hear a clicking or thumping sound when the bar hits the stops.
- One wrist or shoulder feels higher during planks, elephant, or up stretch.
To confirm the issue, place a short torpedo level across the center of the footbar. You can also measure the vertical distance from the top of each aluminum side rail to the top of the bar using a tape measure. Any variance greater than 1/16 inch (about 1.5 mm) requires adjustment.
The 4 Main Culprits Behind an Uneven Reformer Footbar
Reformer footbars rely on balanced pivot points, support arms, and locking hardware. When one side drops, the cause almost always traces back to one of four mechanical points.
| Problem Area | Common Symptom | Typical Fix |
|---|---|---|
| Indexing Pin Mismatch | One side sits visibly higher, sudden onset | Reseat pull-pins in matching numbered holes |
| Worn Rubber Bumpers | Minor tilt (1/8 inch), bar clunks against frame | Replace or shim the compressed rubber stop |
| Loose Trunnion Brackets | Footbar wobbles side-to-side, sinks under load | Realign bracket plates and torque bolts evenly |
| Racked Frame Rails | Footbar binds when sliding along the track | Square the frame using cross-corner measurements |
As of 2026, modern commercial reformers frequently use sliding trunnion plates or multi-position selector bars. Identifying which part failed helps you avoid unnecessary disassembly.
Footbar Troubleshooting Workflow: Diagnostic Decision Tree
Follow this step-by-step diagnostic tree to isolate the root cause before grabbing your wrenches:
[Start: Measure Left vs. Right Height]
               │
               ▼
   [Are indexing pins in the exact same notch?]
         ├─ NO  ──► Action: Reseat pins into identical holes. Done.
         └─ YES
               │
               ▼
   [Inspect the rubber stop bumpers on both sides]
         ├─ ONE IS CRACKED/CRUSHED ──► Action: Replace rubber bumpers. Done.
         └─ BOTH ARE INTACT
               │
               ▼
   [Test for bracket play: Grab arm and wiggle vertically]
         ├─ PLAY DETECTED ──────────► Action: Re-torque trunnion & pivot bolts. Done.
         └─ NO PLAY / SOLID MOUNT
               │
               ▼
   [Measure frame diagonals for squareness]
         ├─ DIAGONALS UNEVEN ───────► Action: Loosen frame crossbars and square rails.
         └─ DIAGONALS MATCH ────────► Action: Check footbar for a bent support rod.
If the bar remains crooked after this check, inspect the steel support bar for subtle bends caused by heavy unilateral jumpboard impacts.
Step-by-Step Fixes Based on Your Reformer's Adjustment System
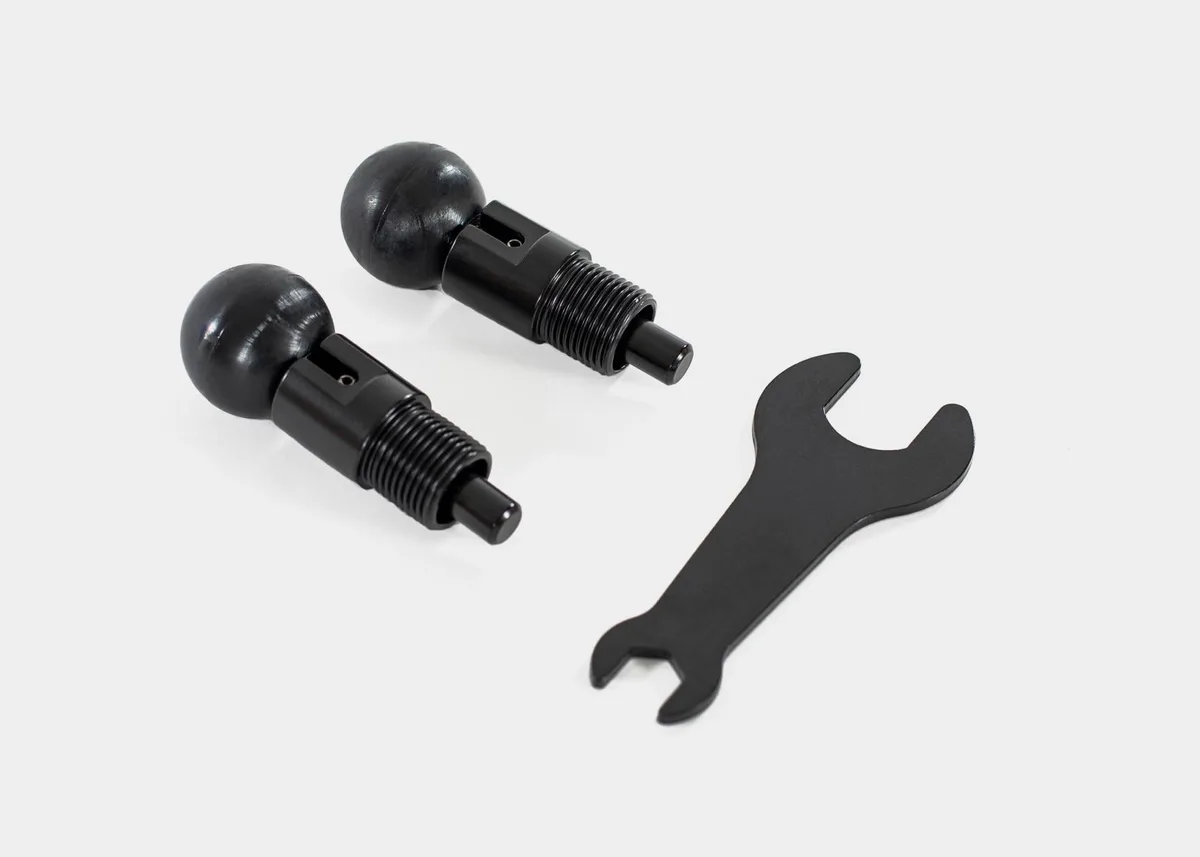
Image source: Bing (Web (fair-use with source credit))
Different reformer models use distinct footbar mounting designs. Find your machine type below and follow the dedicated repair method.
Method A: Fixing Mismatched Index Pins and Detent Plates (Studio & Classic Reformers)
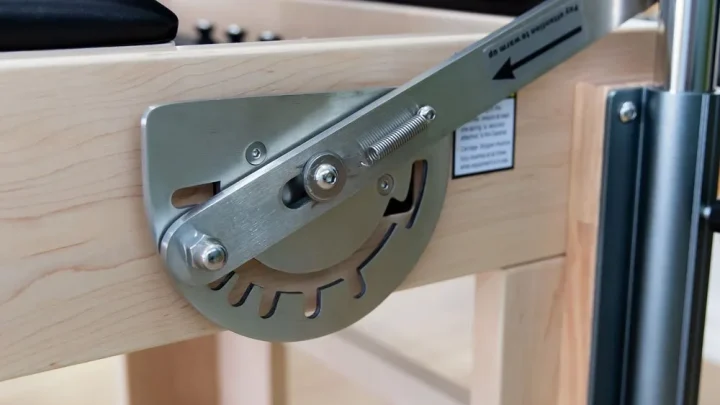
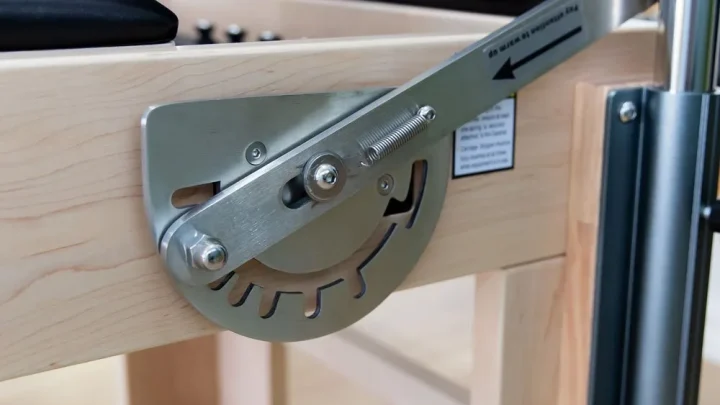
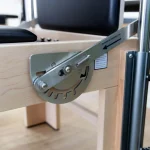
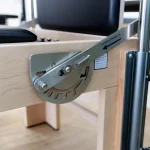
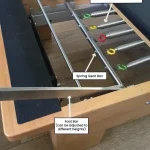
Fixed-bracket reformers use spring-loaded plunger pins that lock into slotted metal detent plates. This design is common on traditional studio wooden and metal frames.
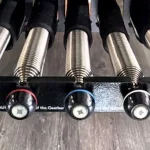
- Disengage the spring resistance by detaching all springs from the gearbar.
- Pull both indexing plunger pins out simultaneously.
- Count the position holes from the bottom of the plate upward on both sides.
- Release the pins and visually confirm that both pin shafts have fully entered the matching hole.
- Apply firm downward pressure to the top of the bar to ensure the pins do not slip.
If a plunger pin sticks halfway, spray a small amount of dry silicone lubricant into the pin housing. Avoid oil-based lubricants, which attract dust and reformer hair buildup.
Method B: Aligning Sliding Trunnions and Locking Cams (Continuous Track Systems)
Continuous-track reformers allow the footbar to slide horizontally along the frame rails via trunnion plates. If the locking levers engage unevenly, the bar tilts.
- Loosen the trunnion locking cam levers or knobs on both sides of the carriage.
- Slide the footbar assembly fully to the front head of the reformer frame until it contacts the end stops.
- Press both sides firmly against the frame end stops to square the brackets against the rails.
- Tighten the left and right locking levers with equal force.
- Slide the assembly back to your desired working position and lock it down.
If the footbar still dips on one side, check the trunnion mounting screws. Loosen them slightly, lift the low side to level the bar, and retighten the bolts in an alternating pattern.
Method C: Replacing Worn Rubber Bumpers and Damper Bushings
Rubber stop bumpers absorb impact when the footbar rests in its lower positions. Over time, repetitive pressure crushes the rubber on the dominant loading side.
- Unbolt the footbar pivot arm from the frame bracket using an Allen wrench and an open-ended wrench.
- Remove the old rubber bumper from the stop pin or bracket seat.
- Compare the thickness of the left and right bumpers. A crushed bumper will show visible flattening.
- Install a new manufacturer replacement bumper on both sides to maintain equal height.
- Reinstall the pivot hardware, applying a drop of medium-strength blue threadlocker to the bolt threads.
Never replace only one bumper. Always replace them in pairs so both sides settle at an identical height under load.
Method D: Straightening Hardware and Correcting Frame Racking
If your reformer frame shifts out of square during transport or aggressive workouts, the parallel tracks warp. This frame racking tilts the entire footbar bracket.
- Measure diagonally from the outer corner of the foot-end rail to the opposite head-end rail corner.
- Measure the opposite diagonal corner-to-corner distance.
- If the two measurements differ by more than 1/8 inch, loosen the frame crossbar bolts slightly.
- Gently shift the rails until both diagonal measurements match exactly.
- Retighten the frame bolts to manufacturer specifications, then verify that the footbar rests level across the rails.
Critical Alignment Metrics, Tolerances, and Torque Specs
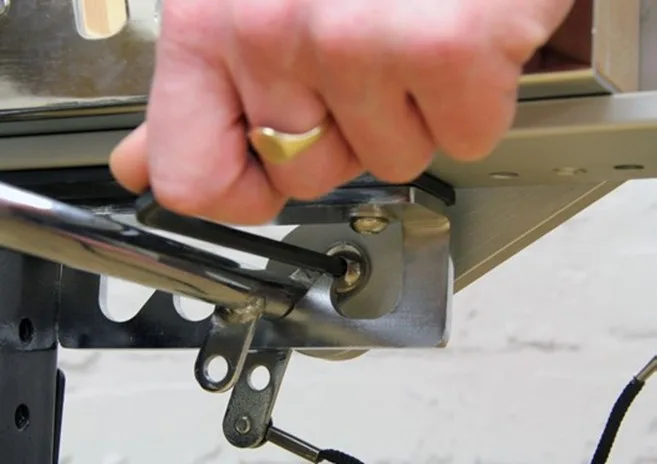
Image source: Bing (Web (fair-use with source credit))
Fixing a slanted footbar requires working within precise mechanical tolerances. Most manufacturers design reformer frames to maintain strict dimensional limits across all moving parts.
| Metric / Parameter | Standard Tolerance | Recommended Tool | Action if Out of Spec |
|---|---|---|---|
| Footbar Level Variance | Less than 1/16 in (1.5 mm) | Torpedo spirit level | Adjust trunnion bracket height |
| Diagonal Frame Difference | Max 1/8 in (3 mm) cross-corner | 25 ft tape measure | Loosen and square frame rails |
| Pivot Bolt Torque | 12 to 18 ft-lbs (16 to 24 Nm) | Torque wrench with hex bit | Re-torque to prevent joint slop |
| Trunnion Clamp Play | Zero perceptible vertical slip | Manual push test | Tighten cam lever adjustment nut |
Over-tightening pivot bolts crushes internal brass and nylon bushings. Under-tightening allows the support arm to lean outward under lateral tension. Using a dedicated torque wrench ensures your hardware clamps firmly without binding the rotation.
Common Mistakes That Strip Threads and Warp Footbars
Small alignment shortcuts can cause expensive mechanical damage over time. The most frequent error is adjusting only the low side of the bar. Raising one side without loosening the opposite pivot twists the horizontal tube, which bends the metal linkage rods.
Another common mistake is forcing stuck plunger pins with pliers. This rounds the pin edges and damages the internal spring detent. If a pin resists, relieve carriage spring tension first, then gently rock the bar backward to release mechanical pressure.
Finally, never use permanent red threadlocker on pivot bolts. Red formulas require high heat to remove and will ruin aluminum threads during future service. Stick strictly to medium-strength blue threadlocker, which holds against vibration but releases with standard hand tools.
Routine Maintenance Checklist to Keep Your Footbar Level
Preventing footbar tilt takes far less time than fixing a warped frame. A short maintenance schedule keeps your hardware seated properly and catches loose bolts early.
- Weekly Check: Wipe down the aluminum slider tracks with a clean microfiber cloth. Remove hair, dust, and excess sweat that can cause trunnions to catch.
- Monthly Check: Inspect both rubber stop bumpers for cracking, flattening, or grease buildup. Check that all indexing pull-pins snap back cleanly under spring pressure.
- Quarterly Check: Test all pivot bolts and trunnion mounting screws with a hex wrench. Retighten any hardware that has worked loose under client load.
- Annual Check: Measure frame diagonal squareness. Pull the pivot pins completely, inspect the bushings for grooving, and add fresh blue threadlocker before re-torquing.
Keeping a maintenance log near your reformer helps track part lifespans and ensures quick safety compliance.
Frequently Asked Questions About Reformer Footbar Repair
How do I know if my footbar is bent or just misaligned?
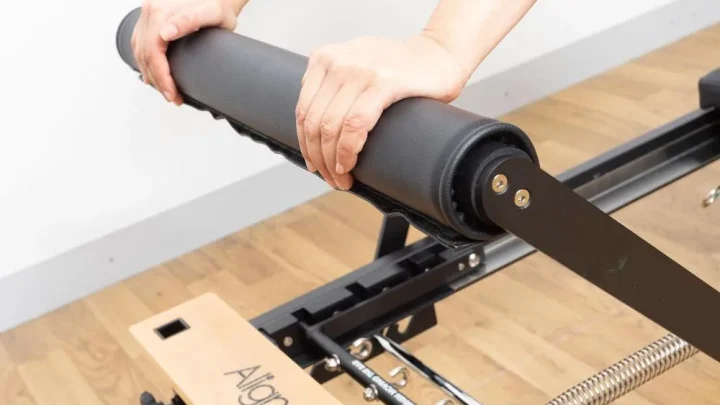
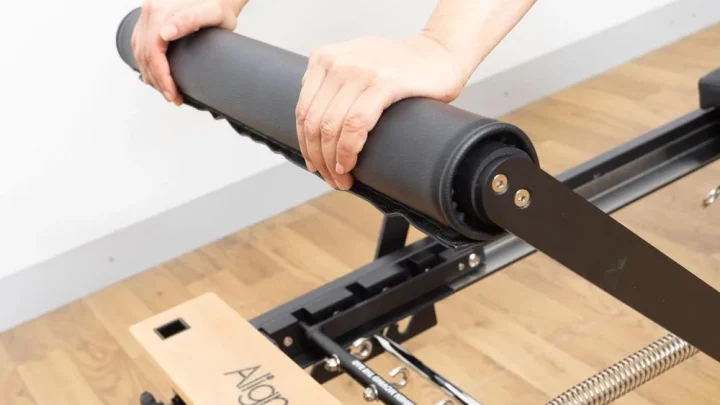
Remove the footbar assembly from the frame and place the main bar flat on a completely level floor. If the bar rocks diagonally or one arm lifts off the floor while the center rests flat, the metal tube is bent. If the bar sits flat on the floor, the issue is bracket alignment or uneven rubber stops.
Can I fix an uneven footbar without taking the whole machine apart?
Yes, you can fix most uneven footbars without full disassembly. Start by checking that both pull-pins rest in matching notch numbers. Next, loosen only the bracket bolts on the low side, lift the bar until level, and retighten the hardware.
Full disassembly is only needed when replacing crushed bushings or bent support rods.
Why does my footbar sink on one side only when I do footwork?
A footbar that drops under load usually has a worn indexing pin tip or a loose trunnion cam lever. Under body weight, the pin slips partially out of the detent hole, causing that side to drop. Tighten the cam adjustment nut or replace the spring-loaded plunger pin assembly to restore firm locking.
How often should I replace the rubber footbar bumpers?
Commercial studios should replace rubber footbar bumpers every twelve to eighteen months. For home users, bumpers generally last three to five years. Replace them immediately if you notice visible cracking, deep compression grooves, or if the footbar makes a loud metal clunk when dropping into position.
Always replace both sides together.

Similar Posts