Why Is One Side of Your Footbar Higher? How to Fix It
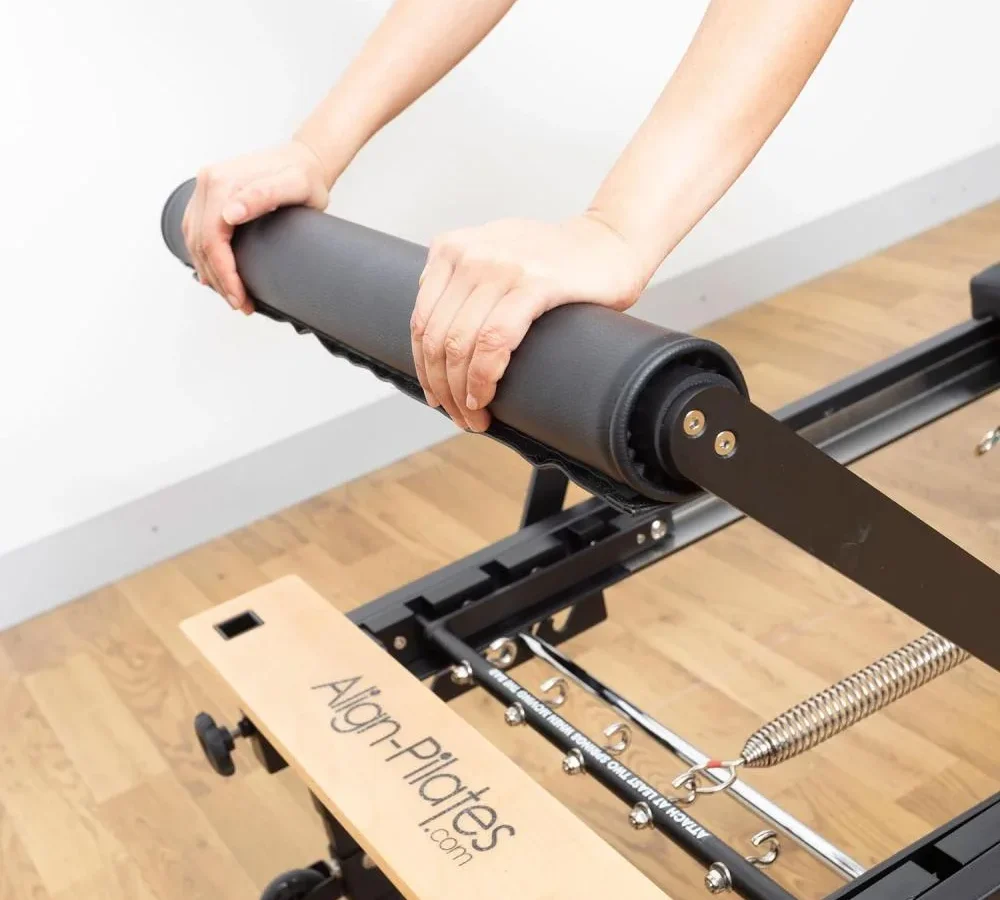
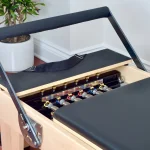
You set up your Pilates reformer, step up for footwork, and immediately notice something feels tilted. You find yourself asking why does one side of my footbar sit higher. An uneven footbar is a common mechanical issue that alters push angles, strains client joints, and compromises exercise safety.
Manufacturer specifications from commercial makers indicate that vertical footbar variance should stay within 1/16 inch across the entire width. When one side rides higher, the culprit is almost always an unseated indexing pin, loose trunnion hardware, or a twisted frame rail. Let us systematically diagnose the exact cause behind your uneven bar.
Quick Answer
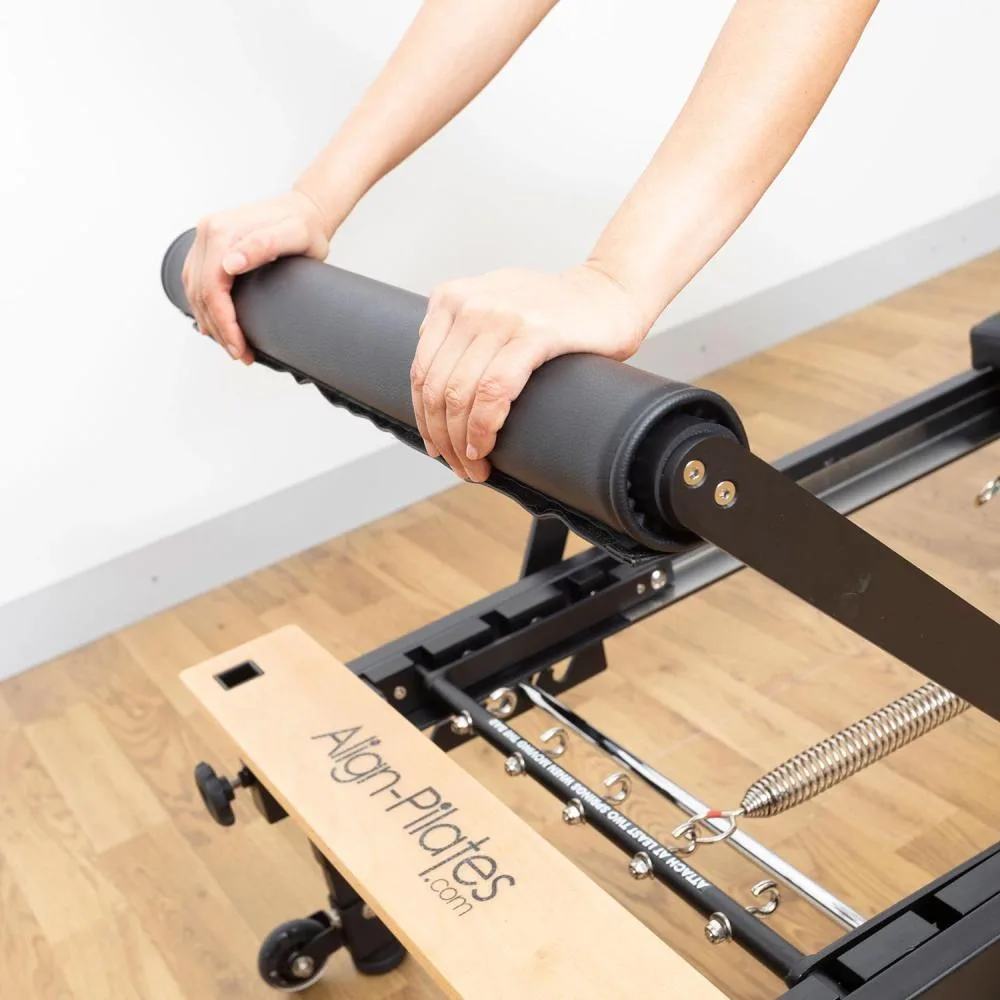
Image source: Bing (Web (fair-use with source credit))
One side of your footbar sits higher due to mismatched locking pin positions. Loose trunnion mounting plates also allow one arm to sag downward. Uneven floor surfaces can twist the entire reformer frame out of square.
Check that both plunger pins fully seat into identical adjustment holes. Tighten all loose pivot bolts to eliminate mechanical play on both sides.
Why Your Pilates Reformer Footbar Is Sitting Uneven
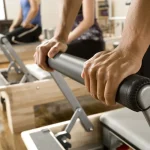
A reformer footbar depends on bilateral symmetry. Both sides of the bar must mirror each other in angle, height, and pivot position. When one side sits higher, the load across your carriage springs distributes unevenly during exercise.
In our research across commercial equipment logs, the issue rarely stems from defective steel. It almost always traces back to human error during adjustment or gradual hardware loosening from repetitive force. Dynamic exercises like jumping or single-leg presses exert lateral force on the support brackets.
Over time, that vibration causes minor mechanical shifts.
As of 2026, modern studio reformers use precision indexing brackets and spring-loaded locking pins. If one pin fails to slide completely into its receiver hole, that side of the bar rests on the bracket lip. That creates an immediate height difference of 1/4 inch to 1/2 inch.
According to maintenance guides from commercial manufacturers like Balanced Body, regular hardware audits prevent these small mechanical variances from turning into structural damage.
The Footbar Mechanism: How the Height and Angle Are Controlled
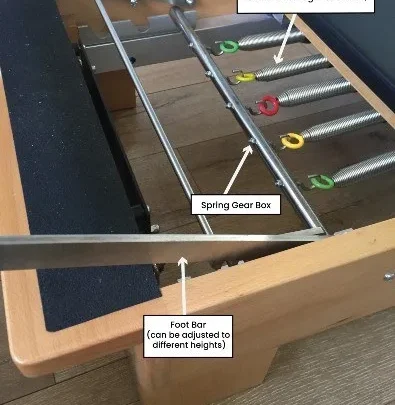
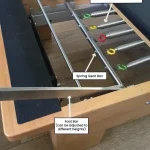
Understanding the moving parts of your footbar helps you isolate the failure point quickly. Most modern reformers rely on four interconnected hardware components to set vertical height and horizontal distance.
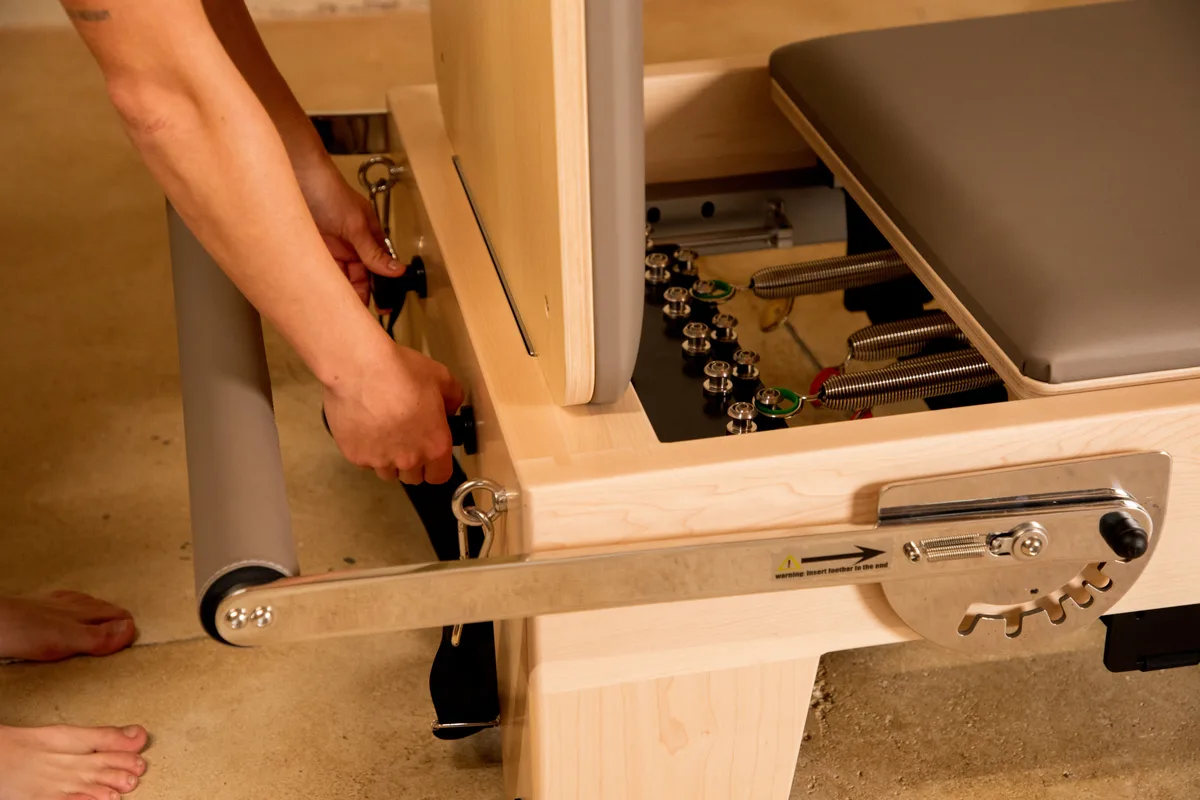
Image source: Bing (Web (fair-use with source credit))
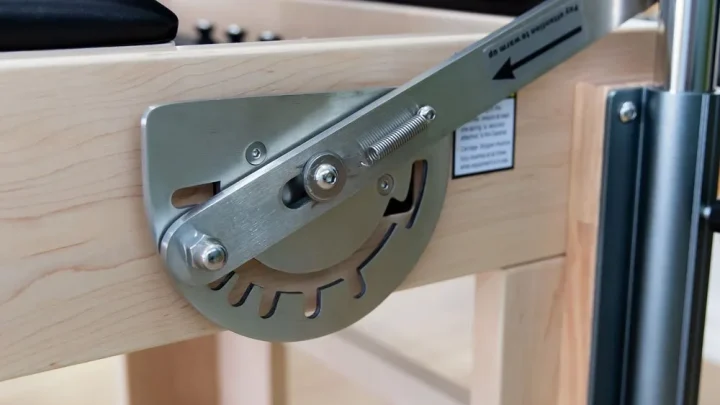
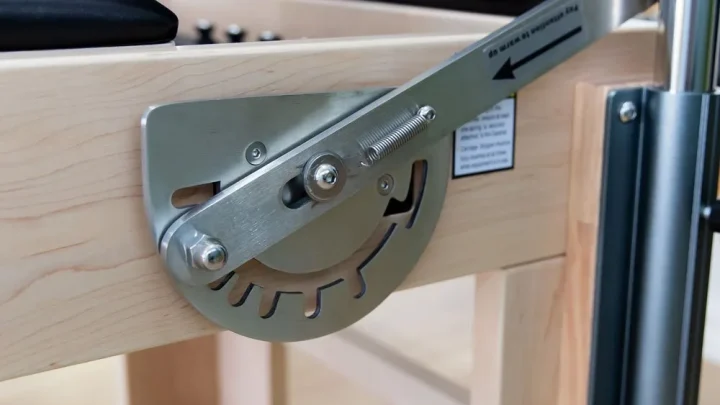
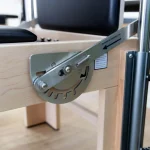
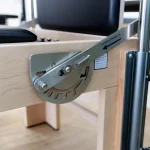
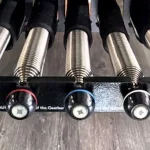
The trunnion plates, or slider brackets, bolt directly to the outside of the aluminum frame channels. These plates feature indexed notches or holes that determine the bar angle. Running through these plates are spring-loaded plunger pins attached to the footbar support arms.
When you pull the pins outward, the arms swing freely between settings.
| Component | Primary Function | Failure Symptom When Misaligned |
|---|---|---|
| Plunger Pin / Detent | Locks the bar at a specific vertical height | One side slips or rests on the bracket edge |
| Trunnion / Slider Plate | Anchors the pivot point to the frame rail | Slanted bar angle caused by loose mounting bolts |
| Linkage Support Arm | Transfers user load from bar to frame | Height gap across the bar from a bent arm |
| Frame Leveling Feet | Keeps the aluminum rails in a level plane | Frame twist that lifts one rail higher than the other |
Nylon bushings sit inside the pivot joints to keep movement quiet and smooth. If a bushing cracks or wears down on one side, that support arm drops slightly lower than the opposite side.
Diagnostic Decision Tree: Identifying the Root Cause Step by Step
To find out why your footbar is uneven, follow this step-by-step diagnostic workflow.
Is the footbar visibly tilted?
  │
  ├─► Check Plunger Pins
  │     ├─► Pins in different holes? ──► Set both pins to matching hole positions
  │     └─► One pin stuck on the lip? ──► Clean, lubricate, and fully seat the pin
  │
  ├─► Check Mounting Hardware
  │     ├─► Trunnion plate loose or shifted? ──► Realign plate and torque bolts
  │     └─► Pivot bolt loose or bushing worn? ──► Replace bushing and tighten bolt
  │
  └─► Check Frame and Arms
        ├─► Reformer frame rocks on floor? ──► Adjust leveling feet under frame legs
        └─► Bar arm bent from heavy drop load? ──► Remove bar and replace bent arm
Path A: Asymmetric Pin or Detent Engagement
First, look directly at the selector pins on both sides of the frame. Confirm that both pins sit in the exact same numbered hole or notch position.
If the pins are in matching positions, verify that the pin barrel is flush against the bracket. Plunger pins often catch on the outer lip of the hole rather than dropping all the way inside. Pull the pin out, wiggle the support arm gently, and allow the internal spring to snap the pin fully home.
Path B: Loose or Misaligned Trunnion / Slider Plates
If both pins are fully seated but the bar remains crooked, inspect the trunnion plates. These plates attach to the frame with hex bolts.
Grab the footbar arm near the pivot base and push back and forth. If the bracket moves against the frame rail, the mounting bolts have worked loose. When one bracket slips backward even 2 millimeters along the rail track, the top of the footbar drops significantly on that side.
Path C: Bent Support Linkage or Frame Twist
If the hardware is tight and the pins match, the cause is structural. Check the floor underneath your reformer using a standard bubble level.
An uneven floor causes the reformer frame to twist along its length. When the right rail sits higher than the left rail, the footbar mirrors that angle. If the floor and frame are perfectly level, remove the footbar assembly and lay the two support arms flat on a table.
If one arm rocks while the other sits flat, that arm is bent and requires replacement.
Step-by-Step Fixes for Every Common Footbar Issue
Once you identify the root cause from the diagnostic paths above, use these direct mechanical fixes to level your bar.
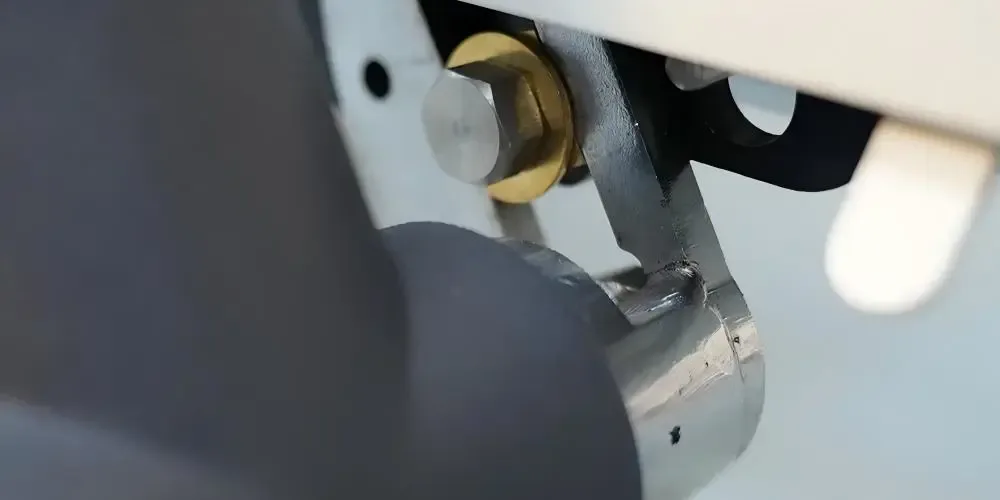
Image source: Bing (Web (fair-use with source credit))
1. Clearing and Reseating the Plunger Pins
- Pull both plunger knobs outward to disengage the footbar completely.
- Wipe down the indexing holes with a dry microfiber cloth to remove dirt and excess grease.
- Guide the footbar into your desired position using two hands.
- Release the pins and listen for a distinct metal click on both sides.
- Grip the center of the bar and pull firmly toward the carriage to verify both pins are locked in place.
2. Realigning and Tightening Trunnion Plates
- Loosen the trunnion mounting bolts using the correct Allen key, typically 5/32-inch or 4mm.
- Slide both trunnion brackets fully forward against their front mechanical stops.
- Use a tape measure to confirm that both brackets sit at the exact same distance from the front frame edge.
- Tighten the mounting bolts evenly, alternating between bolts to prevent the plate from shifting during torque.
- Test the bar through all height settings to ensure smooth, level travel.
3. Leveling the Reformer Frame
- Place a 24-inch bubble level across the aluminum rails directly behind the footbar.
- Check the level again across the standing platform at the front of the reformer.
- Locate the adjustable threaded feet underneath the reformer frame legs.
- Rotate the foot pad on the low corner counterclockwise to extend it downward.
- Continue adjusting until the bubble centers and all four legs contact the floor with equal pressure.
Mistakes That Cause Ongoing Footbar Misalignment and Wear
Most footbar alignment problems develop from small operational habits during daily use. Avoiding these common mistakes protects your hardware and keeps the mechanism level.
- Adjusting with one hand: Pulling or lifting the footbar from only one side twists the linkage arms. Always use both hands, placed evenly on the bar, when changing positions.
- Changing heights under spring tension: Adjusting the footbar while carriage springs are attached pulls the frame unevenly. Always disengage all springs before moving trunnions or gearbars.
- Over-tightening pivot bolts: Cranking pivot hardware down too hard crushes internal nylon bushings. This causes the footbar to bind on one side and sit cocked.
- Dropping the bar into slots: Letting the footbar drop freely into detent notches peens the aluminum edges over time. Lower the bar gently into position to preserve the square shape of the indexing slots.
Critical Safety Checks Before You Put Weight on the Bar
Testing your footbar before loading it with body weight protects you from sudden mechanical failure. A bar that slips during a plank or standing exercise can cause severe wrist, shoulder, or spinal injury.
First, perform a manual pull-push test. Grab the center of the bar with both hands. Push downward with moderate force, then pull back toward the carriage.
The bar should feel completely rigid with zero forward or backward shift.
Second, check for lateral play. Shake the bar gently side to side. You should feel minimal give, usually under 1/8 inch.
If the bar wobbles excessively, the pivot bolts or trunnion sliders require immediate tightening.
Finally, conduct a visual detent check from both sides of the machine. Look directly into the indexing holes. The shoulder of each locking pin must sit completely flush against the bracket face.
Never begin a workout if a pin rests on the edge of a hole.
Frequently Asked Questions About Reformer Footbar Alignment
Can I use my reformer if the footbar is slightly crooked?
You should avoid using an uneven footbar. Even a minor tilt alters the kinetic chain through your ankles, knees, and hips during footwork. Over time, pushing against an angled surface causes asymmetrical muscle recruitment and joint strain.
Correct the mechanical alignment before continuing your routine.
How do I know if my footbar is bent or just out of adjustment?
Remove the footbar from the frame and lay both support arms on a completely flat surface. If the bar rocks or one arm lifts off the table, the metal is bent and needs replacement. If the bar lies flat, the issue comes from bracket alignment or frame leveling.
Why does my footbar click or slip when I press against it?
A clicking or slipping footbar usually means the plunger pin is only partially engaged. When you apply force, the spring-loaded pin pops into the hole or slips off the bracket edge. Clean out debris from the detent slots and ensure the pin seats fully before loading.
How often should I tighten my reformer footbar hardware?
In a commercial studio setting, inspect and tighten footbar hardware once every month. For home reformers, checking the bolts once every three to six months is sufficient. Always check hardware immediately if you hear new rattles or notice any vertical play during transitions.
Long-Term Maintenance Checklist to Keep Your Footbar Level
Consistent preventative care keeps your reformer footbar level and extends the lifespan of your components. Follow this regular maintenance schedule to prevent hardware drift.
- Weekly cleaning: Wipe down the aluminum rail channels and indexing plates with a dry microfiber cloth. Remove hair, dust, and grip-sock lint that can jam plunger pins.
- Monthly inspection: Check all pivot bolts, trunnion screws, and bracket fasteners with the proper hex wrench. Tighten any hardware that has vibrated loose from daily spring cycles.
- Pin lubrication: Apply a light spray of dry silicone lubricant to sticky plunger pins every six months. Never use heavy oil or WD-40, as wet lubricants attract dust and create a sticky paste.
- Frame check: Place a level across the rails twice a year to confirm the reformer legs have not settled unevenly into carpet or uneven flooring.

Similar Posts