How to Check Reformer Footbar Alignment the Right Way
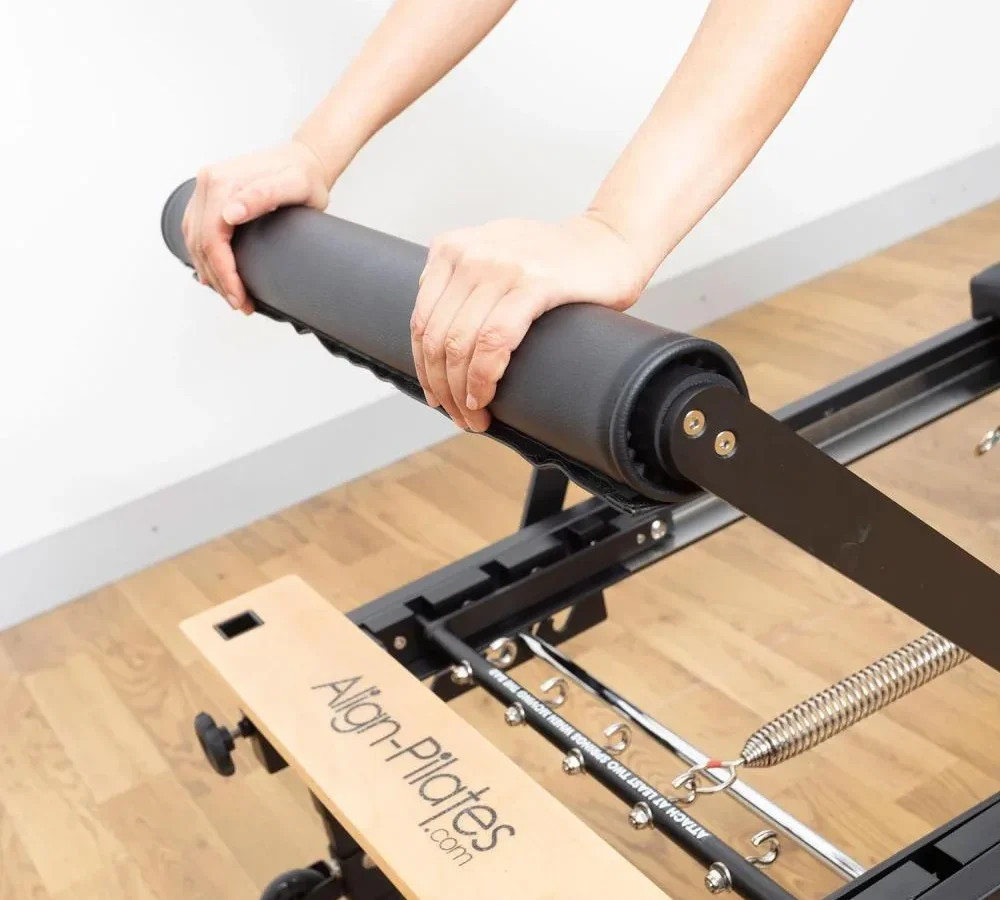
When a reformer footbar sits crooked, every push sends uneven torque straight through your hips, knees, and ankles. Learning how to check reformer footbar alignment protects your joints and keeps your equipment operating smoothly. A misaligned bar also causes the carriage to track sideways against the rails over time.
Commercial fitness standards under ASTM International guidelines for fitness equipment recommend inspecting structural load bars regularly for parallel tolerance. Even a 2-millimeter skew across the bar width creates measurable kinetic imbalance during heavy jump board work. Let us look at what a square bar requires and how to measure it accurately.
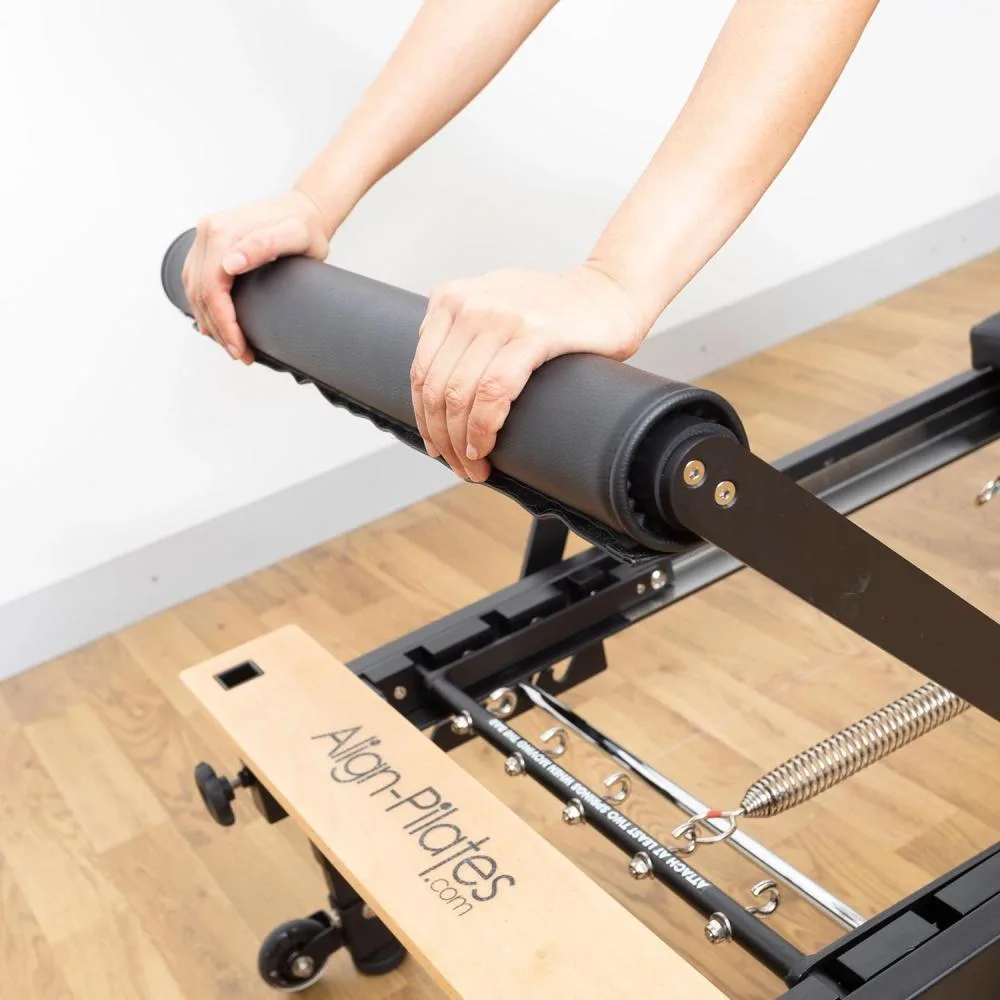
Image source: Bing (Web (fair-use with source credit))
Quick Answer
To check reformer footbar alignment, measure the distance from the carriage front to both ends of the bar. Both sides should match within 1/16 inch. Next, verify that locking pins seat fully into frame slots without sticking.
Finally, sight down the frame rails to confirm the bar sits parallel to the carriage.
Why Footbar Misalignment Compromises Safety and Biomechanics
A misaligned footbar changes how force travels through your kinetic chain. When one side sits forward by even a fraction of an inch, your pelvis rotates slightly to compensate. Over weeks of footwork, that twist places asymmetrical strain on your sacroiliac joints, lower back, and knees.
Equipment wear accelerates when the bar is out of square. Pushing unevenly against the footbar causes the carriage to twist slightly inside the aluminum channels. That lateral thrust grinds down guide wheels and chews through track coatings unevenly.
Safety risks increase dramatically when footbar pins do not engage equally. If one plunger pin rests on the edge of an indexing hole rather than locking inside it, heavy dynamic loading can trigger a sudden collapse. Routine calibration keeps your practice safe and prevents costly mechanical repairs.
Visual Reference Points: How a Square Reformer Footbar Should Look
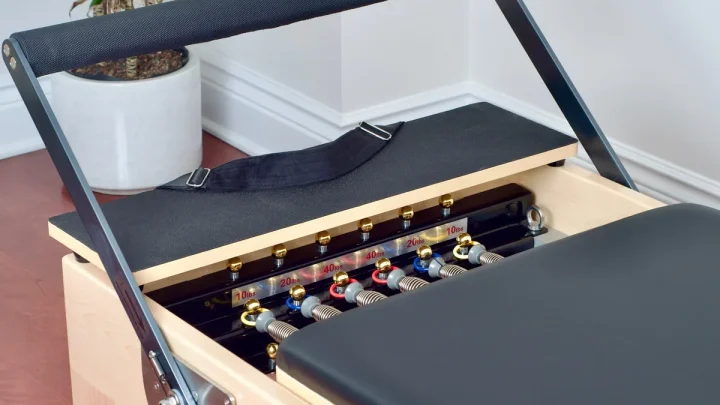
You can spot most alignment issues with a quick visual scan before you grab any tools. Stand directly at the foot end of the machine and look down the length of the frame.
+-------------------------------------------------------------+
|                 VISUAL ALIGNMENT BENCHMARKS                 |
|                                                             |
|  [Footbar Horizontal]  ==== MUST BE LEVEL ====              |
|                                |                            |
|  [Left Frame Gap]            Carriage             [Right Gap]
|      (Equal)           |==============|             (Equal) |
|                                |                            |
|  [Left Plunger Pin]   ==== Fully Seated ====   [Right Pin]  |
+-------------------------------------------------------------+
Here are the visual cues to verify on a calibrated reformer:
- Horizontal Level: The top padded bar must run parallel to the standing platform and the floor.
- Carriage Gap: The space between the footbar uprights and the front edge of the carriage should look identical on both sides.
- Pin Depth: Locking pins on both trunnions must sit flush against their selector plates.
- Plumb Lines: The vertical upright tubes should form clean right angles with the side rails.
Tools and Quick Tolerances Needed for Alignment Checks
Precise checks require simple household tools. You do not need specialized workshop gear to verify factory tolerances.
| Diagnostic Tool | Measurement Purpose | Acceptable Tolerance |
|---|---|---|
| Steel Tape Measure | Left vs. right carriage-to-bar distance | Variance $\le 1/16$ inch (1.5 mm) |
| Framing Square (Carpenter's Square) | Upright perpendicularity to side rail | Deviation $< 0.5^\circ$ |
| Digital Angle Finder / Torpedo Level | Crossbar level relative to machine frame | $\pm 0.2^\circ$ across width |
| Hex / Allen Key Set | Trunnion pivot bolt and bracket tension | Fully snug to factory torque |
| Feeler Gauge or Coin | Pin clearance and bracket play | Free play $\le 1.0$ mm |
As of 2026, most commercial studios inspect their alignment monthly to catch hardware drift early.
Step-by-Step Footbar Alignment Verification Process
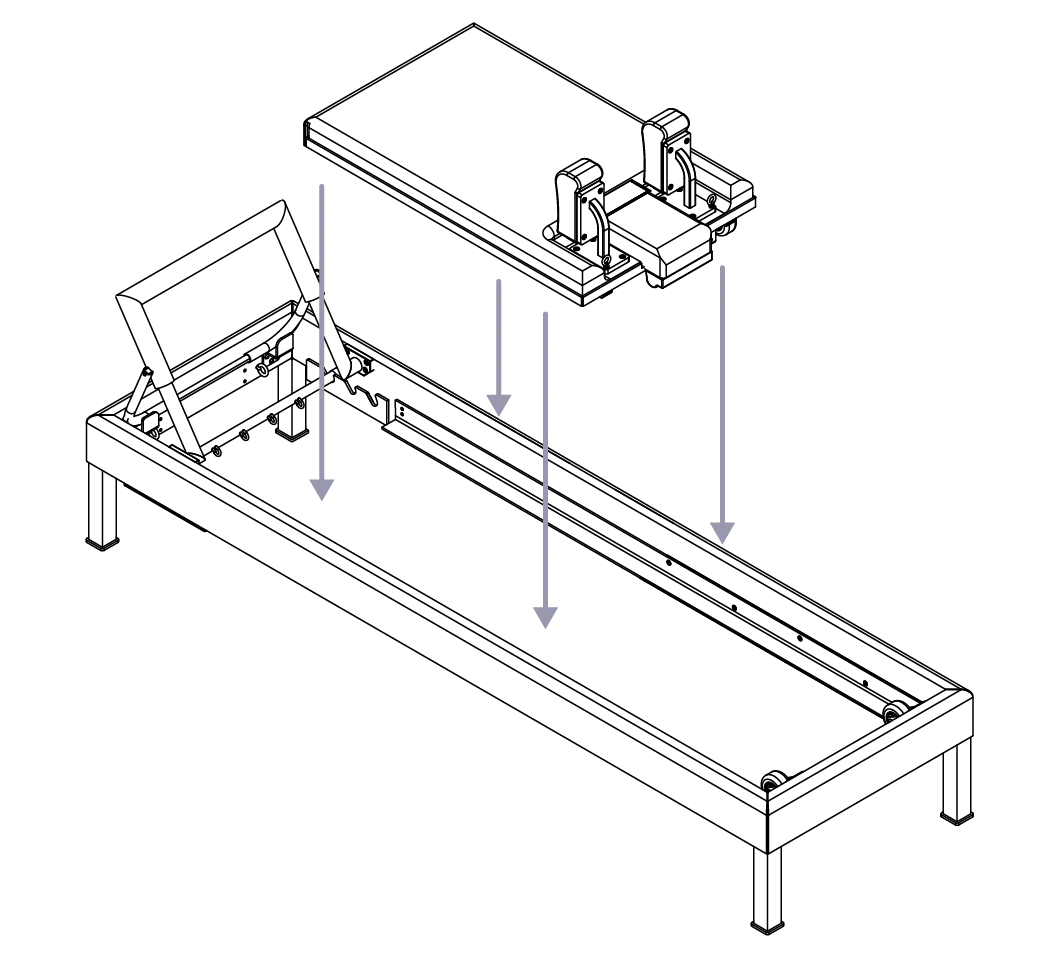
Image source: Bing (Web (fair-use with source credit))
Follow these five practical steps to audit your footbar setup from top to bottom.
Step 1: The Standing Horizon and Parallel Sight Check
Start by standing four feet back from the foot end of your reformer. Drop your eye level so it lines up with the top rail of the footbar. Compare the line of the bar against the horizontal edge of the carriage bed.
Both lines should run completely parallel. If one side slopes downward, a pin might be improperly locked, or a trunnion bracket may have slipped out of position.
Step 2: The Carriage-to-Bar Offset Measurement
Hook the end of your steel tape measure onto the front edge of the wooden or aluminum carriage frame. Pull the tape directly to the center of the footbar padding on the left side. Record the exact distance down to the millimeter.
Repeat this measurement on the right side from the exact same reference point. Compare the two numbers. A difference greater than 1/16 inch indicates that the bar is cocked forward on one rail.
Step 3: Squaring the Uprights Against the Side Rails
Place the long arm of a framing square flat against the top edge of the aluminum side extrusion. Slide the short vertical arm directly against the footbar upright tube.
Look for any daylight between the square and the upright tube. The tube should sit flush against the square. Repeat on the opposite side to make sure neither arm is twisted inward or outward.
Step 4: Testing Locking Pin Seating and Lateral Play
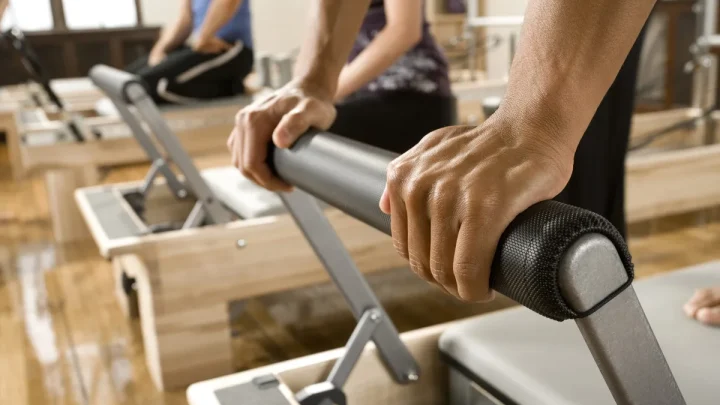
Grasp the middle of the footbar and apply gentle side-to-side force. Watch the locking pins where they enter the indexing plates.
The pins should remain firmly seated inside their holes. If the bar shifts sideways more than 1 millimeter, the trunnion bolts may need tightening, or the detent springs might be worn.
Step 5: Multi-Position Elevation and Slider Cycling
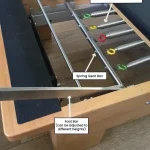
Adjust the footbar through every height notch available, from high down to flat. At each notch, confirm that both plunger pins click firmly into position simultaneously.
If your reformer has a sliding footbar track, slide the assembly along the rail channels. It should glide freely without catching or binding on either side.
Alignment Mechanisms Across Major Brands: Balanced Body, Merrithew, and Peak
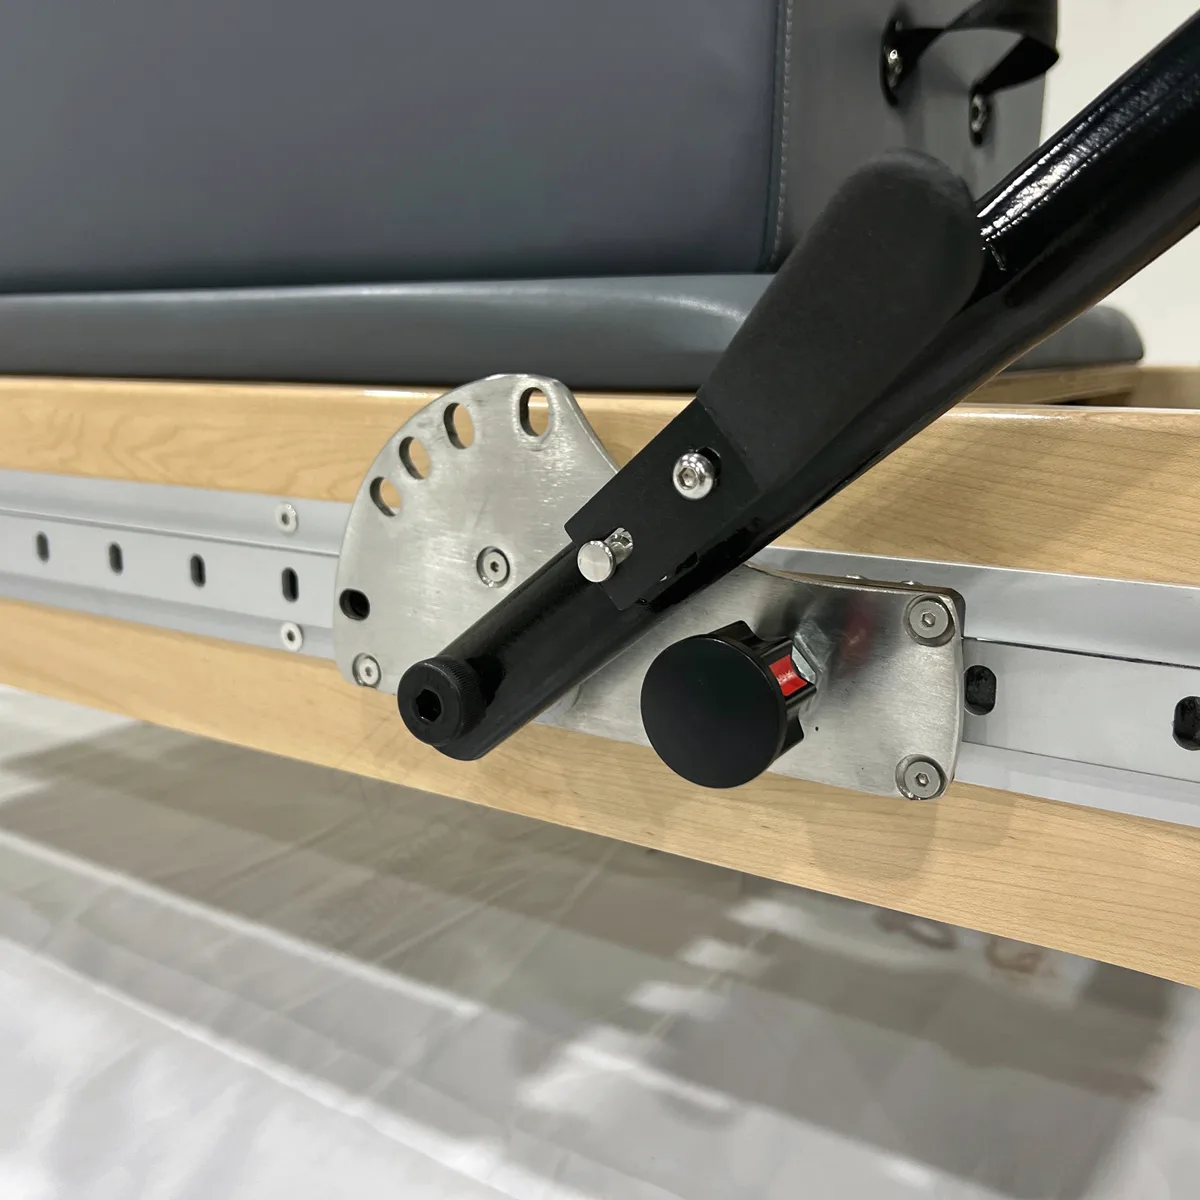
Image source: Bing (Web (fair-use with source credit))
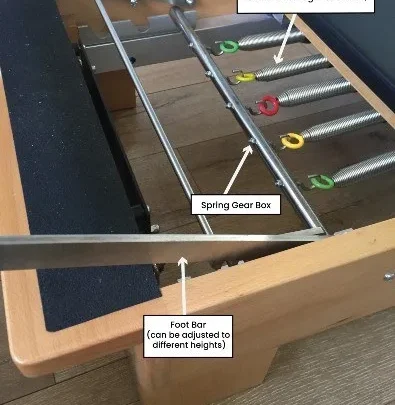
Different manufacturers use distinct mechanical designs to lock and position their footbars.
Balanced Body Systems
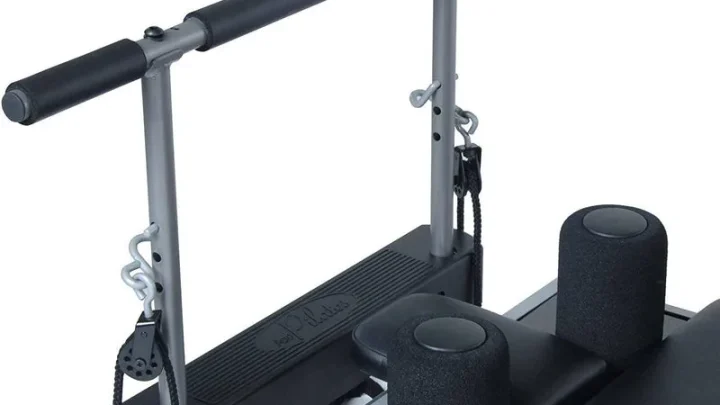
Balanced Body reformers, such as the Studio Reformer and Allegro series, use Revo or Infinity footbar designs. The Revo bar uses a locking trunnion handle paired with a movable gearbar.
Alignment issues here usually stem from uneven sliding brackets along the lower C-channel. Make sure both slide markers line up with the same numbered detent on the side rails.
Merrithew / STOTT PILATES Systems
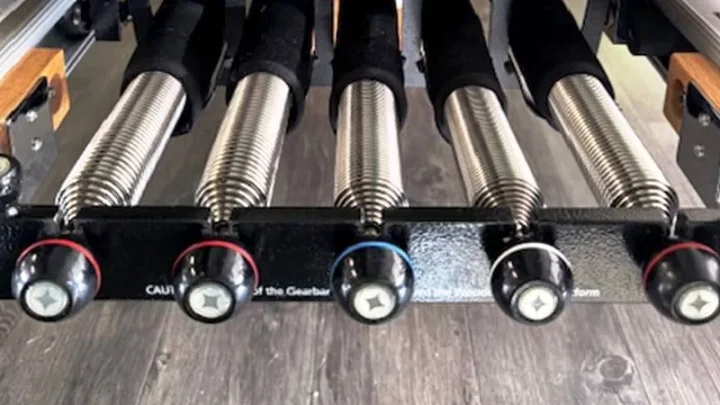
Merrithew V2 Max and traditional reformers feature a multi-position gearbar with indexed drop slots. The bar rests directly inside notched steel cradles.
Misalignment on these machines typically happens when one arm slips out of its cradle notch. Always ensure both support rods rest in matching numbered slots before loading the bar.
Peak Pilates Systems
Peak Pilates models often utilize a 4-position footbar or an articulating slide bar with positive-locking pins. The upright brackets mount directly to outer trunnion plates.
Check that the dual locking knobs on sliding models are tensioned equally. Uneven tension allows the looser side to drift backward under load.
Common Alignment Mistakes and How to Fix Subtle Twists
The most frequent alignment error is the single-pin drop. This happens when an instructor or client adjusts the footbar quickly and only one pin fully engages. The higher pin takes the full mechanical load, which twists the steel crossbar under body weight.
Another common mistake is tightening pivot bolts while the bar sits cocked. If you tighten the hardware without checking squareness first, you lock that twist directly into the frame.
+-------------------------------------------------------------+
|               HOW TO CORRECT A TWISTED FOOTBAR              |
|                                                             |
|  1. Loosen Trunnion Pivot Bolts (1-2 turns each side)       |
|  2. Drop Footbar into Lowest Level to Seat Pins Flush       |
|  3. Measure Left and Right Carriage Offsets                 |
|  4. Tighten Hardware in an Alternating Pattern (Left/Right) |
|  5. Re-check Parallel Gap with Tape Measure                 |
+-------------------------------------------------------------+
To correct a subtle twist, loosen the main trunnion mounting bolts on both sides by two turns. Drop the bar into the lowest notch so both plunger pins seat completely. Measure the carriage offset on both sides to verify parallel placement.
Tighten the bolts in an alternating pattern, applying equal torque to each side.
Routine Footbar Maintenance and Safety Inspection Protocol
Regular maintenance prevents alignment drift before it compromises client safety. Facility guidelines from organizations like the Pilates Method Alliance recommend logging equipment audits to protect users and preserve commercial gear.
Follow this simple maintenance schedule to keep your footbar in prime condition:
- Daily Session Sweeps: Visually confirm that both plunger pins sit fully inside their matching gear slots. Wipe down the vinyl or rubber padding with a gentle, alcohol-free cleaner.
- Weekly Track Cleaning: Wipe the inside of the aluminum slide channels with a clean microfiber cloth. Remove accumulated dust, hair, and grip sock lint that can force slider brackets out of alignment.
- Monthly Hardware Audits: Use your tape measure and framing square to verify the 1/16-inch tolerance. Snug down any loose pivot bolts, bracket screws, or detent collar assemblies.
- Semi-Annual Pin Inspection: Check internal plunger springs for tension loss. Replace worn detent pins immediately if you notice sluggish return action or rounded locking tips.
Never apply heavy wet lubricants or WD-40 inside the slide tracks. Wet oils attract dirt and lint, creating a thick sludge that jams slide collars and forces the bar out of square.
Frequently Asked Questions About Reformer Footbar Calibration
How often should you check footbar alignment?
Check the footbar visually before every workout to make sure locking pins are fully engaged. Perform a measured audit with a tape measure once a month in commercial studios. For home reformers, checking alignment every three to six months is usually sufficient.
Why does my footbar rattle or feel loose?
A rattling footbar usually points to loose trunnion pivot bolts or worn plunger pins. Tighten the side shoulder bolts using the correct Allen key. If the lateral play exceeds 1 millimeter after tightening, replace the internal locking pin springs or worn bracket bushings.
Can an uneven footbar cause knee or hip pain?
Yes. An uneven footbar forces one leg to work from a slightly different angle and depth than the other. Over repetitive cycles of footwork and jumping, this asymmetry places torsional stress on the knees, pelvis, and lumbar spine.
What should I do if the footbar is bent?
If the horizontal steel or aluminum crossbar is visibly bent, replace it immediately. Straightening a bent structural bar weakens the metal and creates a severe failure risk under heavy bodyweight exercises. Contact the reformer manufacturer to order an authentic replacement assembly.
Should I use lubricant on reformer footbar sliders?
Avoid wet greases and oils because they attract studio dust and hair. Clean the sliding tracks with a dry microfiber cloth or a light spray of isopropyl alcohol instead. If lubrication is needed, use a dry silicone spray sparingly and wipe away all excess residue.

Similar Posts