How to Center a Reformer Footbar: Step-by-Step
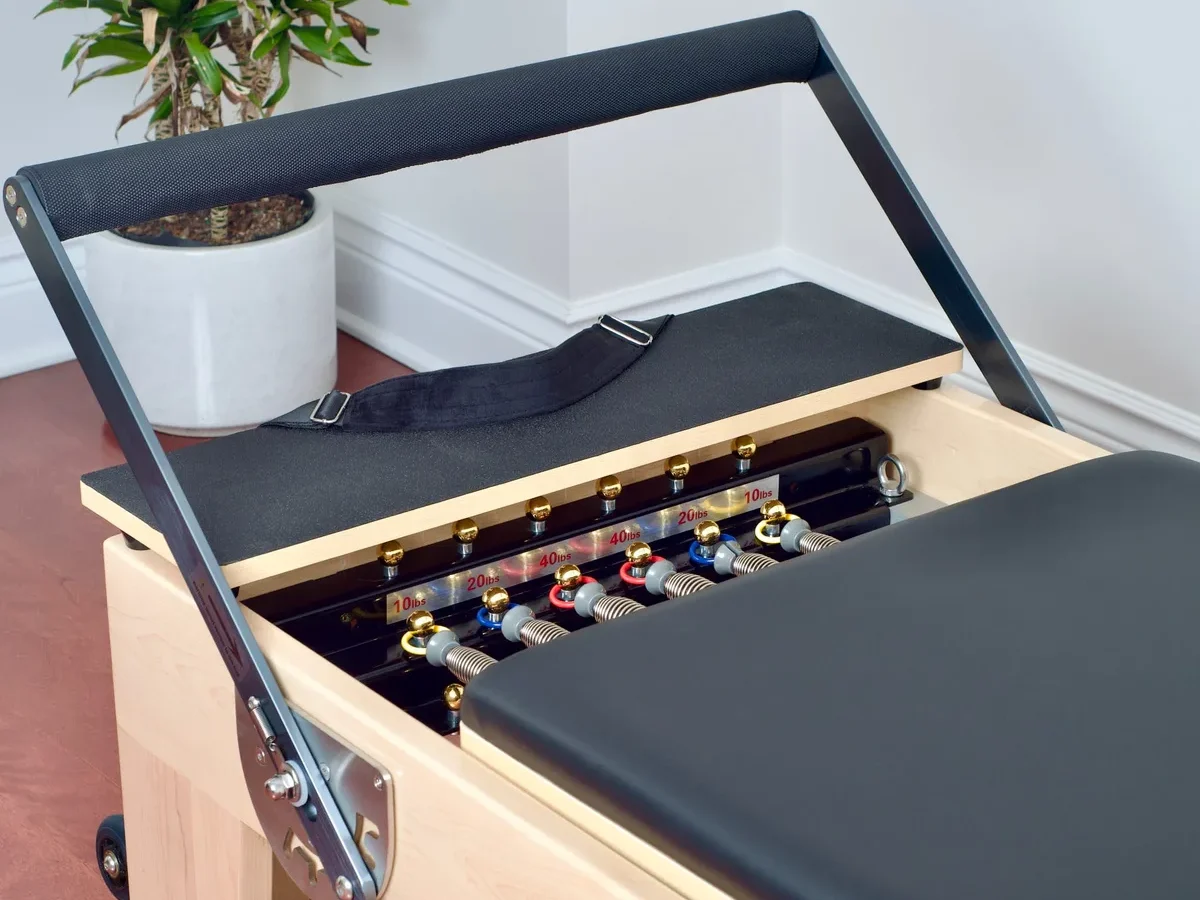
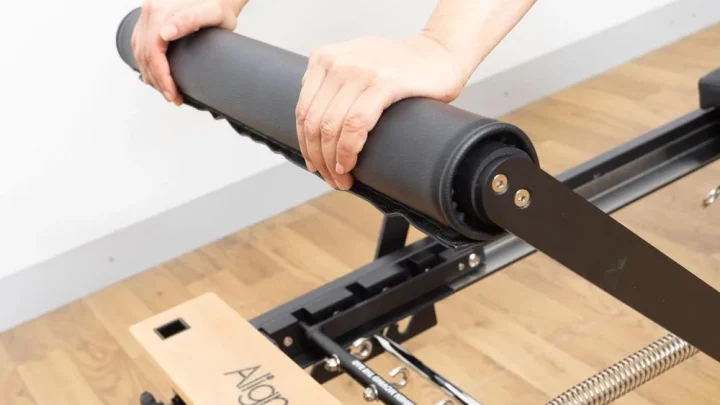
If your reformer carriage scrapes the frame or your bar feels crooked during footwork, you need to know how to center a reformer footbar safely. An off-center footbar causes uneven joint loading and accelerates track wear. Correcting this alignment restores smooth carriage travel and keeps your workouts balanced.
Manufacturer specifications indicate that lateral play should never exceed 1/16 inch (1.5 mm) across the frame width. Studio equipment maintenance guidelines as of 2026 emphasize symmetrical rail tolerances to prevent long-term structural fatigue. Let us look at why this drift happens and the exact steps to fix it.
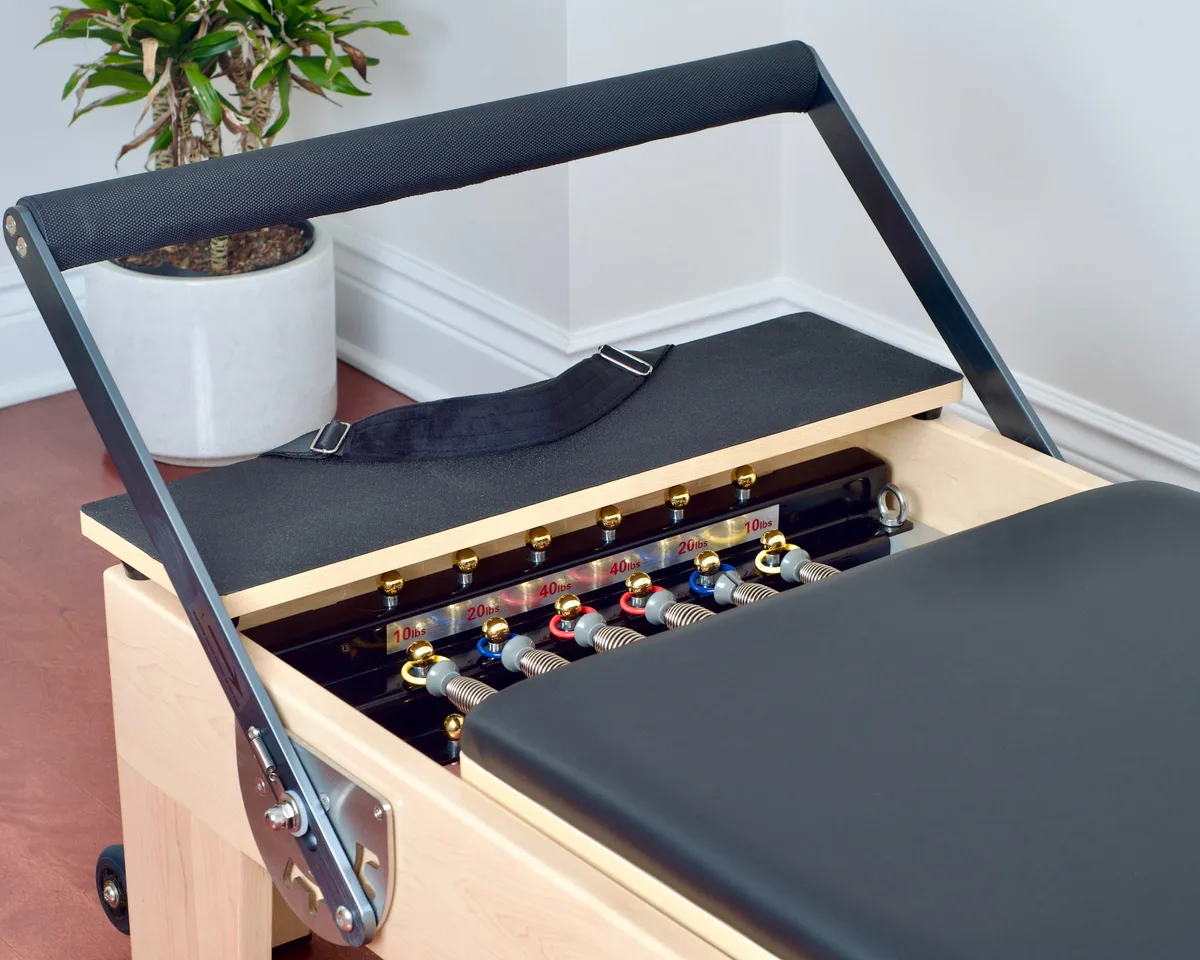
Image source: Bing (Web (fair-use with source credit))
Quick Answer
To center a reformer footbar, loosen the pivot bracket mounting bolts slightly on both rails. Measure the distance from the carriage edge to the bar on each side. Shift the footbar cross-axis until both measurements match exactly.
Tighten the hardware in an alternating pattern to prevent twisting. Test the indexing pins to confirm full engagement before adding spring tension.
Why Your Reformer Footbar Shifts Off-Center
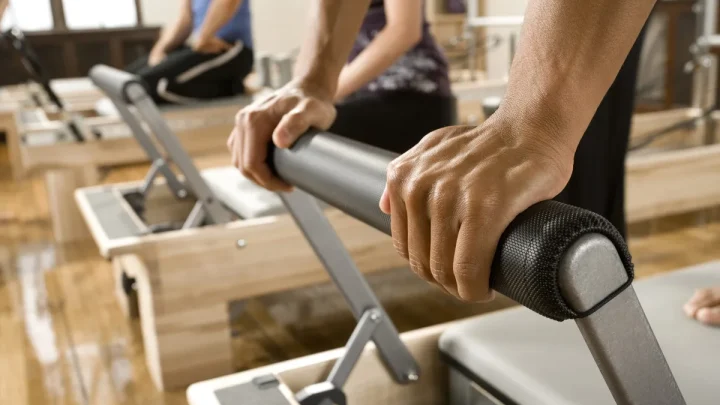
Footbars endure significant lateral and downward pressure during workouts. Over time, regular use causes the mounting hardware to creep along the frame extrusions.
The primary cause of footbar drift is asymmetrical loading. Most users naturally push harder with their dominant leg during heavy footwork or jumping exercises. This repetitive, single-sided force shifts the indexing brackets over several months of use.
Hardware vibration also plays a major role. Every time a footbar drops into an adjustment notch or changes angle, micro-vibrations loosen the locking collars. As the bolts lose tension, the pivot arms slide sideways on their bushings.
Frame racking can also mimic a crooked footbar. If your reformer sits on an uneven floor, the two side rails twist out of parallel alignment. This twist makes a perfectly straight footbar sit crooked relative to the carriage.
Diagnostic Decision Tree: Identifying Your Footbar Mechanism
Before adjusting any hardware, you must identify your specific mechanism. Different brands use distinct mechanical systems to secure the footbar.
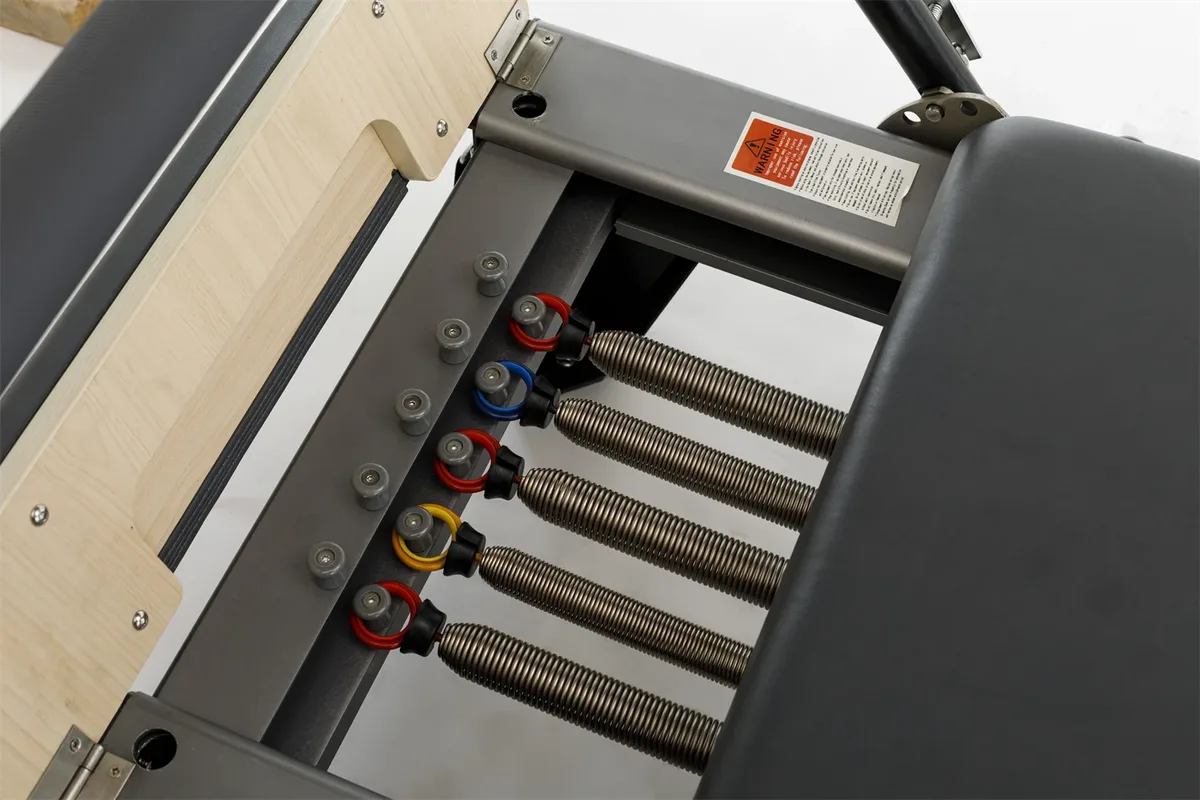
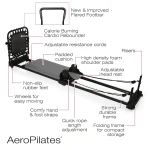
Image source: Web (Bing) / alibaba.com (Web image (fair-use with source credit))
Follow this simple diagnostic flow to determine your system:
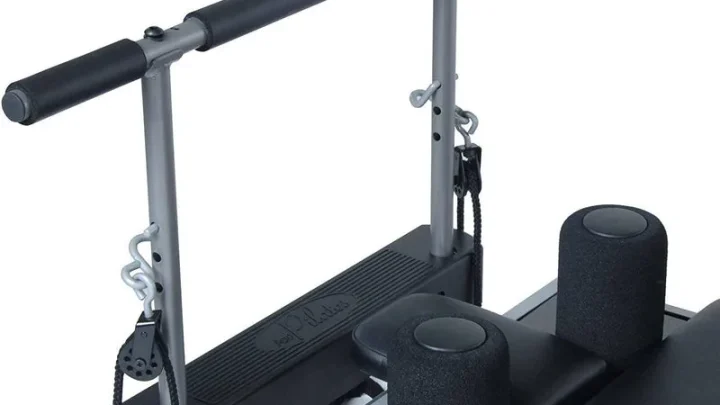
- If your footbar slides horizontally along the outer aluminum channels on rolling brackets, you have a Sliding Trunnion System (common on modern studio commercial reformers).
- If your footbar uses spring-loaded pull-pins that pop into numbered holes along the top or side frame, you have a Plunger Pin Indexing System.
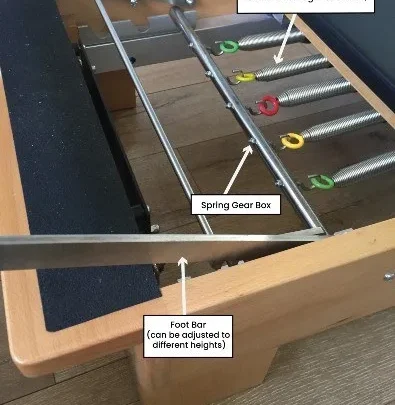
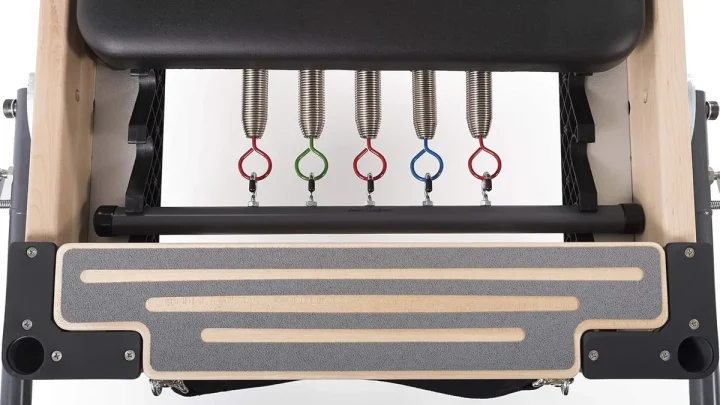
- If your footbar rests freely inside a notched metal bracket beneath the carriage springs, you have a Gearbar Slot System (standard on classical and legacy wooden reformers).
| Footbar System Type | Common Equipment Models | Primary Adjustment Hardware | Primary Alignment Point |
|---|---|---|---|
| Sliding Trunnion | Balanced Body Studio, Allegro 2 | Allen bolts on trunnion clamp plates | Outer rail channel gaps |
| Spring Plunger Pin | Merrithew SPX Max, Pro Reformers | Threaded plunger housings and pivot bolts | Index hole pin depth |
| Gearbar Drop-In | Gratz, Peak Pilates Classical | Gearblock locator pins and swing arm bolts | Gearbar notch centering |
Tools and Preparation Checklist
Centering your footbar requires basic hand tools and a clean work area. Gathering the correct items beforehand keeps the calibration fast and accurate.
Required Tools
- Hex key set (specifically 5/32-inch, 3/16-inch, 4mm, and 5mm)
- Open-end wrench set (7/16-inch, 1/2-inch, or 10mm to 13mm)
- Precision tape measure or steel ruler
- Dry PTFE silicone lubricant spray
- Microfiber cleaning cloth
Safety and Setup Steps
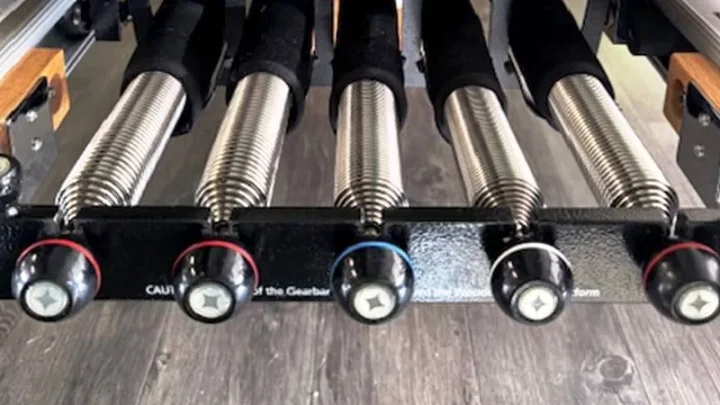
First, remove all springs from the gearbar. Disengaging the springs prevents the carriage from moving unexpectedly while your hands are near the frame tracks.
Next, push the carriage to the back stops. Wipe down the aluminum rails with your microfiber cloth to remove hair, dust, and old grease. Dirt trapped in the track can throw off your measurements.
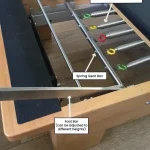
Check that the reformer frame is level. Place a level across the two side rails near the footbar end. If the frame rocks, adjust the leveling feet beneath the legs before touching the footbar hardware.
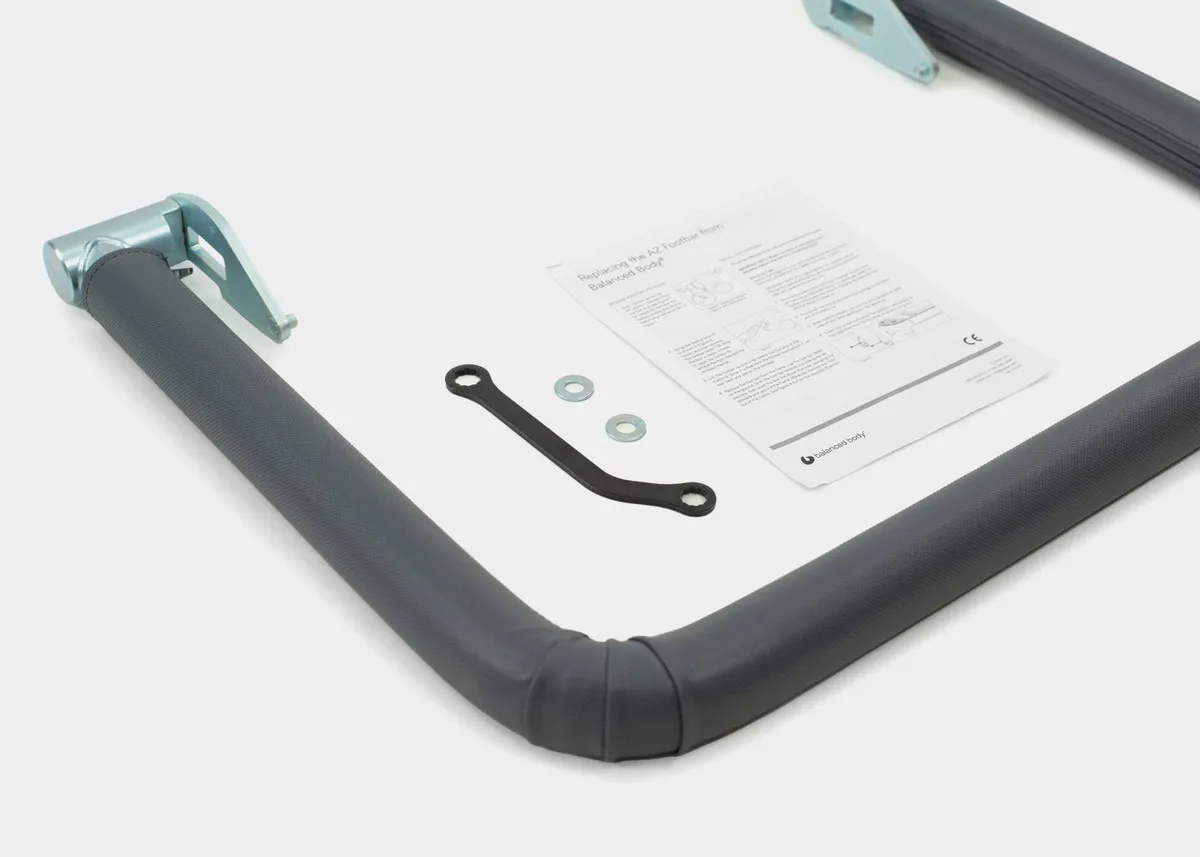
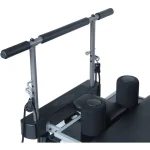
Image source: Web (Bing) / pilates.com (Web image (fair-use with source credit))
Step-by-Step Calibration Workflow by Footbar System
Once you know your mechanism type, apply the corresponding calibration process below.
Adjusting Balanced Body Revo and Trunnion Systems
Modern units from Balanced Body rely on sliding trunnion plates that grip the outer frame channels.
- Loosen the trunnion clamp screws. Locate the socket head cap screws on the inside or bottom of both trunnion brackets. Use the correct Allen wrench to back them out one full turn. Do not remove the screws completely.
- Measure the rail gap. Extend your tape measure from the inside face of the left frame rail to the left footbar arm. Repeat this measurement on the right side.
- Shift the crossbar. Gently bump the footbar horizontally until both sides show identical measurements. Lateral clearance should match within 1/16 inch.
- Snug the hardware progressively. Tighten the left screw half a turn, then the right screw half a turn. Alternating sides prevents the bracket from rotating out of square as torque increases.
- Check rotation clearance. Raise and lower the footbar through all angle settings. The bar should move freely without rubbing against the aluminum extrusion.
Centering Merrithew Continuous and SPX Footbars
Systems engineered by Merrithew utilize precision indexing pins and continuous pivot brackets.
- Inspect pin engagement. Pull both spring-loaded pop-pins outward and let them snap into the lowest position holes. Look closely to verify both pin shafts seat to equal depths.
- Loosen the pivot arm bolts. Use an Allen key and open-end wrench to ease tension on the lower pivot axle bolts on both sides.
- Square the bar to the carriage. Roll the carriage forward until the front edge touches the footbar stops. Adjust the footbar position until both carriage bumpers make contact at the exact same instant.
- Lock the pivot brackets. Tighten the lower pivot bolts firmly to roughly 10 foot-pounds of torque. Avoid over-torquing, which can crush the internal nylon bushings.
- Lubricate the pins. Apply a quick burst of dry PTFE spray to the plunger shafts to ensure smooth retraction.
Aligning Classical and Gearbar-Slot Systems
Classical wooden frames and traditional metal gearbars use a drop-in footbar that rests directly in stepped notches.
- Check gearblock placement. Inspect the wooden or brass stop blocks inside the frame. Ensure both left and right blocks sit in matching slot positions.
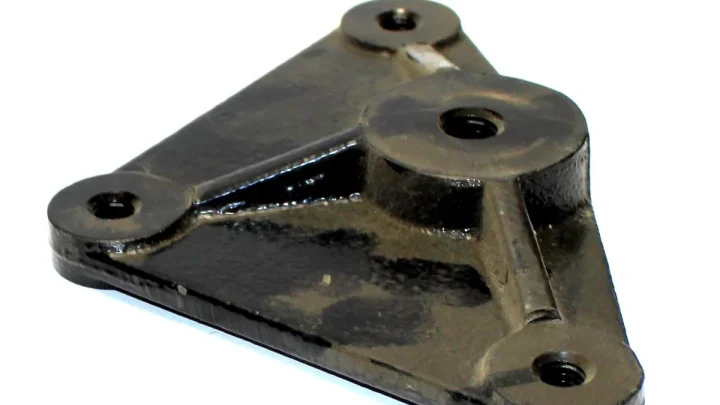
- Loosen the bracket anchor bolts. Locate the mounting bolts holding the footbar base plate to the side frame. Loosen each bolt half a turn.
- Equalize the swing arm spacing. Measure the clearance between the upright swing arms and the wooden side rails. Tap the base plates with your hand until the gap on both sides is equal.
- Re-tighten the mounting plates. Secure the anchor bolts firmly.
- Verify full drop-in depth. Lift the footbar and drop it into each gear position. The bar ends must bottom out completely in the notches without binding on the side walls.
Critical Mistakes That Cause Binding and Frame Wear
A misaligned adjustment can damage your reformer or create safety hazards. Avoiding these common mistakes will save your hardware from premature wear.
Overtightening Pivot Bolts and Crushing Bushings
The most frequent error is over-torquing the pivot bolts. Reformer swing arms rely on brass, nylon, or delrin bushings to rotate smoothly. If you crank down too hard on the pivot screws, you crush these bushings.
The footbar will stick, squeak, and resist height changes. Tighten the bolts until they are snug, then stop.
Adjusting the Bar on a Racked Frame
Never attempt to center a footbar if the reformer frame itself is twisted. When the frame sits on an uneven surface, the tracks flex out of parallel alignment. Centering the bar on a twisted frame forces the components into tension.
Once the reformer moves to a flat surface, the footbar will bind immediately. Always level the frame first.
Using Wet or Petroleum-Based Lubricants
Applying standard WD-40, grease, or oil to the footbar tracks is a severe mistake. Wet lubricants attract dust, hair, and grip sock lint. This debris turns into an abrasive paste inside the trunnion channels and indexing holes.
Always use a dry PTFE silicone spray. Dry lubricants leave a slick film that does not collect grime.
Alignment Error Quick Reference:

* Problem: Footbar binds when sliding along tracks
  Cause: Uneven bracket spacing or overtightened clamp screws

* Problem: Footbar clicks or rattles during footwork
  Cause: Loose pivot bolts or worn internal nylon bushings

* Problem: Plunger pins fail to seat completely
  Cause: Debris in detent holes or bent indexing pin shafts
Tightening One Side Completely Before the Other
Torquing down the left side fully before touching the right side pulls the footbar diagonally. Metal brackets shift slightly as their screws bite into the frame. Always tighten hardware incrementally, alternating between sides like you would on a car tire.
Long-Term Maintenance: Keeping Your Footbar Symmetrical and Rattle-Free
Routine equipment maintenance prevents footbar drift and protects your investment. Setting up a quarterly servicing routine keeps your studio quiet and safe.
Monthly Track and Pin Cleaning
Wipe down the entire length of the aluminum tracks once a month. Use a clean microfiber cloth dampened with mild soap and water. Dry the metal thoroughly before use.
Check the indexing detent holes for dust buildup. Clear any packed dirt with a wooden toothpick or compressed air to ensure the locking pins drop in to their full depth.
Quarterly Fastener and Tolerance Audits
Inspect all mounting hardware every three months in commercial studios, or twice a year on home equipment. Check the lateral play by grabbing the center of the footbar and wiggling it side to side. If you feel more than 1/16 inch of lateral shift, repeat the calibration workflow to reset the bracket clamps.
Check for loose locknuts beneath the carriage frame and re-torque them if necessary.
Recommended Maintenance Schedule:

* Weekly: Wipe down the padded footbar cover with equipment-safe cleaner
* Monthly: Clean track channels and inspect pop-pin spring tension
* Quarterly: Measure left and right rail gaps and tighten loose bolts
* Annually: Inspect nylon bushings for wear and replace stripped fasteners
Frequently Asked Questions About Footbar Calibration
Why does my reformer footbar stick when sliding?
A footbar sticks when the trunnion brackets are clamped unevenly or the frame rails are dirty. Debris inside the track channels increases friction. Loosen the bracket bolts, clean the channels with a dry cloth, equalize the side gaps, and retighten the bolts in an alternating pattern.
How tight should footbar pivot bolts be?
Footbar pivot bolts should be snug, typically torqued to 8 to 12 foot-pounds. They should hold the bar securely without lateral wobble. If the footbar resists angle changes or feels stiff to lift, you have overtightened the bolts and compressed the internal bushings.
Can an unlevel floor cause an off-center footbar?
Yes, an unlevel floor twists the reformer frame out of square. This structural twist makes a straight footbar sit crooked against the carriage stops. Always adjust the reformer leg leveling pads with a spirit level before loosening any footbar hardware.
How often should I check footbar alignment in a commercial studio?
Check footbar alignment and pin engagement every three months in a commercial studio setting. High client volume and frequent single-leg loading accelerate hardware drift. Home users should inspect their footbar hardware every six months to ensure safe weight bearing.
What lubricant is safe for reformer footbar tracks?
Only use dry PTFE spray or dry silicone lubricant on reformer rails and footbar indexing pins. Never use wet oils, lithium grease, or standard WD-40. Wet lubricants attract dust and lint, which clog the indexing pins and abrade the aluminum tracks.

Similar Posts