How to Choose the Right Reformer Gear Bar Position
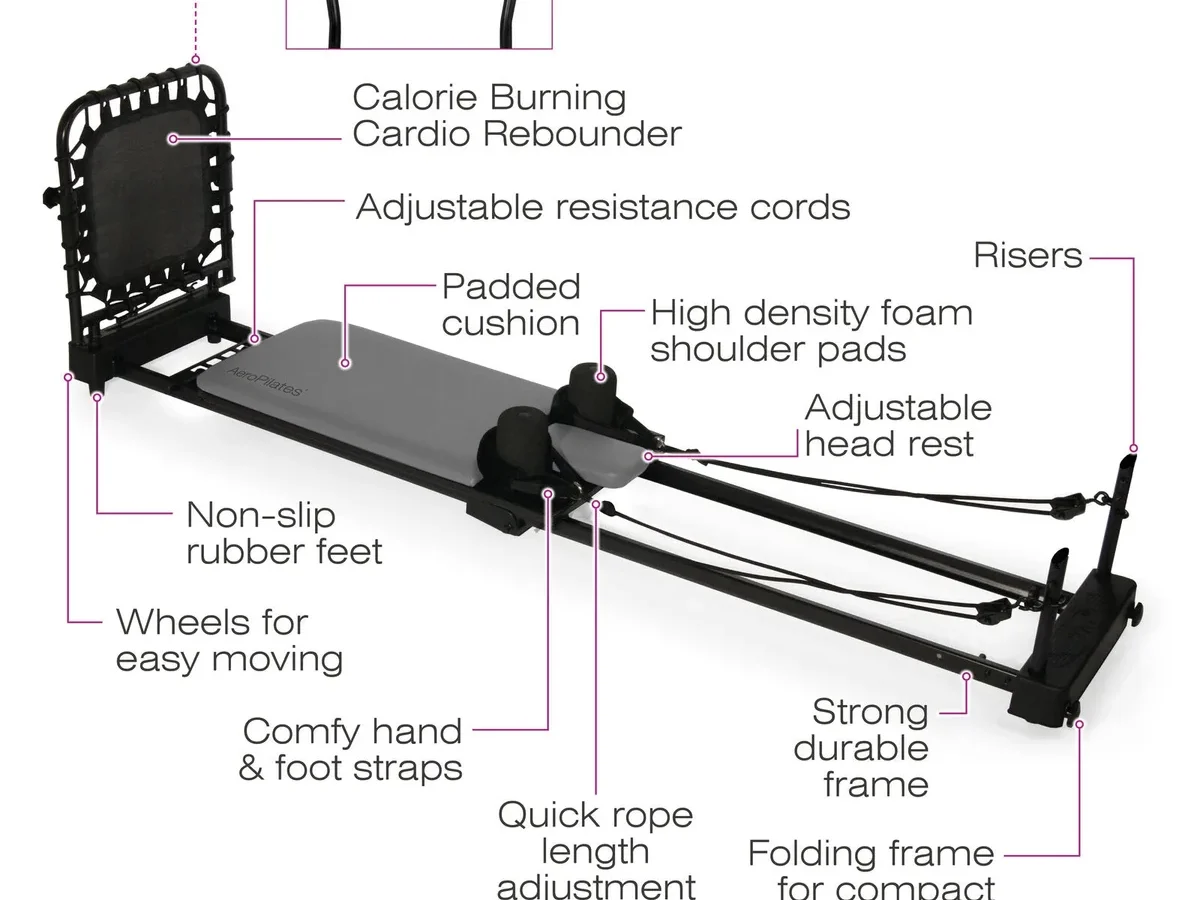
Finding the right setup on a Pilates reformer can feel confusing at first. Knowing how to choose reformer gear bar position directly impacts your joint alignment and exercise comfort. Setting it properly ensures your hips, knees, and lower back stay protected during every movement.
Equipment guidelines from Balanced Body specify that your starting hip angle should sit near 90 degrees during footwork. As of 2026, most modern commercial reformers feature multi-position gear systems to accommodate users between four feet ten inches and over six feet tall. Let us look at how these adjustments work to find your ideal fit.
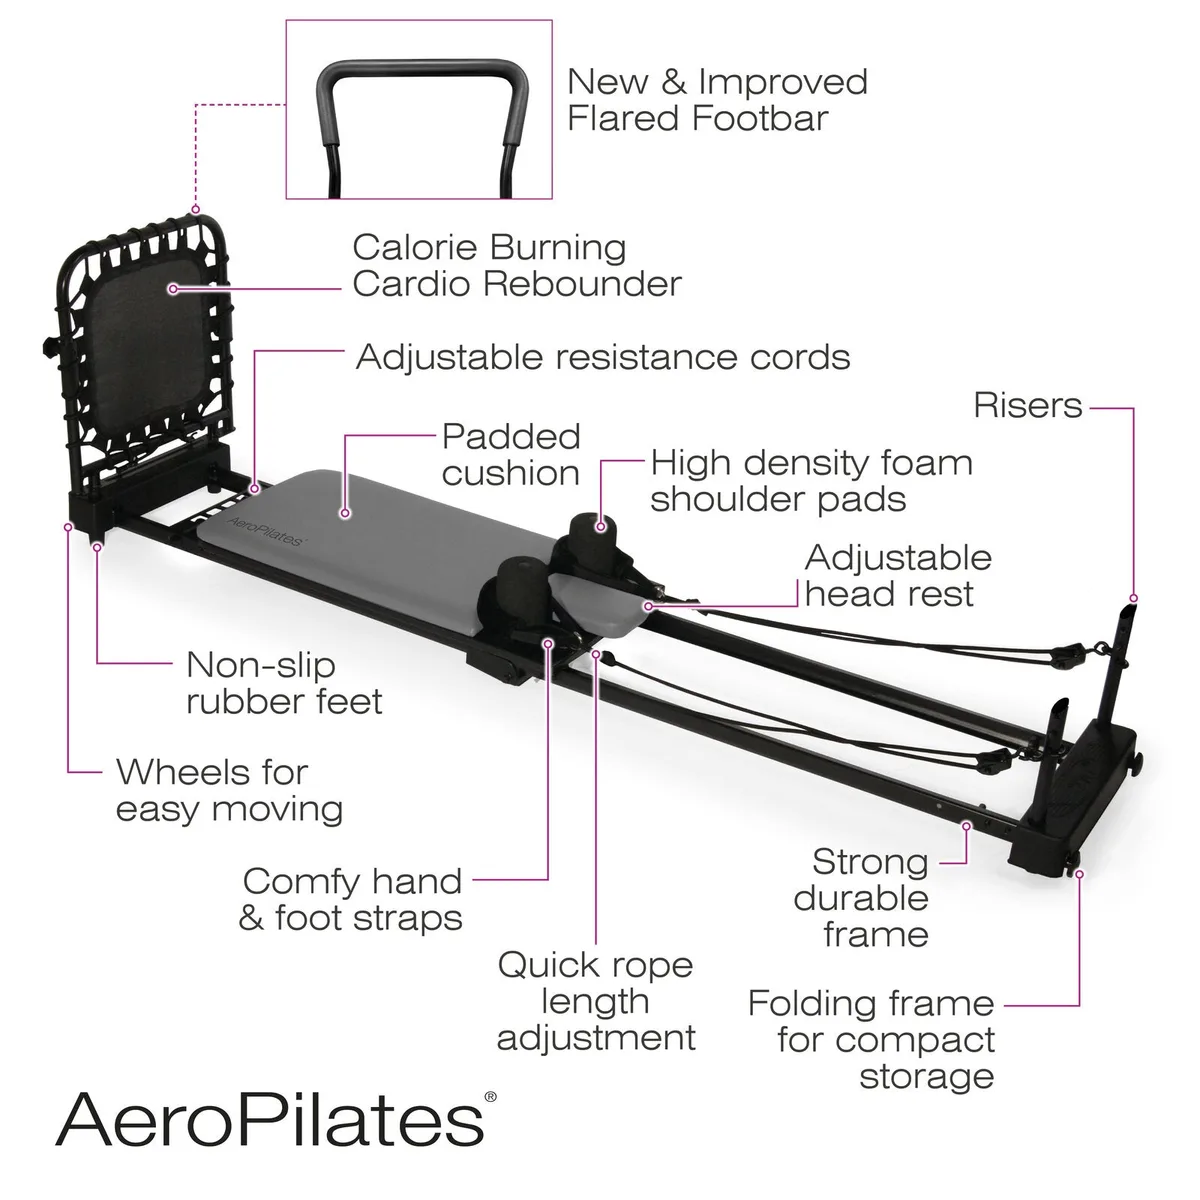
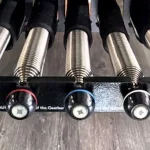
Image source: Web (Bing) / aeropilates.eu (Web image (fair-use with source credit))
Quick Answer
To choose your reformer gear bar position, check your hip angle during footwork. Your hips and knees should form a ninety-degree angle at rest. Shorter users need the gear bar closer to the carriage.
Taller users should move the gear bar away from the carriage. Adjust the position until your lower back rests flat without tension.
Quick Reference: Matching Height, Hip Angles, and Spring Anchors
Choosing your gear bar position starts with your overall height and leg length. The gear bar controls where the carriage rests when the springs are closed. Placing it correctly creates optimal room for your legs before you push off.
When you lie on the carriage with your feet on the footbar, your knees should rest comfortably over your hips. If your knees are pulled into your chest, the gear bar is set too close. If your legs are almost straight before you even start moving, it is set too far away.
| User Height | Typical Gear Slot | Resting Hip Angle | Primary Objective |
|---|---|---|---|
| Under 5 ft 3 in (160 cm) | Negative / Slot 0 | 90 degrees | Prevents hip pinching and lower back rounding |
| 5 ft 4 in to 5 ft 9 in (163–175 cm) | First Gear (Standard) | 90 degrees | Balanced range of motion for average heights |
| 5 ft 10 in to 6 ft 1 in (178–185 cm) | Second Gear | 90 to 95 degrees | Relieves knee pressure and gives leg clearance |
| Over 6 ft 2 in (188 cm) | Third Gear | 90 to 100 degrees | Prevents bottoming out against the carriage stops |
Your femur length matters just as much as your overall height. Two people of the same height might need different settings if one has longer legs. Always use your hip angle as the ultimate guide rather than height numbers alone.
How the Gear Bar Changes Carriage Starting Position and Spring Tension
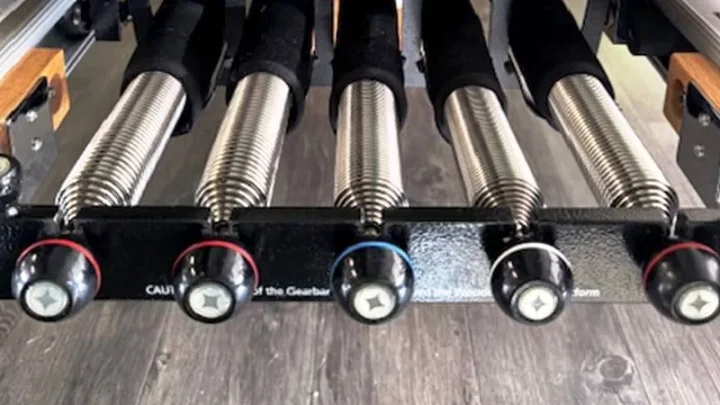
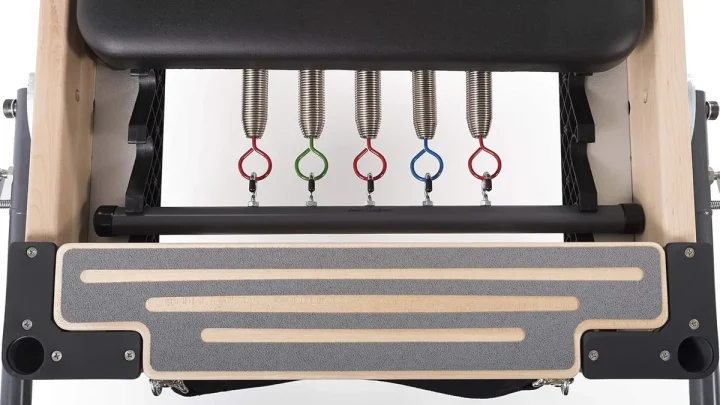
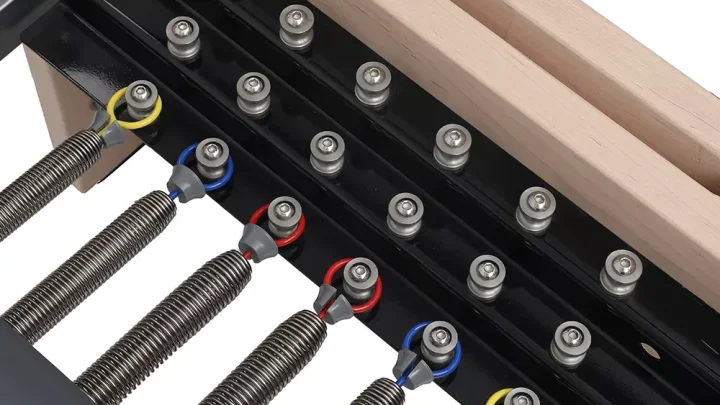
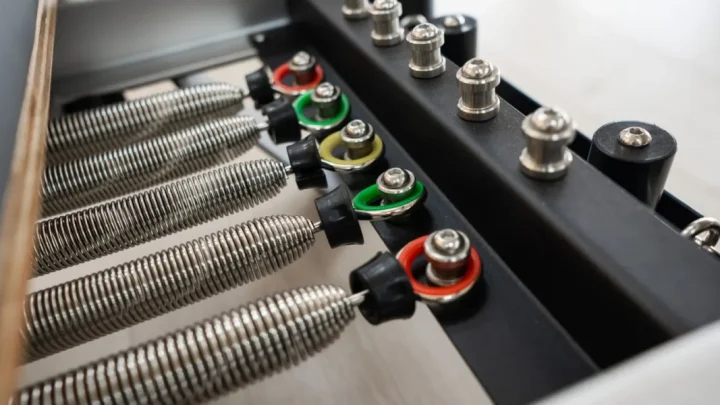
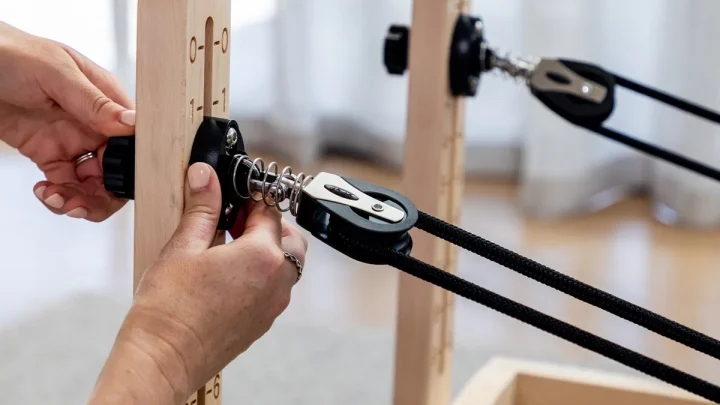
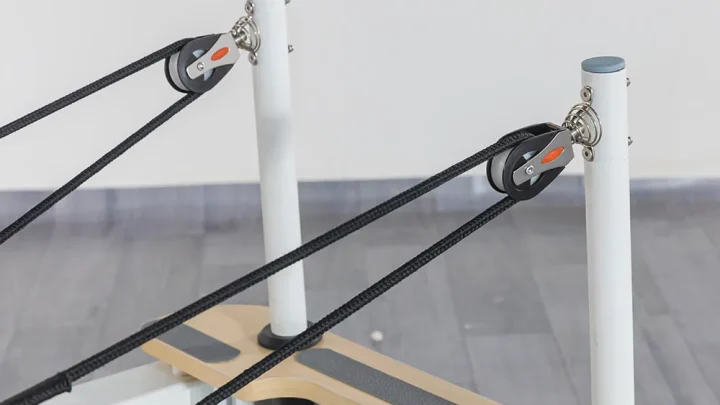
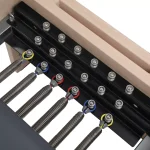
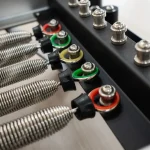
The gear bar serves as the anchor system for all your reformer springs. When you shift the gear bar, you physically move the spring hooks forward or backward along the frame. This shift alters the carriage resting point relative to the footbar.
Moving the gear bar further from the footbar pulls the carriage backward. This adjustment increases the distance between the shoulder rests and the standing platform. It creates more room for your torso and legs without altering the spring tension itself.
However, changing gear positions does change where resistance begins in your range of motion. In higher gears, the carriage travels further along the rails before springs reach maximum stretch. This design gives taller users a smooth, linear resistance curve through their full extension.
Step-by-Step Visual Alignment for Proper Gear Bar Setup
Setting your gear bar requires a simple visual check while you are on the machine. You want to make sure your joints align naturally before loading any springs with heavy resistance.
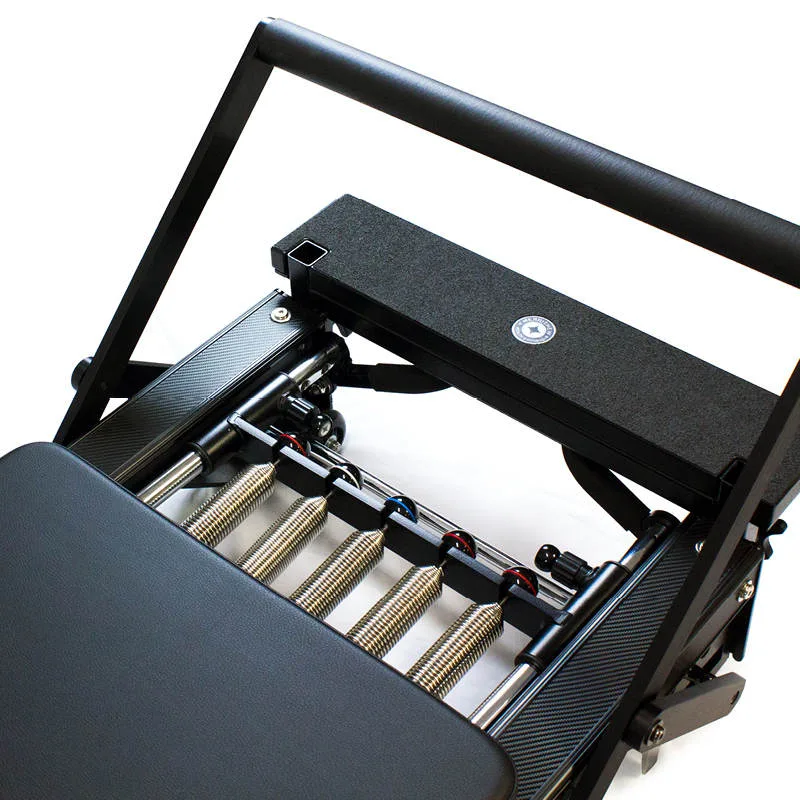
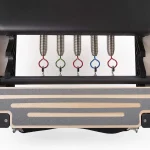
Image source: Web (Bing) / kcg.mx (Web image (fair-use with source credit))
Follow this visual checklist to set your gear bar correctly:
- Step 1: Check your starting hip angle. Lie supine on the carriage with your head on the headrest. Place the balls of your feet on the footbar with heels together. Look down at your thighs. Your hip joints should sit at roughly a 90-degree angle to your torso.
- Step 2: Inspect knee clearance. Look at the space between your knees and your chest. You should have enough clearance to slide a fist between your thighs and ribs. If your thighs press into your ribs, move the gear bar one notch away from the footbar.
- Step 3: Check lumbar spine contact. Ensure your pelvis remains neutral and your lower back does not flatten aggressively against the carriage pad. Extreme hip flexion forces the pelvis into a posterior tilt, which strains the lumbar spine.
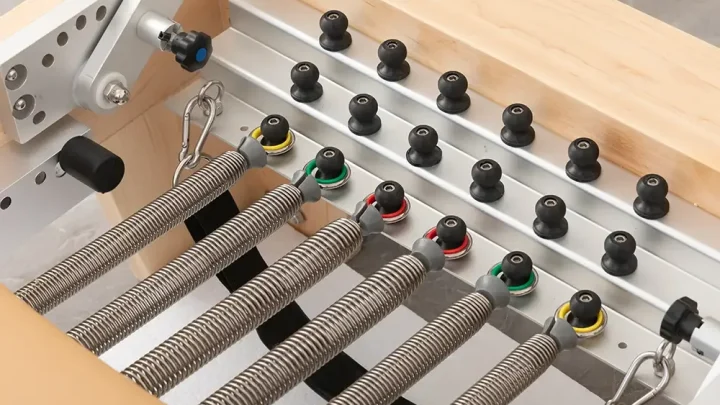
- Step 4: Verify spring anchor alignment. Look down at the spring hooks under the carriage. Make sure the gear bar is seated completely in its frame slots on both the left and right sides. An uneven gear bar creates asymmetric spring tension.
When to Shift Between Position 1, 2, and 3 (and Negative Gears)
Most modern reformers offer three standard gear positions alongside a negative gear setting. Knowing when to switch between these options lets you adapt exercises for different bodies and movement goals.
Position 1 acts as the standard home base for most exercises and average-sized practitioners. Use this setting for standard footwork, bridging, and abdominal series when working with clients between 5 feet 4 inches and 5 feet 9 inches. It offers the classic spring preload and carriage travel distance.
Position 2 and Position 3 move the carriage further away from the footbar. Shift to these positions for taller individuals, athletes with tight hamstrings, or clients recovering from knee injuries. These wider positions reduce knee flexion at the bottom of the movement, protecting the patellar tendon.
Negative gear slots move the carriage closer to the footbar than standard setup allows. This setting is essential for petite clients and teenagers. It prevents shorter users from starting their leg presses in an over-extended position, which can cause them to lose leverage against the springs.
Common Setup Mistakes That Overload Hips, Knees, and Lower Backs
Setting the gear bar incorrectly creates unnecessary stress on your joints. When your body is forced into awkward leverage angles, smaller stabilizing muscles end up overworking to compensate.
The most common error is placing the gear bar too close to the footbar for a tall user. This forces the hips into acute flexion past 90 degrees at the start of footwork. The deep angle pinches the hip flexors and rounds the lower back, which can trigger lumbar pain.
Another frequent mistake is failing to adjust the gear bar for clients with limited joint mobility. Individuals with tight hips or knee arthritis need an open angle to move comfortably. Leaving the machine in Position 1 forces their joints through a range of motion they cannot safely control.
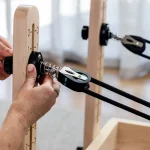
Lastly, never adjust the gear bar while springs are attached under tension. Always disconnect all springs before lifting and sliding the gear bar into a new slot. Moving a loaded gear bar can damage the frame hooks and creates a severe pinch hazard for your hands.
Coordinating the Gear Bar with Footbar Height and Stopper Settings
Adjusting your gear bar is only half the equation for setting up your reformer. You also need to match the footbar height and carriage stoppers to maintain proper biomechanics.
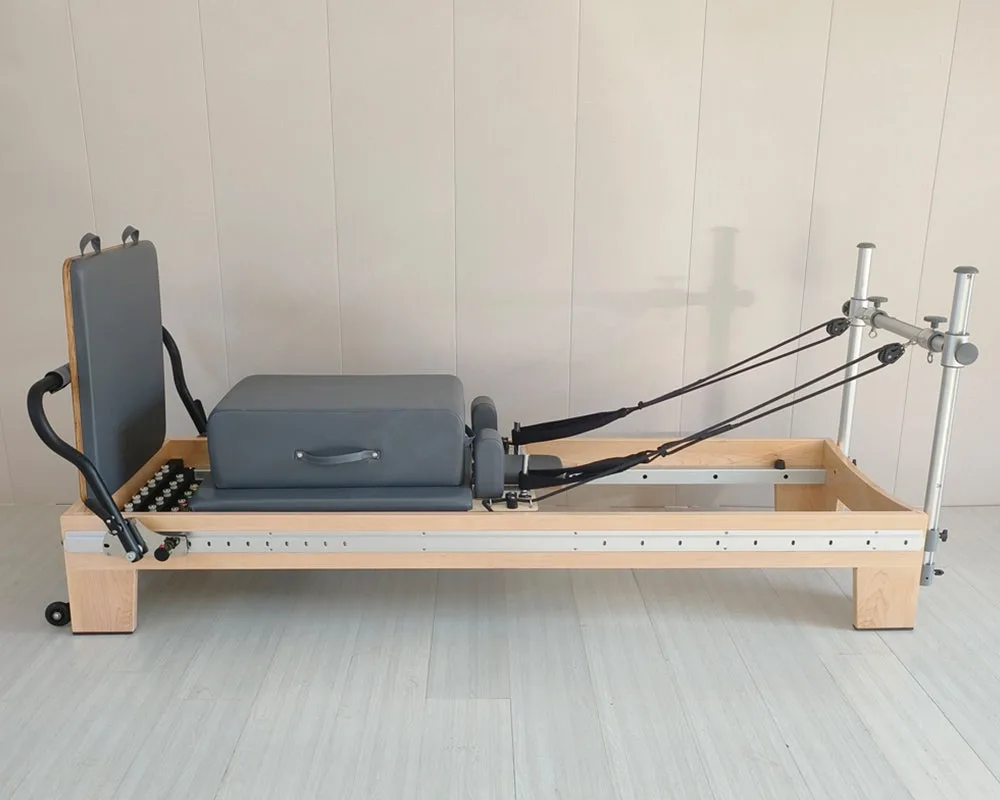
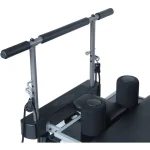
Image source: Web (Bing) / tmaxpilates.com (Web image (fair-use with source credit))
When you move the gear bar away from the footbar to accommodate longer legs, the angle of push changes. Lowering the footbar by one notch often restores a comfortable line of drive through the heels. If the footbar stays too high while the gear bar sits in Position 2 or 3, your ankles end up in excessive dorsiflexion.
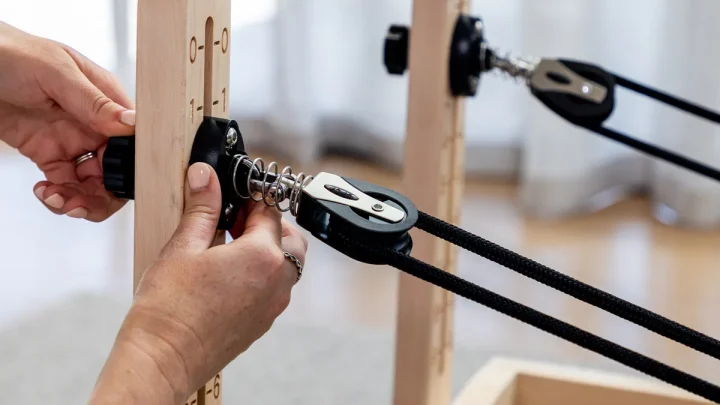
Carriage stoppers also work in tandem with the gear system. The stopper prevents the carriage from crashing into the frame when the springs close. Manufacturer guidelines from Merrithew advise setting the stopper in the matching numbered slot as your gear bar.
This keeps spring tension even and protects the frame from impact damage.
Frequently Asked Questions About Gear Bar Adjustments
Should I change the gear bar for different exercises?
Yes, you should change the gear bar position when moving between supine footwork and standing exercises. Standing lunges and splits often require moving the gear bar outward to give you a safe base of support. Return it to your standard personal setting for supine work.
What is the difference between a gear bar and a carriage stopper?
The gear bar holds the spring hooks, while the carriage stopper limits how far the carriage travels toward the footbar. On some modern reformer models, these two components move together as a single unit. On traditional wood reformers, you must adjust the stopper pin and the gear bar separately.
Can changing the gear bar make an exercise easier or harder?
Moving the gear bar changes where the spring resistance engages, but it does not alter the spring weight itself. A wider gear bar position increases carriage travel distance. This means springs stretch further, creating slightly more resistance at peak extension while giving you more initial room to move.
How do I know if my gear bar is in the wrong position?
Your gear bar is in the wrong position if your hips pinch, your lower back arches off the pad, or your knees bend past 90 degrees during resting footwork. If you feel excessive strain in your hip flexors instead of your glutes and quads, adjust the bar outward by one slot.

Similar Posts