How to Fix a Stuck Reformer Gear Bar Fast
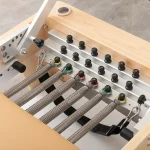
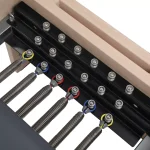
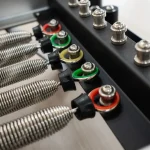
Knowing how to fix a stuck reformer gear bar starts with one critical rule: never force it. Forcing the mechanism damages indexing teeth and risks severe injury from sudden carriage snapback. Most jams stem from trapped spring tension, accumulated studio debris, or misaligned locking pins rather than broken hardware.
We’ve seen countless technicians ruin anodized aluminum rails by using standard wet lubricants like WD-40. These attract hair and grit, creating abrasive sludge that locks gears permanently. Manufacturer specifications for brands like Balanced Body and Merrithew emphasize dry PTFE lubricants exclusively.
As of 2026, proper maintenance logs remain vital for studio liability under ASTM F2276 fitness equipment standards. Let’s walk through the diagnostic process step by step.
Why Your Reformer Gear Bar Jams (and the Number One Safety Rule)
The most common reason a gear bar sticks is residual spring tension binding the carriage against the frame. If you try to shift positions while springs are engaged, the metal teeth grind against each other. This creates friction heat and burrs on the indexing slots.
Always disconnect every spring from the springbar before touching the gear mechanism.
Another frequent culprit is environmental debris. Studio floors collect dust, pet hair, and sweat residue quickly. This grime packs into the narrow channels between the selector pin and the receiver notch.
Over time, this buildup acts like cement, preventing smooth lateral movement. Regular vacuuming of these tracks prevents this issue entirely.
Frame racking also causes persistent sticking. If your reformer sits on uneven flooring, the rectangular frame twists slightly out of square. This diagonal torque puts constant pressure on one side of the gear bar.
The pin binds even when no springs are attached. Check your floor levelers first if the jam persists across multiple sessions.
Finally, worn detent pins lose their springiness. These small internal components push the selector knob into place. When they fatigue or break, the knob doesn’t click securely into the slot.
The carriage then slides unpredictably or refuses to lock. Inspect these pins during routine monthly checks to catch failure early.
Diagnostic Decision Tree: Identifying Why Your Gear Bar Won't Budge
Start by isolating the variable. Does the bar stick only under load, or does it resist movement even when completely unloaded? This distinction determines your entire repair path.
Follow this logical flow to pinpoint the root cause accurately.
| Symptom | Likely Cause | Immediate Action |
|---|---|---|
| Sticks only when springs attached | Tension bind / Misalignment | Detach all springs; check frame squareness |
| Sticks in one specific position | Debris in notch / Bent pin | Clean track; inspect indexing teeth |
| Sticks everywhere equally | Dry friction / Worn plunger | Apply dry PTFE; replace detent spring |
| Knob feels loose/no click | Broken cotter clip / Fatigue | Replace retaining hardware immediately |
If the jam clears after removing springs, the issue is mechanical alignment or excessive preload. You likely need to adjust the footbar height or check the carriage wheels for flat spots. Uneven wheel wear shifts the center of gravity, putting asymmetric stress on the gear bar.
If the bar remains stuck with zero tension, look closely at the physical contact points. Use a flashlight to illuminate the gap between the pin and the rail. Visible hair wraps or dark grease rings indicate contamination.
Do not use water or solvents here. They leave residues that accelerate corrosion on steel components.
For persistent issues on wooden frames, humidity changes often swell the timber. This expansion squeezes the metal inserts tighter than designed. In humid climates, seasonal adjustments may be necessary.
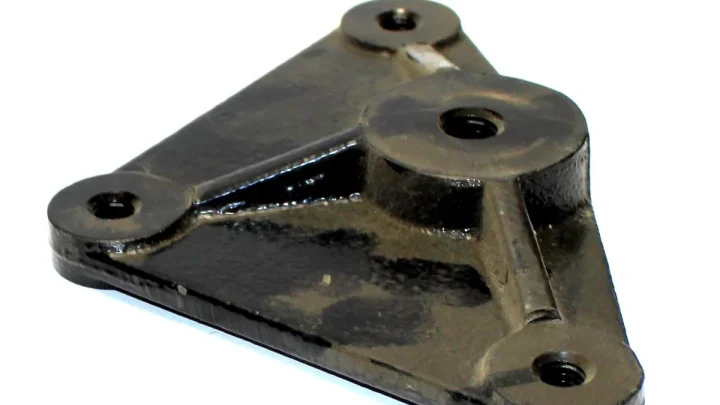
Loosen the mounting bolts slightly, realign the bracket, and retorque to spec. This relieves internal stress without damaging the wood grain.
Step-by-Step Fixes for Every Common Gear Bar Jam
Once diagnosed, apply the targeted solution. Never skip the safety prep phase. Ensure the carriage is fully seated at the head end of the reformer.
This minimizes potential energy stored in the system should something slip during repair.
Path A: Releasing Tension-Locked Springs and Carriage Load
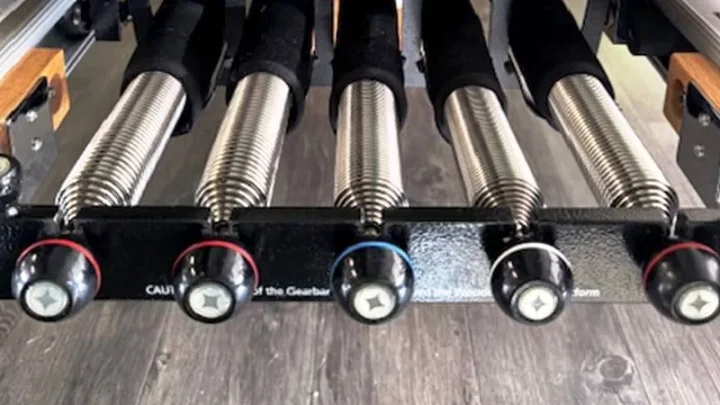
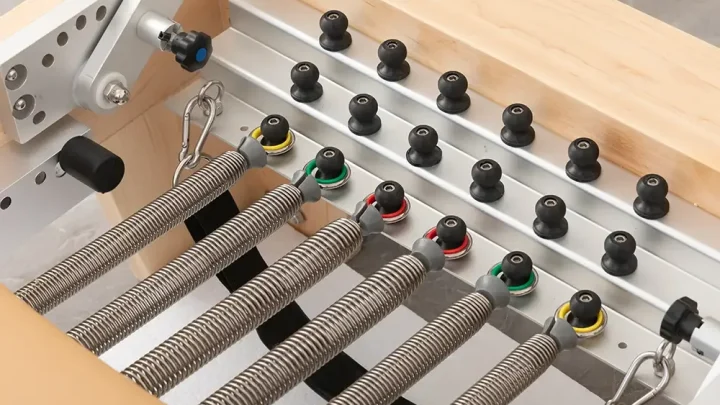
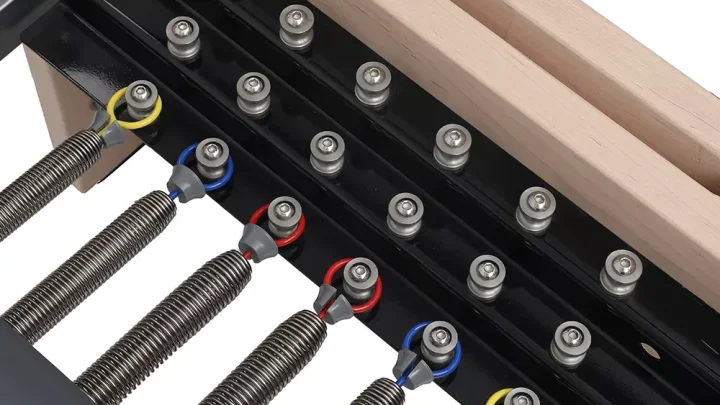
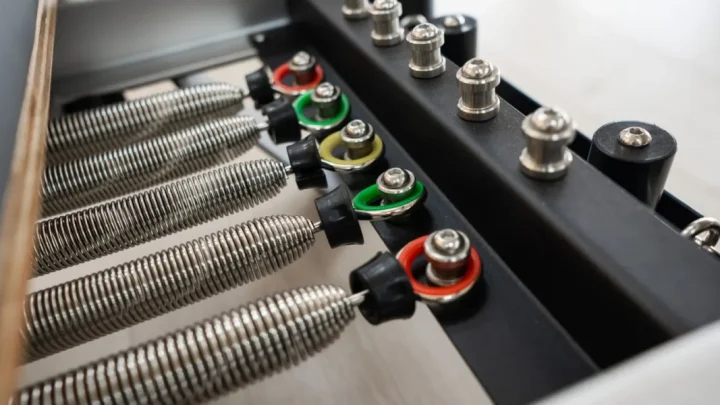
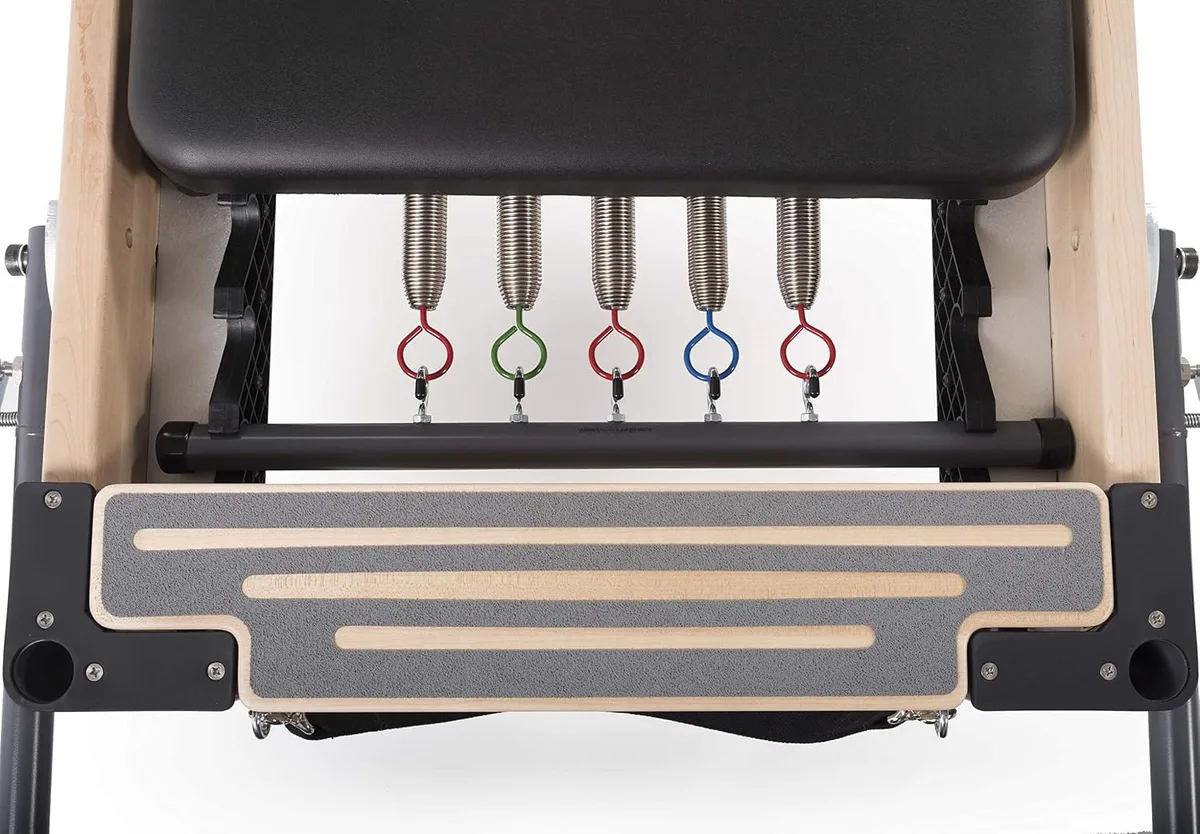
Begin by unhooking every single spring from the floating springbar or fixed hook plate. Even light resistance bands add cumulative force. Work systematically from left to right to avoid missing one.
Once detached, gently rock the carriage back and forth. This breaks static friction bonds formed by long-term storage.
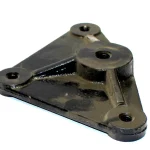
Check the carriage stop bumpers. If these rubber pads degrade or flatten, the carriage travels too far forward. It hits the frame hard enough to bend the gear bar mounting bracket.
Replace any cracked or compressed stops immediately. New ones restore proper travel limits and protect the indexing mechanism.
Verify the footbar angle. On many models, incorrect footbar positioning alters the vector of pull on the straps. This indirect force can twist the carriage sideways within the rails.
Straighten the footbar parallel to the mat well. Test the gear shift again. Smooth operation confirms alignment was the sole issue.
Path B: Clearing Debris, Hair, and Grime Out of Indexing Slots
Use a stiff nylon brush to sweep out visible lint from the gear teeth. Avoid metal brushes that scratch anodized surfaces. Follow up with a microfiber cloth dampened lightly with isopropyl alcohol.
This dissolves sticky sweat residues without leaving oily films behind.
Pay special attention to the corners where the pin enters the slot. Hair tends to wrap tightly around the tip of the selector pin. Use tweezers to extract stubborn strands carefully.
Cutting them with scissors leaves sharp edges that damage future movements. Removal ensures clean engagement every time.
Vacuum the entire channel length thoroughly. Loose particles settle deep inside the housing. Compressed air helps dislodge hidden dirt but blows contaminants onto nearby electronics or upholstery.
Stick to manual extraction methods for precision cleaning. Repeat weekly in high-traffic studios to prevent recurrence.
Lubrication and Maintenance Rules: What to Use (and What Ruins Your Rails)
Proper lubrication extends component life significantly. However, choosing the wrong product accelerates wear dramatically. Manufacturer guidelines strictly prohibit petroleum-based oils.
These substances attract particulate matter rapidly, forming a grinding paste that eats away at metal interfaces.
Always select a dry PTFE (polytetrafluoroethylene) spray. Brands like Tri-Flow or specialized gym equipment lubes offer this formulation. It leaves a thin, slick film that reduces friction without staying tacky.
Dust falls off easily instead of sticking to the surface.
Apply sparingly to the sliding interface only. Spray a tiny amount onto a cloth rather than directly into the mechanism. Excess fluid drips onto the carriage mat or upholstery, creating stains and slip hazards.
Wipe away any surplus immediately after application.
Establish a monthly maintenance schedule. Log inspections according to OSHA General Industry Standards for machinery guarding principles adapted for fitness apparatus. Document findings such as "pin wear observed" or "lubricant applied." Consistent records prove due diligence during liability audits.
Neglect leads to premature failure and costly replacements.
Remember that stainless steel springs require different care than coated wire variants. Stainless resists rust better but still suffers from galling under high pressure. Light oiling prevents cold welding between coil layers.
Coated springs rely on the protective layer integrity. Inspect for chips regularly since exposed metal corrodes faster in sweaty environments.
Common Mistakes That Damage Gear Notches and Void Warranties
The fastest way to ruin a reformer gear bar is forcing the selector with a heavy steel hammer. Striking the adjustment bar directly deforms the aluminum teeth. Once an indexing slot bends even a fraction of a millimeter, the pin will never seat flush again.
If mechanical force is ever needed to free a stuck bracket, use only a soft-faced rubber mallet. Tap lightly at the base of the bracket rather than striking the indexing pin.
Another frequent mistake is applying wet aerosol sprays like standard WD-40 or silicone oil directly onto the rails. These formulas contain solvents that break down the UHMW (Ultra-High-Molecular-Weight) polyethylene wear strips inside the slider channels. The wet film also turns hair, lint, and chalk into an abrasive paste.
That sludge grinds down the anodized finish, leading to permanent track gouging and costly track replacements.
Studio owners often overlook loose frame hardware until a catastrophic jam occurs. When retaining bolts on the side brackets work loose, the gear bar sits at a slight angle. Shifting positions while the bar is cocked sideways chips the corners off the receiver teeth.
Check all frame hex bolts monthly with a torque wrench, keeping them tightened to the standard 4 to 6 Nm factory specification.
Finally, never attempt to adjust the gear bar while a client is on the carriage or while any springs remain hooked. This practice puts immense shear stress on the selector mechanism. It creates severe pinch points for your fingers and risks carriage snapback.
Always clear the carriage and unload the springs completely before making any position change.
Gear Mechanism Comparison: Traditional Cactus vs. Sliding Indexing Tracks
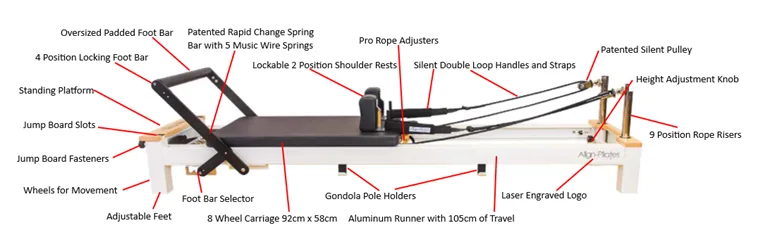
Different reformer designs use distinct gear adjustment systems. Understanding your specific mechanism helps you apply the correct maintenance technique without causing damage.
| Feature | Stepped Cactus Bar (e.g., Traditional Wood) | Sliding Track System (e.g., Anodized Aluminum) |
|---|---|---|
| Mechanism Design | Open stepped metal plate with drop-in slots | Enclosed channel with spring-loaded pull-pin |
| Primary Jam Cause | Misaligned drop-in angle or warped wooden rail | Accumulated hair, grit, or bent plunger pin |
| Lubrication Need | None (dry clean metal contact surfaces) | Dry PTFE film on interior slide tracks |
| Cleaning Difficulty | Easy (fully exposed, simple wipe-down) | Moderate (requires vacuuming internal channel) |
| Best For | Classical studios wanting fast manual shifts | Contemporary studios needing micro-adjustments |
The stepped cactus bar relies on gravity and direct drop-in placement. It rarely suffers from internal mechanical jams because the mechanism is completely open. However, if the timber frame expands from high humidity, the cactus plate can pinch the bar ends.
Sanding the inner wooden cheeks lightly or loosening the mounting screws by a quarter turn usually restores free movement.
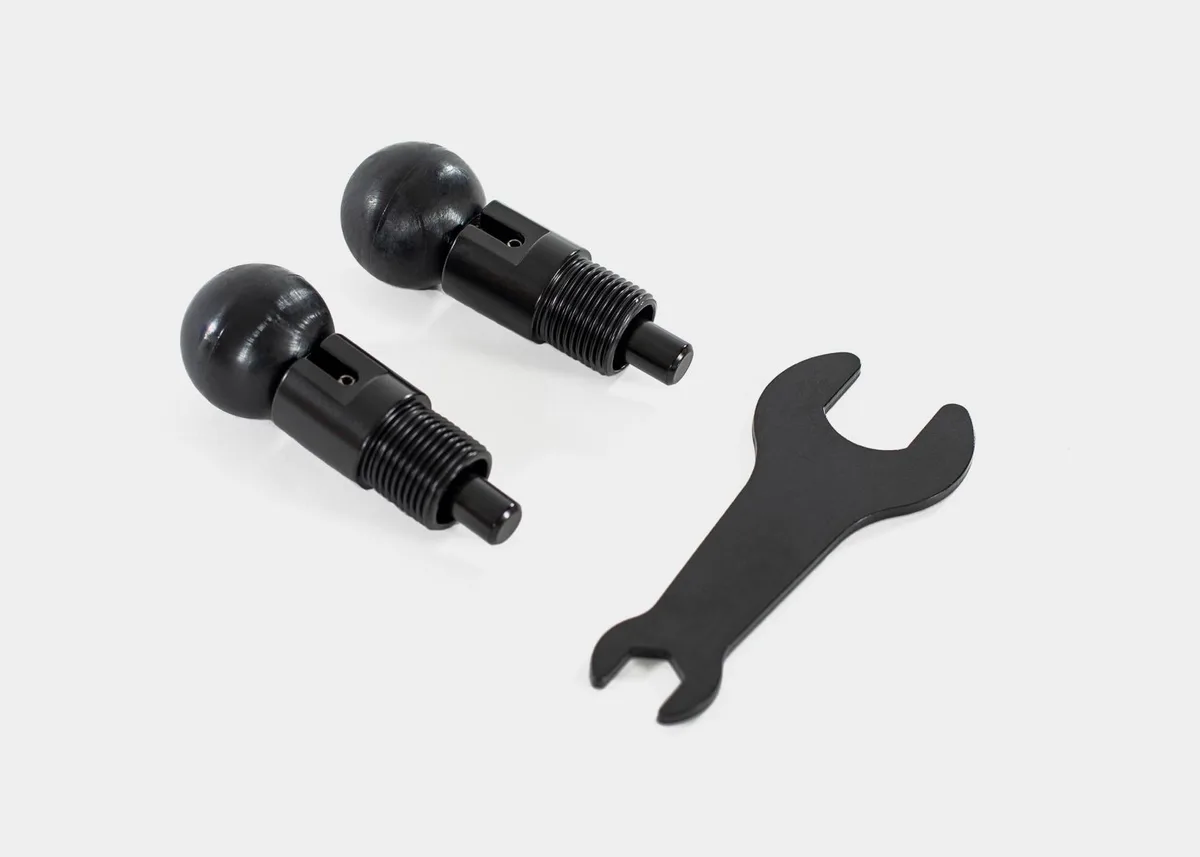
Sliding indexing tracks offer greater precision but demand higher maintenance. The internal plunger pins and ball detents sit inside enclosed channels where debris collects unnoticed. If a sliding bar jams, flushing the inner chamber with dry PTFE spray and exercising the pull-knob clears the obstruction in most cases.
For severe jams, removing the end-stop bolts allows you to slide the entire carriage bracket off the rail for deep cleaning.
Frequently Asked Questions About Reformer Gear Bar Repairs
Can I use standard WD-40 on a stuck gear bar?
No. Standard WD-40 leaves an oily, sticky residue that attracts dust, hair, and studio lint. This creates an abrasive paste that damages the anodized coating on the rails and ruins sliding wear strips.
Use only a dedicated dry PTFE (Teflon) spray for fitness equipment tracks.
Why does my gear bar stick on only one side?
One-sided sticking is almost always caused by uneven frame alignment or a loose side bracket. When the reformer frame is racked out of square, the gear bar twists diagonally across the tracks. Level your reformer feet and tighten all side-bracket mounting bolts to 4 to 6 Nm.
How often should I clean and lubricate reformer gear tracks?
In commercial Pilates studios, inspect and vacuum gear channels weekly to remove hair and debris buildup. Apply a light coat of dry PTFE lubricant once a month. For home reformers, cleaning every two to three months is sufficient to keep movement smooth and prevent binding.
What should I do if the pull-pin knob is completely frozen?
First, ensure all springs are disconnected to release tension. Apply a quick burst of dry PTFE spray directly around the base of the plunger pin. Wait two minutes for penetration, then gently tap the bracket housing with a soft rubber mallet while pulling the knob outward.
How do I know if the gear bar pin is bent versus just dirty?
Remove the carriage springs and slide the bar through each notch slowly. If the pin catches in every single slot at the exact same angle, the pin is bent. If it catches in only one specific slot or feels gritty throughout, accumulated debris is the problem.
When should I replace the gear bar instead of repairing it?
Replace the gear bar if you notice visible metal grooving, sheared indexing teeth, or cracked side mounting plates. Attempting to file down chipped teeth alters the factory safety tolerance. This creates dangerous play that can slip under heavy spring loads during exercise.

Similar Posts