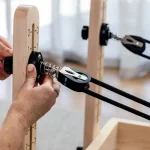
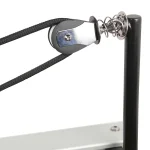
How to Clean Reformer Gear Bar Holes: Step-by-Step
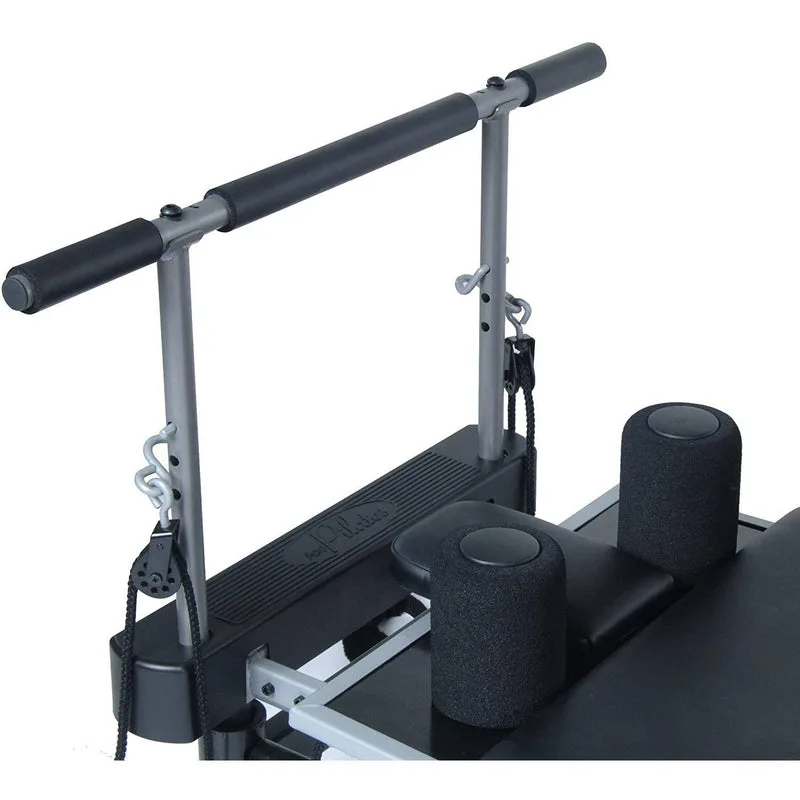
Grimy gear bar holes make switching spring positions stiff, loud, and frustrating. Learning how to clean reformer gear bar holes properly keeps your carriage shifting smoothly and prevents unexpected spring release during workouts. Routine cleaning protects the frame from premature wear and stops stubborn debris from jamming the pins.
Pilates studio equipment must withstand substantial dynamic loads during every movement. Per ASTM International standards for fitness equipment safety, regular structural maintenance prevents mechanical disengagement and user injury. Taking a few minutes to clear out the selector channels protects both your hardware and your clients.
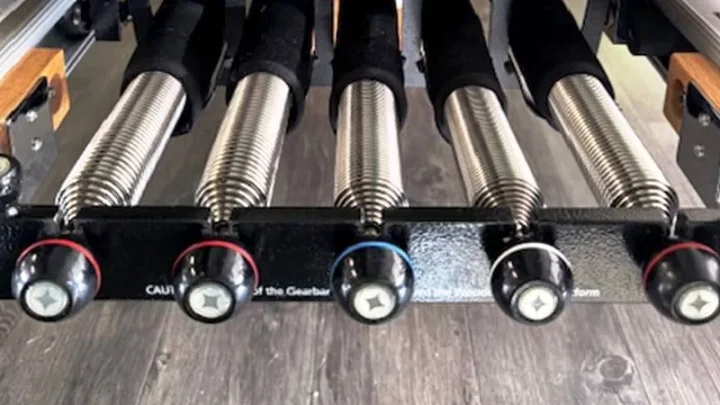
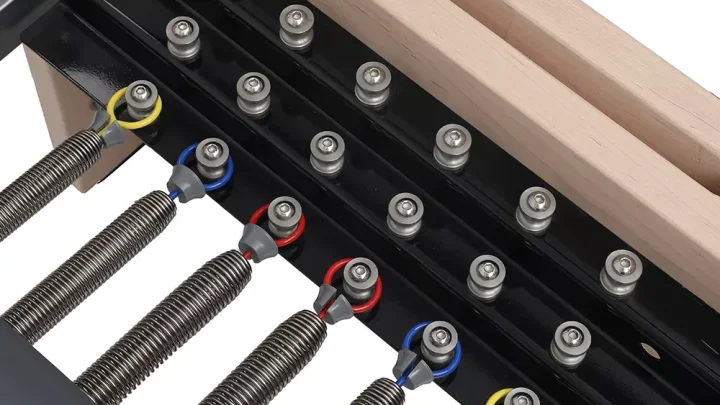
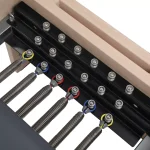
Image source: Web (Bing) / pilatesprogear.com (Web image (fair-use with source credit))
Quick Answer
Learn how to clean reformer gear bar holes with a simple three-step process. First, vacuum out loose dust, hair, and sock fuzz with a crevice tool. Next, scrub inside each hole using a nylon bore brush.
Then, wipe away sweat residue with 91 percent isopropyl alcohol on foam swabs. Never use oil lubricants inside the holes.
Why Dirty Gear Bar Holes Put Your Reformer (and Clients) at Risk
Every time clients step onto a reformer, grip sock fuzz, studio dust, and stray hairs drift downward. That debris settles straight into the gear bar locator holes. Over time, dripping sweat and airborne moisture turn that dry fluff into a sticky, dense sludge.
When grime packs into the bottom of a selector hole, the springbar locating pin cannot seat to its full depth. That creates an immediate safety hazard. If a client performs jumpboard exercises or footwork under heavy spring tension, a partially seated pin can suddenly slip.
The carriage snaps forward, which can strain muscles or cause dangerous falls.
Grit inside the holes also acts like liquid sandpaper. As the steel locator pins vibrate against aluminum receiver channels, trapped dirt grinds away the protective anodized coating. That abrasive action creates metal burrs, widens hole tolerances, and causes permanent gear bar wobble.
- Incomplete pin engagement causes sudden carriage slippage under tension.
- Trapped sweat corrodes bare metal and weakens frame mounting brackets.
- Abrasive grit scratches protective coatings and causes permanent pin play.
- Built-up sludge makes fast gear transitions stiff and loud during group classes.
Choose Your Cleaning Workflow: Identifying Your Gear Bar Style and Buildup Type
Your cleaning approach depends entirely on your reformer frame design and the type of grime inside the holes. Different manufacturers use distinct selector designs that require specific cleaning steps.
Reformer Gear Bar Inspection
 ├── Blind Holes (Closed Bottom) -> Use vacuum extraction + solvent foam swab
 ├── Through-Holes (Open Bottom) -> Push debris straight through with bore brush
 └── Slotted / Cactus Brackets   -> Wipe open channels with microfiber + degreaser
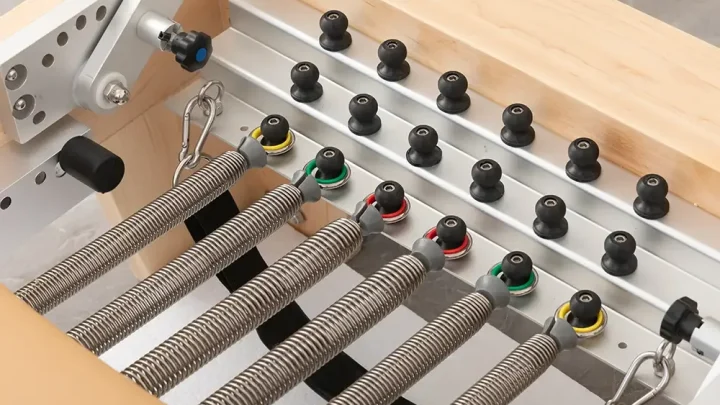
Blind holes feature a solid bottom drilled directly into the metal frame or gear plate. If you push a brush into a blind hole without suction, you pack the dirt deeper into the base. Through-holes are open at the bottom, letting you push loosened dirt straight out onto a towel underneath.
Slotted brackets or step-style gear systems have open sides that let you sweep debris out horizontally.
| Buildup Type | Visual Clues | Recommended Workflow |
|---|---|---|
| Dry Lint & Hair | Loose grey fuzz, visible fibers, dry dust rings | Dry nylon bore brush plus narrow vacuum nozzle |
| Sweat Salt Crust | White chalky rings, stiff pin drops, minor surface pitting | 91% Isopropyl alcohol soak on foam-tipped swab |
| Oily Sludge | Black tacky paste, sticky pin transitions, greasy film | Electronic contact cleaner flush followed by dry swab wipe |
If your gear bar has dry dust, avoid using wet cleaners right away. Adding liquid to dry hair and lint creates a pasty mess that is much harder to pull out. Always remove loose dry debris first before applying any solvent.
Essential Gear: What to Use (and What Destroys Reformer Finishes)
Cleaning tight pin channels requires small, precise detailing tools. Standard household cleaning supplies often cause more harm than good inside precision-machined reformer holes.
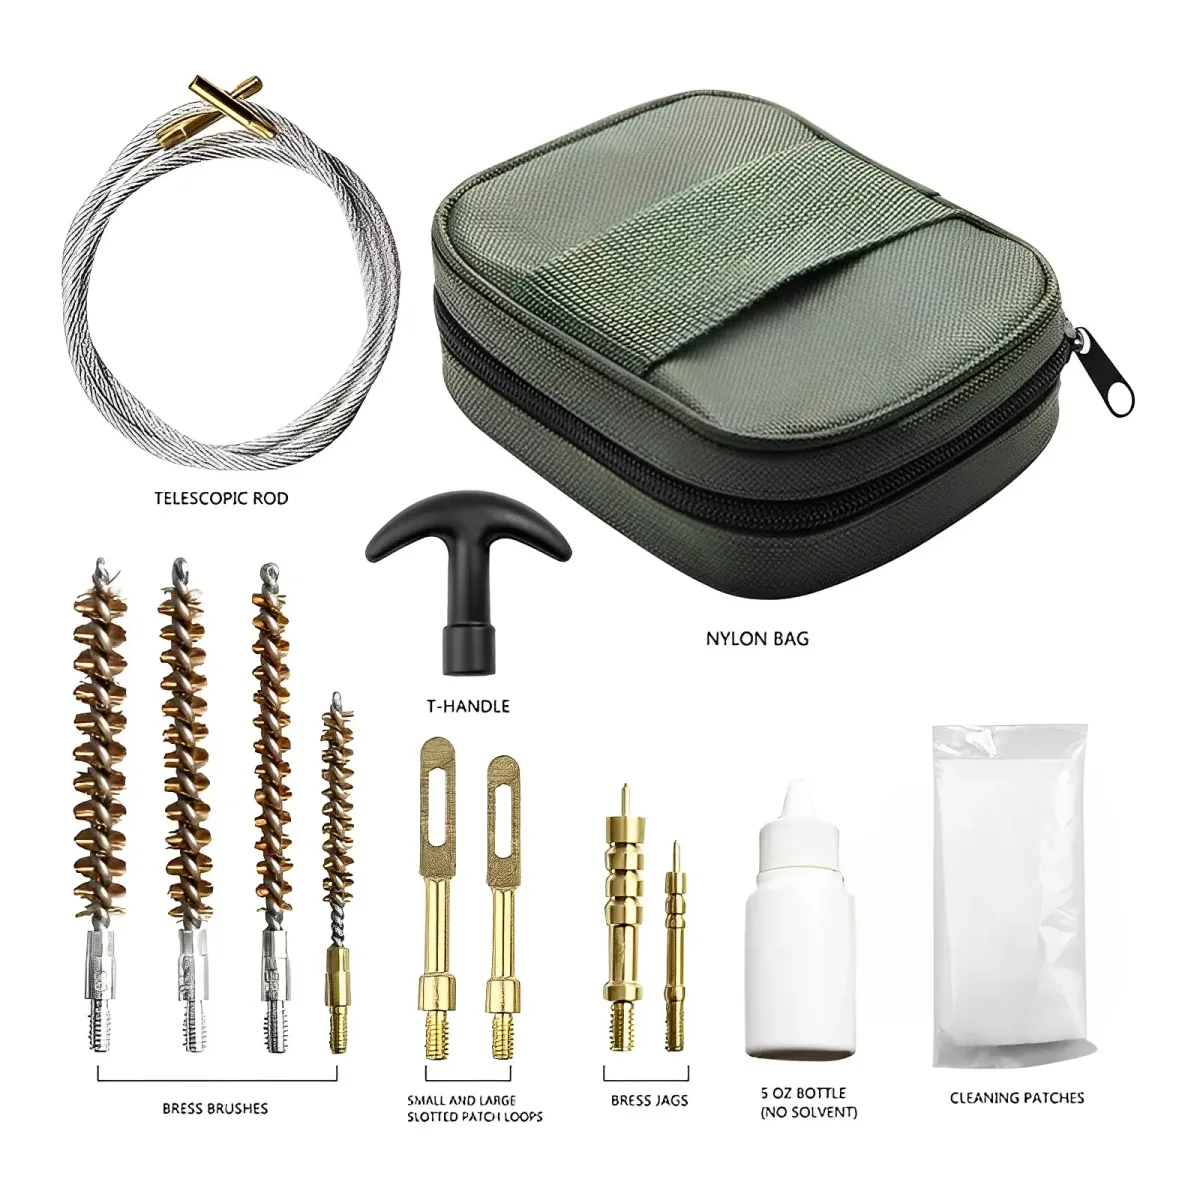
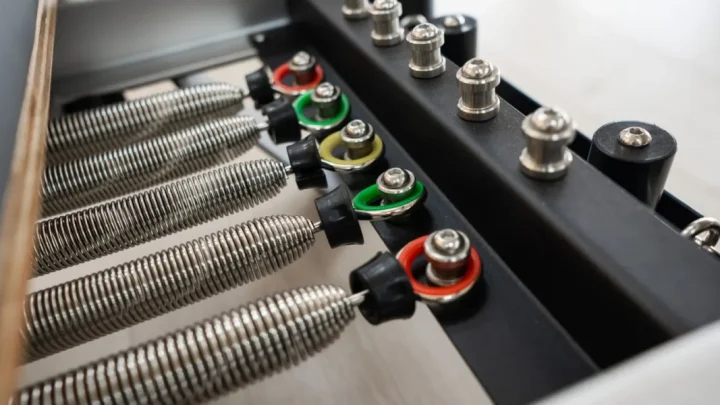
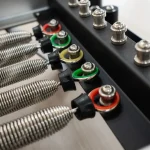
Image source: Web (Bing) / aliexpress.com (Web image (fair-use with source credit))
- Nylon Bore Brushes: Use 6mm to 10mm nylon tube brushes. They scrub inner sidewalls without scratching aluminum or chrome finishes.
- Foam-Tipped Cleanroom Swabs: Unlike cotton swabs, polyurethane foam swabs do not shed loose threads inside tight holes.
- Vacuum with Micro-Attachment: A miniature vacuum nozzle lifts loose hair and grit directly out of blind holes.
- 91% to 99% Isopropyl Alcohol: Alcohol cuts through sweat salts and evaporated body oils quickly. It flashes off in seconds without leaving a sticky film.
- Dry PTFE Lubricant: If you need friction reduction, use a dry-film spray. Never use wet oils.
Avoid mineral oils, household penetrating oils, and standard WD-40. Wet lubricants attract grip sock lint like a magnet. Within weeks, lubricated holes turn into sticky paste reservoirs.
Bleach-based wipes and chlorine disinfectants are equally destructive, as they corrode bare aluminum and strip powder coating.
Step-by-Step Deep Cleaning Workflow for Gear Bar Holes and Receiver Channels
Follow this systematic process to clear out selector holes, restore smooth pin drops, and protect your equipment frame.
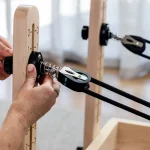
Image source: Web (Bing) / help.may-immobilien.de (Web image (fair-use with source credit))
Step 1: Lock Down the Carriage and Neutralize Spring Tension
Begin by disconnecting all springs from the gear bar. Slide the carriage back toward the headrest and lock it in place using your reformer carriage stopper or a secure locking pin.
Make sure the gear bar is completely free of spring load. If your reformer has a floating or removable springbar, lift it out of the gear cradle entirely. Set it flat on a clean mat to expose the selector holes.
Step 2: Extract Dry Lint, Hair, and Grip Sock Fuzz
Place the narrow nozzle of your shop vac directly over each hole. Run the vacuum while inserting a dry nylon bore brush into the channel.
Twist the brush three to four times against the sidewalls. The spinning bristles dislodge hair and dust mats from the bottom corners, while the vacuum immediately pulls the loose dirt out. If you have through-holes, place a shop rag beneath the frame to catch falling debris.
Step 3: Dissolve Sweat Salts and Bound Grime with Safe Solvents
Dip a firm foam swab into 91 percent isopropyl alcohol. Insert the wet swab into the hole and scrub the bottom surface using firm circular pressure.
The alcohol quickly dissolves dried perspiration salts and body oils left behind by client contact. As of 2026, many high-traffic commercial studios use rapid-evaporating electronic contact cleaners for this step to flush out persistent grime without leaving any moisture behind.
Step 4: Detail the Springbar Locator Pins and Mating Surfaces
Do not stop at the holes. The steel pins underneath your springbar pick up the exact same oily residue.
Wipe down each locator pin with an alcohol-dampened microfiber cloth. Check for rough metal burrs or scratched plating along the pin shafts. If you feel sharp metal edges, gently smooth them with extra-fine 0000 steel wool, then wipe the pin clean with alcohol.
Step 5: Final Dry Inspection and Optional Dry-Film Coating
Shine a small penlight directly down into each selector hole. The bottom surfaces and sidewalls should show clean, bare metal without dark spots, hair rings, or sticky film.
Let the metal air-dry for two minutes. If your equipment manual calls for lubrication, apply a tiny drop of dry PTFE film lubricant to a clean swab and wipe the inner walls. The carrier solvent will evaporate, leaving a microscopic dry shield that repels dust while keeping pin insertion silky smooth.
Critical Mistakes to Avoid: From Oil Lubricants to Cotton Swabs
Many technicians reach for standard household items when their gear bars feel stiff. This shortcut often causes long-term damage that costs more than professional repairs. Using the wrong cleaner or tool can ruin precision-machined surfaces permanently.
Applying WD-40 or any petroleum-based oil is the most common error we see in studio maintenance logs. These fluids leave a sticky residue that traps dust, hair, and sock lint instantly. Over time, this mixture hardens into an abrasive paste inside the blind holes.
The paste prevents pins from seating fully, creating dangerous gaps under load. Manufacturer manuals explicitly warn against wet lubricants for these specific components. Stick to dry PTFE sprays if friction reduction is absolutely necessary.
Another frequent mistake involves using cotton swabs for internal cleaning. Cotton fibers detach easily and remain lodged deep within narrow channels. These loose threads act like wicks, pulling moisture into the metal pores.
Moisture trapped by cotton leads to corrosion on steel pins and aluminum frames. Always use foam-tipped cleanroom swabs instead. They hold their shape and release zero lint during scrubbing.
Compressed air cans also pose significant risks despite their convenience. High-pressure blasts force debris deeper into sealed bearing areas or electronic contacts. Instead of removing dirt, you pack it tighter against sensitive mechanisms.
Vacuum extraction remains the safest method for initial debris removal. Never substitute suction with blowing pressure when working near open frame cavities.
| Common Error | Why It Damages Equipment | Correct Alternative |
|---|---|---|
| Petroleum Oils | Attracts grit, creates abrasive sludge | Dry PTFE film spray (sparingly) |
| Cotton Swabs | Leaves lint, traps moisture | Foam-tipped polyurethane swabs |
| Compressed Air | Blows debris deeper into joints | Shop vac with micro-nozzle |
| Bleach Wipes | Corrodes aluminum, strips coating | 91% Isopropyl Alcohol |
Ignoring these warnings accelerates wear rates dramatically. A single drop of oil can compromise months of careful maintenance. Keep your toolkit limited to approved solvents and mechanical brushes.
Precision demands discipline, not improvisation. Your clients’ safety depends on consistent, correct upkeep practices.
Routine Maintenance Schedule and Studio Safety Checks
Consistency matters far more than intensity when maintaining reformer equipment. Regular checks prevent minor issues from becoming major structural failures. We recommend a tiered approach based on usage volume and client traffic.
Commercial studios running multiple daily classes need weekly inspections. Home users practicing occasionally can extend intervals to monthly or quarterly checks. During every session, instructors should visually scan for obvious debris accumulation.
Look for white salt rings around pin bases or dark smudges on the gear plate face.
Perform a quick functional test before each class begins. Engage five springs and shift through all gear positions manually. Listen for grinding noises or feel for resistance at specific stops.
Any stiffness indicates early buildup requiring immediate attention. Do not wait for scheduled deep cleans if symptoms appear between sessions. Early intervention saves time and preserves component integrity.
Document all maintenance activities in a shared logbook. Record dates, tasks performed, and any anomalies observed. This paper trail proves due diligence during liability audits.
Per ASTM F3105 guidelines, documented preventive care reduces accident risk significantly. Studios without records face higher insurance premiums and legal exposure after incidents.
Seasonal changes affect humidity levels inside storage facilities. High moisture promotes oxidation on unprotected steel parts. In humid climates, increase alcohol wipe frequency to combat sweat salt crystallization.
Conversely, dry environments generate static electricity that attracts airborne dust particles faster. Adjust your vacuuming schedule accordingly to match local environmental conditions.
- Weekly: Visual inspection, light vacuuming of accessible surfaces.
- Monthly: Full bore brushing, alcohol swab detailing of pins.
- Quarterly: Deep solvent flush, torque check on mounting bolts.
- Annually: Professional technician review, replacement of worn spring hooks.
Skipping steps invites hidden degradation. Grit accumulates silently until pins jam completely. By sticking to this predictable rhythm, you ensure every reformer stays safe and smooth.
Neglect is expensive; prevention is cheap.

Similar Posts