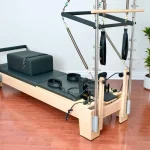
How to Improve Reformer Floor Grip & Stop Sliding
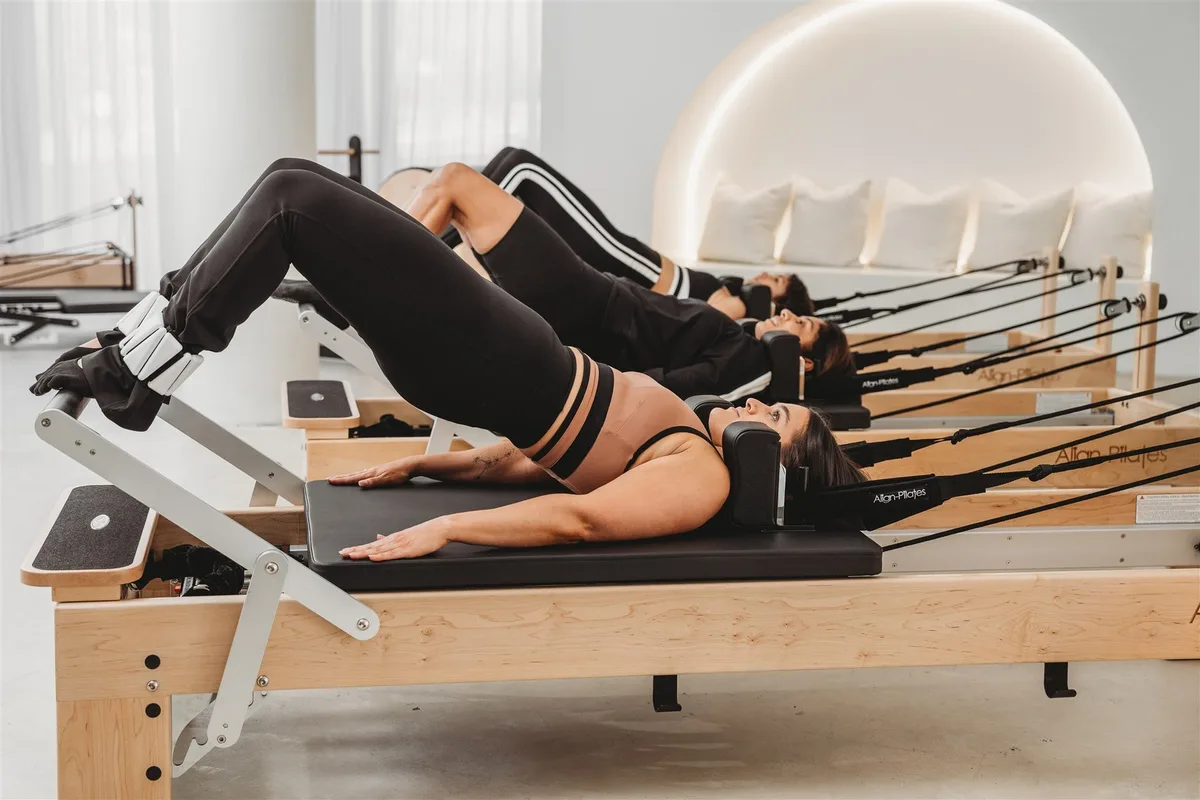
A sliding Pilates reformer ruins your workout rhythm and creates a real safety hazard during standing exercises. When you need to know how to improve reformer floor grip, the solution comes down to managing dynamic friction, machine leveling, and surface contact.
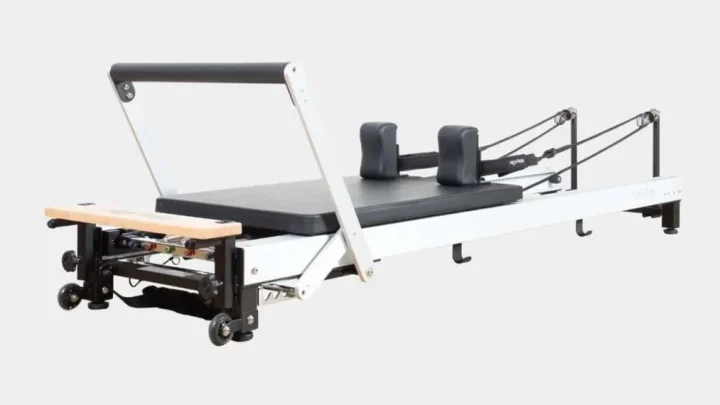
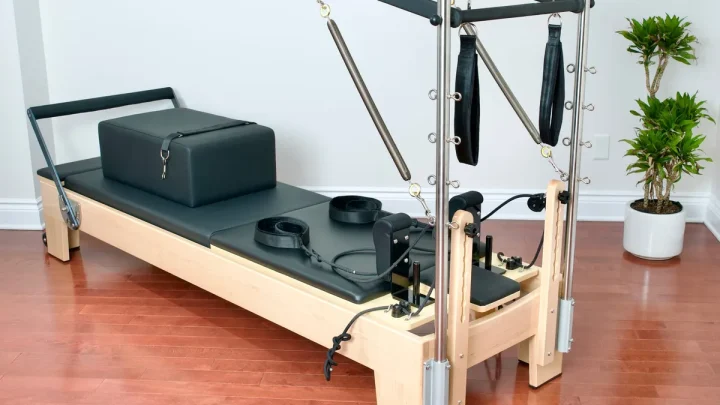
A standard reformer weighs between 100 and 250 pounds, yet dynamic lateral exercises can easily generate enough horizontal shear force to break static floor friction. Addressing this movement protects your flooring from deep gouges while keeping your carriage glides smooth and stable. Here is the direct diagnosis and workflow to lock your reformer in place.
Image source: Bing (Web (fair-use with source credit))
Quick Answer
To learn how to improve reformer floor grip, clean all floor contact points thoroughly. Wipe the rubber feet with isopropyl alcohol. Place high-density vulcanized rubber pads under each frame leg.
Level the frame to distribute weight across all four corners. Use a dense equipment mat for slick hardwood or glossy tile.
Why Pilates Reformers Slide, Walk, and Damage Floors
Reformer "walking" happens when horizontal exercise forces exceed the static friction between your machine feet and the floor. When you push against the footbar during jumping series, your body weight transfers kinetic energy into the frame. That energy pushes the legs across smooth surfaces.
Three main factors cause this sudden loss of traction:
- Surface Contamination: Microscopic dust, floor wax, and silicone cleaning residues create a slippery barrier between the rubber foot and the subfloor.
- Hardened Foot Pads: Over time, factory rubber feet oxidize and harden from a pliable 60A Shore durometer down to a hard plastic texture that cannot grip.
- Frame Misalignment: If one leveling foot sits even two millimeters higher than the others, dynamic movements cause the machine to teeter and slide sideways.
Aside from the annoying squeaks, this movement damages your property. Vibrating metal feet act like sandpaper on clear coats, grinding dirt deep into wood planks or luxury vinyl tile.
The Floor Grip Decision Matrix: Diagnosing Your Flooring and Movement Needs
Fixing a sliding reformer requires matching the grip solution to your specific subfloor and movement style. As of 2026, modern floating floors like luxury vinyl plank (LVP) require different solutions than traditional nailed-down oak or glazed ceramic tile.
Use this decision matrix to identify your setup:
| Floor Substrate | Primary Movement Issue | Risk Factor | Recommended Fix |
|---|---|---|---|
| Polyurethane Hardwood | Machine walks during jumpboard sets | Finish scratching and finish clouding | High-density natural rubber pads |
| Luxury Vinyl Plank (LVP) | Frame creeps during standing lunges | Seam separation under lateral load | Full-length 4 mm to 6 mm equipment mat |
| Glazed Ceramic Tile | Sudden sliding on high spring tension | Grout line chipping and loud vibration | Non-slip textured rubber caster cups |
| Commercial Loop Carpet | Rocking and uneven weight distribution | Carpet pile crushing and backing tears | Rigid equipment mat with leveling check |
If your reformer only slides during high-speed jumpboard work, localized gripper cups under the feet will usually solve the problem. If your machine slides during basic carriage presses, your floor finish needs degreasing or the machine feet require immediate replacement.
Step-by-Step Workflow to Eliminate Machine Drift on Any Surface
Follow this sequential process to restore full traction to your reformer setup without damaging your subfloor.
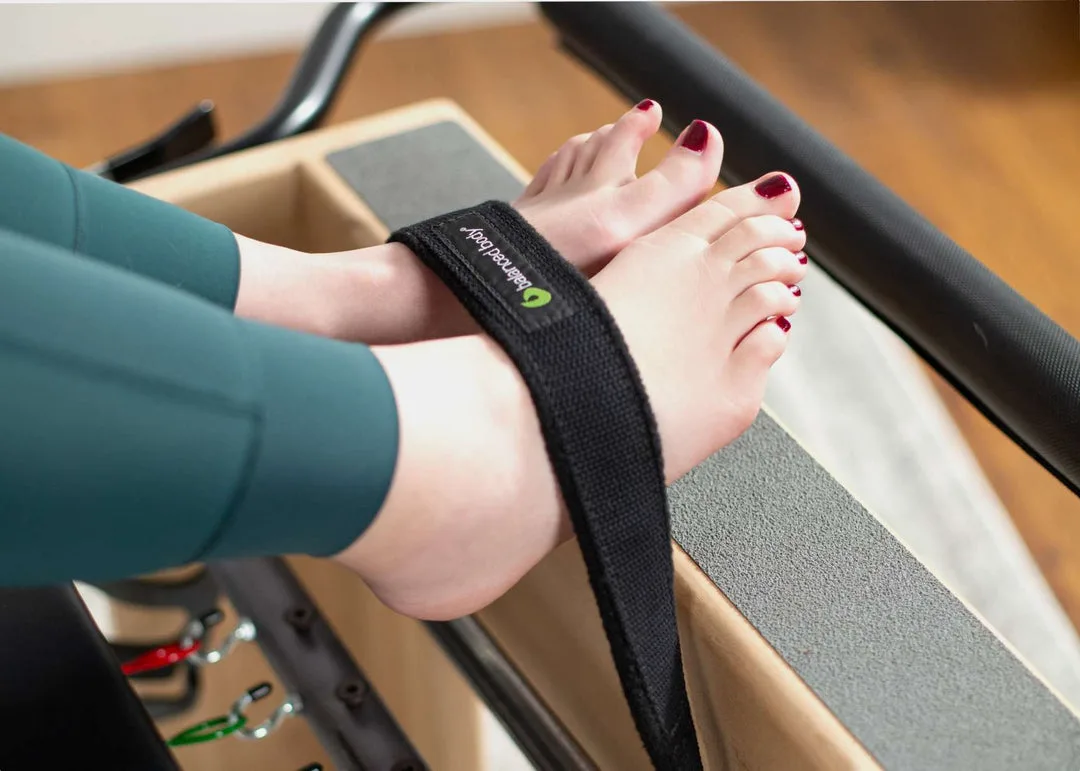
Image source: Bing (Web (fair-use with source credit))
Step 1: Decontaminate the Contact Zones
Clean the floor surface under each machine foot using a residue-free cleaner. Mix a 50/50 solution of water and isopropyl alcohol to strip away body oils, dust, and old floor polish. Wipe the bottom of the reformer rubber feet with the same solution until no black oxidation transfers to your cloth.
Step 2: Level the Reformer Frame
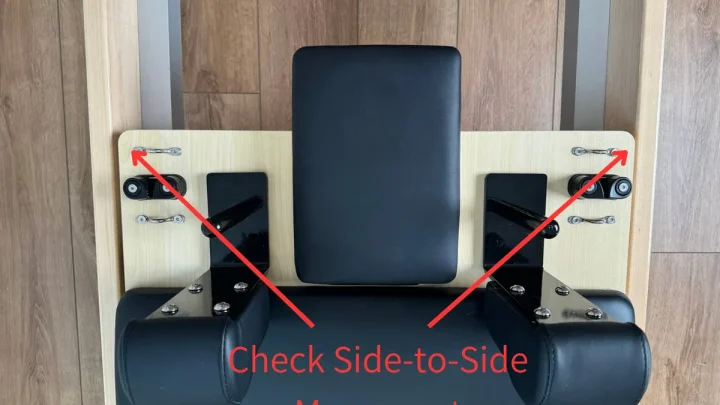
Place a two-foot bubble level across the frame rails at the footbar end and the headrest end. Loosen the lock nuts on your machine leveling feet and turn the threaded studs until all four corners rest firmly on the floor. Tighten the lock nuts securely against the frame to prevent the threads from backing out during use.
Step 3: Install High-Density Grip Material
Place custom-cut high-density rubber pads directly beneath each frame foot. Ensure the pads are rated at least 4 mm thick with a textured waffle or cross-hatch bottom. Do not use open-cell foam or standard yoga mats, as they compress and bunch under working loads.
Step 4: Perform a Dynamic Stress Test
Mount the reformer and perform five full-extension carriage presses on heavy spring resistance. Follow this with three standing side splits. Check the floor contact points to verify zero frame drift or pad bunching.
Comparing Floor Grip Solutions: Full Equipment Mats vs. Gripper Pads vs. Leveler Feet
Choosing the right stabilization hardware depends on your available space, budget, and aesthetic preferences.
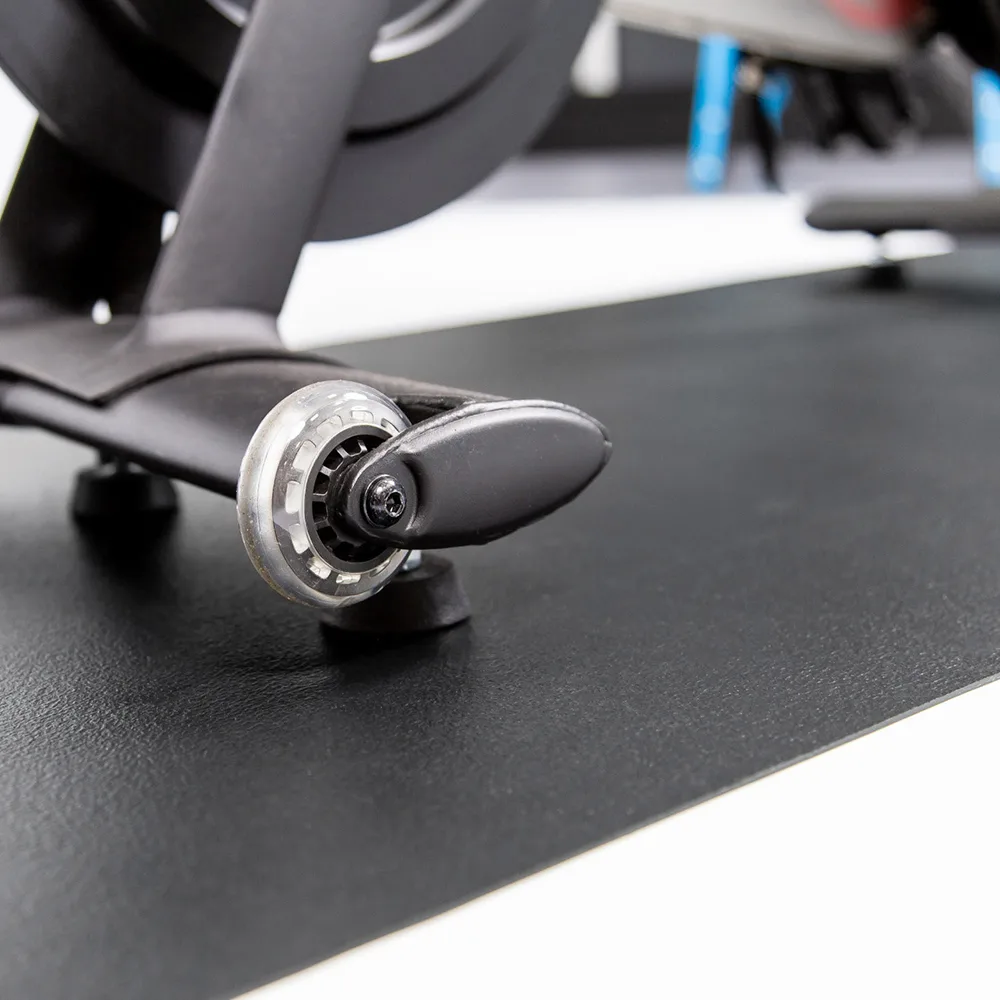
Image source: Bing (Web (fair-use with source credit))
Full-Length Equipment Mats
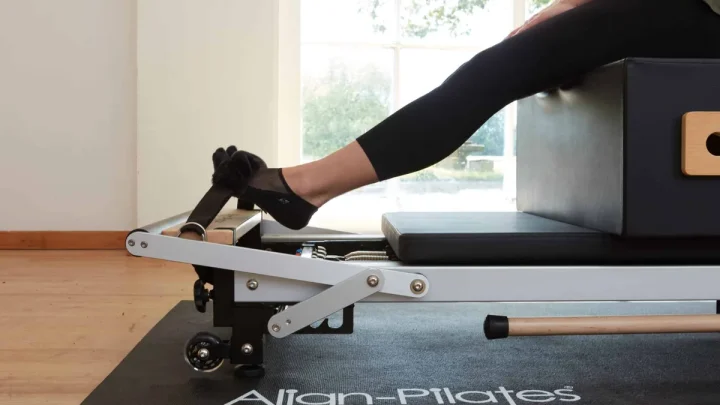
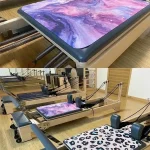
Full mats cover the entire 85-to-100-inch footprint of your reformer. Made from closed-cell PVC or dense rubber, they protect the floor from sweat, wheel track dust, and frame vibration.
- Best For: Dedicated home gym rooms, multi-user studios, and slick commercial tile.
- Pros: Complete floor coverage, superior sound dampening, zero direct floor contact.
- Cons: Bulky to clean around, traps dust underneath, higher upfront cost.
Individual Non-Slip Rubber Pads
These individual square or circular pads sit exclusively under the four legs or corner contact points of the frame.
- Best For: Living spaces where you want clean aesthetics and minimal visual clutter.
- Pros: Inexpensive, nearly invisible, easy to reposition.
- Cons: Does not catch falling sweat, requires precise placement under each foot.
Threaded Non-Marking Leveling Feet
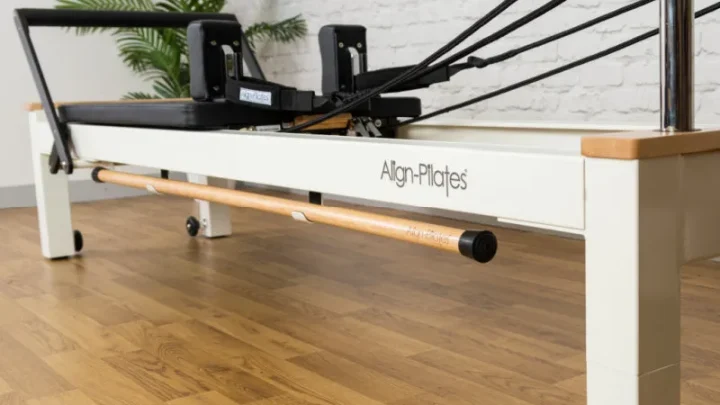
Replacing worn factory feet with fresh polyurethane or vulcanized rubber levelers restores factory-level stability.
- Best For: Older commercial reformers with dried, cracked, or missing foot pads.
- Pros: Permanent hardware fix, integrated height adjustments, perfectly flat contact.
- Cons: Requires correct thread sizing and pitch matching for your specific frame model.
Floor-Specific Playbooks: Hardwood, Luxury Vinyl, Tile, and Low-Pile Carpet
Different flooring materials respond differently to friction materials and equipment weight.
Hardwood Floors
Polyurethane and oil-finished hardwoods are vulnerable to scratches from trapped grit. Never use cheap plastic or vinyl floor mats on wood. According to finish care standards from the National Wood Flooring Association, synthetic plasticizers in cheap PVC mats can migrate into polyurethane coats, causing permanent yellowing and chemical softening.
Stick with 100% natural vulcanized rubber pads or felt-backed natural rubber mats.
Luxury Vinyl Plank (LVP)
Luxury vinyl has a durable wear layer, but floating installations can buckle if lateral equipment force pushes planks against their locking joints. Use a full-length, high-density equipment mat to distribute the machine weight across several planks. This prevents point-loading and keeps the planks from shifting out of alignment.
Ceramic and Porcelain Tile
Glazed tile has a very low coefficient of friction, making it the slickest surface for reformers. The solution here is rubber with a high surface contact area. Choose textured natural rubber cups that cup around the bottom of each foot to prevent the frame from sliding into hard grout lines.
Low-Pile Commercial Carpet
Carpet creates a stable base against lateral sliding, but deep pile causes the reformer to bounce and rock during jumpboard sets. If your reformer wobbles, place firm 1/2-inch dense rubber stall mats or a rigid equipment mat over the carpet under each leg to create a solid, level footing.
Mistakes That Ruin Floors or Create Safety Hazards
Makeshift fixes often create bigger problems than the initial slip. Avoid these frequent missteps when anchoring your equipment:
- Using Standard Yoga Mats: Thin yoga mats (especially 3 mm open-cell PVC) lack the tensile strength to resist lateral shear forces. Under heavy spring tension, the mat bunches up beneath the foot, tilting the machine frame and creating a sudden fall hazard.
- Applying Double-Sided Carpet Tape Directly to Floors: Strong adhesive tape leaves a sticky, hardened residue that strips polyurethane coatings and discolors luxury vinyl planks.
- Ignoring Sweaty Contact Points: Sweat dripping down the frame accumulates around rubber feet. Salt and moisture degrade rubber durometer and act as a liquid lubricant between the pad and the subfloor.
- Over-Tightening Uneven Leveling Feet: Forcing a leveling stud against an uneven floor without checking frame alignment twists the aluminum rails. This causes carriage wheels to bind, creating premature wear on tracking mechanisms.
The Occupational Safety and Health Administration notes that stable equipment footing is critical for preventing workplace slips and falls. In a commercial studio or home gym, maintaining a stable machine base ensures safe, controlled movement across all spring loads.
Frequently Asked Questions About Reformer Floor Grip
Can I put a Pilates reformer directly on hardwood floors?
Yes, but only if the machine feet use soft, clean, non-marking rubber levelers. Check that the rubber has not dried out or hardened. Wipe the floor and feet regularly to remove abrasive grit that can scratch the finish during dynamic exercises.
What is the best mat thickness for a Pilates reformer?
A mat thickness between 4 mm and 6 mm provides the best balance. This density absorbs frame vibrations without allowing the machine legs to sink too deep. Mats thicker than 8 mm cause the reformer to wobble during standing lateral work.
Why does my reformer slide even with rubber feet?
Reformer feet slide when micro-dust, pet dander, or floor cleaner residues coat the rubber surface. Hardened factory rubber also loses elasticity over time. Clean both the feet and the floor with a 50/50 water and isopropyl alcohol mix to restore friction.
How do I stop my reformer from rocking on uneven tile?
Adjust the threaded leveling feet located on the underside of each frame leg. Rotate each foot until the frame sits completely flat, verified by a bubble level. Lock the jam nut tightly against the frame to hold the height in place.
🧘 Technician Recommended: Reformer Stability & Floor Protection Gear
To eliminate dangerous machine sliding during dynamic footwork while protecting hardwood and tile finishes, our studio tests recommend high-density rubber equipment mats and vulcanized gripper pads:
- High-Density Rubber Reformer Mat:Check Heavy-Duty Reformer Floor Mats on Amazon →
- Non-Slip Anti-Vibration Gripper Pads:Check Non-Slip Equipment Gripper Pads on Amazon →
*FTC Disclosure: As an Amazon Associate, Smart Body Pilates earns from qualifying purchases.*

Similar Posts