How to Keep a Pilates Reformer Stable on Laminate
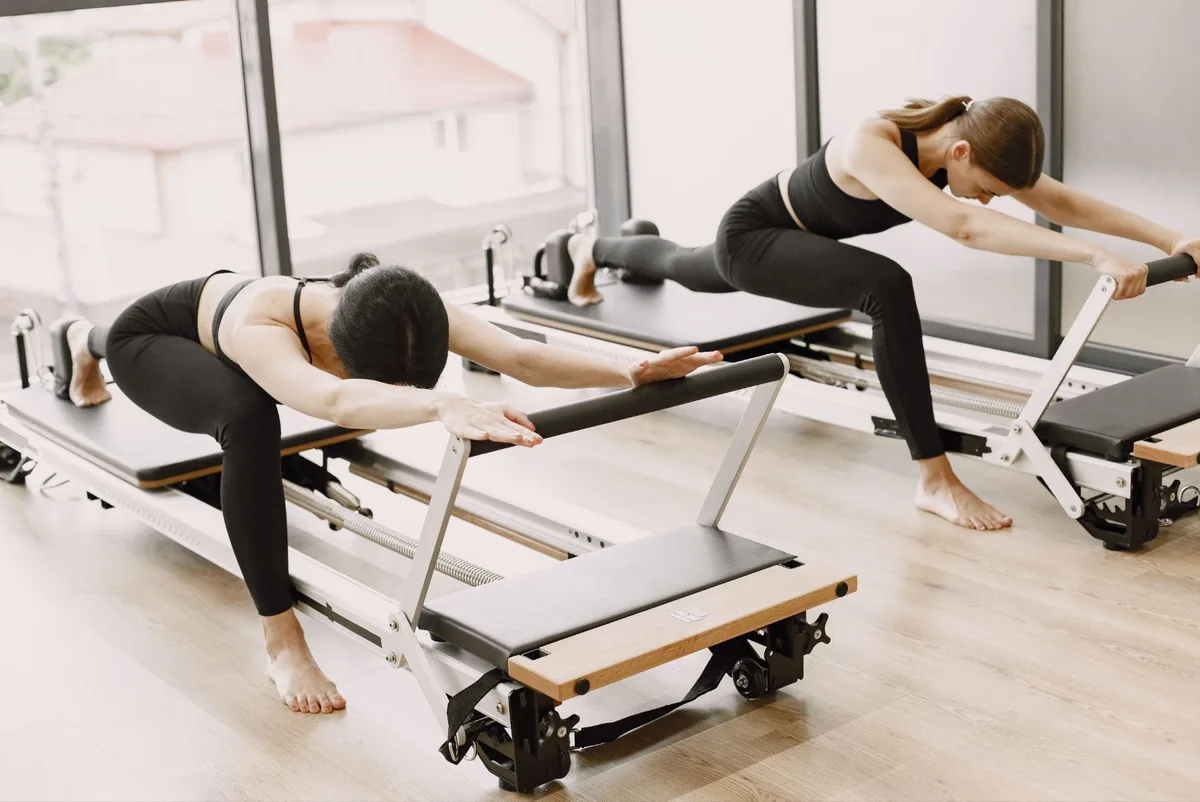
Setting up a home Pilates studio brings smooth carriage glides right into your living space, but slick floor surfaces often cause frustrating sliding. Learning how to keep a reformer stable on laminate flooring protects both your joints and your floorboards from dynamic lateral forces. When a frame shifts during footwork or jumpboard sets, you lose training leverage and risk scuffing the floor.
Standard laminate boards feature an aluminum oxide wear layer that minimizes friction against factory equipment feet. Manufacturer specifications indicate that dynamic carriage recoil generates substantial horizontal shear stress across the frame contact points. Setting up the right stabilization system prevents mechanical drift without locking down floating floor planks improperly.
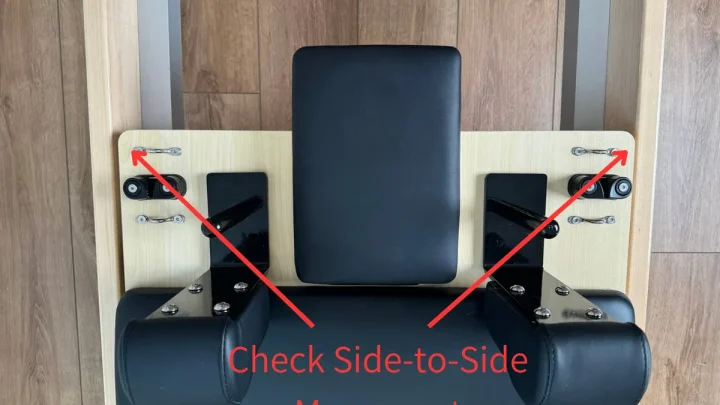
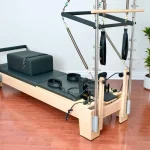
Image source: Web (Bing) / thepadfitness.com (Web image (fair-use with source credit))
Quick Answer
To keep a reformer stable on laminate flooring, use dense rubber caster cups or a commercial equipment mat. Level the machine frame using the threaded leveling feet and a spirit level. Clean the laminate planks thoroughly to remove slick dust.
Avoid soft yoga mats and adhesive tape. High-density rubber stops lateral sliding while protecting floating floor joints.
Why Reformers Slide, Rock, and Shift on Laminate Floors
Laminate flooring presents a unique challenge for heavy fitness equipment. Most residential laminate uses an AC3 or AC4 wear rating, which creates a durable, non-porous topcoat. That slick polyurethane or aluminum oxide coating resists scratches, but it provides almost zero natural traction.
When you combine that low-friction surface with dynamic exercise, the reformer frame naturally wants to walk across the room.
The mechanics of Pilates exercise generate horizontal shear forces rather than simple downward pressure. Every time you press out against heavy gear springs or land on a jumpboard, you push the frame backward. If the friction between the feet and the floor is lower than the spring resistance, the frame slides.
As of 2026, modern home reformers have gotten lighter for easier storage, making them even more prone to lateral drift than older studio models.
Floating floor mechanics also play a big role in machine instability. Laminate planks are not nailed down, but instead click together over a foam underlayment. If your subfloor has slight high or low spots, the planks flex under concentrated weight.
Placing a 150-pound reformer plus your body weight over an uneven plank seam creates frame rocking that leveling feet alone cannot always solve without proper load distribution.
Step 1: Diagnose Your Movement Type (Rocking vs. Lateral Drift)
Before buying pads or mats, you need to identify the exact way your reformer moves. Different physical forces require completely different mechanical fixes. Stand beside your machine and run through these diagnostic checks:
- Vertical Rocking (Corner Lift): If one corner lifts off the ground when you step on the carriage or press the footbar, the issue is an unlevel surface. The floor has a slight dip, or the reformer feet sit at uneven heights.
- Lateral Drift (Machine Walking): If all four feet stay flat on the floor, but the entire unit creeps backward during leg presses or jumpboard intervals, the problem is low surface friction.
- Seam Deflection (Floor Bouncing): If the frame feels solid, but you see the laminate planks dipping and rebounding beneath the legs, the subfloor underlayment is compressing under the point load.
If your machine rocks vertically, jump straight to adjusting the threaded leveling glides before adding grip pads. If your machine drifts sideways across the room, your primary goal is increasing the static friction coefficient at the contact points.
Decision Framework: Full Equipment Mats vs. Targeted Grip Pads
Once you know why your frame is shifting, you must decide between covering the entire footprint or treating only the contact legs. Both approaches work well, but they fit different room layouts and aesthetic preferences.
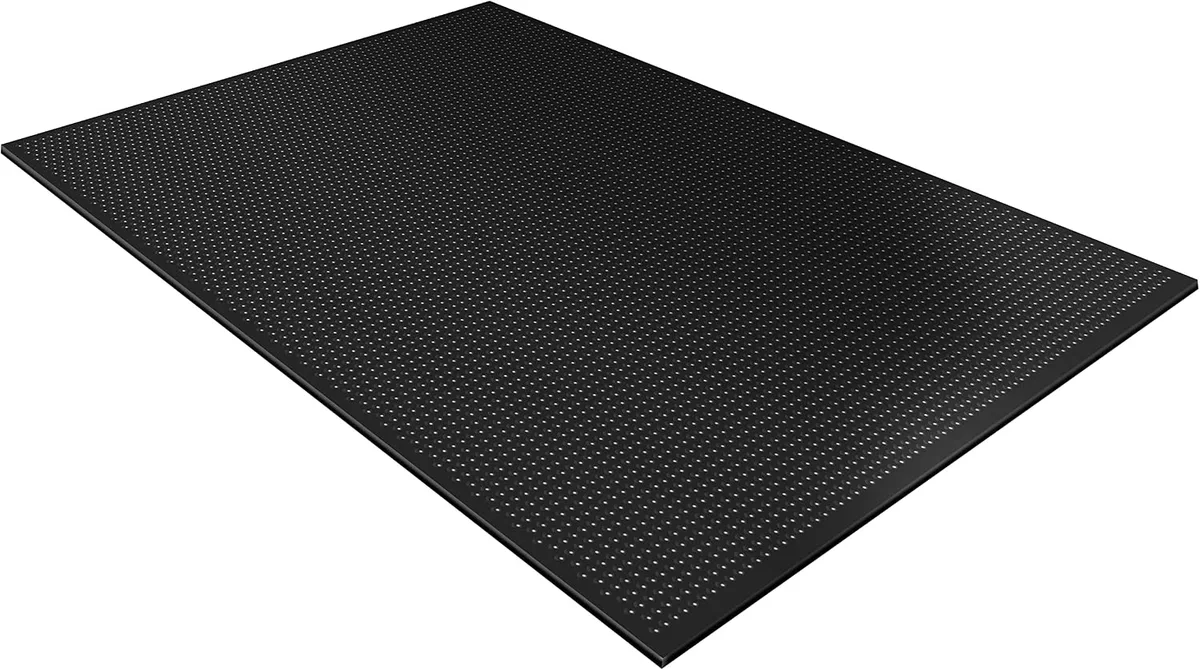
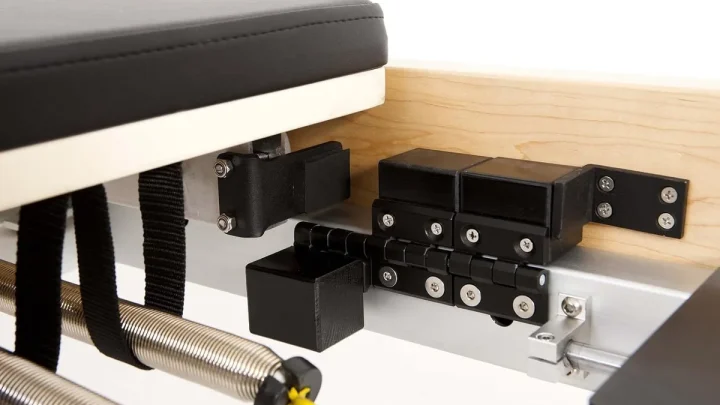
Image source: Web (Bing) / amazon.ca (Web image (fair-use with source credit))
Full equipment mats work best if your reformer stays permanently set up in a dedicated workout zone. A solid 3-foot by 8-foot mat catches sweat, dampens carriage rolling vibrations, and shields the laminate planks from dropped hand weights or straps. However, large mats trap dirt underneath and hide your wood-grain flooring.
Targeted grip pads or rubber caster cups work better in multipurpose living rooms. They isolate the grip directly under the four to six frame legs. This keeps the space looking open while stopping lateral drift completely.
The table below outlines the core differences:
| Factor | Full-Length Equipment Mat | Targeted Rubber Grip Cups |
|---|---|---|
| Primary Advantage | Full floor scratch and sweat protection | Minimal visual footprint on wood grain |
| Lateral Grip | High across entire machine base | Exceptionally high at localized points |
| Vibration Dampening | Absorbs frame resonance across 24+ sq ft | Absorbs impact at frame contact points |
| Ease of Cleaning | Requires moving the reformer to mop under | Easy to sweep around the frame |
| Best Room Setup | Dedicated home gym or studio | Shared living space or bedroom |
Choosing the Right Grip Material: Shore Durometer and Floor Safety
The material you put under your reformer makes or breaks your stability. Soft materials like standard yoga mats, foam puzzle tiles, and EVA foam compress completely under heavy frame legs. Once compressed, they stretch horizontally, causing the reformer to slide while the mat bunches beneath it.
Look for high-density materials rated between 60 and 80 on the Shore A durometer scale. This level of hardness resists bottoming out under dynamic user weight while maintaining strong surface tack against smooth laminate. Vulcanized natural rubber, dense polyurethane, and solid silicone provide the best balance of shear resistance and structural rigidity.
Floor chemical safety is just as important as grip strength. Cheap PVC foams often contain plasticizers that leach into laminate finishes over time, leaving cloudy, permanent chemical stains. According to installation guidelines from the North American Laminate Flooring Association, non-staining natural rubber or high-grade polyurethane pads should always be used to protect the decorative wear layer.
Avoid adhesive-backed tapes or soft rubber pads that use solvent-based glues, as they leave gummy residues that ruin click-lock planks.
Step-by-Step Protocol to Lock Down Your Reformer Frame
Stabilizing your reformer requires a methodical setup. Rushing the process or tossing pads under unlevel feet leads to recurring drift and frame creaking. Follow these steps to secure your machine properly.
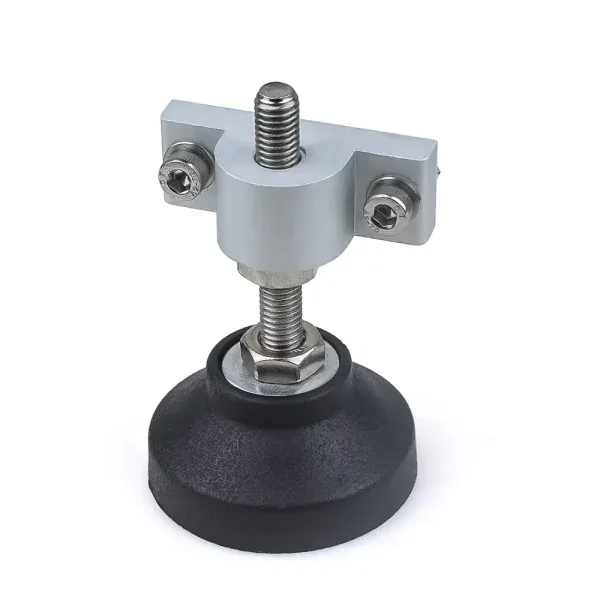
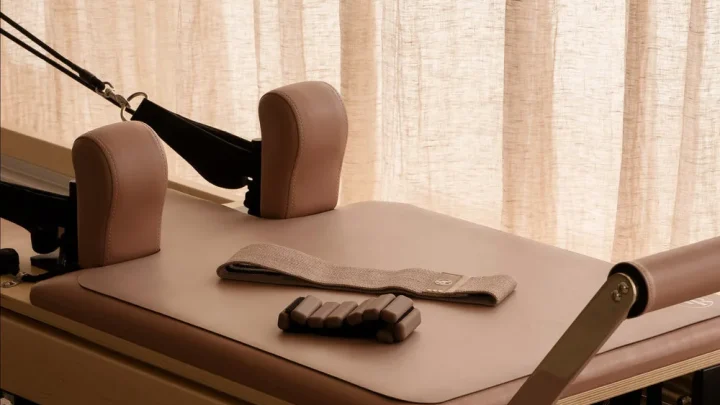
Image source: Web (Bing) / bulkman3d.com (Web image (fair-use with source credit))
1. Clean and Degrease the Contact Zones
Microscopic dust acts like ball bearings on smooth laminate floors. Sweep the entire footprint under the reformer, then wipe the floor where each foot rests using a microfiber cloth dampened with a mild water and vinegar solution. Let the surface dry completely.
Wipe down the bottoms of your reformer feet to remove factory oils.
2. Level the Frame Across Both Axes
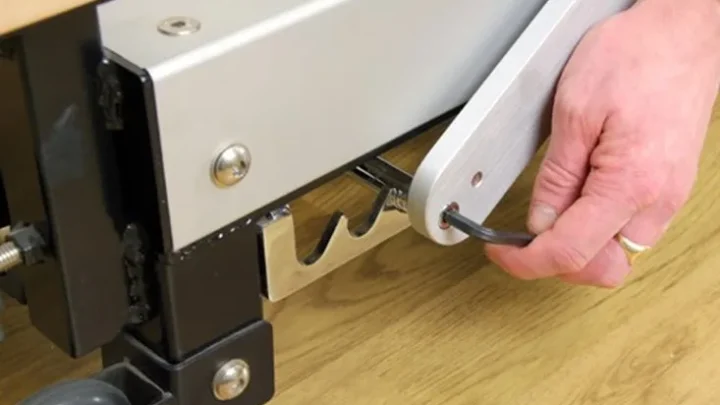
Place a 24-inch spirit level across the middle of the reformer rails, checking both the horizontal width and the longitudinal length. Check subfloor flatness standards defined by ASTM International for flooring installations to ensure your surface meets basic leveling thresholds. If one corner lifts, loosen the locking jam nut on that leg.
Rotate the threaded stem downward until the foot makes solid contact with the plank, then tighten the jam nut firmly against the frame bracket.
3. Position High-Durometer Isolation Pads
Center a dense rubber pad or caster cup directly beneath each leveling glide or solid leg. Ensure the foot sits squarely in the middle of the pad rather than hanging over the edge. If using a full-length equipment mat, roll it out flat 24 hours prior to eliminate curled edges before setting the machine on top.
4. Perform a Dynamic Load Test
Hook on your heaviest spring combination. Stand on the carriage and push firmly against the footbar five times with full force. Watch the base contact points closely.
If the machine shifts or clicks, adjust the leveling glides by a quarter-turn to balance the load evenly across all points.
Common Mistakes That Ruin Floating Floors or Worsen Machine Slip
One frequent mistake is using standard furniture felt pads under reformer feet. Felt pads are designed to make furniture slide effortlessly across hard surfaces during cleaning. Putting felt under a dynamic exercise frame eliminates traction entirely, turning your machine into a dangerous sled during jumpboard routines.
Another major error is attempting to anchor the reformer directly into the subfloor using wood screws or heavy brackets. Laminate is a floating floor system that expands and contracts with changes in seasonal indoor humidity. Nailing or bolting equipment through the planks pins the floor down, which causes adjacent seams to buckle, peak, or separate entirely.
Using soft yoga mats or carpet scraps under the frame also causes unexpected issues. Soft closed-cell foam compresses unevenly under the localized weight of the frame posts. This compression allows the footbar end to tilt during heavy pressing, straining the internal frame welds and causing premature carriage wheel wear.
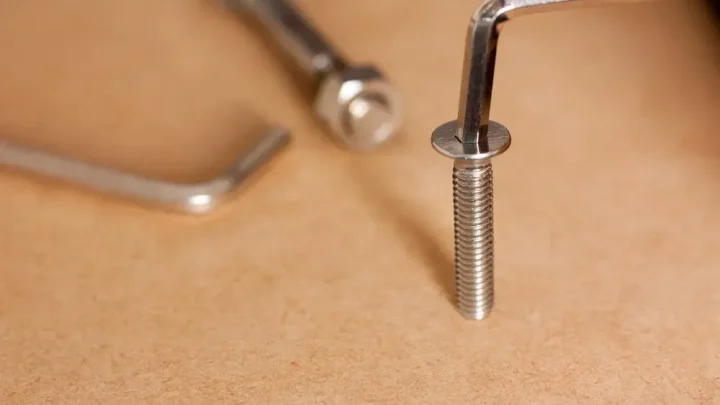
Finally, skipping the locking jam nuts on threaded leveling feet leads to sudden instability. Vibrations from repeated carriage returns cause unsecured leveling stems to back out of their threads over time. Always tighten the metal jam nut firmly against the frame bracket with an open-end wrench to preserve your height adjustments.
Frequently Asked Questions About Reformer Floor Stability
Can I place a Pilates reformer directly on laminate flooring?
You can place a reformer on laminate, but the factory feet will likely slide during high-resistance workouts. The slick wear layer offers minimal traction against hard plastic or metal frame glides. Using dense rubber pads prevents lateral movement while protecting the plank surface from scratches and point-load pressure.
Will the weight of a reformer damage floating laminate seams?
A standard reformer weighing 100 to 180 pounds will not crack laminate planks if the load is distributed evenly across all contact points. However, dynamic movement on an unlevel frame concentrates excess force onto a single plank joint. Keeping the machine level and using wide rubber caster cups prevents seam separation.
Why does my reformer mat keep bunching up under the frame?
Mats bunch up when they are made from low-density foam, such as standard PVC yoga mats or lightweight TPE exercise pads. Dynamic horizontal forces stretch these soft materials beyond their elastic limit during footwork. Replace soft mats with high-density, vulcanized rubber equipment mats that resist shear compression.
How do I stop my reformer from squeaking on a hard floor?
Squeaking happens when unlevel frame feet rub micro-dust against the slick laminate surface during carriage travel. Wipe the floor clean to eliminate gritty particles, level the frame to remove corner lift, and place silicone or natural rubber grip pads under each foot to isolate the frame resonance.
Do I need to re-level my reformer if I move it across the room?
Yes, you should re-level the reformer whenever you relocate it across a floating laminate floor. Laminate follows the subtle contours of your subfloor, meaning height variations exist across different sections of the room. Always check your spirit level and adjust the threaded feet after moving the frame.

Similar Posts