How to Keep a Pilates Reformer Stable on Tile Floors
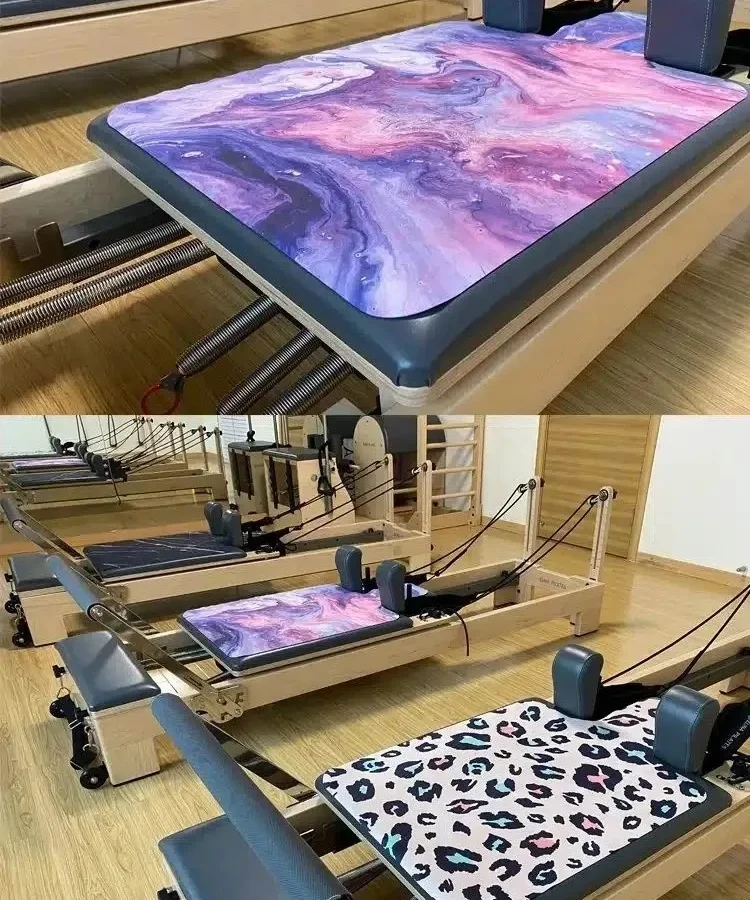
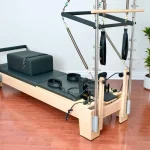
Setting up your Pilates machine at home should feel secure from the first repetition. If you are struggling with how to keep a reformer stable on tile floor, you are dealing with a common friction challenge. Smooth glazed surfaces offer very little natural grip against dynamic lateral forces.
A typical commercial or home reformer generates significant horizontal thrust when you press against the footbar or carriage springs. Per Tile Council of North America guidelines referencing standard dynamic friction ratings, polished interior tiles often carry a wet or dry coefficient of friction below 0.42 when untextured. This slick surface allows heavy frames to shift, rock, or creep across the room during intense workouts.
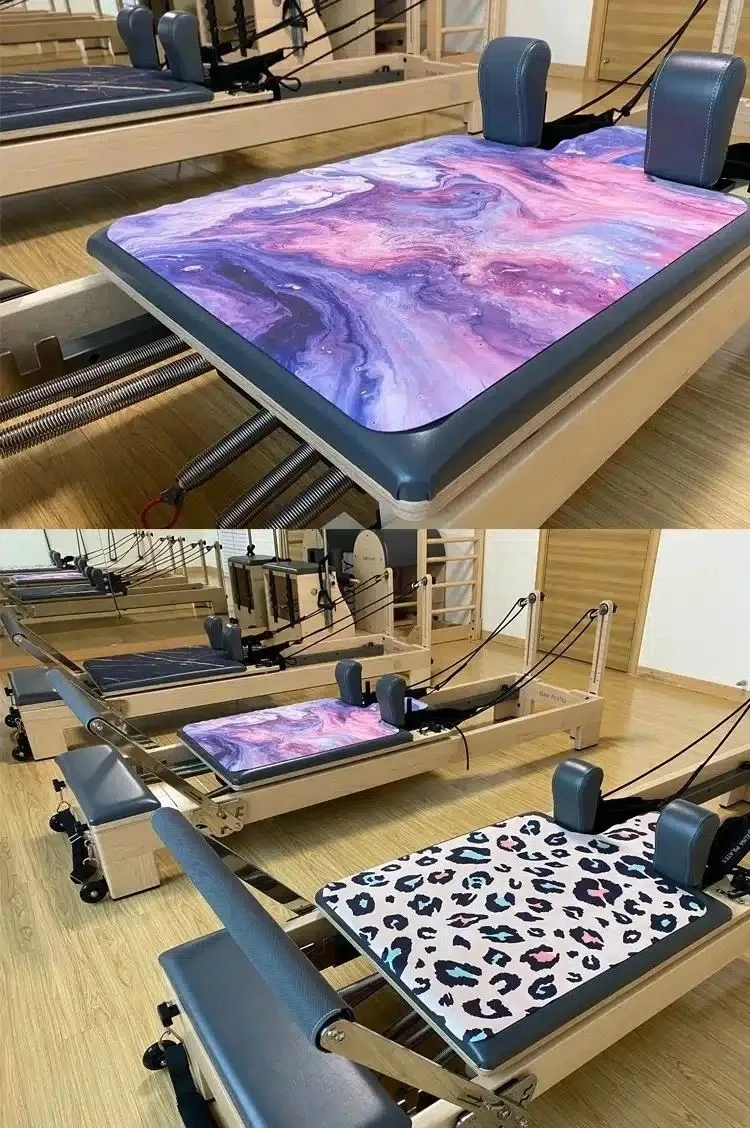
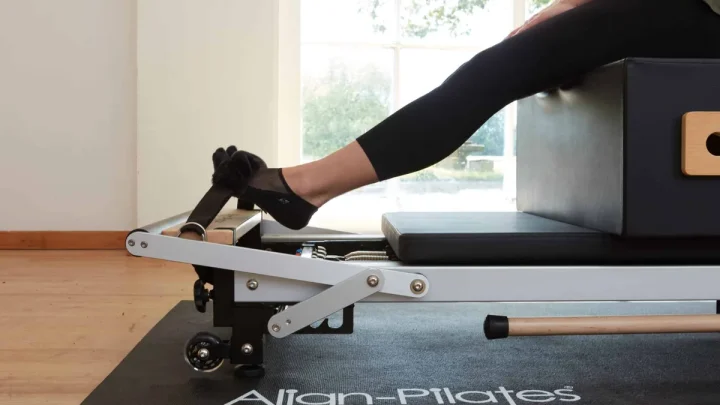
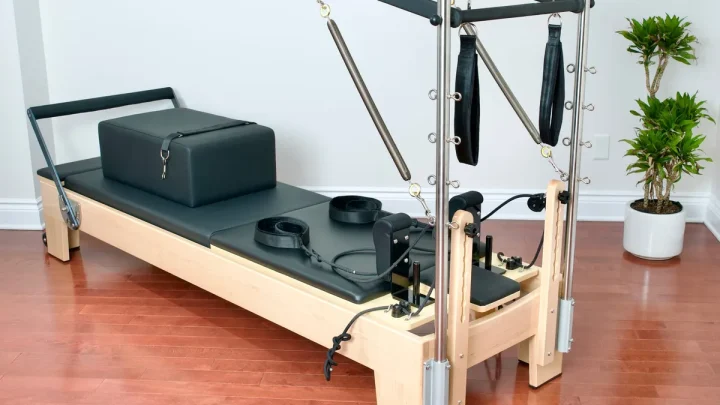
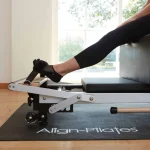
Image source: Web (Bing) / sendeyoga.com (Web image (fair-use with source credit))
Quick Answer
To learn how to keep a reformer stable on tile floor, use high-density rubber. Clean the tile thoroughly first. Level the machine feet across the grout lines.
Place dense vulcanized rubber pads or an equipment mat underneath. Check the feet before dynamic jumpboard workouts.
Why Reformers Slide, Rock, and Creep on Tile Floors
The Physics of Lateral Spring Tension and Glazed Tile
When you press away from the footbar, the carriage glides backward against spring tension. That spring tension creates an equal and opposite force that pushes the frame forward.
On carpet or textured wood, the floor resists this energy. On glazed ceramic or porcelain tile, the smooth surface lacks microscopic texture. The machine legs break traction easily, resulting in frame creep.
Tile Lippage, Wide Grout Lines, and Frame Wobble
Tile floors are rarely completely flat. Variations in subfloors, adhesive thickness, and tile manufacturing create slight height differences between adjacent tiles, known in the flooring industry as lippage.
If one foot of your reformer rests on a high tile edge while another sits in a recessed grout line, the frame will rock. Even a 2 mm height difference can cause a heavy frame to wobble during carriage return.
The Risk of Floor Scratches and Cracked Tiles
A sliding reformer is not just annoying. It is a hazard to your floor.
Bare metal feet, hard nylon glides, or trapped grit act like sandpaper against tile glaze. Furthermore, dynamic jumping exercises focus heavy point loads onto small foot pads, which can crack hollow-backed tiles beneath the surface.
The Diagnostic Workflow: Pinpointing Your Stability Issue
Instability Symptoms
 ├── Frame slides across the room ────► Low Surface Friction (Install Dense Rubber Base)
 ├── Frame rocks or clicks on return ──► Tile Lippage / Grout Gap (Level Feet or Add Shims)
 └── Mat wrinkles under the legs ─────► Material Shearing (Replace Foam with Dense Rubber)
Condition A: The Frame Walks Across the Floor During Lunges or Jumps
If your machine shifts position across the floor during unilateral exercises, your issue is low surface friction. This happens when the machine feet slide over the slick tile glaze.
The solution requires increasing the coefficient of friction. You need high-durometer vulcanized rubber contact pads or a heavy-duty continuous floor barrier.
Condition B: The Frame Rocks or Wobbles on an Uneven Surface
If the reformer stays in one spot but rocks diagonally when you mount it, the cause is uneven floor elevation. One or two feet are floating over low spots or deep grout joints.
You must adjust the built-in threaded leveling feet. If your reformer lacks leveling legs, place rigid silicone shims under the floating corners to eliminate the gap.
Condition C: The Protective Mat Bunches Up Under the Feet
If you already placed a mat under the reformer and it wrinkles or bunches during movement, your mat material has low shear strength.
Soft materials like yoga foam stretch under lateral tension. You need to switch to a dense, non-stretching rubber mat designed specifically for heavy fitness equipment.
The Stability Toolkit: Comparing Mats, Grip Pads, and Shims
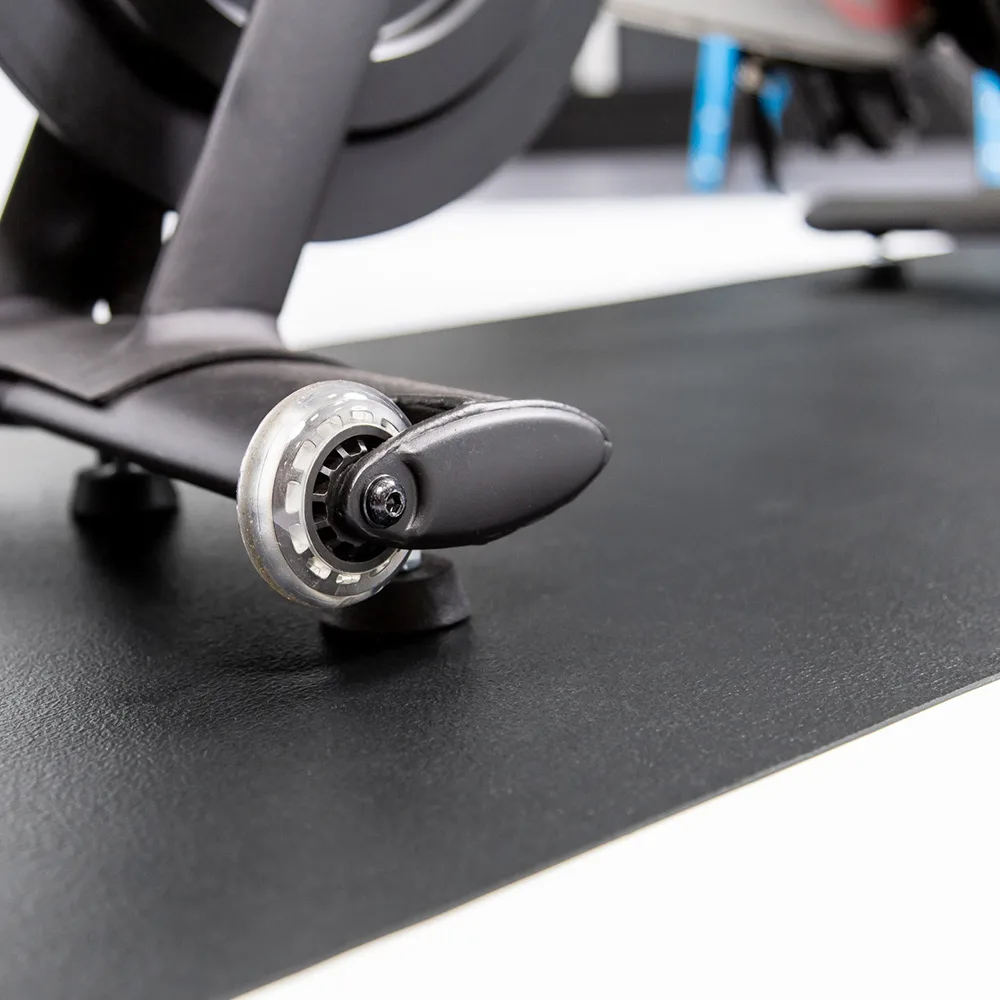
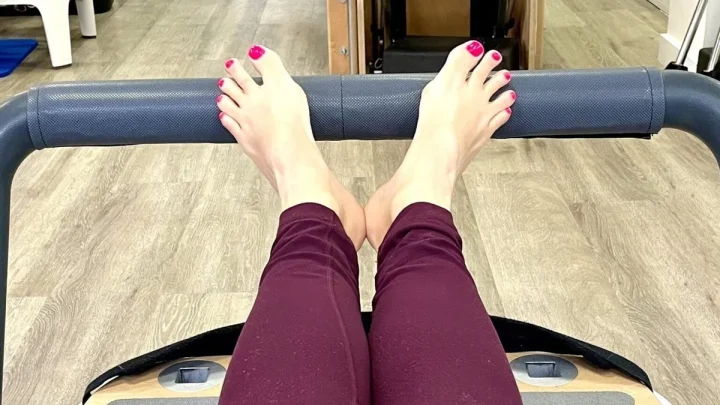
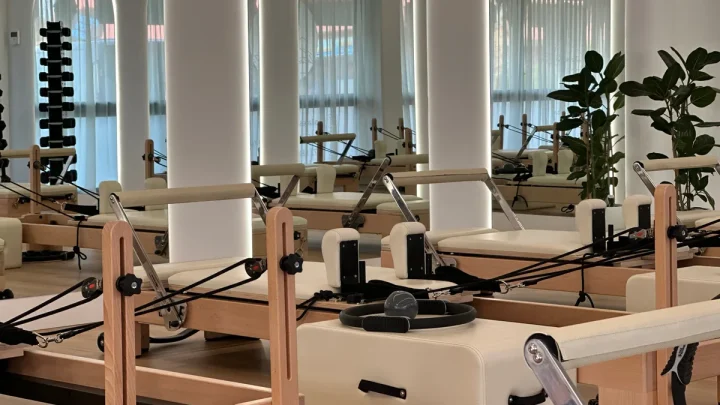
Image source: Bing (Web (fair-use with source credit))
Full-Length Equipment Mats vs. Individual Rubber Pucks
A full-length equipment mat covers the entire footprint of the reformer, typically measuring 30 by 90 inches. It protects the tile from sweat, provides full traction, and dampens spring resonance.
Individual rubber pucks sit solely under the machine legs. They preserve the open aesthetic of your tiled room and cost less, though they do not catch dripping sweat or carriage wheel dust.
Material Face-Off: Vulcanized Rubber, Closed-Cell PVC, and EVA Foam
| Material Type | Slip Resistance on Tile | Compression Resistance | Risk of Floor Staining | Best Use Case |
|---|---|---|---|---|
| Vulcanized Rubber | Excellent (High Grip) | High (Zero Squish) | Very Low (Non-marking) | Heavy studio frames, jumpboards |
| Closed-Cell PVC | Moderate to High | Medium | Low | Light home folding reformers |
| EVA Foam Tiles | Poor (Slides easily) | Low (Crushes flat) | Moderate (Color transfer) | General floor padding, not equipment |
Leveling Shims and Threaded Feet Adjusters
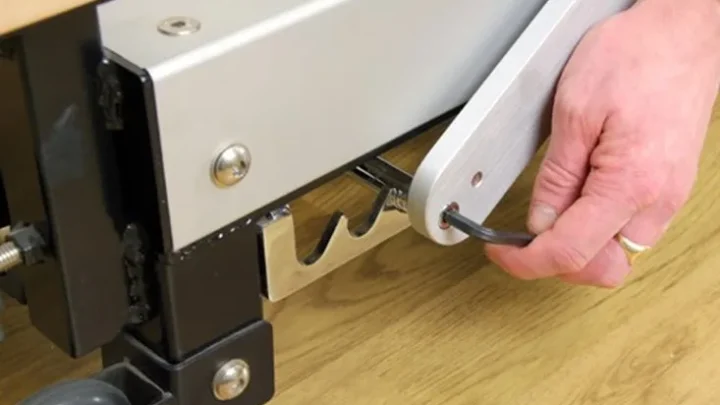
Threaded feet adjusters are standard on modern commercial studio reformers as of 2026. Rotating the foot clockwise or counterclockwise changes the height by fractions of a millimeter to seat the frame firmly.
For reformers with fixed wooden or welded metal legs, rigid silicone leveling shims work best. They compress minimally under heavy loads and grip the tile without sliding.
Step-by-Step Guide to Stabilizing Your Reformer on Tile
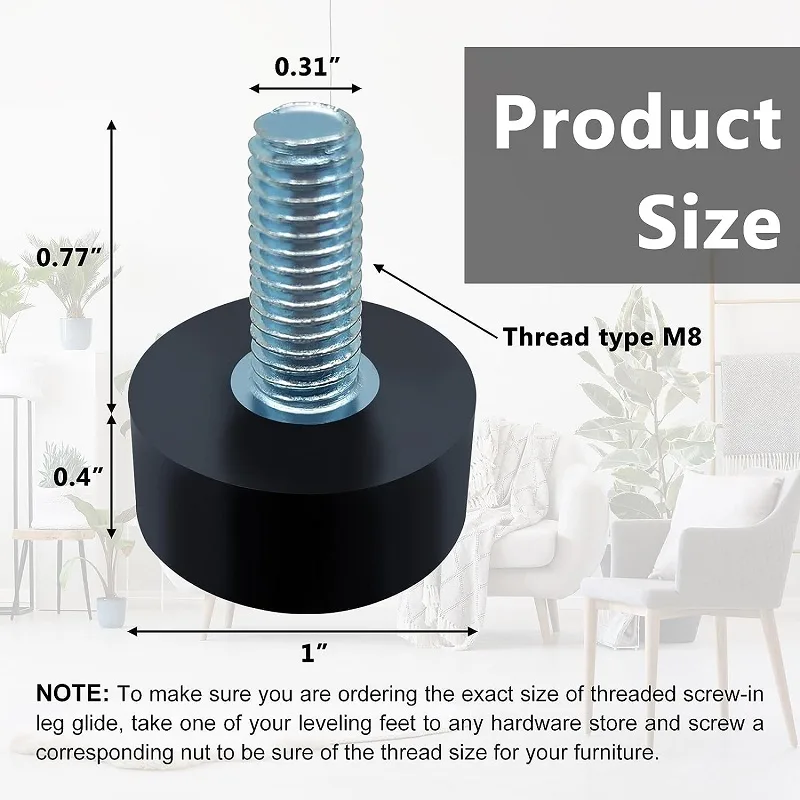
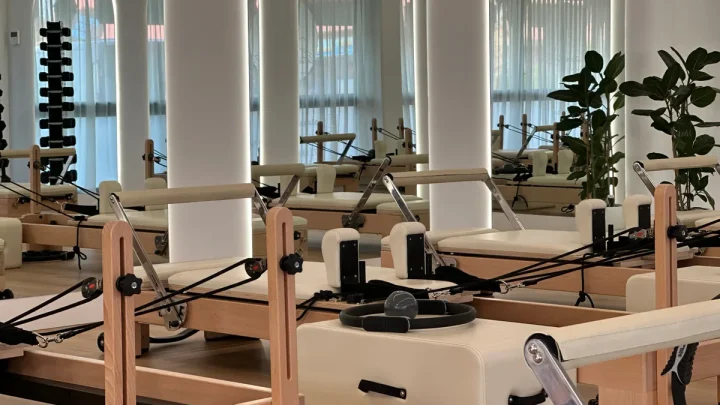
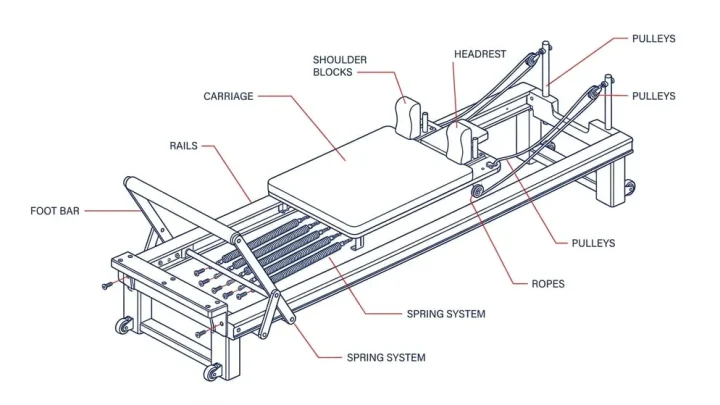
Image source: Web (Bing) / chicarubber.com (Web image (fair-use with source credit))
Step 1: Clean and Degrease the Tile Contact Points
Dust and floor cleaners leave a slick film on ceramic and porcelain tile. Sweep the area thoroughly to remove all loose grit that could scratch your floor under pressure.
Wipe the specific contact areas with a 50/50 mixture of water and isopropyl alcohol. Let the floor dry completely. A clean surface provides maximum mechanical grip for rubber pads.
Step 2: Level the Frame Across Tile Grout Lines
Position your reformer in its permanent workout location. Place a spirit level across the standing platform at the front and across the frame rails near the footbar.
Adjust the threaded leveling feet until the bubble centers in both directions. If your machine rests on fixed feet, slip a dense silicone shim under any leg that fails to make solid contact with the tile.
Step 3: Install High-Durometer Anti-Slip Barriers
Place your dense rubber mat or individual anti-slip pucks directly under each foot. Ensure the rubber sits flush against both the bottom of the machine leg and the floor.
Make sure no rubber pad bridges a deep grout line awkwardly. Shifting the frame two inches forward or backward often places all four feet entirely on flat tile surfaces.
Step 4: Perform Dynamic Stress Tests
Test your setup before starting a full workout. Mount the carriage and hook on heavy spring tension, using three red springs or your manufacturer's equivalent heavy setting.
Perform five rapid footbar presses, followed by five dynamic lunges. Check the frame feet to ensure zero lateral sliding, floor rocking, or mat bunching occurred during the movement.
Common Mistakes That Ruin Stability and Damage Tile Floors
Relying on Standard Yoga Mats or Rugs
Using a standard yoga mat or decorative area rug is the most common stability error. Yoga mats are made from soft, low-density foam that tears and stretches under lateral carriage load.
Rugs lack non-skid backings and will slide across slick tile like a sled. Always choose dense, non-stretch materials built for heavy fitness machinery.
Using Cheap EVA Foam Puzzle Mats Under Heavy Point Loads
Interlocking EVA foam puzzle tiles work fine for bodyweight floor exercises, but they fail under a 150-pound reformer. The point load from narrow reformer legs crushes EVA foam flat within days.
Once crushed, the foam loses structural integrity and shifts along the interlocking seams. This creates an uneven platform that throws off carriage alignment.
Ignoring Dirt and Micro-Grit Under the Contact Pads
Even the highest-grade rubber pads lose traction if a layer of household dust sits beneath them. Dust acts like microscopic ball bearings between the rubber and the smooth tile glaze.
Clean beneath your reformer feet regularly. A quick wipe restores surface tackiness and stops creeping before it starts.
Overlooking Caster Wheel Disengagement
Many reformers feature built-in transport wheels on one end for easy rolling. If these caster wheels remain in contact with the tile during use, they create a zero-friction pivot point.
Check your user manual to verify whether the wheels need to be flipped up, locked, or elevated above the primary support feet during exercise.
Long-Term Maintenance and Floor Preservation
Preventing Plasticizer Migration and Tile Staining
Cheap rubber and PVC products often contain chemical plasticizers. Over time, these chemicals leach out under pressure and permanently stain light natural stone, marble, or unsealed grout.
Choose mats and pucks made from non-marking, vulcanized natural rubber or high-grade polyurethane. If your tile is porous travertine or unsealed limestone, place a thin barrier of silicone sheeting between the rubber feet and the floor.
Routine Friction Checks and Dust Management
Friction degrades over time as environmental dust settles under the contact points. Every two to four weeks, lift each foot of your reformer to inspect the floor underneath.
- Wipe the bottom of each rubber pad with a damp microfiber cloth.
- Clean the tile surface with a neutral pH tile cleaner to remove residue.
- Let the floor air dry completely before lowering the reformer back down.
- Check that threaded leveling bolts have not backed out from vibration.
Frequently Asked Questions About Reformer Stability on Tile
Can I use a jumpboard safely on a tiled floor without anchoring?
Yes, you can use a jumpboard on tile if your reformer rests on high-density vulcanized rubber. The rubber absorbs the dynamic rebound energy and prevents the frame from sliding. Never perform jumpboard exercises on tile without non-slip equipment mats or grip pads installed.
Will a heavy commercial reformer crack my ceramic or porcelain tiles?
A stationary reformer rarely cracks properly installed tile because its weight is distributed across four or more wide feet. Cracking risks increase if the subfloor has voids or if dynamic jumping point loads hit an unsupported tile edge. Rubber pads help distribute these forces safely.
What should I do if my reformer frame doesn't have adjustable feet?
Use rigid silicone leveling shims beneath the floating legs if your reformer lacks threaded feet. Measure the gap under each foot with the machine resting in place. Slide the appropriate shim thickness under the corner until all four corners support weight evenly.
How do I stop a lightweight, folding home reformer from sliding?
Lightweight folding units slide more easily because they lack heavy frame mass. Place the entire machine on a 4 mm to 6 mm dense rubber equipment mat. The continuous mat creates a large, high-friction contact area that anchors the light frame during carriage recoil.
The Final Setup Blueprint: Choosing the Right Solution for Your Space
Finding the right stability method comes down to your machine type and your floor layout. Lightweight folding frames need the broad surface traction of a full-length equipment mat. Heavy studio models with solid wood or steel frames perform best with precision threaded leveling feet seated on dense rubber pucks.
Take a few minutes to diagnose your space before you start working out. Level the frame across any uneven grout lines, clear away floor grit, and ensure your contact pads offer true non-slip resistance. Once your base is solid, your carriage will glide smoothly and your workouts will stay safe and quiet.

Similar Posts