Do You Really Need to Bolt Down a Pilates Reformer?
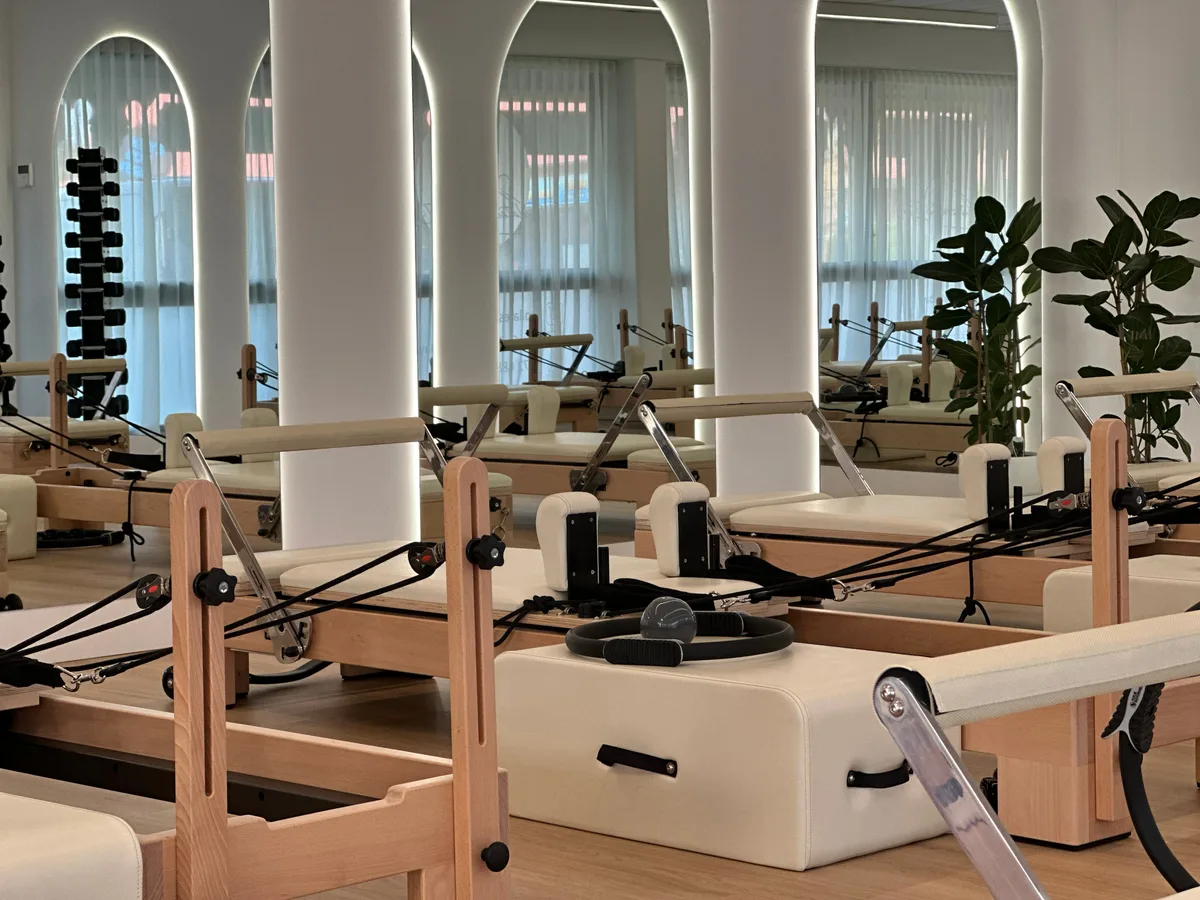
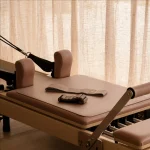
Setting up your workout space brings up serious safety questions. You need to know: does a pilates reformer need to be bolted down to stay safe during intense movements? The short answer is no for standard standalone units, but yes for specific vertical tower setups and wall-mounted boards.
A standard commercial studio frame weighs between 140 and 250 pounds. Per ASTM International fitness equipment stability standards, low-profile floor units with wide rubberized feet resist tipping under normal carriage operation. However, adding vertical accessories or working on slick floors changes the mechanical leverage entirely.
Image source: Bing (Web (fair-use with source credit))
Quick Answer
A standard floor Pilates reformer does not need bolting down. Its heavy base and low center of gravity keep it stable. You only need anchors for vertical towers, springboards, or wall units.
These vertical attachments create upward tipping leverage during dynamic pulling exercises. Free-standing floor units stay secure using high-grip rubber isolation pads.
The Decision Framework: When to Bolt Down vs. Leave Freestanding
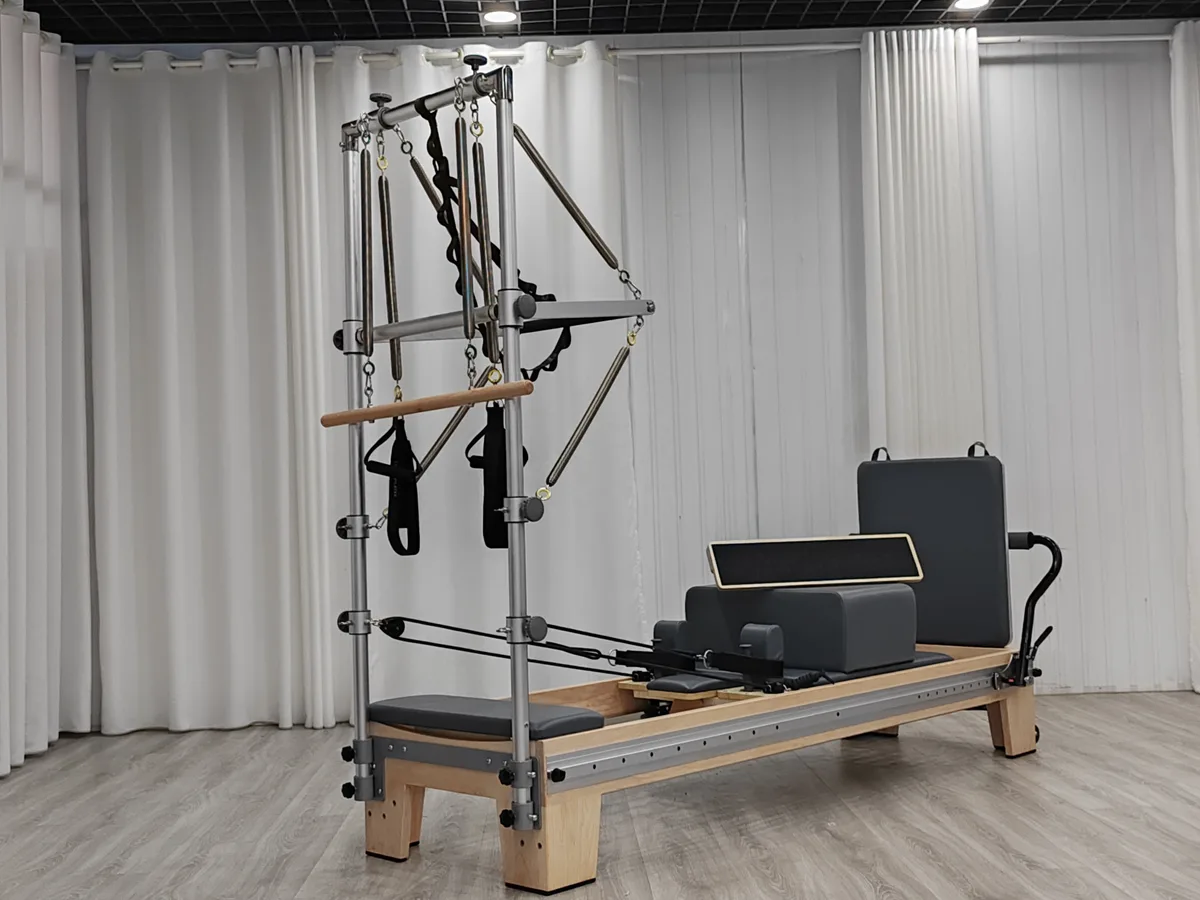
Image source: Bing (Web (fair-use with source credit))
Your anchoring decision depends entirely on machine design, height, and attachment points. Here is how each major machine type behaves under load.
Standalone Floor Reformers
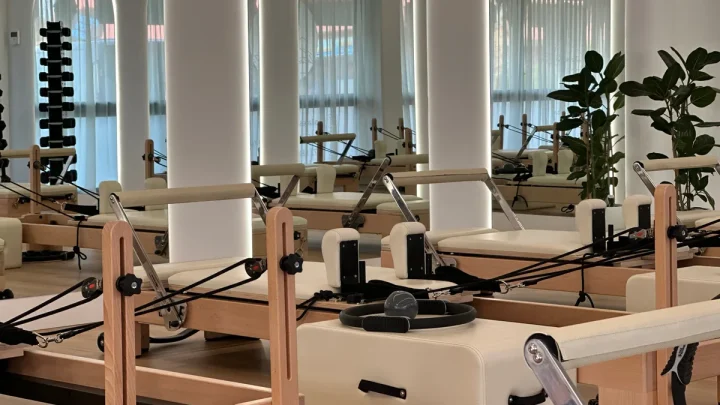
Standard floor units sit 14 to 16 inches off the floor. They have a long base footprint and a low center of gravity. As of 2026, models from major brands feature thick rubberized leveling feet under the leg posts.
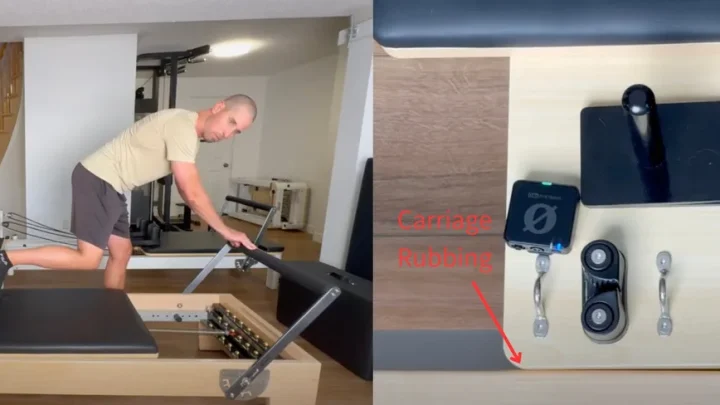
Because the carriage slides horizontally inside the frame, user weight pushes straight down into the floor. You do not need to bolt down a standalone floor reformer. High-density rubber pads under the frame legs provide all the grip you need.
Reformers with Towers and Half Cadillacs
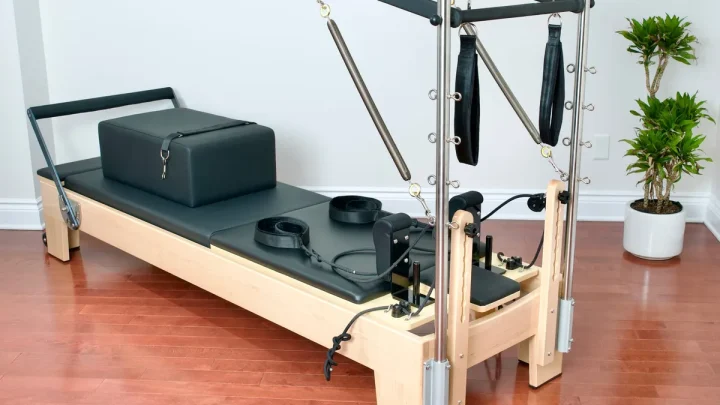
A reformer with a vertical tower extends 75 to 85 inches into the air. This high frame acts as a physical lever arm.
When you attach heavy springs to the top crossbar, downward or outward pulls create rotational torque. While the long horizontal frame provides counterweight, tall towers can lift the rear legs if an athlete pulls aggressively. If your tower includes wall-bracket attachments, securing them to wall studs prevents frame tipping.
Wall Units and Springboards
Wall units and springboards have zero base on the floor. They rely entirely on structural wall studs to absorb 100 percent of your pulling force.
You must lag-bolt these units directly into structural wall framing. Never rely on plastic drywall anchors or hollow-wall toggle bolts for spring resistance equipment.
Full Trapeze Tables (Cadillacs)
Full Cadillacs feature a massive four-post metal canopy built over an elevated table base. They weigh well over 200 pounds and feature a very wide stance.
Most studios keep full Cadillacs freestanding. However, bolting is recommended if users regularly perform advanced hanging acrobatics from the top horizontal bars.
| Equipment Type | Typical Weight | Bolting Required? | Recommended Securement Method |
|---|---|---|---|
| Floor Reformer | 110–190 lbs | No | Non-slip rubber foot pads |
| Reformer with Tower | 160–240 lbs | Conditional | Wall brackets into studs for high loads |
| Wall Springboard | 35–55 lbs | Yes (Always) | Heavy-duty lag screws into wood/metal studs |
| Full Trapeze Table | 220–320 lbs | Optional | Freestanding on rubber mats or floor brackets |
Key Risk Factors That Change the Stability Equation
Three distinct environmental and workout variables dictate whether an unanchored frame stays stable.
Dynamic Lateral Exercises and Jumpboard Work
Dynamic athletic movements introduce horizontal shear forces against the floor. When an athlete jumps repeatedly off a jumpboard, horizontal momentum pushes the frame backward with every rebound.
Side-splits and lateral standing exercises on the carriage also exert outward lateral force. If your floor lacks grip, the entire machine will creep across the room over several repetitions.
User Weight and Spring Resistance Levels
Heavier resistance springs demand higher kinetic output. When you combine strong red springs with a heavy user, the dynamic forces transferred through the frame multiply.
During tower push-through bar exercises, pushing upward against bottom-loaded springs tries to lift the reformer frame off the floor. If the user does not counter this with their body weight on the carriage, the frame lifts.
Flooring Type: Slick Hardwood vs. Commercial Carpet vs. Concrete
Polished hardwood, vinyl plank, and epoxy-coated concrete offer minimal traction. Metal and plastic reformer feet slide across smooth surfaces under light lateral loads.
Low-pile commercial carpet provides natural resistance against frame creep. Smooth or delicate residential floors require protective high-friction barriers under every leg to prevent sliding and floor gouging.
How to Stop Frame Creep and Wobble Without Drilling Holes
You do not have to drill through your floorboards to keep a floor reformer rock-solid. Use these non-invasive stabilizing techniques to lock your machine in place.
- Place high-density PVC equipment mats underneath: Lay a full-length, high-density exercise mat directly beneath the reformer legs. This stops sliding, absorbs mechanical vibration, and shields your wood flooring from scratches.
- Install heavy-duty rubber caster cups: Place recessed rubber isolation cups under each corner leg. The textured rubber bottoms grip slick floor finishes without leaving permanent scuffs.
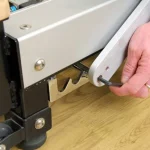
- Level the four corners precisely: An uneven machine wobbles on opposite diagonal legs during carriage glides. Adjust the threaded leveling feet until all four corners sit flat against the subfloor.
- Wipe foot pads clean weekly: Dust and pet hair coat rubber footings over time, causing them to lose grip. Clean the bottoms of your reformer feet with a damp microfiber cloth regularly.
How to Properly Anchor a Tower Unit or Springboard to Walls and Floors
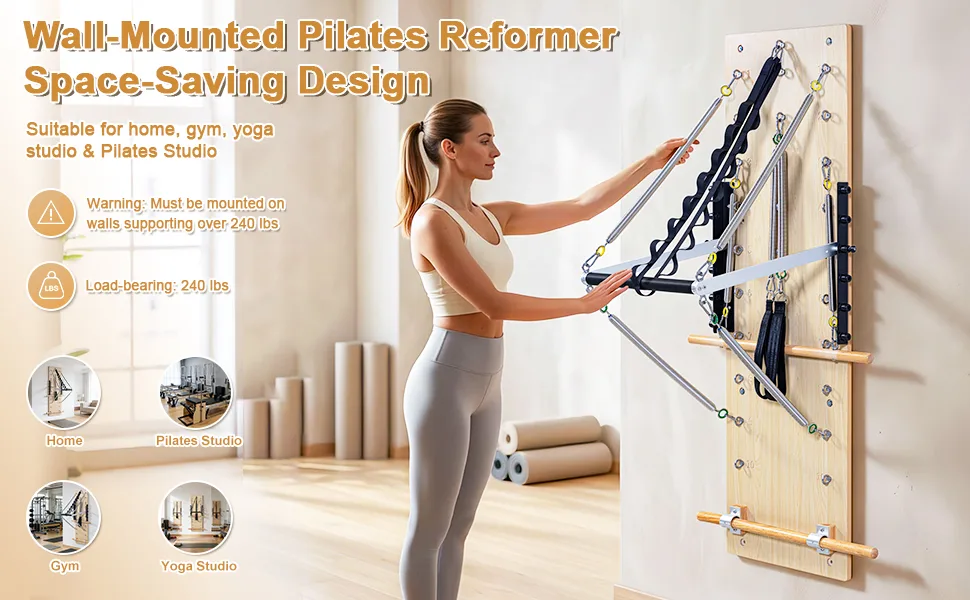
Image source: Bing (Web (fair-use with source credit))
When installing vertical towers or wall units, follow these mechanical mounting steps to ensure structural safety.
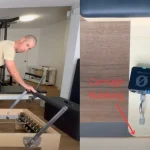
- Locate structural wall studs: Use an electronic stud finder to pinpoint the exact center of your wall studs. Standard residential framing spaces studs 16 inches apart on center.
- Mount a solid wood backing board if spacing differs: If your wall unit mounting holes do not align with your 16-inch stud spacing, mount a 2-by-6 inch hardwood ledger board across two studs first. Then bolt your unit directly into the hardwood ledger.
- Pre-drill pilot holes: Drill pilot holes through drywall and deep into the center of the wooden studs. Pilot holes prevent the heavy framing lumber from splitting under tension.
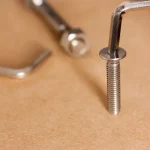
- Fasten with structural lag screws: Drive 3/8-inch by 3-inch steel lag screws with washers through the mounting brackets and into the studs. Tighten securely with a socket wrench until flush.
- Inspect concrete installations: For basement concrete walls or concrete slabs, drill with a hammer drill and set heavy-duty steel wedge anchors. Follow guidelines from the Pilates Method Alliance regarding regular hardware inspections.
Critical Installation Mistakes That Compromise Safety
Securing heavy resistance equipment requires exact mechanical precision. A single weak fastener can cause equipment tear-out under heavy dynamic load.
- Relying on drywall anchors: Drywall has zero structural strength against dynamic pulling forces. Expanding plastic anchors or butterfly toggles will pull out under active spring tension. Always anchor directly into structural wood or metal studs.
- Missing the stud center: Driving lag screws into the outer edge of a 2-by-4 stud weakens the wood. The screw can strip or splinter the framing lumber under load. Use an edge-to-edge stud finder to locate the exact center before drilling.
- Skipping pilot holes: Driving large lag screws directly into dry framing lumber splits the wood along the grain. A split stud loses up to 80 percent of its holding power. Drill a pilot hole sized to the root diameter of the screw shank.
- Ignoring regular bolt checks: Dynamic spring resistance causes subtle mechanical vibrations. These micro-movements can loosen mounting bolts over several months. Inspect and tighten all wall brackets, tower joints, and eye bolts every 90 days.
Pilates Equipment Anchoring and Safety FAQ
Can I put a Pilates reformer upstairs without bolting it down?
Yes, you can safely use an unanchored floor reformer on an upper level. Standard residential floor joists easily support the distributed weight of a 150-pound machine and user. Place a dense rubber mat beneath the legs to deaden vibrations and prevent lateral movement across the subfloor.
Will an unanchored reformer ruin my hardwood floors?
An unanchored reformer will scratch hardwood if the bare metal or hard plastic feet slide during workouts. Fine grit trapped under sliding feet acts like sandpaper on floor finishes. High-density rubber equipment mats or non-slip caster cups protect your finish and stop all sliding.
Can I use toggle bolts to mount a Pilates wall unit?
No, you should never use toggle bolts in hollow drywall for Pilates springboards or towers. Toggle bolts only grip the paper-and-gypsum core of drywall. Active spring resistance easily tears the anchors out.
You must use 3/8-inch lag screws driven straight into solid wood wall studs.
Do commercial Pilates studios have to bolt down every machine?
Most commercial studios leave standard floor reformers unbolted so staff can reconfigure the floor plan. However, studios must anchor standalone springboards, wall units, and certain high-leverage tower attachments to wall studs. This ensures compliance with commercial fitness facility safety standards and liability policies.
How do I stop my jumpboard from making the reformer slide?
Jumpboard workouts create repetitive horizontal thrust against the frame. If your machine slides back during jumps, place a heavy-duty textured rubber mat under the entire footprint. You can also place non-slip rubber furniture stoppers directly behind the head-end legs against the wall.
Final Recommendation: Finding the Right Setup for Your Space
Your equipment profile determines your installation plan. If you own a traditional standalone floor reformer, you do not need to bolt it down. High-density rubber mats, clean foot pads, and proper leveling provide all the stability you need for daily workouts.
If your setup includes a vertical tower, half Cadillac, or wall-mounted springboard, anchoring is essential. Secure your vertical frames to structural wall studs using heavy-duty lag bolts.
Take the time to assess your equipment height, subfloor material, and exercise intensity. With the right foundation in place, you can move with complete confidence through every routine.

Similar Posts