How to Safely Anchor a Pilates Reformer at Home
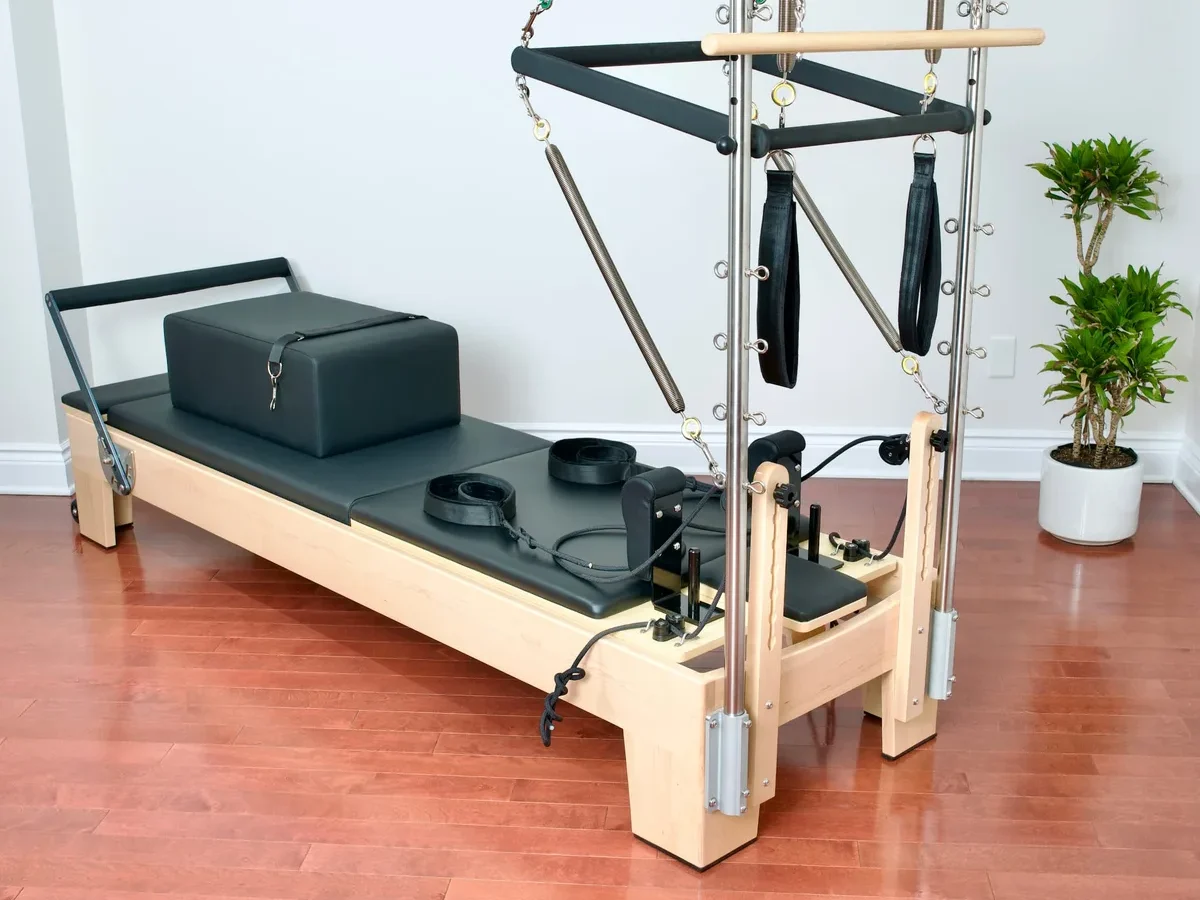
A shifting Pilates machine ruins your workout rhythm and creates serious safety hazards during intense routines. Learning how to anchor a pilates reformer properly keeps the frame rock-solid during high-resistance jumpboard drills and standing carriage balance exercises. Whether your frame slides across slick hardwood or a vertical tower pulls away from the wall, the solution comes down to matching your anchoring method to your room construction.
Equipment safety testing guidelines from ASTM International highlight that dynamic exercise forces require stable ground engagement to prevent joint fatigue across equipment frames. Modern home gyms and studios as of 2026 rely on three standard anchoring techniques that range from zero-damage friction pads to heavy-duty structural stud fasteners. Identifying your exact movement problem will determine the cleanest and safest way to secure your machine.
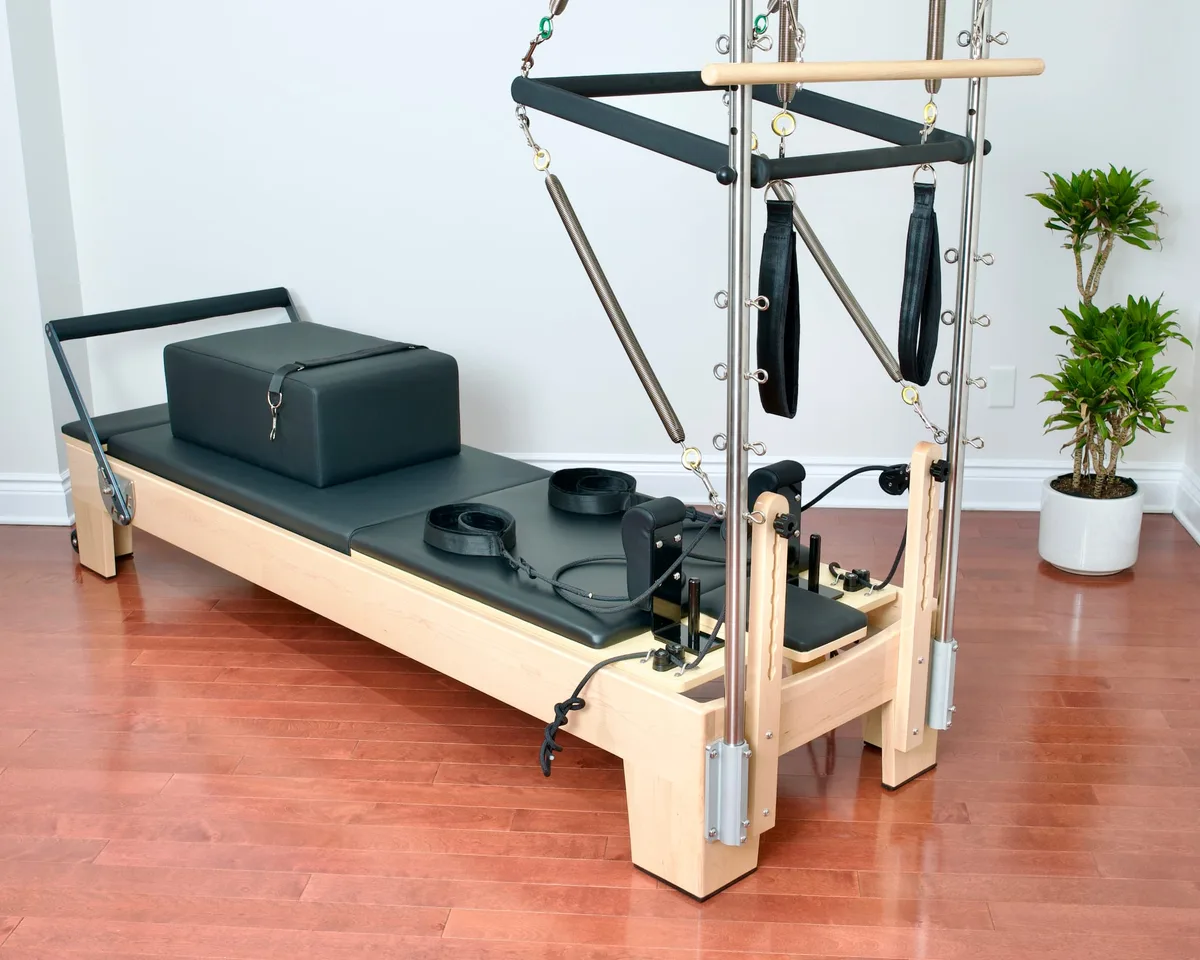
Image source: Bing (Web (fair-use with source credit))
Quick Answer
Learn how to anchor a pilates reformer based on your equipment design. Use high-density rubber mats to stop horizontal sliding on slick floors. Fasten vertical tower frames directly into wall studs with structural lag screws.
Anchor high-traffic commercial units to concrete subfloors using expansion sleeve bolts. Always confirm stud centers before drilling any wall brackets.
Understanding Your Anchoring Problem: Movement vs. Structural Tipping
Securing a reformer starts with diagnosing the exact direction of unwanted movement. Standard floor reformers generate horizontal forces when you push off the footbar or land on a jumpboard. This lateral energy pushes the frame across slick floors, creating gradual drift that can scratch wood finishes or misalign your workout space.
Vertical tower attachments and Half-Cadillac units create an entirely different mechanical issue. When you pull against high-tension springs attached to an overhead tower, you create a cantilever effect. This rotational force acts as a lever, lifting the base frame and tipping the tower forward or backward.
Horizontal sliding requires friction-based floor dampening to absorb lateral shock. In contrast, vertical tipping requires mechanical anchoring into wall studs or floor joists. Attempting to solve vertical tower tipping with floor pads alone creates a severe tip-over risk during suspension exercises.
| Movement Type | Primary Cause | Primary Risk | Required Fix |
|---|---|---|---|
| Horizontal Creep | Jumpboard landings, footbar push-offs | Floor scratches, frame walking | High-density rubber friction mats |
| Vertical Levering | Tower spring pullbacks, push-through bar work | Tower tipping, frame lift | Structural wall-stud tether brackets |
| Frame Racking | Uneven floor surfaces, high spring loads | Carriage rail binding, roller wear | Subfloor bolting with leveling shims |
The Decision Matrix: Finding the Right Anchoring Method for Your Setup
The best way to anchor your reformer depends on your room construction, lease terms, and equipment configuration. If you live in a rental apartment with hardwood or laminate floors, drilling into the structure is rarely an option. Standalone reformers without towers rarely need mechanical fasteners if you use high-density grip barriers.
If you own your space or operate a dedicated studio, permanent fastening delivers unmatched rigidity. Machines equipped with full vertical towers or Springboards require structural wall tethering regardless of floor grip. Heavy dynamic spring loads can easily pull lightweight drywall anchors straight out of a wall cavity.
Use this decision logic to pick your installation path:
- Choose Method 1 (Friction Anchoring) if you have a standalone reformer without a vertical tower, rent your home, or want zero damage to hardwood, laminate, or tile floors.
- Choose Method 2 (Wall-Stud Fastening) if your machine includes a vertical tower, Half-Cadillac, or wall board that must resist horizontal pullback forces.
- Choose Method 3 (Subfloor Bolting) if you operate a commercial group studio or need absolute zero-tolerance stability on concrete or heavy timber subfloors.
Method 1: Non-Invasive Friction Anchoring for Sliding Reformers (Renters & Hardwood)
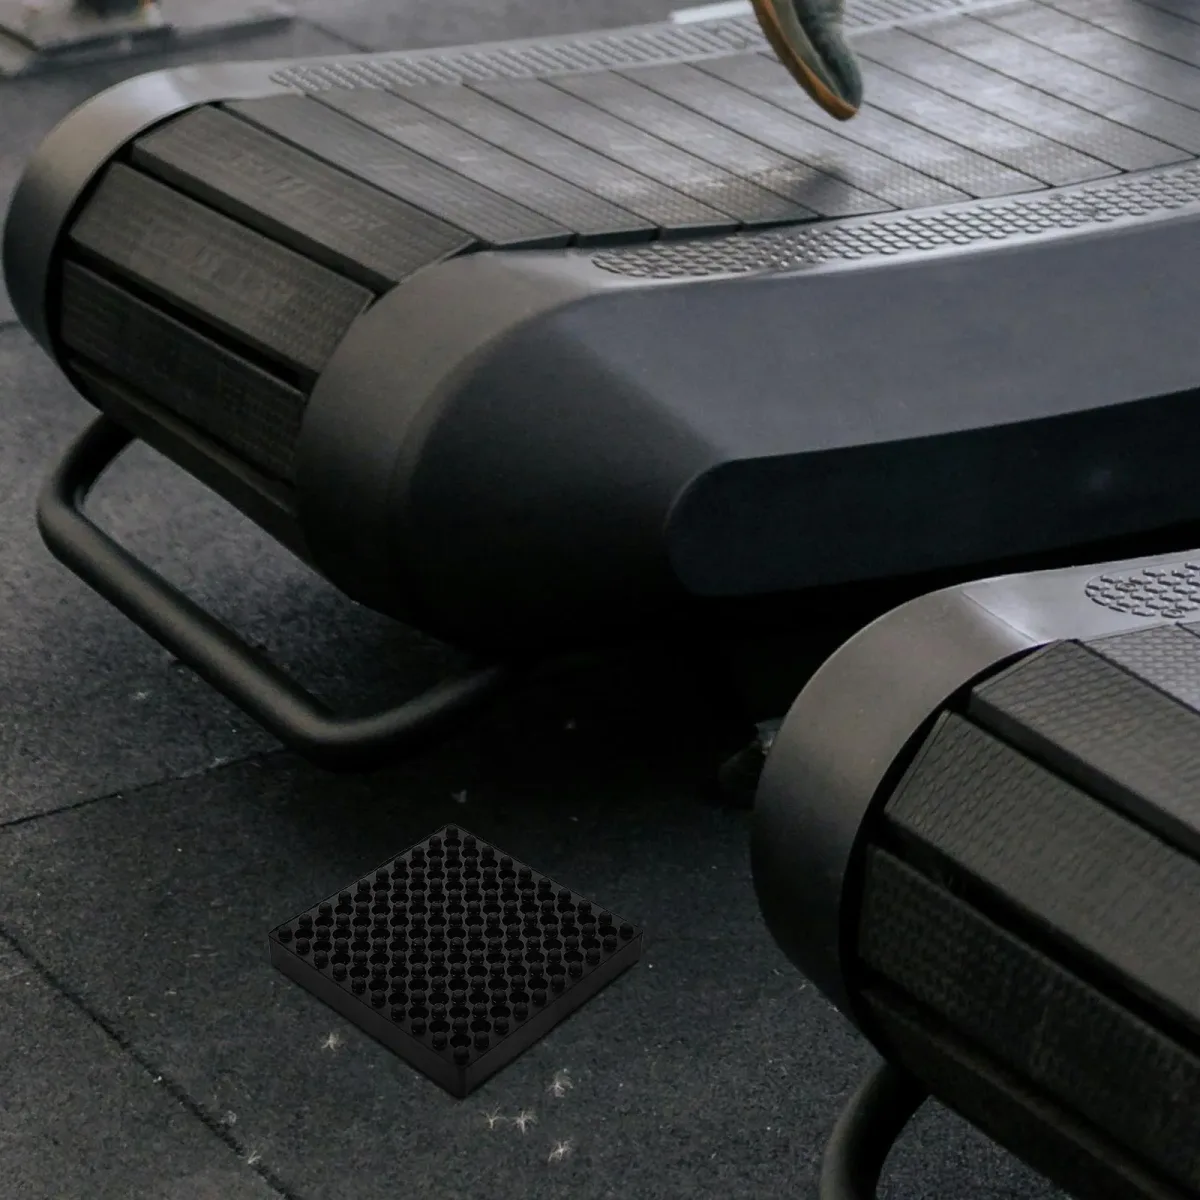
Image source: Bing (Web (fair-use with source credit))
You do not need to drill holes in your floor to stop a standalone reformer from wandering. Non-invasive friction stabilization works by placing high-durometer rubber barriers between the equipment legs and the finished floor.
Standard yoga mats and cheap foam pads are too soft for this job. Heavy reformer frames crush low-density foam, causing the carriage tracks to twist while offering minimal lateral grip. High-density 4 mm to 6 mm closed-cell rubber equipment mats or dedicated rubber caster cups provide the exact shear resistance required.
Follow these steps to lock your reformer in place without drilling:
- Clean the floor surface thoroughly. Remove all dust, wax, and floor cleaner residue using a diluted isopropyl alcohol solution. Dust acts like ball bearings under rubber feet.
- Clean the rubber foot pads. Wipe down the bottom of each reformer foot to remove factory mold release oils or accumulated lint.
- Position a full-length high-density mat. Lay a commercial-grade rubber mat beneath the entire footprint of the reformer. Ensure the mat extends at least two inches beyond each leg.
- Install individual anti-slip furniture cups if not using a full mat. Place heavy-duty rubber cups under each corner leg. Make sure the internal diameter of the cup fits the reformer leg snug without overhang.
- Test lateral hold. Stand on the carriage rails and execute several aggressive jumpboard presses. Inspect the foot placement to confirm zero drift.
Method 2: Wall-Tethering Tower & Half-Cadillac Units into Studs
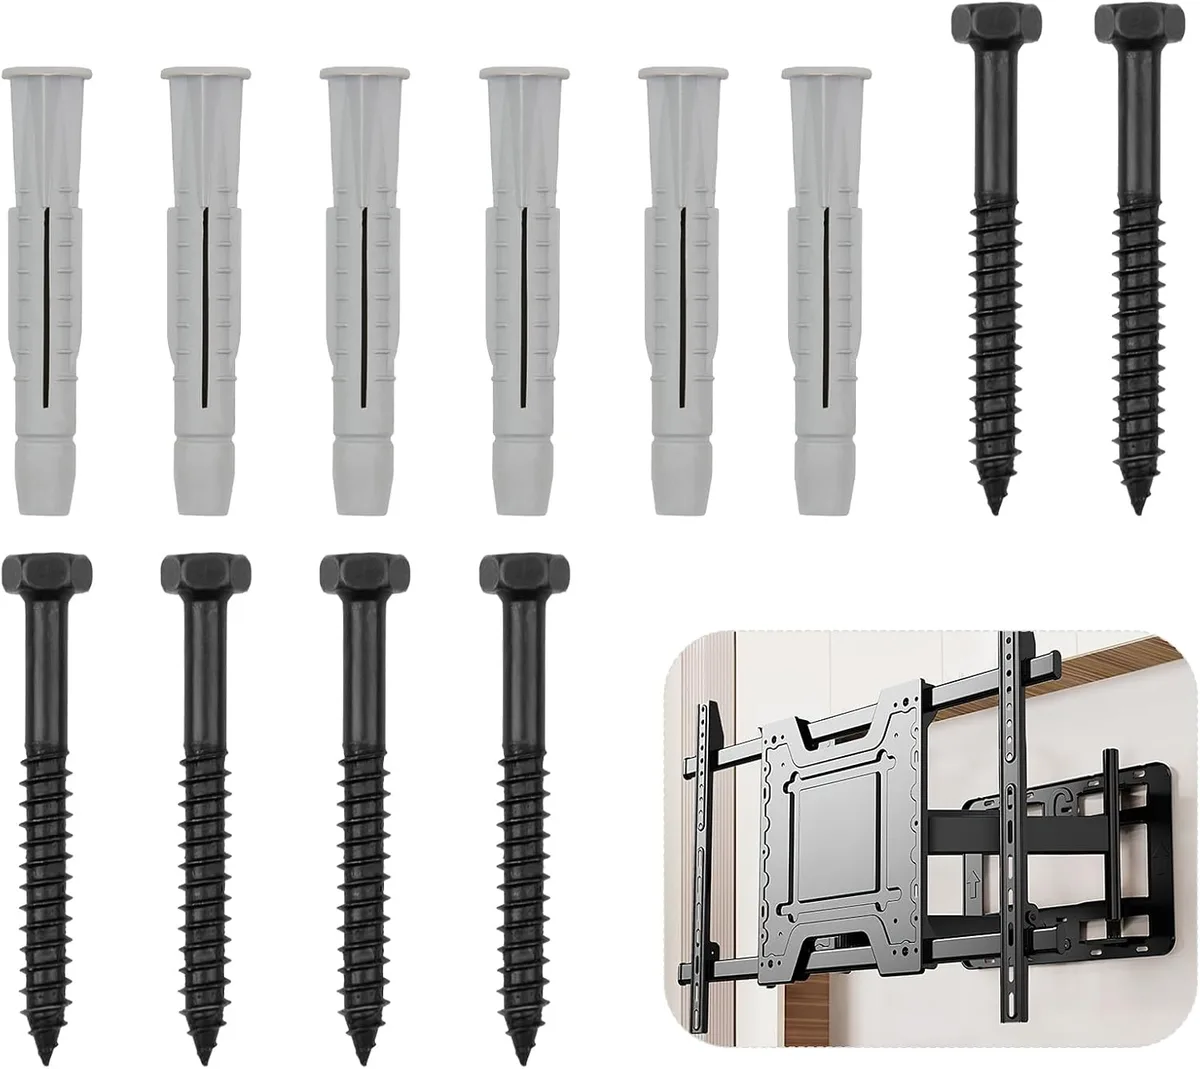
Image source: Bing (Web (fair-use with source credit))
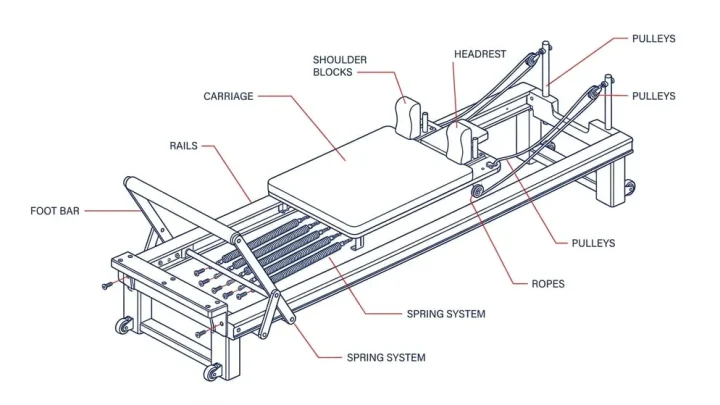
Tower systems generate substantial cantilevered pull forces that demand direct engagement with structural wall studs. Manufacturer guidelines from major equipment brands such as Balanced Body require structural fastening for wall-mounted tower configurations to prevent tipping. Never rely on plastic drywall anchors, hollow-wall anchors, or adhesive strips for tower supports.
If your wall studs are standard 16-inch center wood framing, use 5/16-inch diameter structural lag screws with a minimum embedment depth of 2.5 inches into solid wood. For light-gauge steel framing, use 1/4-inch heavy-duty snap toggles designed for metal structural channels.
Follow these steps to anchor your tower safely:
- Locate the stud centers. Use an electronic deep-scan stud finder to find both outer edges of each stud, then mark the exact center line with a pencil.
- Align the wall brackets. Position the reformer against the wall and align the manufacturer mounting brackets over your marked stud centers.
- Pre-drill pilot holes. Drill pilot holes into the wood studs using a bit sized to 75% of the screw root diameter (typically a 7/32-inch bit for a 5/16-inch lag screw). Pre-drilling prevents the wood stud from splitting inside the wall.
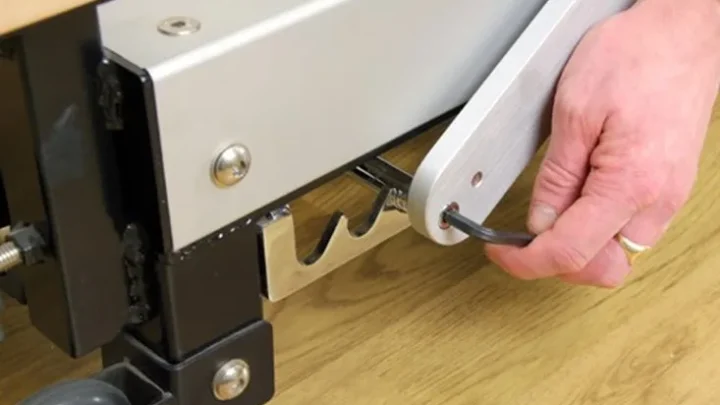
- Drive the structural lag screws. Insert heavy-duty washers onto your lag screws and drive them through the bracket into the stud center using a socket wrench. Tighten until the bracket is flush against the wall plate without crushing the drywall core.
- Verify frame alignment. Move the carriage back and forth along the full track length. The carriage should glide smoothly without catching, which confirms that wall tension has not pulled the base frame out of square.
Method 3: Direct Subfloor Anchoring for High-Traffic Commercial Studios
Commercial fitness facilities and physical therapy clinics benefit from direct subfloor bolting. Anchoring machines directly into the floor eliminates equipment migration entirely, optimizes studio floor plans, and satisfies strict commercial liability requirements.
Concrete subfloors offer the most reliable base for permanent anchoring. Use 3/8-inch concrete sleeve anchors or heavy-duty screw anchors rated for dynamic tension loads. If your floor consists of wood framing over plywood subfloors, you must drive structural fasteners directly into the floor joists below the subfloor layer.
Follow these steps for direct subfloor installation:
- Map your floor spacing. Establish a minimum of 24 to 36 inches of open walking clearance around each reformer perimeter for instructor access.
- Mark floor anchor holes. Position the reformer and mark the mounting holes through the base foot plates directly onto the concrete.
- Drill masonry holes. Use a rotary hammer drill with a carbide-tipped masonry bit matched to your anchor diameter. Drill 1/2-inch deeper than the anchor length, then vacuum out all concrete dust from the hole.
- Insert and set anchors. Drop the sleeve anchors through the reformer mounting tabs into the drilled holes.
- Level the frame before final torquing. Place a digital level on the carriage rails. Insert composite leveling shims under the reformer feet where necessary to achieve a level surface.
- Torque fasteners to specification. Tighten the anchor nuts to the manufacturer-specified torque rating. Run the carriage across the rails to verify that downforce has not twisted the aluminum track channels.
Critical Mistakes That Damage Floors, Walls, and Reformer Alignments
Improper anchoring ruins equipment frames and compromises home structures. The most frequent installation error is relying on hollow drywall anchors for vertical towers. Drywall lacks the tensile strength to resist pulling forces.
Dynamic spring resistance will inevitably rip plastic sleeves straight through gypsum board, damaging your wall and creating sudden fall risks.
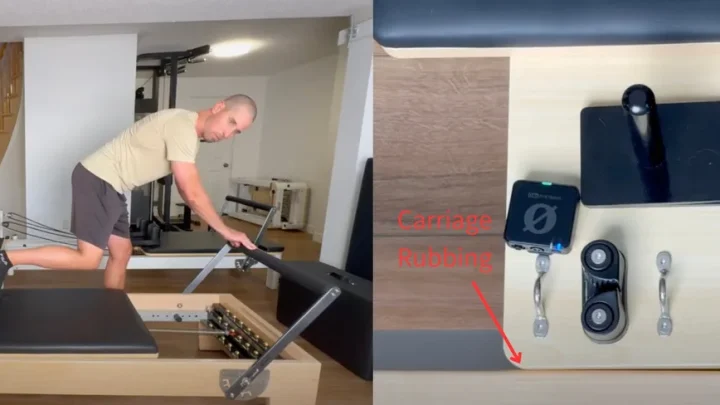
Another serious mistake is overtightening subfloor or wall bolts on unlevel surfaces. Reformer frames require square alignment to keep carriage wheels tracking true. If you bolt a rigid aluminum or maple frame directly to a dipped floor without leveling shims, the frame twists.
This frame racking binds the carriage bearings, adds resistance to the glide, and causes premature wheel breakdown.
Using cheap yoga mats or soft carpet remnants under reformer legs also causes persistent problems. Soft foam compresses unevenly under dynamic loads. That compression creates slight frame flex during footwork, which destabilizes standing exercises and degrades structural frame joints over time.
- Drywall-only mounting: Never secure tower brackets without finding the solid center of a wood or structural steel stud.
- Torquing without leveling: Always verify rail level with a digital spirit level before tightening subfloor fasteners.
- Using squishy foam pads: Stick exclusively to high-density rubber pads rated for heavy gym equipment.
- Ignoring metal stud requirements: Standard wood lag screws pull right out of light-gauge steel framing. Use rated snap toggles instead.
Safety Verification, Torque Checks, and Long-Term Maintenance
Anchoring hardware experiences constant vibration and dynamic shear loads during daily workouts. A solid initial installation requires ongoing maintenance to stay safe. Bolts loosen over time from the continuous pull and release of heavy spring tension.
Establish a regular maintenance schedule starting immediately after installation. Conduct your first hardware torque check 30 days after setting up your machine. Fasteners often settle slightly into wood studs or concrete after handling their first cycle of dynamic workouts.
Follow this ongoing maintenance checklist to keep your setup secure:
- Perform a monthly hand-check on wall brackets. Grasp the upper tower tubes and apply firm back-and-forth pressure. Listen for creaks and look for visible play at the wall bracket seams.
- Re-torque fasteners every six months. Use a hand socket wrench or hex key to snug all mounting lag screws, floor bolts, and tower frame connectors. Avoid power impact drivers that can strip out pre-drilled wood holes.
- Inspect rubber friction mats for wear. Over time, ozone exposure and floor dust dry out rubber pads. Clean mats quarterly with warm water to restore surface tack, and replace pads that show signs of hardening or cracking.
- Check carriage tracking clearances. Slide the carriage gently from end to end using one finger. It should roll freely along the entire track without sticky spots or rubbing against side rails.
Frequently Asked Questions About Securing Pilates Equipment
Can you put a Pilates reformer directly on hardwood floors?
Yes, but you should place high-density rubber pads under the feet. Direct contact between wood or metal legs and finished hardwood often causes deep scratches. Smooth floors also allow the machine to slide during jumpboard routines.
Dense rubber pads protect floor finishes while providing the necessary grip to stop lateral drift.
How do you stop a Pilates reformer from moving on carpet?
Place rigid, high-density equipment mats over the carpet pile under each foot. Plush carpet fibers allow reformer legs to wobble and shift during lateral movements. Using firm rubber pads distributes frame weight evenly.
This prevents deep carpet crushing and stabilizes the machine during standing balance work.
Do you have to anchor a reformer with a tower?
Yes, vertical towers and Half-Cadillac attachments require secure structural wall or floor anchoring. Tower springs exert heavy leverage on the frame when pulled. Without structural tethering into solid wall studs, dynamic spring resistance can easily tip the machine backward or pull the tower out of its base sockets.
Can you mount a Pilates tower to metal wall studs?
Yes, but you must use specialized hardware instead of standard lag screws. Standard wood screws will strip out thin commercial steel studs under tension. Use 1/4-inch heavy-duty snap-toggle anchors rated for hollow metal framing.
These toggles clamp behind the steel channel to distribute dynamic pulling loads safely.
How much clearance space is needed around an anchored reformer?
Leave at least 24 to 36 inches of clear space on all sides of the frame. This open perimeter allows safe entry and exit during workouts. It also gives instructors room to spot clients and ensures full range of motion for wide arm arcs and strap exercises.

Similar Posts