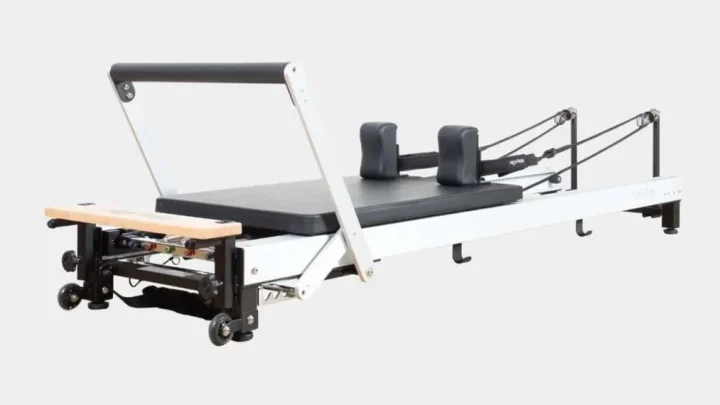
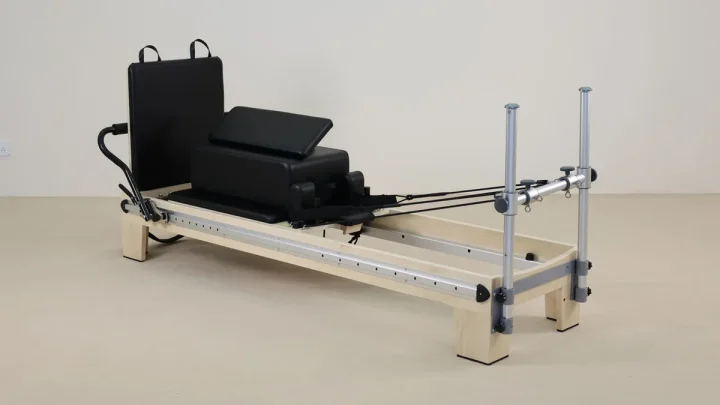
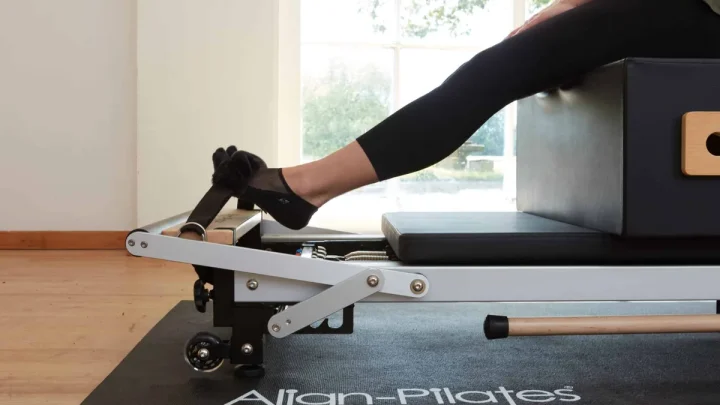
How to Place a Pilates Reformer on Uneven Floors
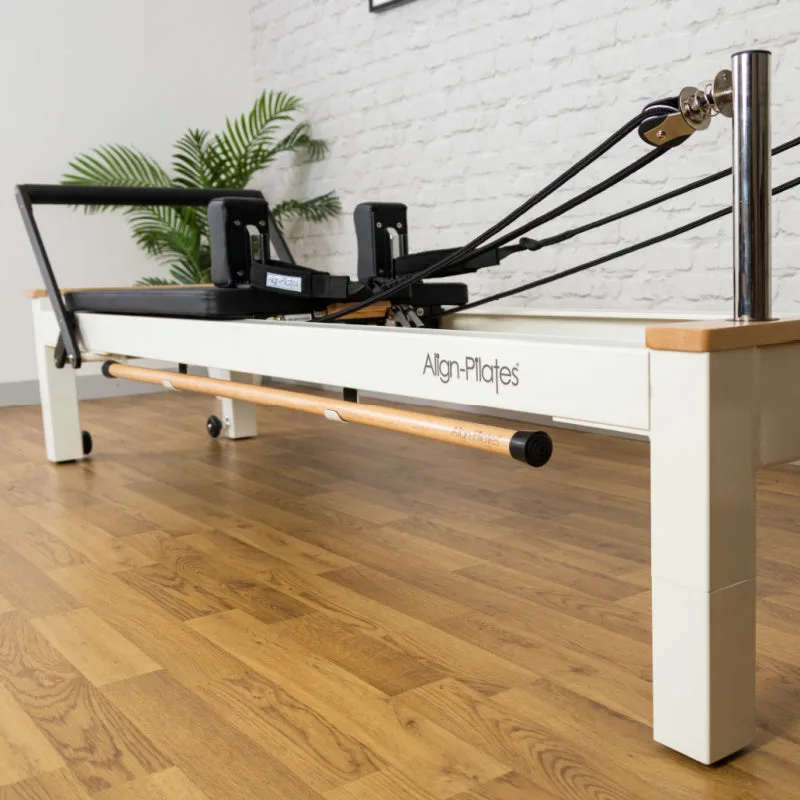
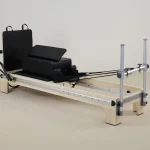
Learning how to place a reformer on uneven flooring is essential if you want smooth carriage movement and safe workouts. Uneven subfloors cause frame twisting, carriage wheel derailment, and uneven spring tension. When your machine wobbles, your body compensates, which throws off your form and spinal alignment.
Manufacturer guidelines from commercial Pilates equipment makers like Balanced Body specify that rail deviation should stay under 2 millimeters across the entire length of the frame. Even a slight 1-degree pitch across the carriage bed creates noticeable mechanical drag. Here is what you need to know to balance and stabilize your equipment on any tricky surface.
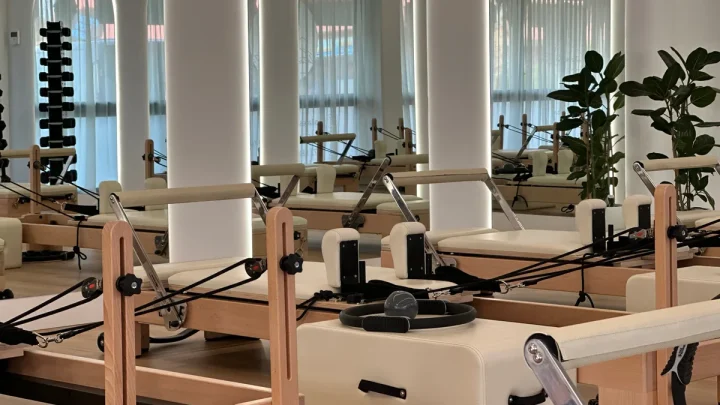
Image source: Bing (Web (fair-use with source credit))
Quick Answer
To level a reformer, find floor dips using a four-foot level. Lay a dense vulcanized rubber mat beneath the frame. Adjust threaded leveling feet until all corners rest flat.
For timber frames, place composite shims under the floating legs. Check carriage tracking before tightening the hardware locknuts.
Why Unlevel Floors Wreck Reformer Frames and Carriage Mechanics
The Invisible Damage of Frame Racking
When a reformer sits on an uneven surface, one corner bears less weight or lifts off the ground entirely. This uneven contact creates frame racking, which is a structural twist along the diagonal axis of the frame.
Extruded aluminum frames flex under this uneven pressure, while solid wood frames resist until the corner joints loosen. Over time, frame racking permanently warps your tracks and strips mounting bolts.
How Off-Camber Slopes Ruin Spring Resistance and Glide
An off-camber floor slope tilts the machine laterally. This tilt forces the carriage wheels to grind against the inside lip of the guide rails.
Instead of gliding smoothly on sealed ball bearings, the polyurethane wheels rub and wear down unevenly. This friction alters the calibrated resistance of your springs, making carriage return strokes jerky and unpredictable.
Diagnosing the Problem: Assessing Frame Type and Subfloor Irregularities
Frame Construction: Solid Wood vs. Extruded Aluminum
Your machine's frame material determines how it reacts to unlevel spots. Solid wood studio models have rigid, non-flexible rails with fixed wooden legs.
Aluminum or steel studio reformers feature internal C-channel rails and adjustable threaded feet. Wood frames require external shims, while metal frames allow direct micro-adjustments at each corner stud.
Identifying Floor Flaws: Local Dips, Room Pitch, and Carpet Compression
Floors fail in three distinct ways: localized hollows, continuous room pitch, and soft carpet compression. A localized dip leaves a single leg floating in the air.
A continuous slope pulls the carriage toward one end without spring assistance. Carpet compresses unevenly under body weight, creating dynamic instability during jumpboard exercises.
The Leveling Decision Matrix: Matching Frame Build to Floor Flaws
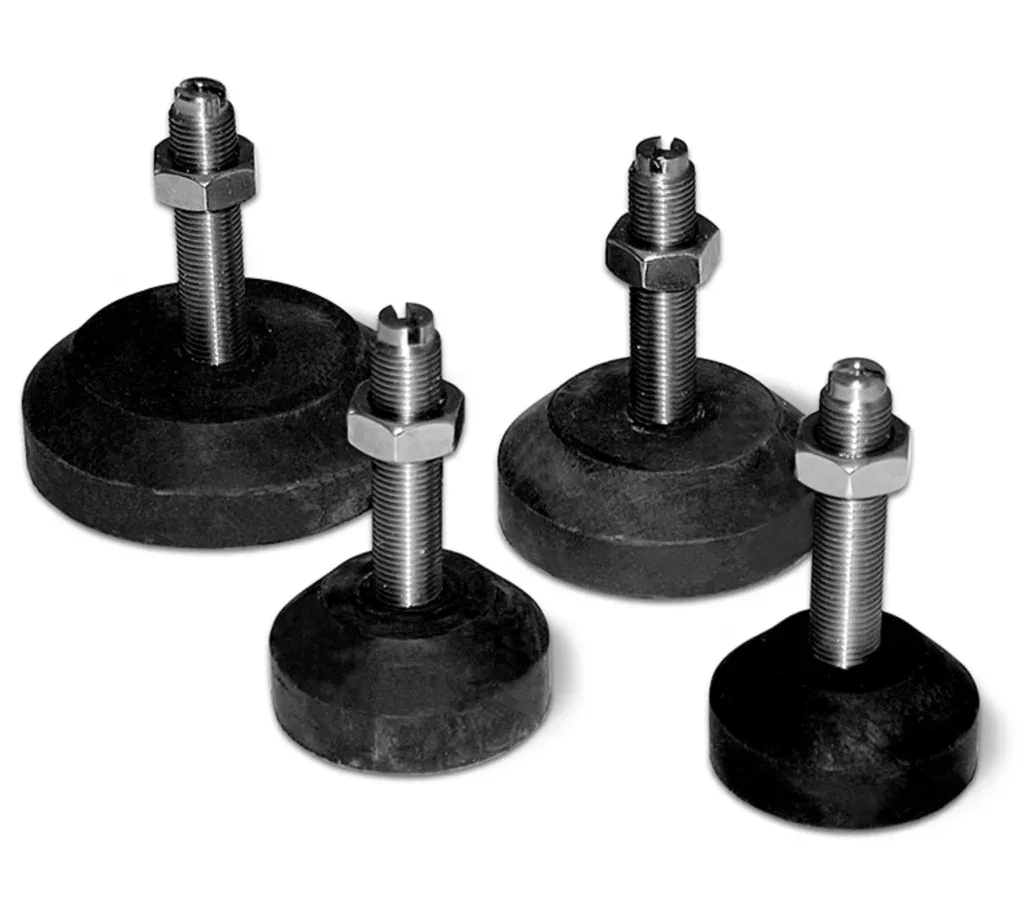
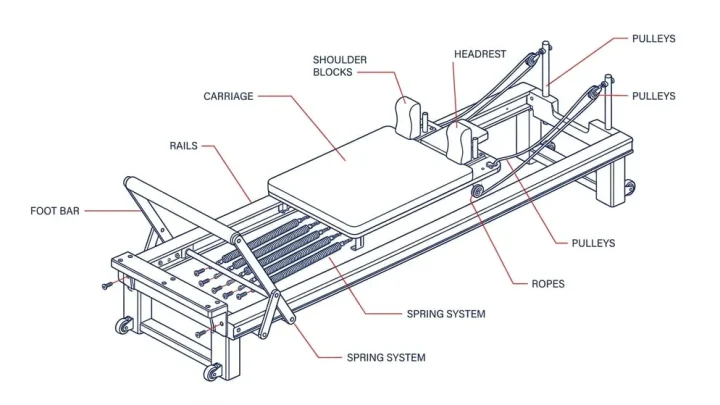
Image source: Bing (Web (fair-use with source credit))
Choosing Between Threaded Feet, Composite Shims, and Sub-Base Platforms
Select your leveling method based on your frame type and the severity of the floor slope. If your machine includes threaded leveler studs, adjust them directly and lock them with jam nuts.
For solid timber frames or severe dips exceeding 15 millimeters, use high-density composite shims or build a 3/4-inch marine plywood sub-base platform.
| Leveling Solution | Best Floor Condition | Frame Compatibility | Max Height Correction |
|---|---|---|---|
| Threaded Leveling Feet | Minor room slope (<10 mm) | Aluminum / Steel frames | Up to 25 mm |
| Interlocking Composite Shims | Local dips and uneven tiles | Solid wood and metal frames | Up to 15 mm |
| High-Density Rubber Pads | Wavy floorboards and tile joints | All reformer models | Up to 8 mm |
| Plywood Sub-Base Platform | Severe slope (>20 mm) or deep carpet | All reformer models | Unlimited |
Equipment Mats: Dense Rubber vs. Standard Floor Protectors
Never place a reformer on a soft yoga mat or squishy foam tile. Foam compresses under dynamic load, causing the frame to shift during standing footbar work.
Always use a high-density, closed-cell vulcanized rubber mat. As of 2026, dense rubber equipment mats with a Shore A durometer rating of 70 to 80 remain the industry benchmark for acoustic damping and non-slip stability on hardwood or tile.
Step-by-Step Protocol to Level and Stabilize Your Reformer
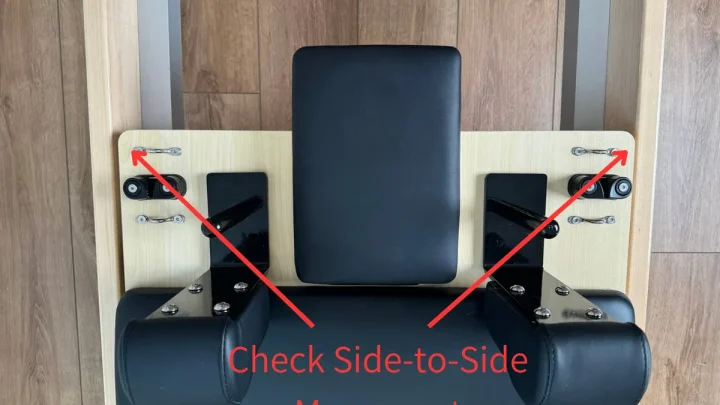
Image source: Bing (Web (fair-use with source credit))
Step 1: Run the Four-Corner Tap and Wobble Check
Walk around your reformer and press down firmly on each corner post. If one corner lifts, rattles, or taps against the subfloor, you have located your primary low point.
Step 2: Measure Both Longitudinal and Transverse Planes
Place a 48-inch spirit level across the two rails at the headrest, carriage center, and footbar ends. Then check the longitudinal axis by laying the level flat along each individual rail track.
Step 3: Dial In Threaded Feet or Seat Composite Shims
Raise the low legs using the threaded levelers, or slide interlocking composite shims directly beneath the frame feet. Continue adjusting until the level bubble rests dead center in both directions.
Step 4: Perform the Carriage Glide and Spring-Tracking Test
Attach a single light spring to the gearbar. Push the carriage out and release it slowly. The carriage should glide silently without scraping the rail edges or drifting sideways.
Step 5: Lock Down Hardware and Run Dynamic Load Checks
Tighten all leveling jam nuts firmly against the frame brackets. Stand on the carriage subframe and perform three slow squats to ensure the shims do not shift or compress under dynamic weight.
Room-Specific Solutions: Thick Carpets, Old Floorboards, and Sloped Concrete
Conquering Pile Carpet and Soft Underlayment
Plush carpet allows the reformer feet to sink unevenly, especially under the heavier headrest end. This creates a permanent backward slant that strains your shoulders during arm series.
Place solid hardwood load-spreader pads or dense composite disks under each foot. These rigid disks bridge the soft carpet fibers and transfer weight directly into the solid subfloor beneath.
Leveling on Wavy, Suspended Hardwood Joists
Older homes often feature crown joists and dipping floorboards. These wavy spots cause the middle of long reformer rails to sag under body weight.
Align your reformer parallel to the floor joists whenever possible. This orientation distributes the machine's load along the length of structural timber rather than across flexing surface planks.
Addressing Sloped Basements and Garage Slabs
Concrete garage and basement slabs frequently feature a 1-percent slope engineered for water drainage. This slope will pull an unanchored carriage away from the stopper.
Use stackable, ribbed rubber leveling pads under the downhill legs. The textured rubber surface grips slick sealed concrete while resisting moisture absorption from the cold slab.
Common Leveling Mistakes That Damage Rails and Skew Workouts
Using Soft Foam Mats and Improvised Cardboard Shims
Using soft yoga mats or folded cardboard to balance a frame creates dangerous instability. Cardboard absorbs ambient humidity, compresses unevenly under load, and degrades within weeks.
Soft foam yields whenever you press into the footbar or stand on the carriage. This dynamic squish twists the frame during exertion. That flexing ruins your balance and strains your sacroiliac joints during single-leg exercises.
Leveling Only the Rails While Ignoring Floor Contact
Adjusting rails without checking solid ground contact creates unsupported hollows beneath the legs. If a leveling stud sits a few millimeters above the subfloor, the frame will bow downward under heavy dynamic loads.
Every single leg must bear weight firmly. If you level the rails by raising one end, always confirm that all intermediate support legs make solid contact with your shims or floor pads.
Over-Adjusting One Corner and Inducing Torsional Twist
Cranking up a single leveling stud too high fixes a localized wobble but twists the rest of the frame. This torsional twist forces opposite diagonal corners out of true alignment.
Always make gradual adjustments across two adjacent corners rather than forcing one corner to compensate for a massive dip. Check both diagonal planes with your spirit level after every minor turn.
Long-Term Maintenance: Keeping Your Reformer True Over Time
Routine Hardware Tightening and Rail Inspections
Vibrations from regular carriage movement naturally loosen leveling locknuts and foot studs over time. Check your leveling hardware once every month to verify that locknuts remain torqued down against the frame.
Inspect your aluminum C-channels or wooden runner surfaces for uneven tracking patterns. Black streak marks or shiny wear spots on one rail indicate that the frame has settled and needs re-leveling.
Checking for Uneven Wheel Wear and Tracking Derailment
Worn wheels are an early warning sign of a settling subfloor. Inspect your polyurethane carriage wheels every three months for flat spots, edge beveling, or asymmetric grime buildup.
If one wheel wears down faster than the other three, your reformer is leaning toward that side. Replace worn rollers immediately and re-run your two-plane level check to prevent permanent rail damage.
Frequently Asked Questions About Reformer Placement
Can you put a Pilates reformer on an uneven carpet?
Yes, but you must place rigid load-spreader pads or dense composite disks under each leg. Direct placement on thick carpet causes the heavy headrest end to sink. That sink ruins carriage glide and misaligns spring tension.
How do I know if my reformer frame is twisting?
Perform the single-spring glide test to check for twisting. Detach all springs except one light spring, then push the carriage out. If the carriage catches, rubs against the side rail, or drags on the return stroke, the frame has twisted.
Are wooden reformers harder to level than metal ones?
Yes, because wood reformers have fixed legs without threaded leveling studs. You must use external interlocking composite shims under the wooden base. Metal reformers allow micro-adjustments using built-in threaded feet and locking jam nuts.
Will an unlevel reformer hurt my back during workouts?
Yes, exercising on an unlevel carriage forces your stabilizing muscles to compensate for the sideways tilt. This creates asymmetric loading across your pelvis, lower back, and shoulder girdle during bilateral exercises like footwork and long stretch.

Similar Posts