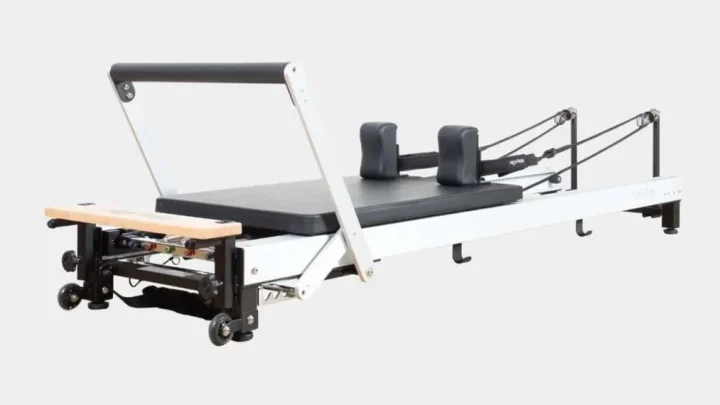
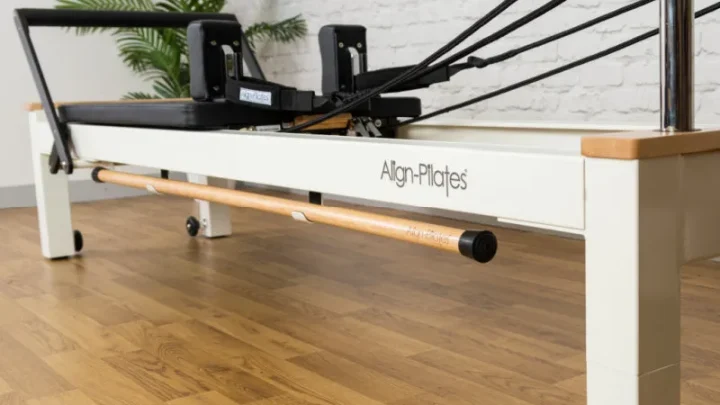
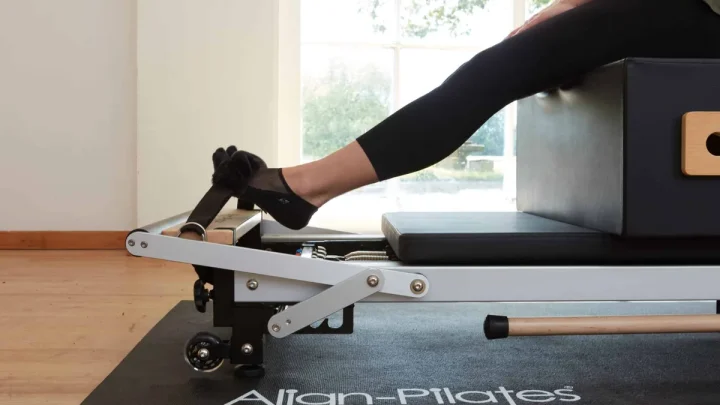
How to Level a Pilates Reformer on Uneven Floors
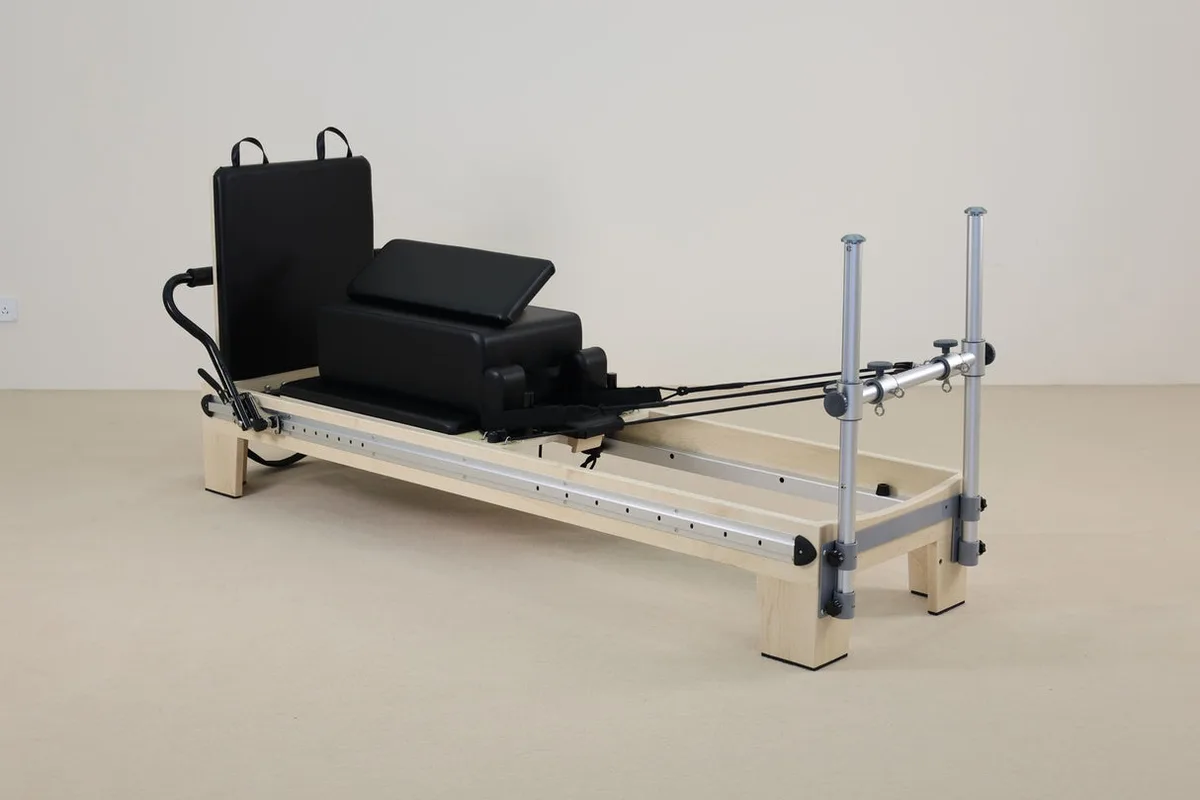
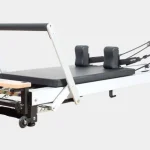
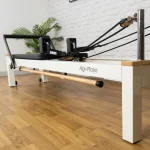
If you notice your reformer carriage rolling on its own or the frame wobbling during footwork, learning how to compensate for an uneven floor under a reformer is essential. An unlevel surface turns smooth exercises into frustrating balance struggles. It also puts uneven stress on your machine, causing long-term mechanical wear.
Standard fitness equipment guidelines from organizations like ASTM International require exercise equipment to sit on a stable, level surface within 0.5 degrees of horizontal. A slight slope of just 1/8 inch across the rails can cause carriage drift and compromise your joint alignment. Understanding the right leveling workflow will restore smooth glide and protect your investment.
Quick Answer
To compensate for an uneven floor under a reformer, use rigid leveling shims or adjust the built-in threaded feet. First, unhook all springs to identify carriage drift. Next, check the rails with a 48-inch spirit level.
Place high-density composite shims under the low legs. Never use soft foam pads or folded towels. Re-test carriage travel to ensure zero ghost rolling.
Image source: Bing (Web (fair-use with source credit))
Why an Uneven Floor Ruins Your Reformer Workout (and Your Machine)
A Pilates reformer relies on precise geometry to deliver smooth, balanced resistance. When your floor dips or slopes, the frame twists. This mechanical warping is known as chassis racking.
Racking forces the carriage wheels to bind against the side channels, causing annoying squeaks, friction, and uneven polyurethane wheel wear.
The mechanical problems quickly turn into body mechanics issues. If the carriage drifts toward the footbar due to gravity, your eccentric muscle control becomes distorted. You end up fighting gravity rather than working against calibrated spring tension.
Over time, single-leg work on an uneven frame encourages asymmetric hip loading and pelvic rotation.
An unlevel floor also creates safety risks during standing exercises. When you perform side splits or lunges, an unstable frame can rock beneath you. Solid four-point floor contact is essential to prevent sudden shifts during dynamic movements.
The Quick Diagnostic: How to Measure Floor Slope and Carriage Drift
Before adjusting anything, you need to pinpoint where the floor drops. A visual check is never enough because subfloor settling is often hidden beneath floorboards or rugs.
Grab a 48-inch box level and follow this simple four-step check:
- The Free-Drift Test: Unhook all springs from the gearbar. Place the carriage in the center of the rails and let go. If it glides toward the footbar or headrest on its own, your reformer has a longitudinal slope.
- Rail Plane Check: Lay your level along the top of each aluminum rail from head to foot. Note which end sits lower on both the left and right sides.
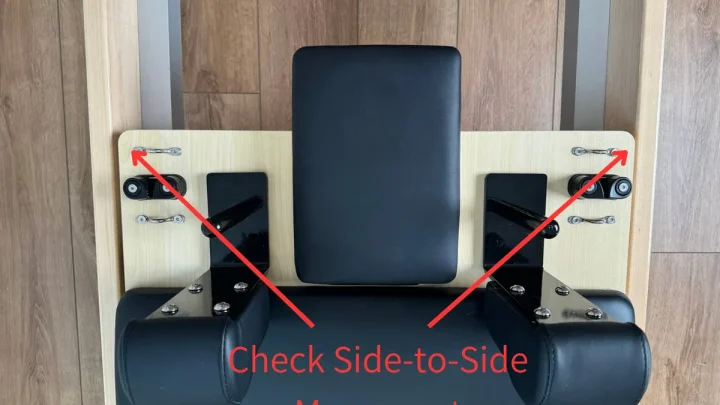
- Crossbar Level Check: Place a shorter torpedo level across the front and rear frame crossbars. This identifies side-to-side (lateral) pitch.
- The Diagonal Rock Test: Push down firmly on opposing diagonal corners (for example, front-left and back-right). If the frame shifts or lifts off the floor, you have an unsupported floating leg.
+-----------------------------------------------------------+
|                   REFORMER FRAME TOP VIEW                 |
|                                                           |
|   [Leg 1]=====================================[Leg 2]     |
|      ||       <-- Check Lateral Level -->        ||       |
|      ||                                          ||       |
|      ||  ^                                    ^  ||       |
|      ||  |                                    |  ||       |
|      ||  Check Longitudinal          Check Longitudinal   |
|      ||  (Left Rail)                (Right Rail) ||       |
|      ||  |                                    |  ||       |
|      ||  v                                    v  ||       |
|      ||                                          ||       |
|   [Leg 3]=====================================[Leg 4]     |
|               <-- Check Lateral Level -->                 |
+-----------------------------------------------------------+
Decision Tree: Choosing the Right Leveling Method for Your Floor and Frame Type
Every equipment setup has different physical limits. Use this decision breakdown to pick the safest method for your specific space as of 2026.
Scenario A: Built-In Micro-Adjusting Feet (Modern Aluminum and Steel Frames)
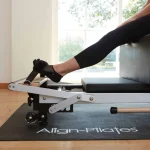
If your reformer has factory-installed threaded leveling feet, you do not need external shims. Simply loosen the top locking jam nut on the low leg using an open-end wrench. Turn the rubber foot counterclockwise to extend it until the spirit level centers.
Tighten the jam nut against the frame chassis to lock the height.
Scenario B: Solid Wood Frames with Fixed Legs (Classic and Studio Models)
Traditional oak and rock maple reformers usually have flat wooden base legs without threaded glides. For these units, interlocking high-density composite shims (such as heavy-duty wobble wedges) are the best option. Slide the textured shims under the low leg from the interior side to keep them discreet.
Avoid soft rubber pads because heavy solid-wood frames compress them over time.
Scenario C: High-Pile Carpet, Soft Padding, and Flexible Subfloors
Plush residential carpet compresses unevenly under the weight of the frame and user. If your reformer sits on carpet, place a 3/4-inch high-density rubber stall mat or a 1/2-inch birch plywood underlayment sheet beneath the entire machine. This creates a uniform platform that prevents individual legs from sinking into the padding.
Scenario D: Severe Foundation Slope (Basements and Converted Garages)
If your floor drops more than 1 inch across the 8-foot length of the reformer, standard shims will create an unstable contact point. In this scenario, build or purchase a customized, beveled hardwood riser platform. Anchor the riser to your subfloor to provide a flat, continuous landing zone for the reformer frame.
Step-by-Step Guide: How to Level Your Reformer with Precision
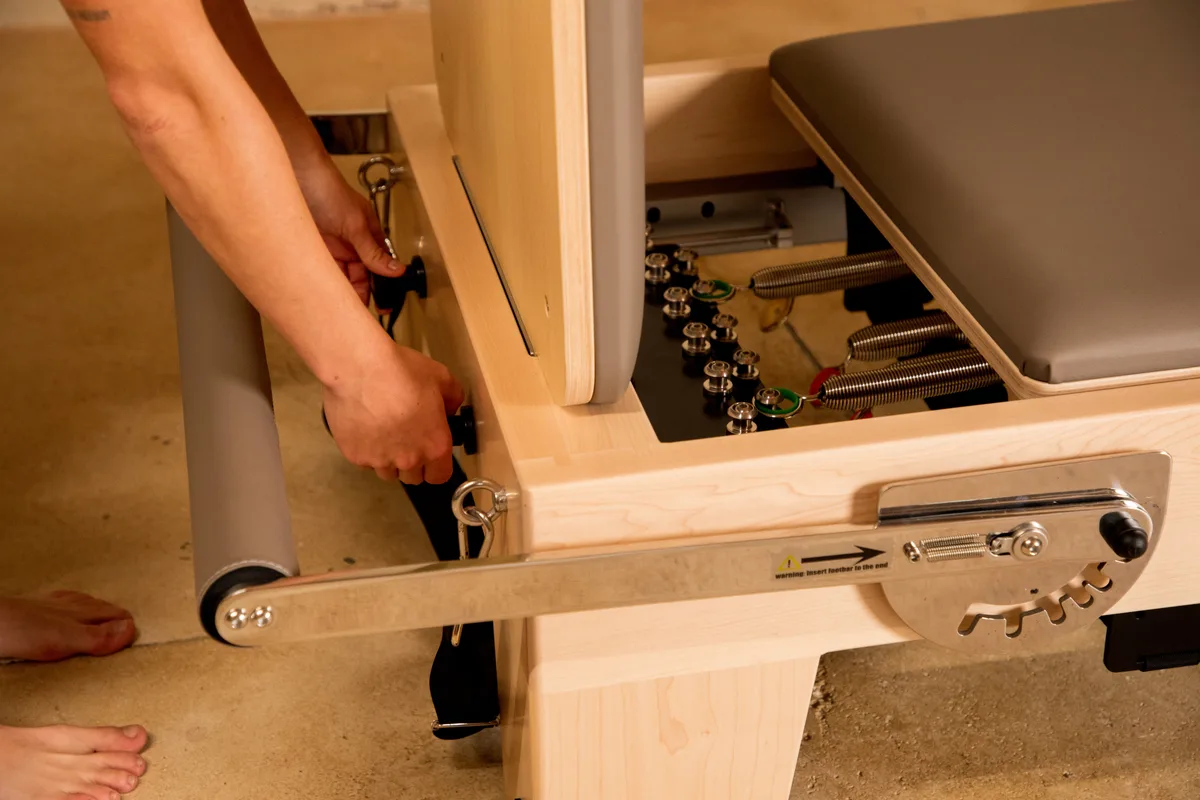
Image source: Bing (Web (fair-use with source credit))
Follow this precise workflow to level your machine without warping the frame.
Phase 1: Zeroing Tension and Finding the True Low Point
Start by clearing the area around the reformer. Disconnect every spring so the carriage can roll freely without resistance.
Find the single highest corner of your machine using your 48-inch level. That high corner will serve as your benchmark anchor point. You will bring the remaining three legs up to match its elevation.
Phase 2: Shimming and Adjusting the Contact Points
Work on the opposite end of the frame first. If the headrest end is high, raise the footbar end.
Adjust both footbar legs simultaneously using your leveling feet or composite shims. Check your level across the crossbar after every small adjustment to maintain lateral balance. Never raise just one side at a time, or you will introduce a twist along the length of the rail.
Phase 3: Eliminating Diagonal Frame Twist (Racking)
Once the rails show level along both the length and width, test for chassis racking. Stand at the center of the carriage platform and gently shift your weight between diagonal corners.
If any leg clicks or lifts off the floor, insert a thin, micro-tapered shim to close the gap. Every corner must support equal weight under static load.
Phase 4: Locking Hardware and Running the Static Load Test
If you used threaded leveling feet, tighten all locking jam nuts firmly against the frame brackets. If you used composite shims, trim off any protruding plastic edges with a utility knife to remove trip hazards.
Finish by giving the carriage a gentle push with zero springs attached. The carriage should glide smoothly across the entire track length and coast to a gradual stop without bouncing back or drifting.
Leveling Methods Compared: Shims, Adjustable Glides, and Sub-Base Mats
Choosing the right leveling hardware depends on your reformer frame material and the severity of your floor slope. Using the wrong material can damage hardwood floors, compress over time, or introduce dangerous frame wobble during jumpboard work.
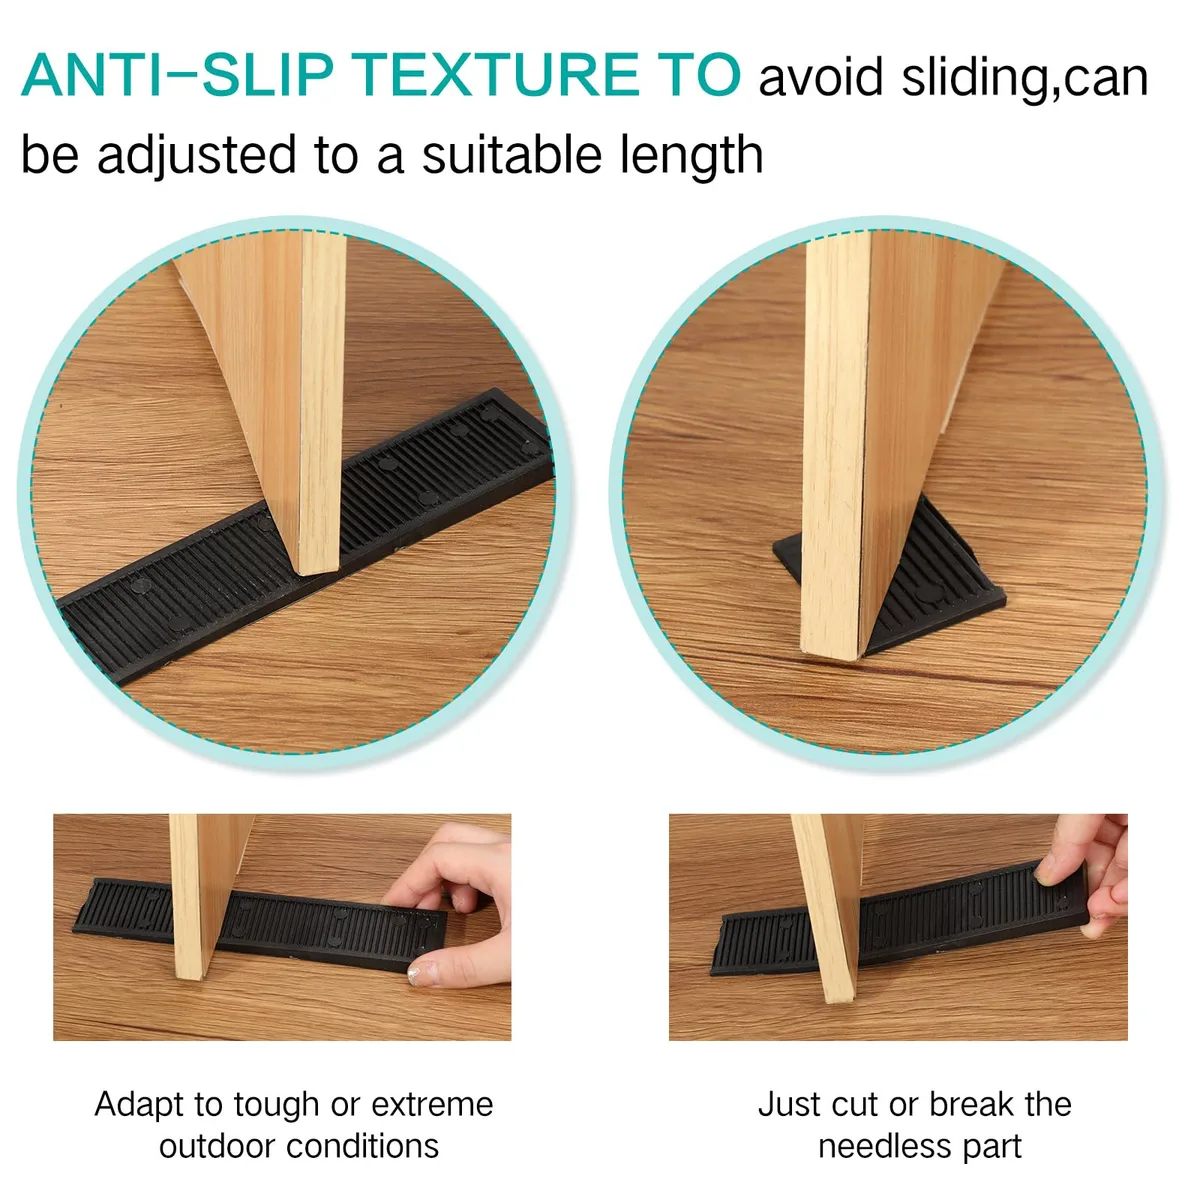
Image source: Bing (Web (fair-use with source credit))
| Leveling Method | Best For | Pros | Cons |
|---|---|---|---|
| High-Density Composite Shims | Solid wood frames, tile floors | Inexpensive, high compressive strength (2,000+ PSI), won't rot or swell | Requires precise placement, excess material must be trimmed |
| Threaded Leveling Glides | Modern steel or aluminum frames | Micro-adjustable precision, clean look, locks securely with jam nuts | Only works on frames with pre-drilled threaded leg receivers |
| Rigid Sub-Base (Plywood/Mats) | High-pile carpet, deep floor dips | Spreads weight evenly, protects flooring, eliminates single-leg sinking | Larger footprint, higher initial cost, visible under the frame |
Composite leveling wedges work best when you need an affordable, rigid fix for wood frames. They maintain their shape under high static loads, unlike soft rubber pads.
Threaded leveling feet offer the cleanest aesthetic for modern aluminum units. They allow for millimeter-precise adjustments on uneven commercial concrete or historic wide-plank flooring.
For carpeted rooms, a rigid sub-base platform is unmatched. A dedicated sheet of 1/2-inch dense plywood or a vulcanized rubber stall mat creates a uniform plane, preventing individual legs from punching into soft underlayment.
5 Critical Mistakes That Damage Your Rails and Throw Off Alignment
A hasty leveling job often causes more harm than good. Avoid these common mistakes to protect your machine and keep your workouts safe.
- Using compliant materials like folded towels or yoga blocks: Soft materials compress dynamically under load. When you jump or perform standing lunges, the foam flexes, causing instant rail twist and carriage binding.
- Leveling only one rail: Raising a single corner without checking the adjacent rail twists the entire chassis. This torsional stress causes premature wheel bearing wear and chipped rail anodization.
- Skipping the jam nuts on threaded feet: If you do not tighten the locking nut firmly against the frame, dynamic vibrations will spin the foot down. Your machine will lose its level within a few workout sessions.
- Ignoring the lateral crossbars: Many people check only the long rails and ignore side-to-side level. Lateral tilt pushes the carriage wheels hard against one side channel, causing persistent grinding noises.
- Leaving untrimmed shim edges exposed: Protruding plastic shims create sharp trip hazards around the machine perimeter. Always trim excess shim length flush with the leg profile.
Frequently Asked Questions About Reformer Leveling and Stability
Can I put a reformer on thick carpet without leveling it?
Thick carpet compresses unevenly under the weight of the frame and user. Over time, the heaviest corners sink deeper into the carpet pile. This uneven settling causes the frame to twist and the carriage to drag.
Place a rigid plywood sheet or high-density rubber mat under the frame to ensure a flat, stable base.
How do I know if my carriage is drifting due to an uneven floor?
Unhook all springs completely from the gearbar. Place the carriage in the center of the rails and release it without pushing. If the carriage rolls on its own toward the footbar or headrest, your floor has a longitudinal slope that requires leveling.
Will leveling shims scratch my hardwood floors?
Standard composite shims have hard plastic edges that can mar delicate polyurethane finishes. To protect hardwood, place a thin sheet of non-slip felt or a textured neoprene pad between the shim and the floor. This prevents scuffs and stops the shim from shifting during exercise.
How often should I check my reformer for level?
Check your reformer level every three to six months. Vibrations from dynamic workouts, seasonal foundation settling, and subfloor deflection can gradually throw the frame out of horizontal alignment. Re-check the frame immediately if you hear new wheel squeaks or feel uneven carriage resistance.
The Long-Term Maintenance Checklist for a Rock-Solid Reformer Base
Keeping your reformer level is an ongoing maintenance step, not a one-time fix. Seasonal humidity shifts cause wooden subfloors and joists to expand and contract, which alters floor elevation over time.
Inspect your frame contact points at regular intervals. Run the zero-spring drift test every few months to ensure the carriage remains balanced. If you notice any floating legs or rail binding, adjust your shims or threaded feet immediately.
Keep your guide tracks clear of dust and hair. Clean anodized aluminum rails with a damp microfiber cloth and mild soapy water, avoiding harsh solvents. A clean, perfectly level track preserves your wheel bearings and guarantees whisper-quiet performance for thousands of workouts.

Similar Posts