Why Is My Reformer Gear Bar Loose? Causes & Easy Fixes
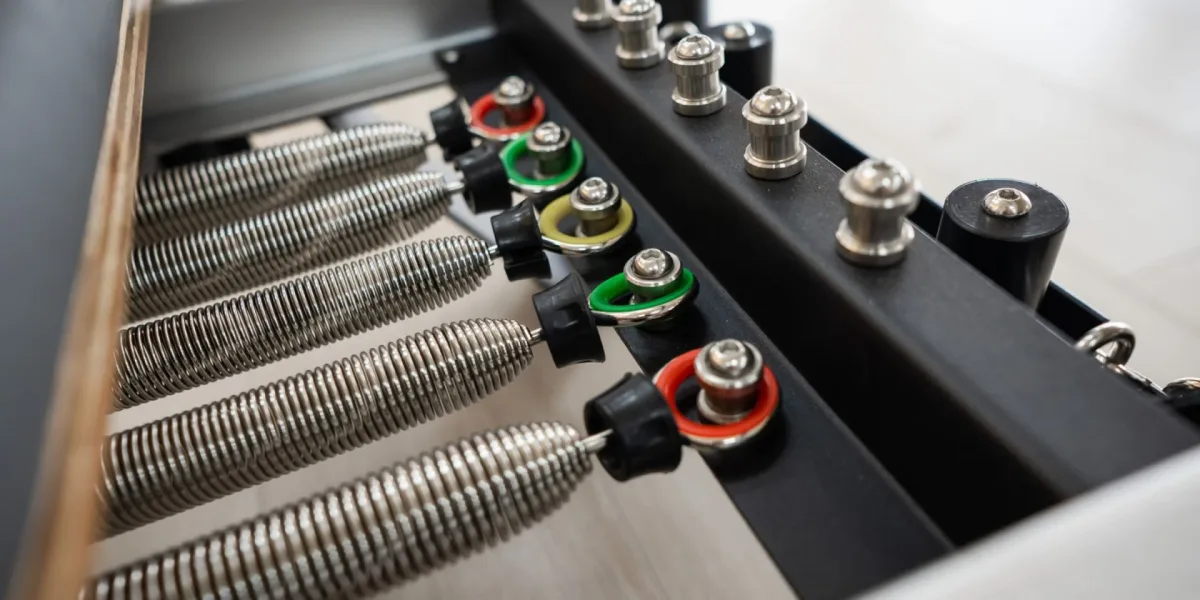
You are setting up your reformer springs and notice unwanted play in the spring mechanism. If you are asking why is my reformer gear bar loose, the issue usually stems from loose bracket hardware, worn pivot bushings, or an unseated adjustment pin. A shaky gear bar ruins carriage fluidity and poses a direct safety hazard under heavy resistance load.
Under commercial fitness equipment benchmarks published by ASTM International, spring retention assemblies must withstand repetitive cyclic loads without shifting out of alignment. A properly fitted gear bar should have less than two millimeters of lateral clearance play. Let us diagnose where the looseness originates and walk through the exact steps to secure your reformer frame.
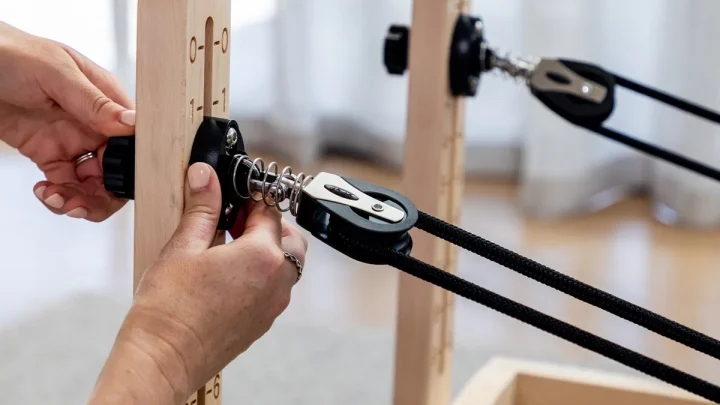
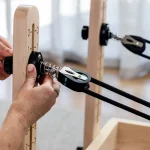
Image source: Bing (Web (fair-use with source credit))
Quick Answer
A loose reformer gear bar is caused by loose bracket fasteners, worn internal bushings, or misaligned locking pins. Check that the bar is fully seated in its gear slots. Tighten all side-bracket bolts using the proper hex key.
Replace worn nylon bushings if lateral wobble persists. Never exercise on a gear bar with forward or backward slippage.
What "Loose" Really Means on a Pilates Reformer Gear Bar
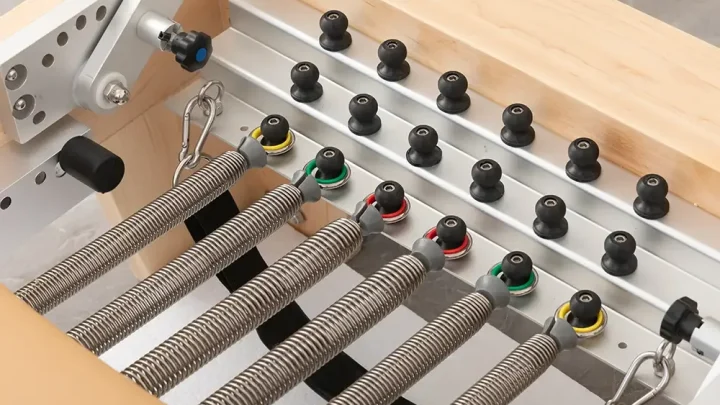
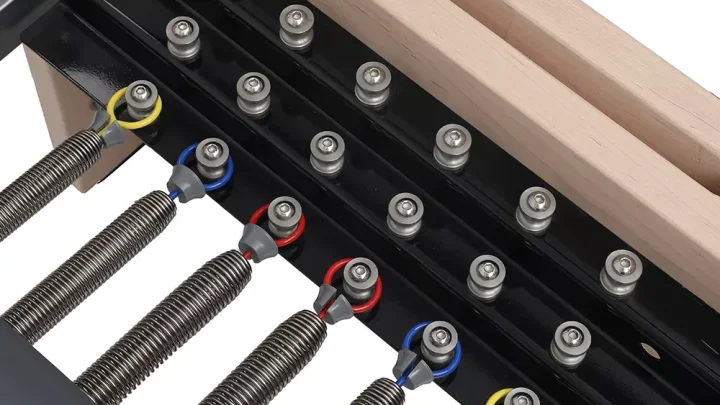
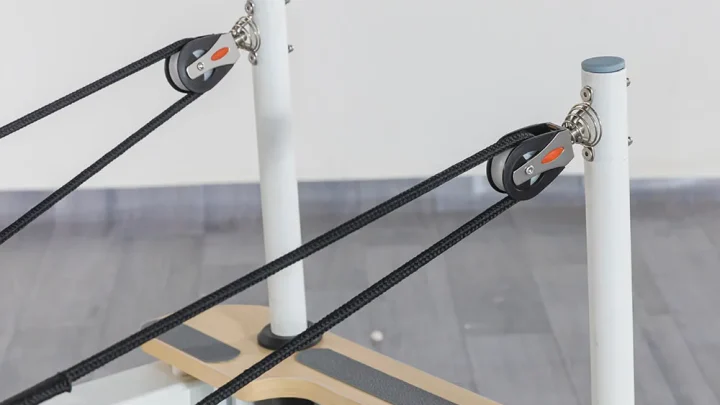
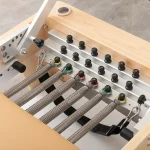
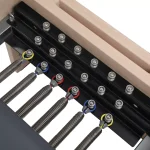
A Pilates reformer gear bar anchors the resistance springs that control carriage movement. It sits across the interior frame near the footbar, allowing instructors and users to change spring tension positions.
Not all movement means your machine is broken. A tiny amount of side-to-side tolerance, roughly one millimeter, is normal. It allows the metal bar to drop smoothly into the receiver brackets without binding.
Unsafe looseness is different. If the bar rattles violently, lifts out of the slot, or slides back and forth under tension, you have a mechanical issue. That type of instability leads to sudden carriage lurching, uneven resistance, and potential joint strain for the user.
| Movement Type | Acceptable Tolerance | Action Required |
|---|---|---|
| Normal Fit Clearance | Under 1.5 mm lateral shift | None (Normal operation) |
| Loose Mounting Hardware | 2 mm to 5 mm bracket play | Tighten rail bolts with hex key |
| Worn Pivot Bushings | Noticeable wobble or rattle | Replace internal nylon bushings |
| Slipping Gear Lock | Any forward or back shift | Stop use immediately and inspect pins |
Diagnostic Decision Tree: Is the Movement Lateral, Longitudinal, or Rotational?
To fix the looseness quickly, isolate the exact direction of the mechanical play before grabbing tools.
First, disconnect all springs from the gear bar so the assembly has zero tension. Grab the center of the bar and test for movement along three distinct axes:
- If the movement is lateral (side-to-side): The frame brackets have widened, or the spacer washers are worn down. Inspect the outer mounting bolts holding the gear saddles to the aluminum rails. Tighten the bolts evenly on both sides until the bar sits snug without binding.
- If the movement is longitudinal (front-to-back): The locking mechanism is failing. For stepped gear blocks, verify the bar is completely dropped into the bottom of the slot. For slide systems, inspect the spring-loaded detent pin for fatigue or debris preventing full engagement.
- If the movement is rotational (bar twists when hooking springs): The retaining eyelet bolts or pivot screws are loose. Check the fasteners connecting the spring hooks to the gear bar body.
How to Fix a Loose Gear Bar by Brand and Mechanism Type
Different manufacturers rely on distinct engineering designs to secure the gear bar. Understanding your reformer model ensures you use the correct adjustment method.
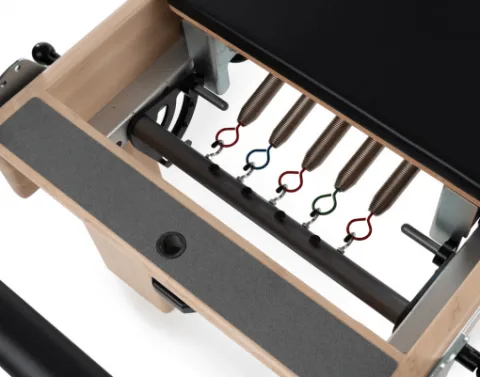
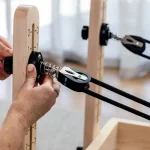
Image source: Bing (Web (fair-use with source credit))
Balanced Body Systems
Standard Studio Reformers use a classic slotted gear block. If the bar feels loose, confirm the gear bar sits fully in Position 1, 2, or 3. As of 2026, many modern units feature the Balanced Body Revo Springbar system, which integrates the carriage stopper and springbar into one slide track.
If a Revo bar feels unstable, check the locking plunger pin underneath the carriage to verify it clicks firmly into the indexing holes.
Merrithew and STOTT PILATES Reformers
Merrithew reformers use a multi-position gearbar sliding mechanism with dedicated gear brackets. Looseness here often comes from loose bracket screws along the interior side rails. Use a 5/32-inch hex wrench to snug the bracket fasteners.
If the slide bar rattles during movement, check the brass or plastic guide rollers for flat spots.
Peak Pilates and Classical Reformers
Classical wood-frame reformers often feature drop-in gear bars resting inside bronze or chrome cradles. Over time, wood frame expansion can cause the cradles to drift apart. Tighten the wood-mounting wood screws by hand.
Never use an impact driver, which can strip the hardwood threads.
Hardware Breakdown: Checking Worn Bushings, Stripped Bolts, and Fatigued Pins
When tightening external bolts does not solve the rattle, internal wear components are usually the culprit.
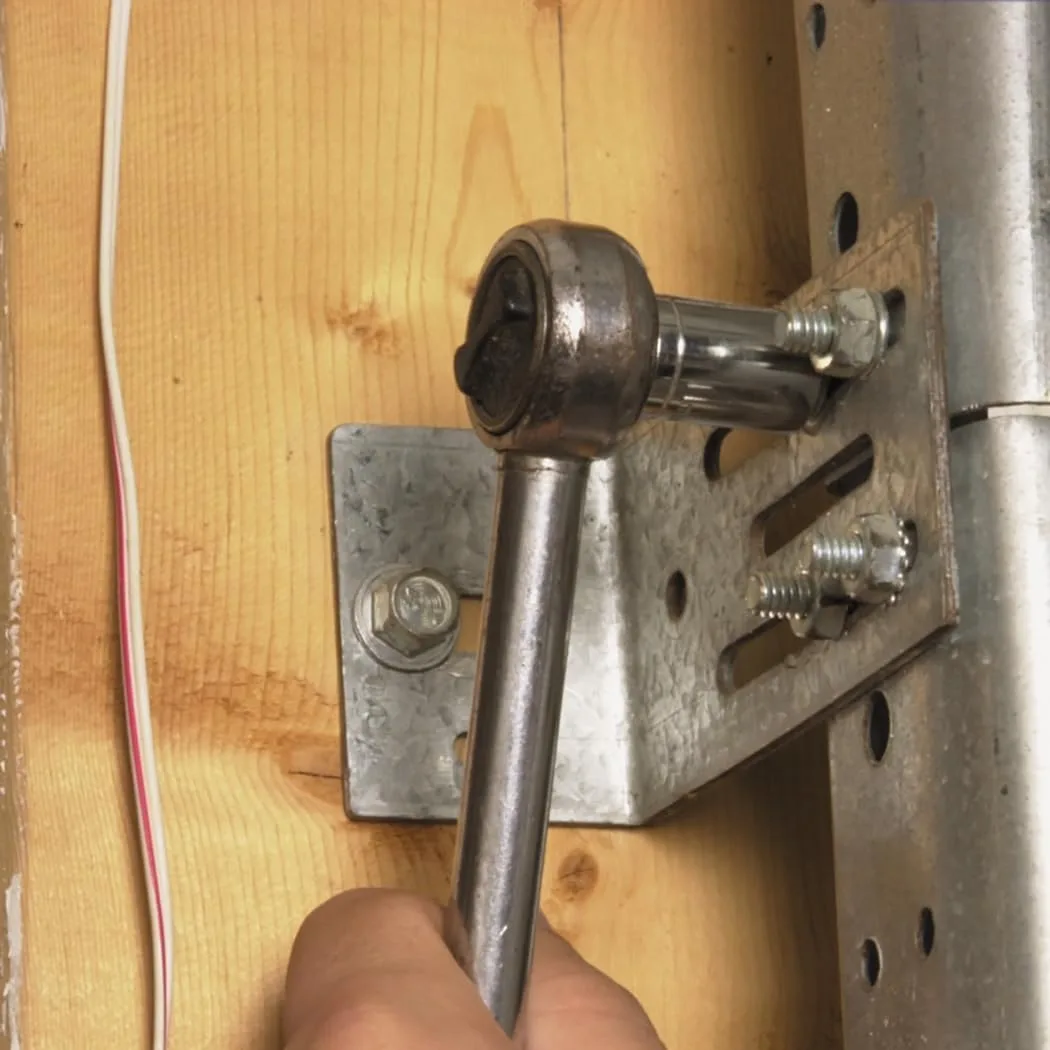
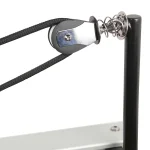
Image source: Bing (Web (fair-use with source credit))
Inspecting Nylon and Delrin Bushings
Most commercial gear bars pivot on synthetic Delrin or nylon bushings. These small plastic sleeves prevent noisy metal-on-metal friction. After thousands of client sessions, these bushings compress and thin out.
When they wear down, the bar develops a loose, metallic clunk whenever the carriage returns to the home position. Replacing these inexpensive wear parts restores factory tightness.
Checking Bracket Fasteners and Frame Threads
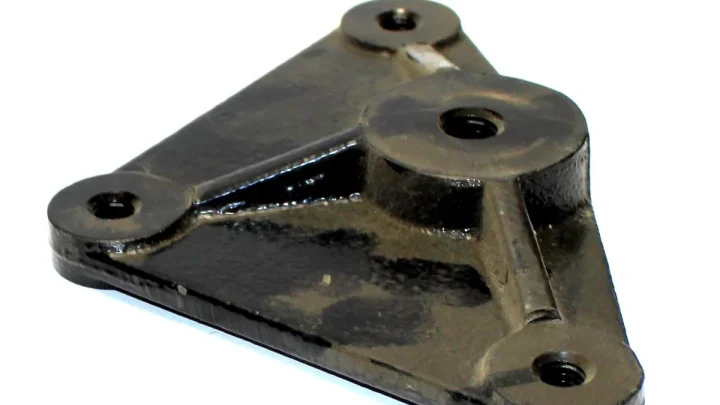
Vibration from daily spring changes slowly backs out mounting bolts. Check every hex bolt on the gear saddles. If a bolt spins continuously without tightening, the aluminum frame channel or Nyloc nut is stripped.
Replace stripped hardware immediately with matching metric or standard grade-8 hardware.
Testing Spring-Loaded Detent Pins
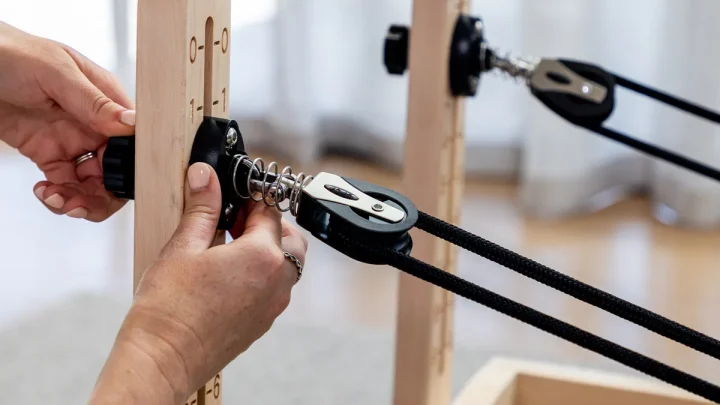
On sliding gear bars, internal pop-pins lock the bar in place. Press the pin release several times. It should spring back forcefully.
If the pin action feels sluggish or fails to extend fully, internal spring fatigue or lint accumulation is preventing a secure lock. Clean the housing with dry silicone spray or replace the pin assembly.
Critical Mistakes That Cause Gear Bar Instability and Safety Risks
Fixing a loose gear bar requires careful technique. Rushing through repairs often creates new mechanical problems.
- Changing gear positions under spring load: Always unhook all springs before moving the gear bar. Adjusting the bar with active spring tension warps the alignment brackets and bends the locking pins.
- Mismatched gear settings: Ensure both the left and right sides of the bar drop into identical slot positions. Angling the bar diagonally places extreme torsional stress on the receiver brackets, causing rapid wear.
- Over-tightening hardware into aluminum rails: Reformer frames rely on precision aluminum extrusions. Cranking down too hard with an Allen wrench strips the soft metal threads, making it impossible to secure the gear saddles.
- Ignoring carriage stopper alignment: If you move your gear bar to a new position, adjust your carriage stopper accordingly. Running the carriage against an improperly spaced stopper yanks the gear bar backward during every return stroke.
Maintenance Protocols to Keep Your Reformer Gear System Solid and Silent
Routine maintenance keeps your spring attachment hardware solid and prevents unexpected frame wear. A strict inspection schedule catches minor hardware loosening before it turns into a safety hazard.
Weekly Visual and Tactile Inspection
Check the gear bar during your regular studio cleaning routine. Detach all springs and gently rock the bar in every position. Check that the receiver channels are free of hair, dust, and accumulated spring grease.
Wipe the contact surfaces with a microfiber cloth and a mild soap-and-water solution.
Monthly Fastener and Pin Check
Every month, use standard hand tools to test the tightness of all mounting hardware. Check the bracket mounting bolts along the aluminum rails. Test the pop-pin spring return action on sliding gear bars to ensure smooth locking engagement.
Quarterly Deep Inspection and Lubrication
Every three months, complete a comprehensive hardware check:
- Inspect all Delrin, nylon, or brass bushings for visible thinning or cracking.
- Check the spring attachment eyelet hooks for metal grooving or ovalization.
- Clean sliding gear tracks and apply a dry silicone lubricant if recommended by the equipment manufacturer.
- Never use wet petroleum oils or WD-40 on reformer tracks, as these lubricants attract dust and create an abrasive sludge.
Frequently Asked Questions About Reformer Gear Bars
Is it normal for a reformer gear bar to have slight play?
A small amount of lateral movement, around one millimeter, is normal on most drop-in gear bars. This minor clearance allows the bar to shift between gear slots without jamming. Any front-to-back movement or rattling under spring resistance indicates loose mounting hardware or worn bushings.
Can a loose gear bar slip out during an exercise?
Yes, an unseated or severely loose gear bar can slip out of position under load. If the retaining brackets are loose or the detent pin fails to engage, spring tension can jerk the bar forward. This sudden loss of resistance creates a fall risk for the user.
How tight should reformer bracket bolts be?
Tighten bracket bolts until they are snug and firm against the frame, but do not overtighten them. Most aluminum reformer channels use steel fasteners that can strip if torqued too aggressively. Aim for hand-tight using a standard Allen wrench without using cheater bars or power drivers.
How often should gear bar bushings be replaced?
Commercial studio reformers typically need new gear bar bushings every two to three years. In home settings, bushings can last five years or longer. Replace them immediately if you notice metal-on-metal scraping noises or visible wobble inside the bracket housing.
Why does my gear bar stick when I try to move it?
A sticking gear bar usually results from uneven bracket spacing or dirty slide channels. If the frame brackets are skewed inward, they pinch the bar ends. Debris buildup inside the positioning slots can also prevent the bar from dropping down smoothly.
The Gear Bar Safety Verdict: When to Adjust vs. When to Replace Hardware
Knowing whether to tighten existing parts or buy replacements keeps your studio safe and budget on track. Minor adjustments solve most complaints, but structural wear requires immediate part replacement.
Tightening hardware is the right step when mounting bolts back out from normal vibration. If realigning the side saddles and securing the bracket fasteners removes the unwanted play, the machine is ready for use.
Replace the hardware immediately if you discover stripped bolt threads, bent gear brackets, or cracked structural welds. If a slide-lock plunger pin sticks or shows internal spring fatigue, replace the locking assembly before allowing anyone back on the carriage. Taking ten minutes to replace a worn fastener ensures reliable performance and complete peace of mind in every session.

Similar Posts