Why Reformer Handles Get Sticky (And How to Fix It)
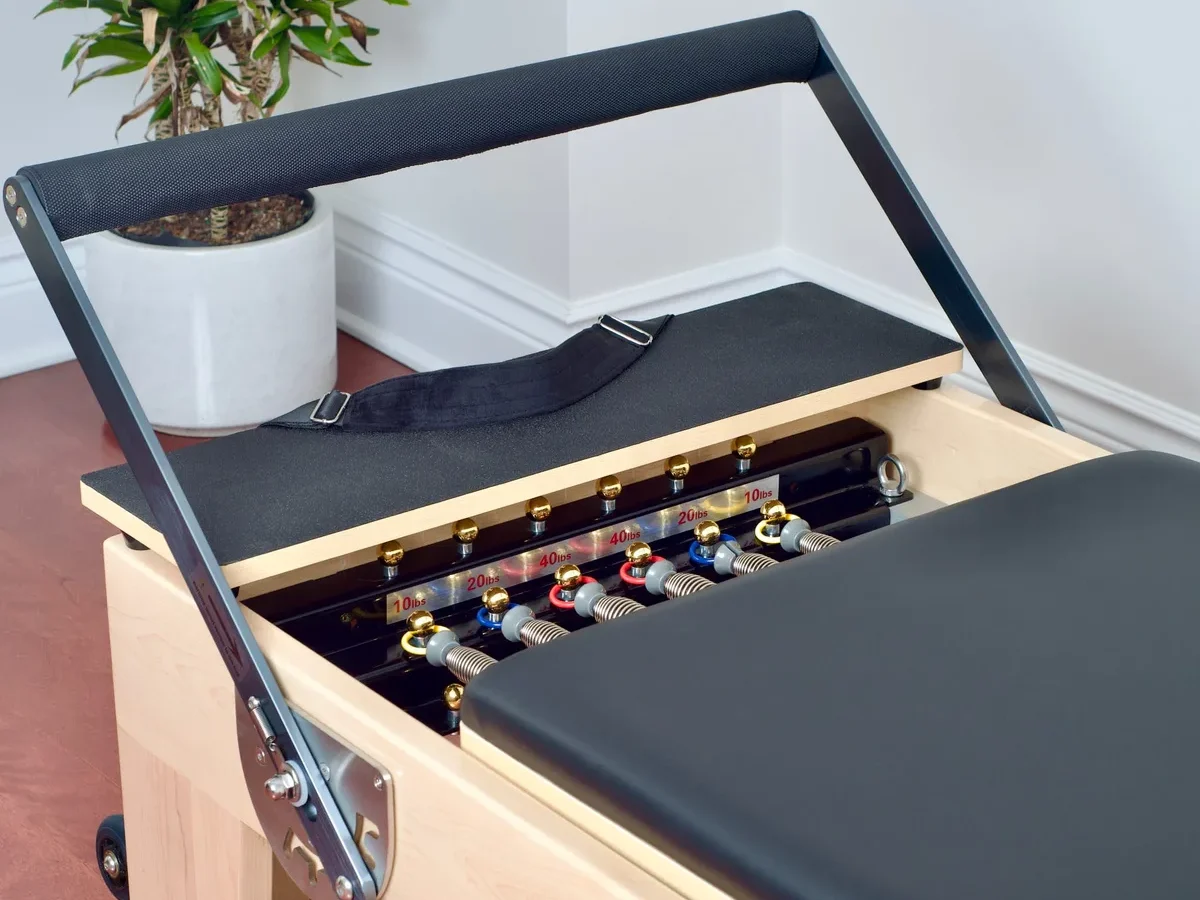
If you reach for your straps and feel a tacky, gummy residue, you are not alone. Studio owners and home practitioners frequently wonder why are reformer handles becoming sticky after standard training sessions. That unpleasant coating ruins your grip, collects lint, and makes smooth arm or leg series feel uncomfortable.
While many assume the problem is simply dried sweat, the true cause is usually polymer breakdown. Material research per ASTM International standards shows that synthetic elastomers degrade when exposed to reactive cleaning agents and ambient moisture. Determining whether you are dealing with surface grime or irreversible material decay is the key to solving it.
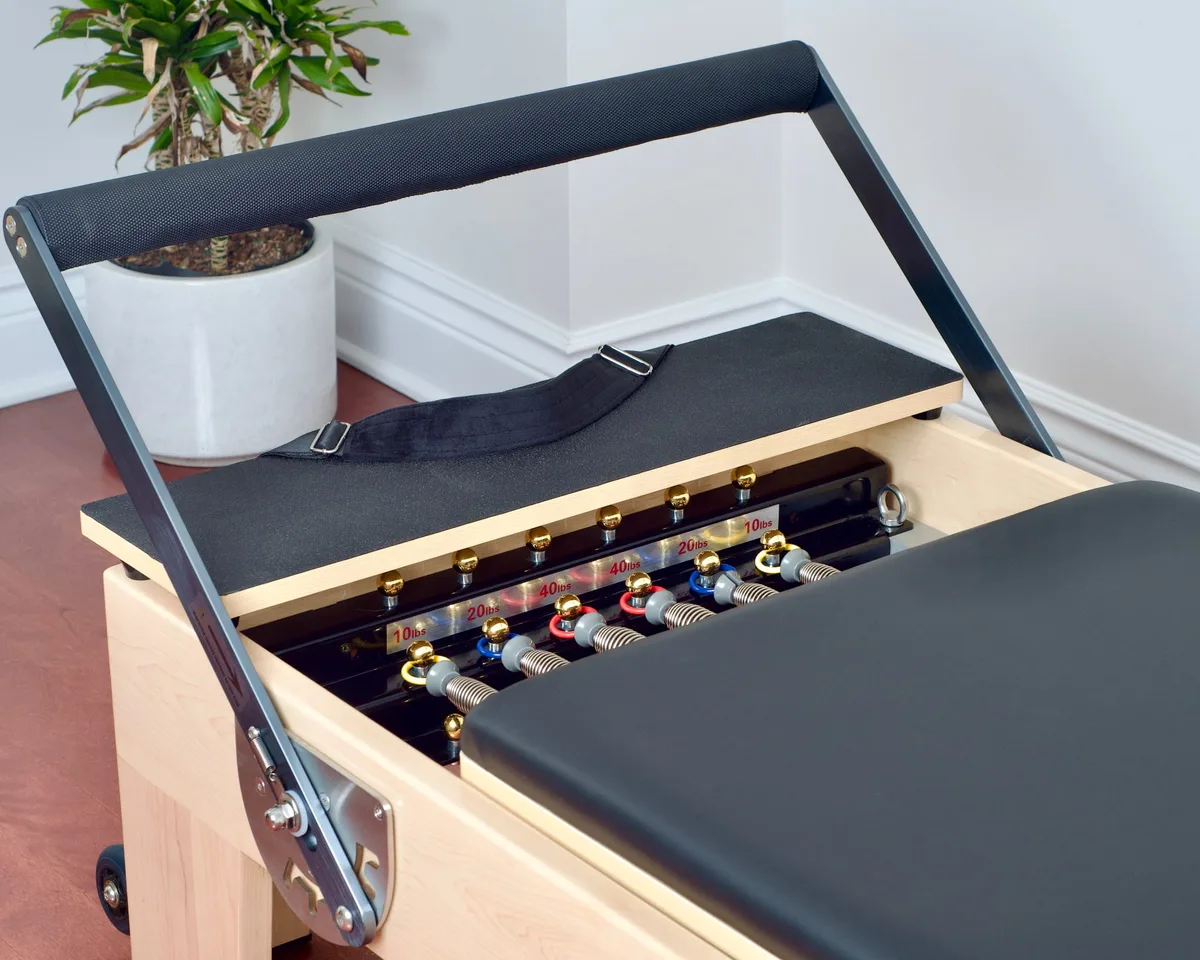
Image source: Bing (Web (fair-use with source credit))
Quick Answer
Reformer handles turn sticky when synthetic rubber or polyurethane breaks down. Harsh chemical disinfectants strip the outer protective seal. High humidity accelerates this polymer decay.
Trapped body oils also create a tacky film. Proper mild soap washing often resolves surface oil buildup. Chemical degradation requires replacing the handle grips.
Why Reformer Handles Turn Sticky: The Core Chemistry Behind the Stickiness
Pilates reformer handles undergo substantial mechanical friction and chemical exposure. When the smooth surface turns into a glue-like paste, a specific chemical reaction has taken place on the grip material.
Hydrolysis and the Breakdown of Polyurethane Coatings
Many soft-touch reformer loops use a polyurethane (PU) top layer over dense foam padding. Over time, ambient moisture reacts with the chemical bonds in the polyurethane. This process is called hydrolysis.
Hydrolysis splits the polymer chains that give the coating its strength. As the molecules unravel, the solid exterior softens into an uncurable, tacky gel. As of 2026, equipment audits show hydrolysis is the leading cause of handle failure in coastal and high-humidity studios.
Plasticizer Migration in Synthetic Rubber and TPE Grips
Molded rubber and thermoplastic elastomer (TPE) handles rely on liquid plasticizers to stay flexible. Without these additives, the handles would be rigid, brittle plastic.
When exposed to heat or UV light, those plasticizer molecules migrate outward to the surface. Once at the exterior, they form an oily, sticky film that cannot easily re-absorb into the rubber core.
Chemical Etching from Studio Disinfectants and Alcohol Wipes
Frequent sanitizing is standard practice, but the wrong chemicals melt your equipment. High-concentration isopropyl alcohol (above 70%) draws moisture out of elastomers and degrades surface binders.
Quaternary ammonium compounds, common in commercial gym wipes, leave behind non-volatile residues. These compounds slowly dissolve the top finish of synthetic handles, leaving an adhesive-like film behind.
Body Oils, Sweat Salts, and Environmental Factors
Natural sebum from hands and feet contains fatty acids and squalene. When left on synthetic handles after a workout, these oils interact with the polymer matrix.
Sweat also deposits sodium chloride and lactic acid into microscopic crevices. Over several weeks, this combination oxidizes, bonding ambient dust and dead skin cells into a stubborn, gummy layer.
Diagnostic Decision Tree: Is Your Handle Fixable or Finished?
Before spending money on replacement hardware, determine whether the stickiness is sitting on the surface or coming from inside the material.
                  [Test the Sticky Handle]
                             |
                  Run Firm Fingernail Test
                             |
             ---------------------------------
            |                                 |
   [Surface is Soft/Pits]             [Surface Remains Firm]
            |                                 |
   Polymer Has Melted                 Oil / Grime Layer
            |                                 |
   Perform Swab Test                  Perform Soap Wash
            |                                 |
     Pigment Lifts?                   Stickiness Clears?
     /            \                        /           \
  (Yes)          (No)                    (Yes)         (No)
   |              |                        |            |
REPLACE        STRIP                    FIXED        BAKING SODA
HANDLE        COATING                                   PASTE
The Scratch Test: Surface Grime vs. Polymer Degradation
Press your fingernail firmly into the stickiest section of the handle for three seconds. Release and observe how the material responds.
- If the surface feels hard underneath and leaves a greasy smudge on your nail, you are dealing with oil buildup. This is fully fixable.
- If your nail sinks into gummy, softened material and leaves a permanent dent, the polymer has decomposed. Cleaning will not fix this condition.
The Alcohol Swab Test: Pigment Lift and Binder Failure
Take a white cotton pad lightly dampened with 70% isopropyl alcohol. Rub a small, hidden section of the handle with moderate pressure for five seconds.
Inspect the pad. If you see heavy color transfer matching the handle dye along with sticky black or grey paste, the chemical binder has failed. Continued wiping will dissolve the grip down to its structural core.
Condition Assessment Matrix: Evaluate Your Handle Material
Use this quick reference to assess the state of your handles based on composition and symptoms:
| Material Type | Primary Symptom | Root Cause | Verdict |
|---|---|---|---|
| Molded TPE / Rubber | Glossy, slimy residue | Plasticizer migration | Strip with solvent or replace |
| Polyurethane (PU) Loops | Flaking, glue-like tackiness | Hydrolysis (moisture rot) | Irreversible; replacement needed |
| Cotton / Nylon Webbing | Stiff, greasy feeling | Trapped body oils and sweat | 100% washable and restorable |
| EVA Foam Sleeves | Crumbling, tacky texture | Solvent chemical etching | Irreversible; replace foam sleeve |
Step-by-Step Recovery Workflow: How to Restore Sticky Grips
If your diagnostic tests show that the material core is intact, follow these stepped cleaning methods. Always work from the mildest cleaner to the strongest chemical treatment.
Method 1: The Warm Detergent Strip (For Oil and Grime Buildup)
Start with a grease-cutting detergent solution to lift organic sweat oils.
- Mix two drops of concentrated degreasing dish soap into two cups of warm water.
- Dip a clean microfiber towel into the solution and wring it out until barely damp.
- Scrub the handle firmly in circular motions, paying attention to seams and inner grips.
- Wipe the handle with a separate towel dampened with pure distilled water to rinse away soap film.
- Air-dry completely in a well-ventilated area away from direct sunlight.
Method 2: The Baking Soda Alkaline Paste (For Early Surface Stickiness)
When detergent fails to remove surface tackiness on molded rubber, an alkaline paste neutralizes acidic surface degradation.
- Combine three tablespoons of baking soda with one tablespoon of warm water to create a thick paste.
- Spread the paste evenly across the sticky rubber grip using your fingers or a soft nylon brush.
- Let the mixture sit on the rubber for five to eight minutes to draw out surface oils.
- Scrub gently with a damp cloth, then wipe clean with a wet towel.
- Dry thoroughly with a clean lint-free cloth.
Method 3: Isopropyl Friction Buffing (Stripping the Failed Coating)
Use this method only on solid rubber or hard-core TPE handles where an ultra-thin soft-touch coating has degraded.
- Put on protective gloves and work in an open, airy space.
- Pour a small amount of 70% isopropyl alcohol onto a rough cotton terry cloth.
- Buff the sticky section using firm, rapid strokes. You will see the gummy outer film peel away on the cloth.
- Continue buffing with fresh sections of the cloth until you reach the bare, smooth plastic or rubber substrate underneath.
- Wipe down with mild soapy water and let dry.
When Cleaning Fails: Repair, Cover, or Replace?
When chemical breakdown goes too deep, cleaning only makes the surface stickier. At that point, you must decide between covering the degraded material or replacing the assembly entirely.
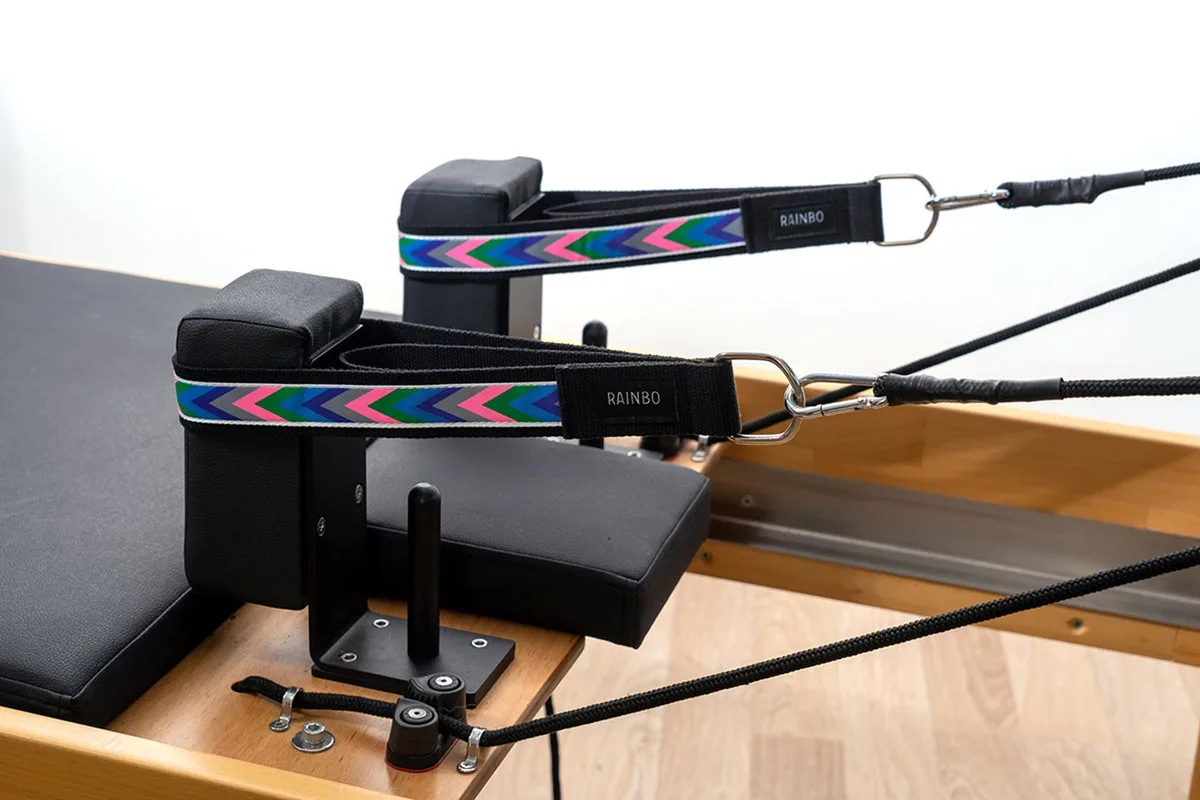
Image source: Web (Bing) / etsy.com (Web image (fair-use with source credit))
Slip-On Grip Covers vs. Total Handle Replacement
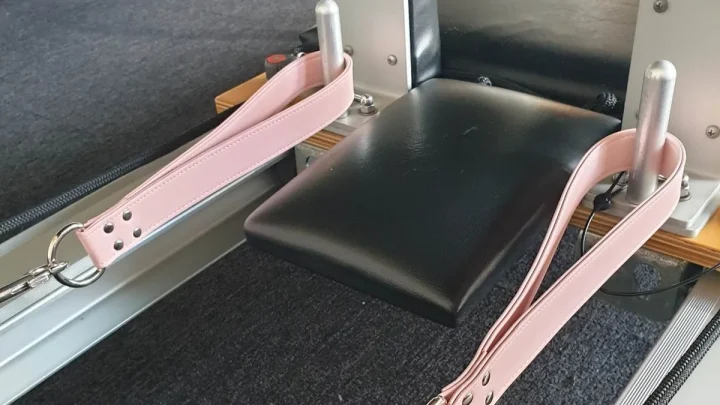
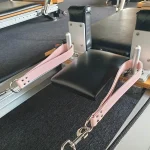
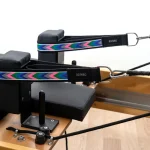
Slip-on fabric or neoprene covers offer an immediate, low-cost fix for studio owners on a tight schedule. They slide directly over your existing sticky grips, creating a clean barrier between your skin and the degraded polymer.
However, covers are a temporary patch. The underlying rubber continues to break down beneath the fabric, eventually soaking into the cover itself. Total handle replacement is the superior long-term choice for client hygiene and equipment safety.
Material Comparison: Cotton Double Loops vs. Molded Rubber vs. Vinyl
Choosing the right replacement material prevents future stickiness issues:
- Cotton Double Loops: Highly breathable, fully machine-washable, and completely immune to hydrolysis. Best for studios prioritizing hygiene and easy laundering.
- Molded Rubber / Silicone: Exceptionally durable, easy to wipe down between sessions, and non-porous. Best for high-traffic commercial environments that need fast turnover.
- Upholstered Vinyl Handles: Padded and comfortable for sensitive feet and hands. Require specific non-alcohol vinyl cleaners to avoid premature cracking.
Replacement Costs and Sourcing Compatible Hardware
Standard replacement handles cost between $25 and $90 per pair depending on hardware specifications. Look for commercial-grade straps that include pre-stitched stainless steel D-rings or snap clips compatible with your reformer rope system. Ensure the carabiner gate matches your rope diameter to prevent rope fraying.
Preventative Care Protocol: How to Disinfect Handles Without Ruining Them
Proper maintenance prevents premature handle failure. Switching to approved cleaning agents extends the operational lifespan of your reformer straps by several years.
Safe Cleaning Solutions Approved by Leading Reformer Manufacturers
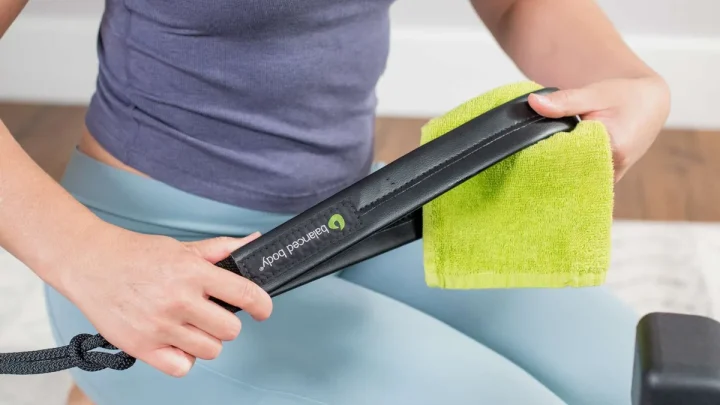
Leading equipment manufacturers like Balanced Body outline specific cleaning guidelines to preserve strap polymers. The safest everyday cleaning solution is a simple dilution of mild liquid dish soap or castile soap in pure water.
Keep a spray bottle with one drop of mild soap per 16 ounces of warm distilled water. Lightly mist a microfiber towel, not the handle directly, and wipe down the surfaces after use.
Disinfectant Ingredients You Must Never Spray on Reformer Loops
To protect synthetic straps and rubber grips, check your cleaning labels and ban the following ingredients from your reformer cleaning station:
- Bleach (Sodium Hypochlorite): Rapidly oxidizes elastomers, causing yellowing, brittleness, and immediate surface stickiness.
- High-Concentration Alcohol (80%+): Strips essential plasticizers directly out of molded grips.
- Acetone or Esters: Harsh solvents that dissolve synthetic polymers on contact.
- Aromatic Hydrocarbons: Found in some industrial degreasers, these melt rubber compounds.
Daily Studio Maintenance vs. Deep Cleaning Schedule
Set a structured cleaning timetable to prevent sweat buildup while protecting polymer integrity:
- Between Client Sessions: Wipe grips with a lightly damp microfiber cloth using manufacturer-approved, alcohol-free sanitizing wipes. Never leave the handles wet.
- Weekly Deep Clean: Hand-wash cotton loops in warm soapy water and air-dry. Wipe solid rubber handles with a diluted soap solution and dry with a fresh towel.
- Monthly Hardware Inspection: Inspect D-rings, clips, and strap stitching for friction wear or signs of chemical softening. Replace any hardware showing structural fatigue.
Common Mistakes That Accelerate Handle Degradation
Small errors in your daily studio routine can quickly ruin expensive straps. Avoiding these common cleaning and storage pitfalls will keep your equipment firm and safe for workouts.
Drenching Straps in Quaternary Ammonium Sprays
Spraying disinfectant directly onto handles is a major mistake. Liquid pools around the seams and seeps deep into the core padding.
Once trapped inside, quaternary ammonium chemicals cannot evaporate efficiently. They continuously break down internal foam and rubber cores from the inside out, causing rapid softening and surface tackiness.
Storing Reformers in High-Heat or High-Humidity Garages
Home reformers placed in unconditioned garages face extreme temperature swings. High heat speeds up plasticizer migration in synthetic rubber handles.
Relative humidity levels above 60% drastically accelerate polyurethane hydrolysis. If you train in a garage or basement, use a dehumidifier to keep ambient moisture low.
Running Molded Handles Through Commercial Wash Cycles
Tossing rubber-coated handles into a washing machine ruins them quickly. Agitator blades cause micro-tears in soft-touch outer coatings.
Hot water washes and heated dryer cycles melt chemical adhesives and plasticizers. Always stick to gentle hand-cleaning methods for synthetic materials, saving machine wash cycles exclusively for pure cotton straps.
Frequently Asked Questions About Sticky Pilates Reformer Handles
Can I use baby powder to fix sticky reformer grips?
Baby powder offers a quick fix by absorbing surface oils, but it is not a permanent solution. Talc and cornstarch quickly mix with fresh sweat during workouts. This creates a messy paste that clogs the grip texture.
Use a baking soda paste or replace the handles instead.
How often should I replace Pilates reformer handles?
Commercial studios should replace synthetic handles every 12 to 24 months depending on class volume. Home users can often keep handles for three to five years with gentle soap maintenance. Replace handles immediately if the rubber softens, pits, or leaves residue on hands.
Can hand sanitizer transfer cause sticky reformer loops?
Yes, alcohol-based hand sanitizers frequently cause handle degradation. When clients apply gel sanitizer right before class, wet alcohol transfers straight to the grip material. This dissolves protective topcoats and softens the underlying rubber over time.
Ensure hands are completely dry before handling straps.
Will dish soap ruin the grip on my reformer handles?
No, mild dish soap is one of the safest cleaners available for reformer handles. It cuts through body sebum and skin oils without stripping essential plasticizers from the rubber. Use only one or two drops per bottle of water, and wipe the handles clean afterward.
Why do my new reformer handles smell and feel tacky?
New handles sometimes feel tacky due to off-gassing and mold-release agents left over from manufacturing. This is not polymer breakdown. Wipe the new handles with a warm, damp microfiber cloth and mild soap.
Allow them to air out in a well-ventilated room for two days.

Similar Posts