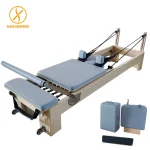
How to Replace Pilates Reformer Handles Step-by-Step
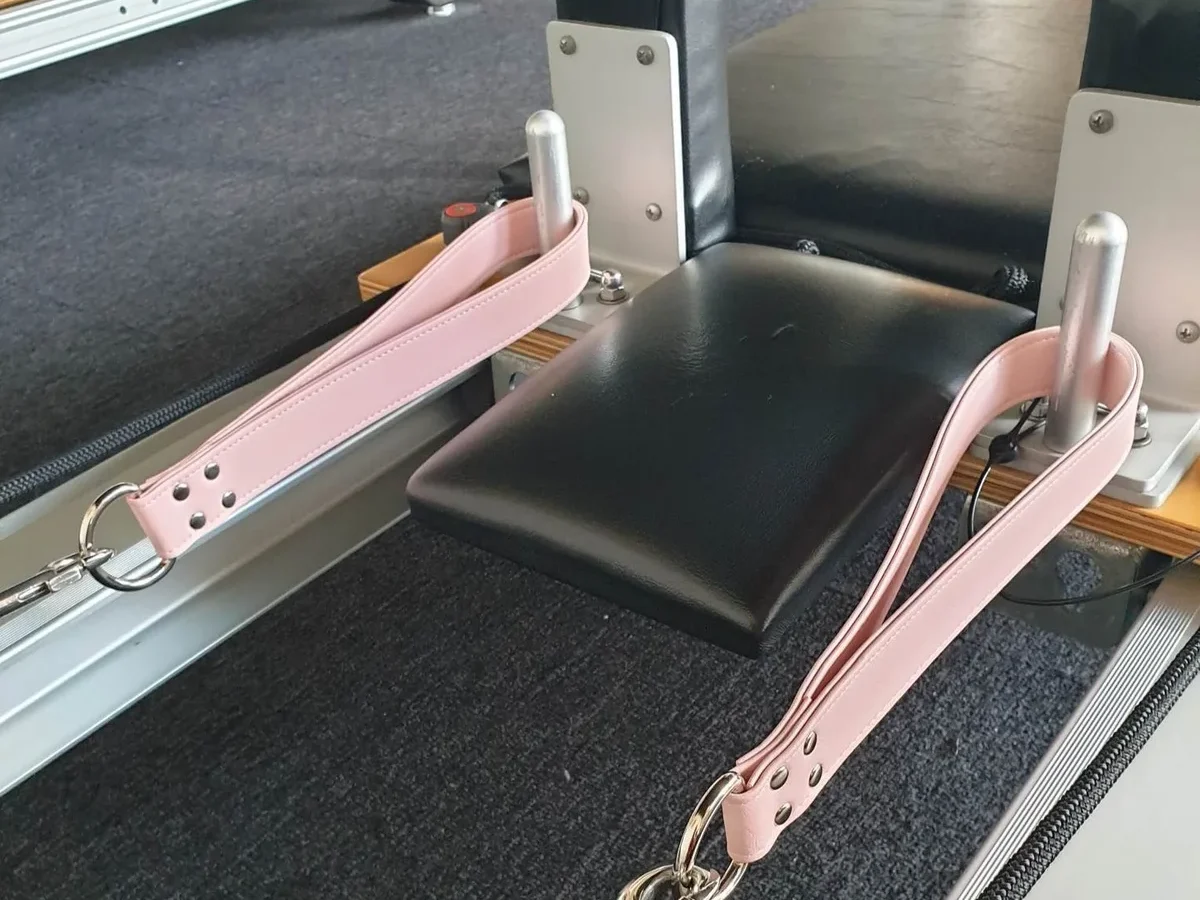
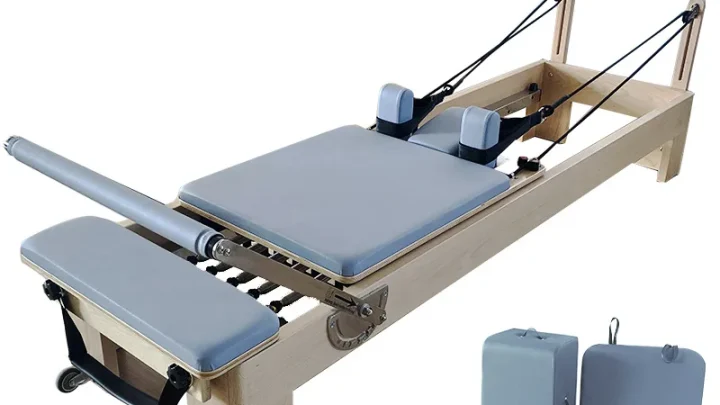
Replacing worn straps is one of the easiest ways to keep your Pilates workouts smooth and safe. Knowing how to replace reformer handles correctly prevents equipment damage, stops unwanted rattles, and keeps your body in balanced alignment. Over time, regular sweat, friction, and tension naturally break down fabric webbing, metal hardware, and cord fibers.
Equipment safety guidelines from organizations like ASTM International emphasize regular hardware inspection for load-bearing fitness gear. Most commercial studios swap handles every 12 to 24 months, while home units typically need fresh straps every 3 to 5 years. Catching the signs of wear early ensures your carriage glides without sudden hardware failure.
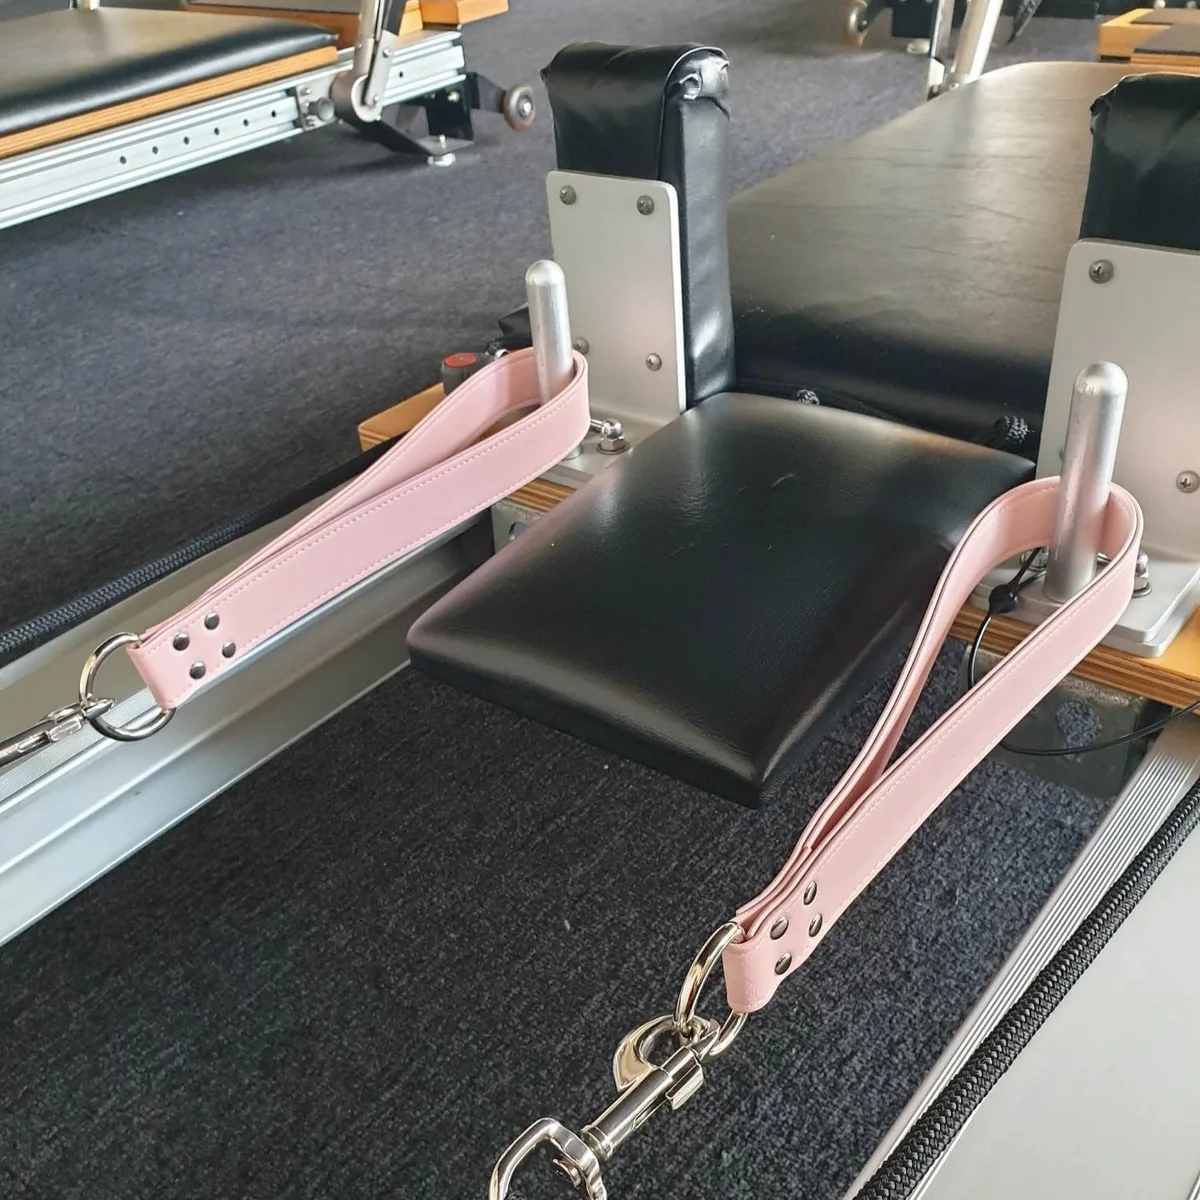
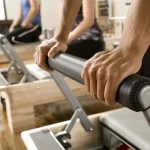
Image source: Bing (Web (fair-use with source credit))
Quick Answer
To replace reformer handles, first lock your carriage with all springs attached. Unhook your existing carabiner, unloop the soft-touch knot, or unbuckle the leather strap. Next, thread your new handle onto the rope or hardware.
Pull the knot or clip firmly into place. Finally, level both handles against the shoulder rests before working out.
Signs Your Reformer Handles Need Replacement (and Why Proper Fit Matters)
Worn handles do more than just look tired. They can become a major safety risk when you are supporting your body weight during suspension or pulling exercises. Inspecting your straps during weekly cleaning prevents sudden tears.
Look out for these common warning signs during your visual check:
- Visible fraying or thinning: Watch for fuzzy edges or separated stitching along the load seams of the nylon webbing.
- Stiff or cracking material: Sweat and cleaning agents dry out vinyl, foam, and leather over time, causing micro-cracks.
- Hardware fatigue: Check metal clips for loose spring gates, worn eyelets, or burrs that can slice into the rope.
- Persistent odor: Porous cotton or foam grips absorb sweat and harbor bacteria that standard wiping cannot eliminate.
- Uneven strap stretch: If one handle hangs lower than the other when springs are resting, the webbing has lost its structural elasticity.
Using compromised straps changes how force enters your shoulders, hips, and spine. When one side gives more than the other, your stabilizing muscles work unevenly. Replacing them restores symmetric resistance and protects your joints.
Identifying Your Connection Type: Clip-On, Soft-Loop, or Buckle
Pilates reformers use three main handle connection styles. Identifying your exact style determines the tools you need and the installation steps you will follow.
| Connection Style | Common Brands / Models | Key Identifying Features | Primary Advantage |
|---|---|---|---|
| Quick-Clip Carabiner | Merrithew SPX, Peak Pilates, Elina | Metal snap hook attached to a D-ring | Fastest swap between hands and feet |
| Soft-Loop (Rope-in-Rope) | Balanced Body Allegro 2, Studio Reformers | Fabric loop threaded through rope eyelet | Completely silent, no metal clatter |
| Leather Buckle-and-Post | Gratz, Classical Wood Reformers | Leather straps with punch holes and prong buckles | Authentic classical resistance feel |
If your reformer uses modern silent ropes, you most likely have a soft-loop system. Traditional classical frames rely on leather straps with brass buckles. Budget and standard commercial studio reformers usually feature stainless steel swivel clips.
Choosing the Right Replacement Handles: Loops, Materials, and Grip Styles
Selecting new handles depends on your hygiene preferences, comfort needs, and workout style. As of 2026, many studios prefer double-loop configurations to keep classes flowing without pausing to swap accessories.
Single Loops vs. Double Loops
Single-loop handles give you a dedicated, compact grip for hand-focused work. However, you must switch to separate extension straps for feet-in-straps exercises.
Double-loop straps solve this problem by integrating two sewn rings in one piece. The shorter inner loop (around 10 to 12 inches) fits your hands, while the longer outer loop (around 15 to 17 inches) slides easily over your feet.
Grip Materials and Hygiene
Standard cotton webbing feels soft against bare skin, but it absorbs sweat quickly. If multiple people use the machine, consider wipeable synthetic leather or medical-grade vinyl. These non-porous handles wipe clean with standard studio disinfectants between sessions.
Padded neoprene grips offer the most cushion if you have sensitive palms or wrists during long pulling series.
Step-by-Step Replacement Workflow for Every Reformer System
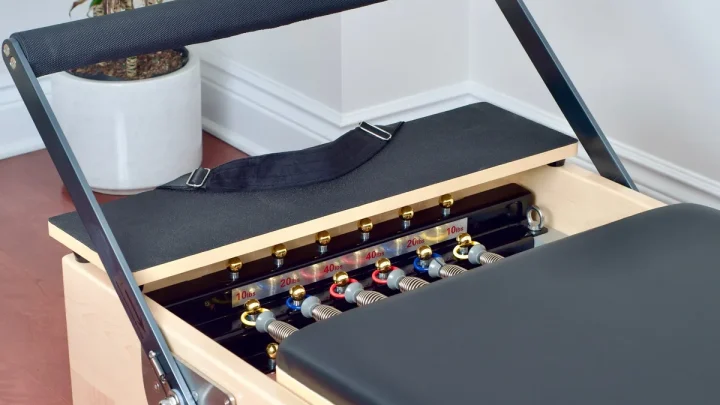
Before touching any hardware, lock your reformer carriage completely in place. Hook all available springs to the springbar so the carriage cannot roll forward or backward while you work.
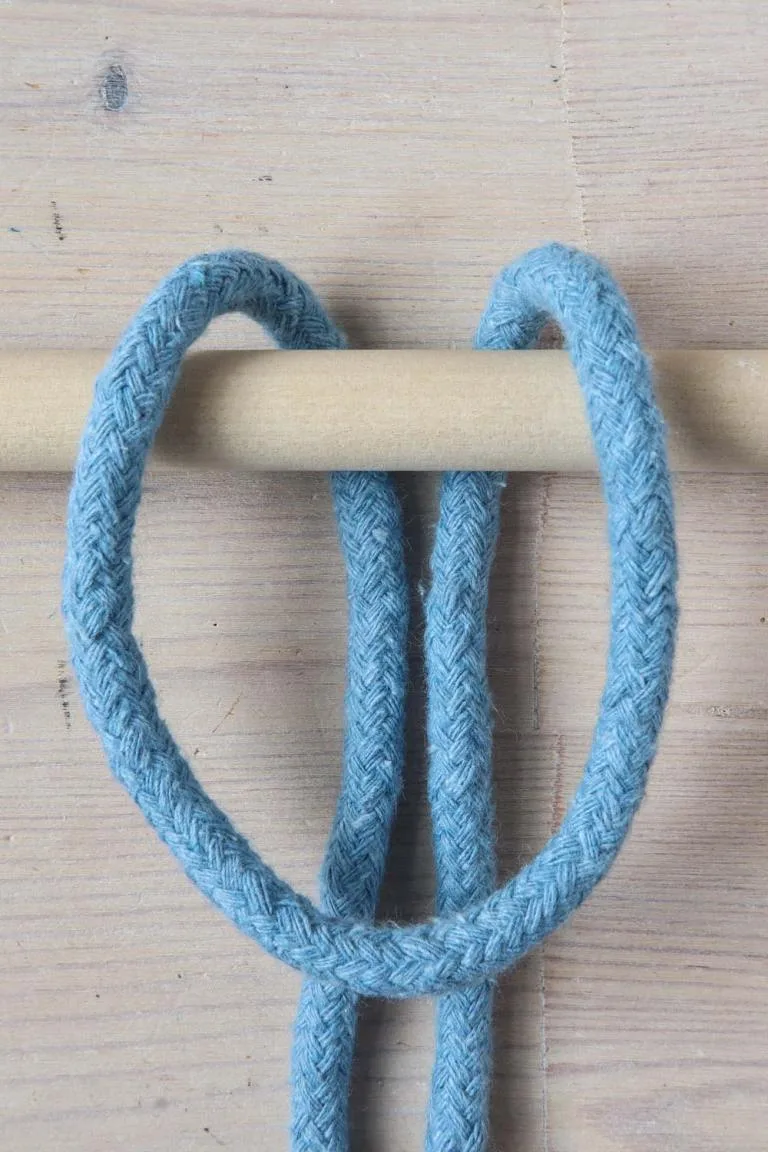
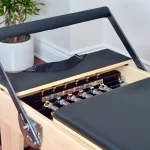
Image source: Bing (Web (fair-use with source credit))
Method A: Quick-Clip Carabiners and Swivel Snaps
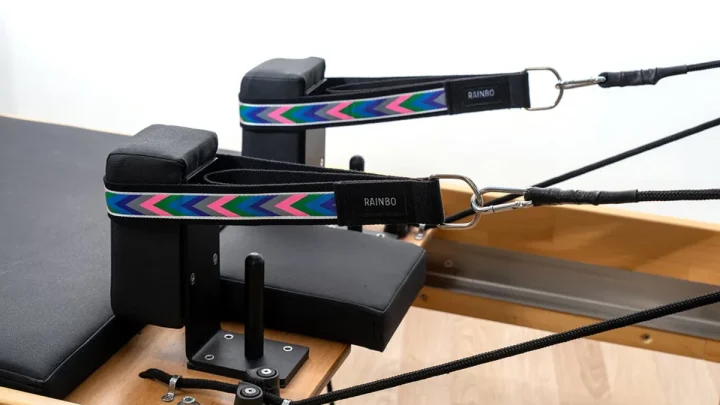
This method applies to reformers that use metal clips to connect the rope to the handle D-ring.
- Press the spring-loaded gate of the carabiner inward to open the latch.
- Slide the D-ring of the old handle off the hook.
- Inspect the metal clip for wear or sharp burrs that could fray the rope.
- Slide the D-ring of your new handle into the carabiner opening.
- Release the gate and confirm it snaps shut completely.
- Turn the carabiner so the gate faces downward and inward toward the carriage frame. This prevents it from catching on clothing.
Method B: Soft-Loop and Rope-in-Rope Systems (Lark's Head Knot)
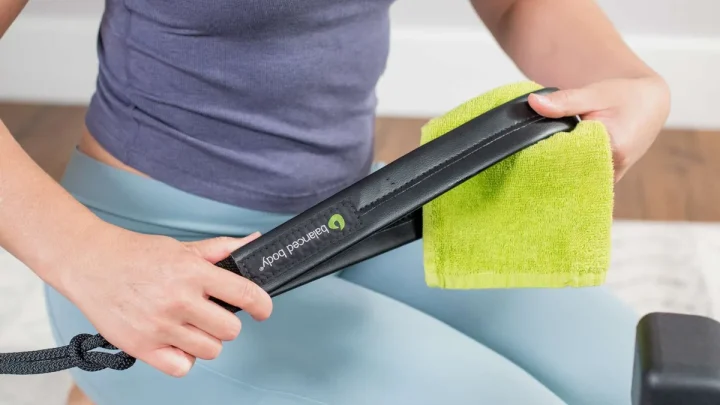
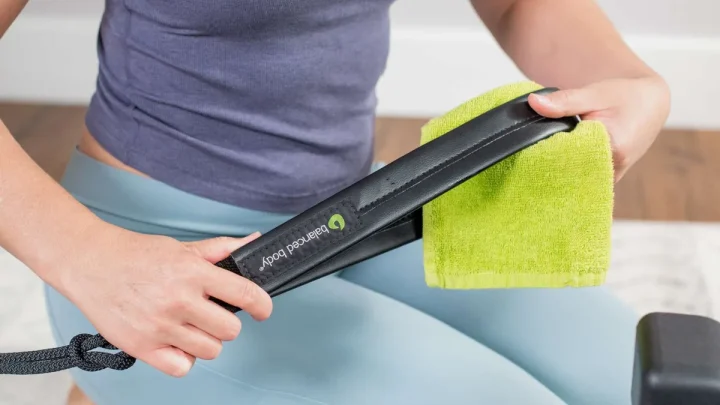
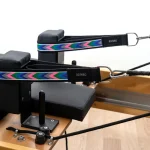
Balanced Body SoftTouch systems and similar modern ropes use a knot-free loop connection known as a lark's head or cow hitch.
- Locate the small stitched loop at the working end of your reformer rope.
- Push the rope loop forward through the handle's attachment ring or fabric loop to create slack.
- Pass the entire new handle through the open rope loop.
- Pull the handle firmly away from the rope end. The loop will cinch down flush against the handle ring.
- Ensure the fabric sits flat with no twists or bunched corners inside the cinch.
Method C: Classical Buckle-and-Post Leather Straps
Classical reformers require threading real leather straps through metal post buckles mounted underneath the carriage.
- Reach under the carriage and unbuckle the leather strap from the retention post.
- Slide the strap tail out through the metal buckle frame.
- Pull the old leather strap out through the carriage guide hole and over the pulley wheel.
- Thread your new leather handle strap across the pulley wheel and back down through the carriage opening.
- Feed the leather strap through the buckle, insert the prong into your preferred adjustment hole, and tuck the tail into the leather keeper loop.
Calibrating and Leveling Your Ropes Post-Installation
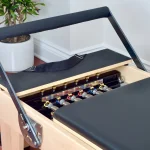
Once both handles are attached, you must calibrate their resting length. Uneven straps cause the carriage to pull crooked, which throws off your spine and pelvis alignment.
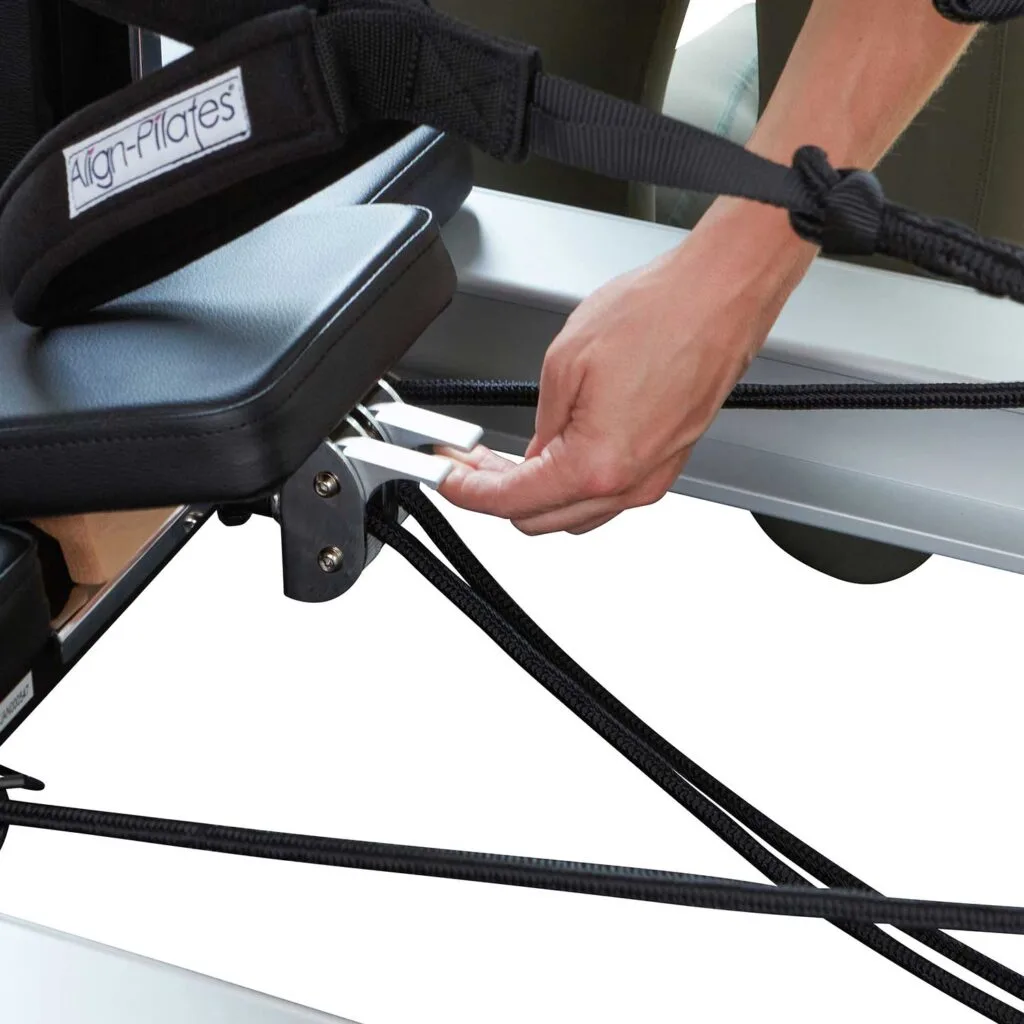
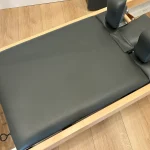
Image source: Bing (Web (fair-use with source credit))
Follow this simple calibration check:
- Park the carriage tight against the rubber frame stoppers with at least one spring attached.
- Pull both handles straight back toward the shoulder rests at equal tension.
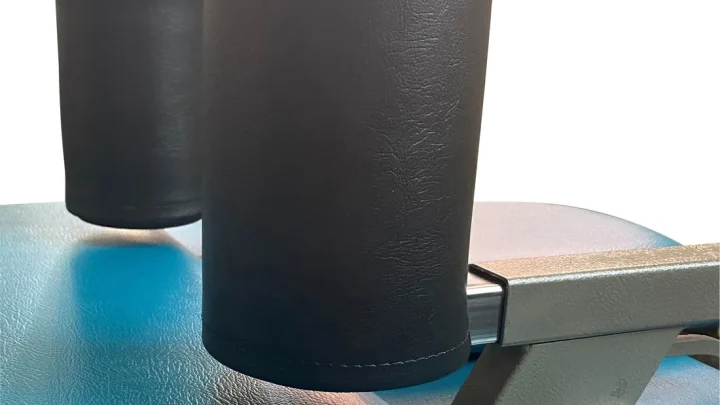
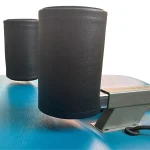
- Rest the handles or D-rings over the top of the shoulder rests.
- Look across the carriage to see if both handles sit at the exact same horizontal mark.
- If one side hangs loose, release the rope from its cam cleat or nautical locking bracket under the carriage.
- Pull the slack until both handles match perfectly, then press the rope firmly back into the cleat teeth.
- Perform a test pull with both arms to verify the cleats hold the rope securely under tension.
Critical Mistakes That Cause Uneven Tension and Premature Wear
Small setup mistakes during handle installation can cause long-term alignment problems or damage your equipment. Avoiding these common setup errors keeps your reformer operating smoothly.
- Leaving the carriage unlocked during setup: If you do not attach all springs first, the carriage can roll away while you pull on the ropes. This sudden shift can pinch your fingers or lead to uneven rope length measurements.
- Twisting the webbing inside the knot: When tying a lark's head knot on a soft-loop handle, keep the strap completely flat. A twisted strap creates high-pressure friction spots that wear out the fabric cord much faster.
- Facing carabiner gates upward: If you install snap hooks with the gate facing up, the moving latch can catch on loose workout pants or scratch your reformer carriage vinyl. Always point the gate downward and inward.
- Skipping the post-install load test: Fresh knots and newly seated ropes often settle slightly under tension. If you skip a hard static pull before exercising, one rope may loosen mid-workout, creating an uneven pull.
- Mixing old and new hardware: Never attach a brand-new handle to a worn, grooved carabiner. Old metal burrs will quickly saw through new fabric webbing under dynamic load.
Taking an extra two minutes to double-check your alignment and knot tightness prevents costly rope replacements later.
Frequently Asked Questions About Reformer Handle Replacement
How often should you replace reformer handles?
Commercial Pilates studios should replace handles every 12 to 24 months due to high class volume and frequent sanitizing. For home reformers used by one or two people, handles usually last 3 to 5 years. Replace them immediately if you notice fraying stitches, cracked vinyl, or failing metal latches.
Can you use double-loop straps on any Pilates reformer?
Yes, double-loop straps work on virtually all reformer brands. If your reformer uses carabiners, choose straps with built-in metal D-rings. If your machine features silent ropes like Balanced Body SoftTouch cords, pick double loops with soft fabric attachment tabs instead.
Why are my reformer ropes uneven after changing the handles?
Ropes become uneven when one knot cinches tighter than the other, or when a rope slips through its carriage cleat during installation. Park your carriage against the frame stoppers, rest both handles over the shoulder rests, and adjust the cam cleats underneath until both handles sit at the exact same height.
Are clip-on handles better than soft-loop straps?
Neither style is strictly better, as each serves a different purpose. Clip-on carabiners allow fast swaps between different accessories during fast-paced workouts. Soft-loop straps take slightly longer to change, but they eliminate metal clattering noises and protect the wooden frame and vinyl from accidental dings.
How do you clean and maintain reformer handles?
Wipe synthetic leather, vinyl, and silicone handles with alcohol-free, non-bleach disinfectant wipes after every session. For cotton or nylon webbing straps, hand wash them in warm water with mild detergent every few months, then air dry completely before reinstalling them on your reformer.

Similar Posts