How to Safely Check Reformer Pulley Mounting Bolts
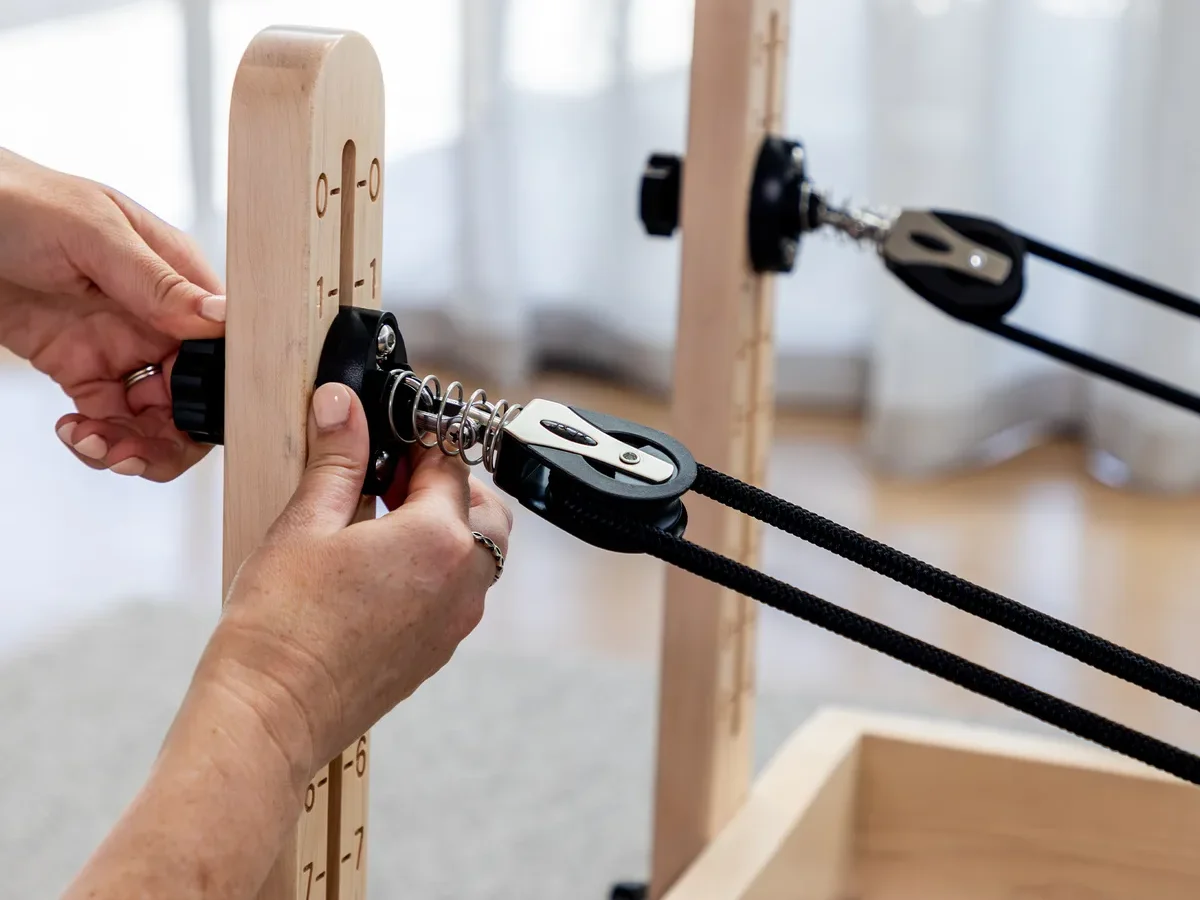
Learning how to check reformer pulley mounting bolts protects your clients and your apparatus from sudden mechanical failure. A loose or sheared bolt can release dynamic spring tension instantly during an exercise. Catching minor fastener play early prevents costly equipment damage and serious studio injuries.
Manufacturer specifications and fitness safety guidelines under ASTM International standards require routine mechanical audits on all load-bearing components. Pulley assemblies regularly endure over 100 pounds of cyclic force during dynamic client movements. Establishing a consistent diagnostic routine keeps your hardware secure and your practice fully compliant.
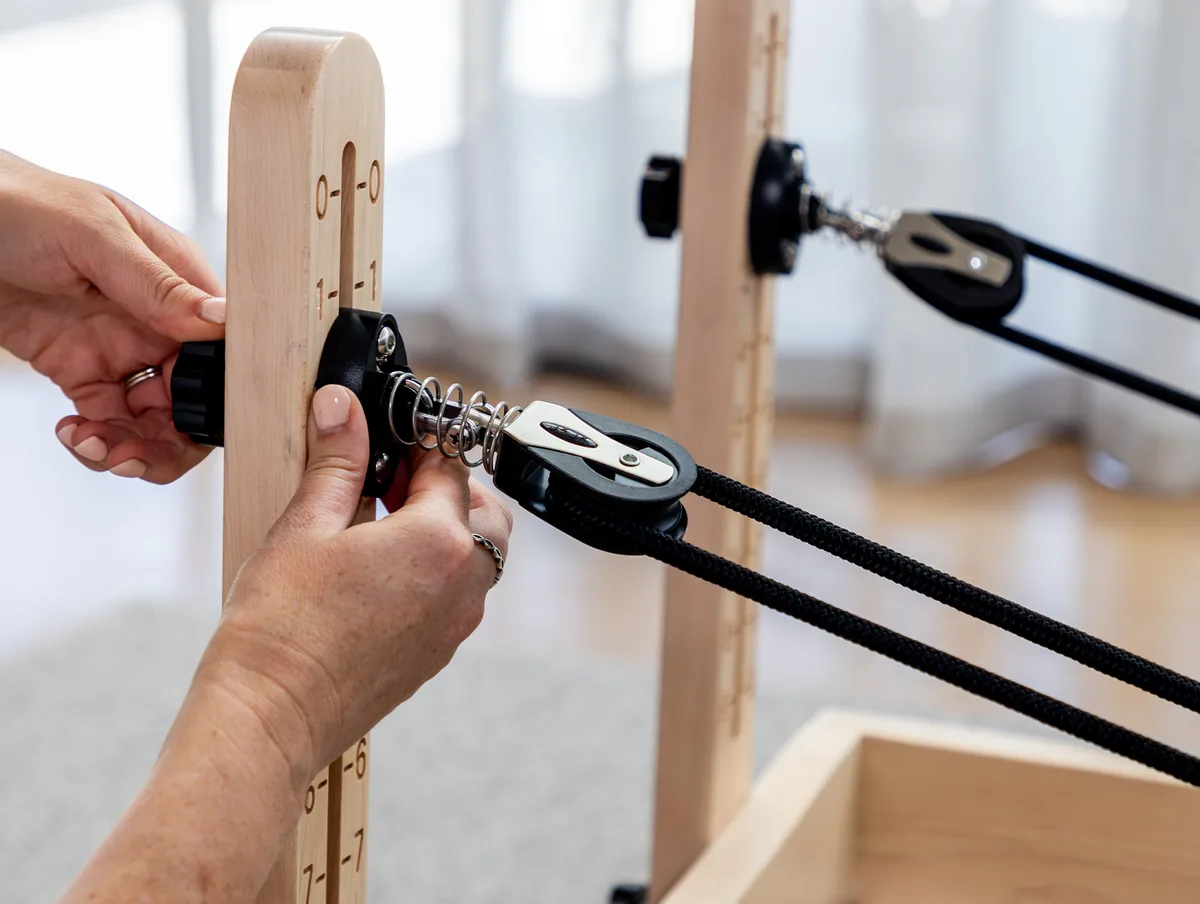
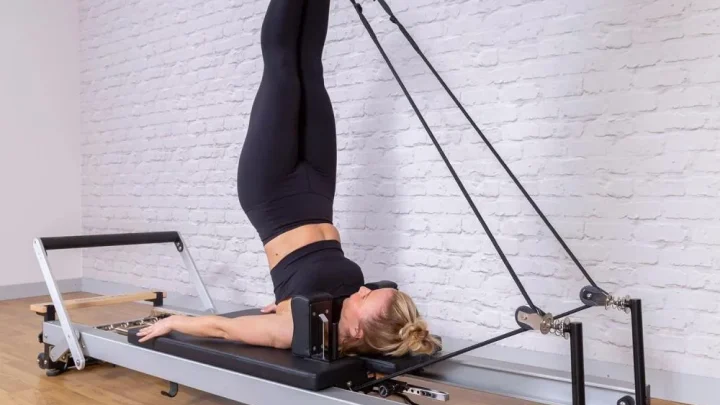
Image source: Bing (Web (fair-use with source credit))
Quick Answer
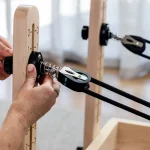
To check reformer pulley mounting bolts, first unload all carriage spring tension. Wiggle the pulley housing firmly by hand to test for radial and axial play. Visually inspect the exposed threads for backing out, metal shavings, or cracked washers.
Fit the correct hex key to verify the fastener is tight. If loose, apply medium-strength threadlocker and torque to manufacturer specification.
Why Pulley Mounting Bolt Integrity Matters for Studio Safety and Liability
Every time a user pulls a reformer strap, dynamic spring tension routes directly through the pulley wheel into the mounting bolt. In high-volume commercial studios, these bolts endure thousands of loading cycles each week. Over time, that constant directional pulling causes micro-vibrations that can loosen threaded connections.
A neglected bolt does not usually give advance warning before a catastrophic failure. If the bolt snaps or pulls out of the frame while a client is in a loaded position, the carriage recoils instantly. That sudden loss of resistance can cause muscle tears, falls, or direct impact trauma from flying hardware.
Studio owners hold a strict duty of care toward their clients. Safety recommendations from the Pilates Method Alliance highlight regular hardware checks as a vital risk-management protocol. Maintaining detailed inspection logs proves that your facility follows strict preventive standards if an equipment dispute ever arises.
Anatomy of a Reformer Pulley Mount: Hardware Types and Frame Anchors
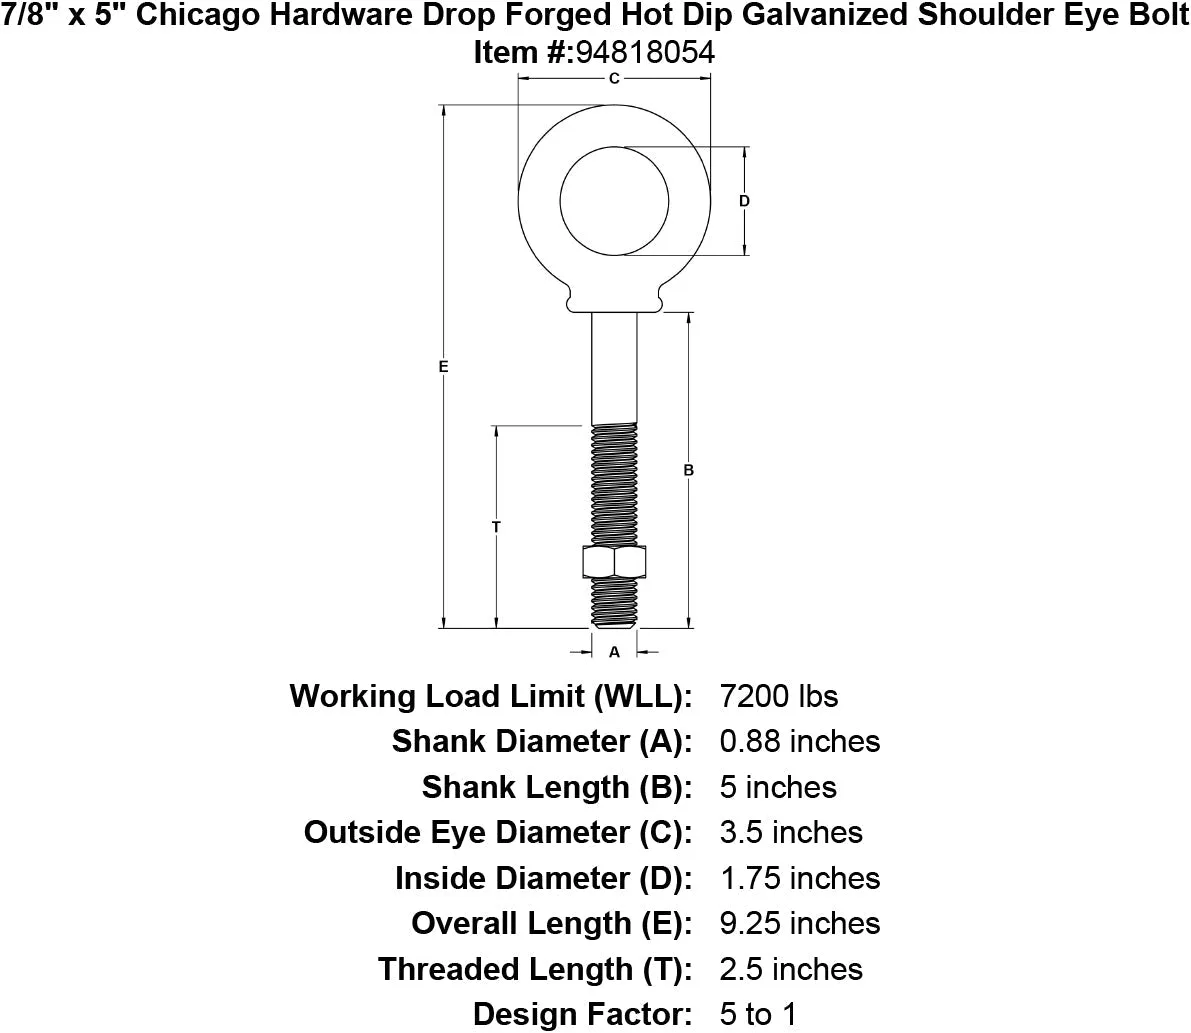
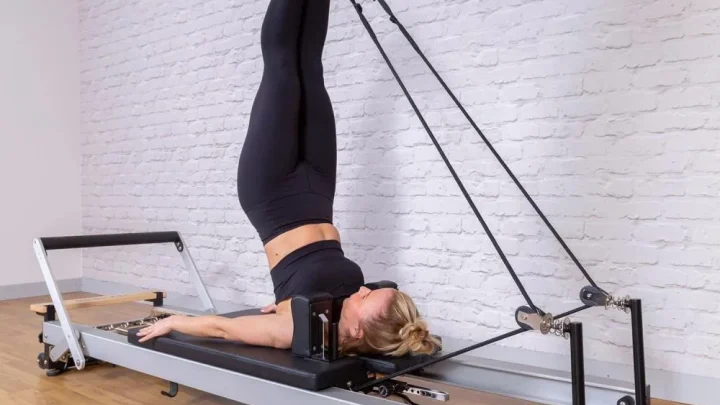
Image source: Bing (Web (fair-use with source credit))
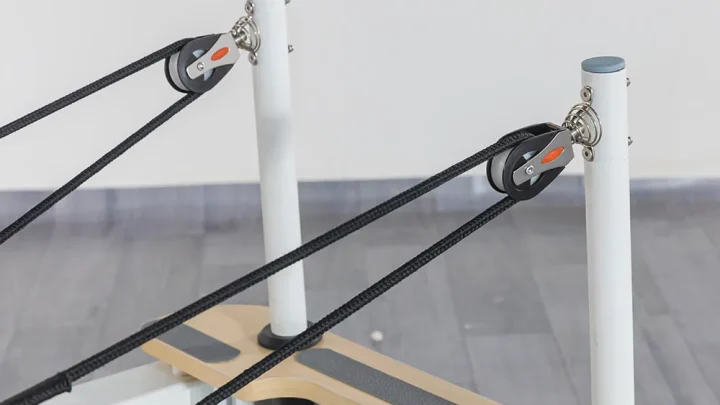
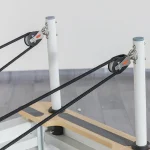
Reformer pulley systems vary by frame design, but they all rely on heavy-duty mechanical anchors to handle high tensile forces. Understanding your machine's specific hardware assembly ensures you use the right inspection technique and replacement parts.
Wood Frame Eye Bolts vs. Aluminum Track Slider Mounts
Classic wooden reformers typically anchor pulleys using heavy-gauge eye bolts or riser posts bolted through solid maple or oak frames. These fasteners pass directly through the timber and clamp down with washers and lock nuts on the underside. Seasonal changes in humidity can cause the wood to expand or shrink, which alters bolt tension over time.
Modern aluminum reformers use extruded track channels with adjustable slider brackets. These brackets rely on low-profile hex bolts and captive t-nuts that slide inside the aluminum rail. While immune to humidity changes, soft aluminum channels can strip quickly if bolts are overtightened or cross-threaded.
Essential Fasteners: Shoulder Bolts, Nyloc Nuts, and Threadlockers
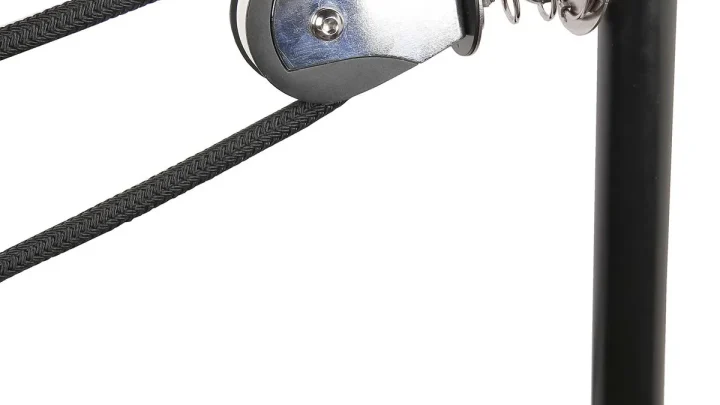
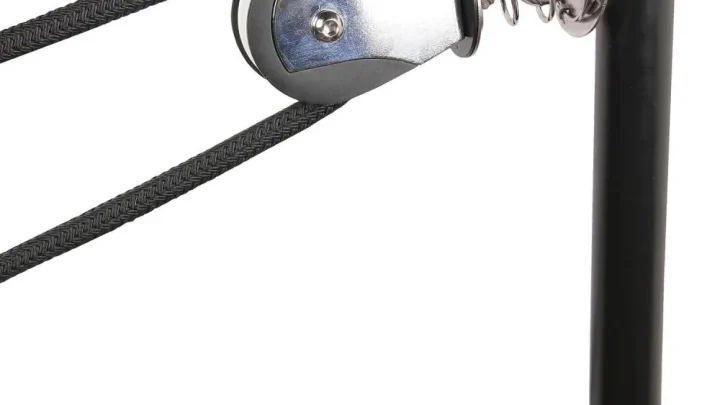
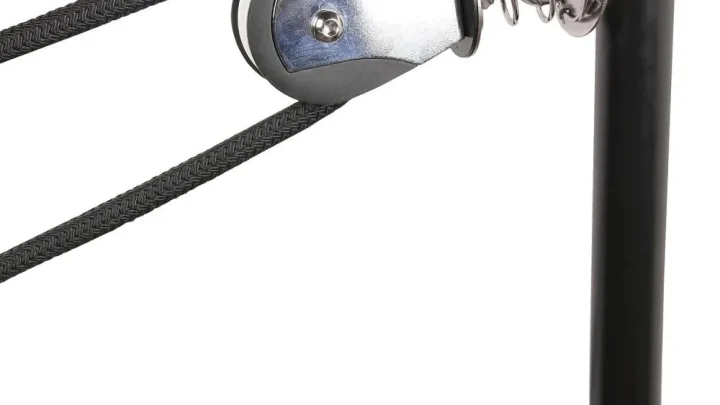
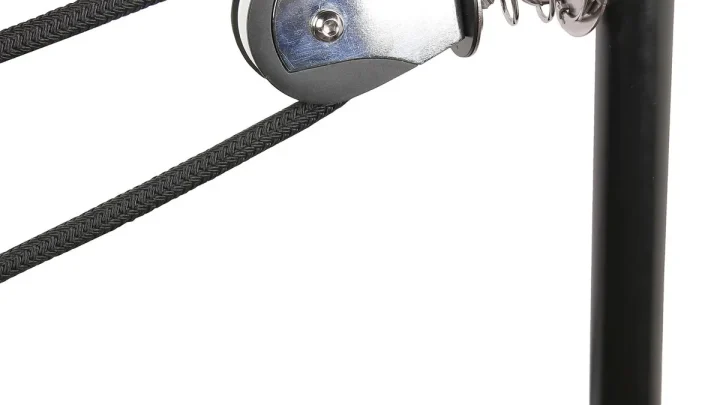
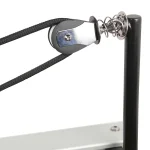
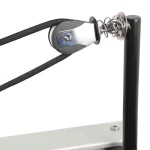
Most commercial pulley housings use precision shoulder bolts. The smooth, unthreaded shank acts as an axle for the pulley swivel, while the threaded end locks the bracket to the frame. This design keeps the pulley rotating freely without backing the bolt out of its socket.
Fasteners are secured using two main locking methods:
- Nylon-Insert Lock Nuts (Nyloc): Feature an internal nylon ring that grips bolt threads to resist rotational vibration.
- Split Lock Washers: Provide spring tension against the bolt head to prevent backing out under light dynamic loads.
- Anaerobic Threadlockers (Blue Loctite 242/243): Liquid chemical compounds applied directly to female threads that cure into a solid plastic bond.
| Hardware Component | Common Sizes | Typical Location | Primary Failure Mode |
|---|---|---|---|
| Swivel Shoulder Bolt | 5/16-inch, 3/8-inch, M8 | Pulley bracket pivot | Shank shear, worn unthreaded collar |
| Riser Post Eye Bolt | 3/8-inch, 1/2-inch, M10 | Wood frame uprights | Thread loosening, timber crushing |
| Track Slider Cap Screw | 1/4-20, M6 | Aluminum extrusion rail | Stripped aluminum threads, channel slip |
| Fastener Lock Nut | M6 to M10 Nyloc | Underside frame anchor | Nylon decay from repeated re-tightening |
The 4-Step Pulley Bolt Inspection Protocol
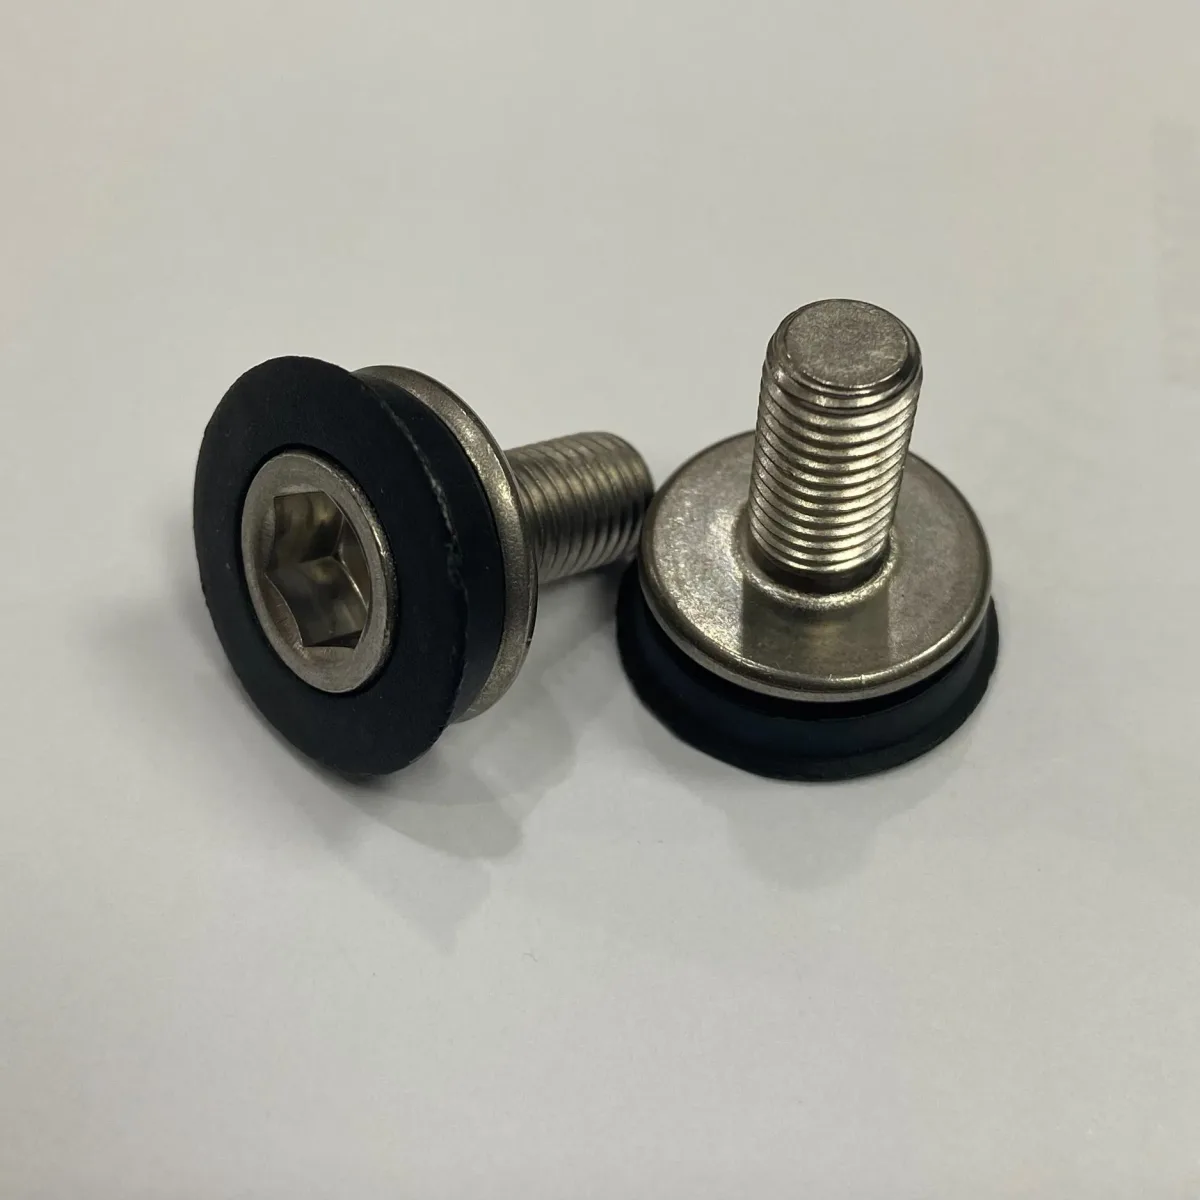
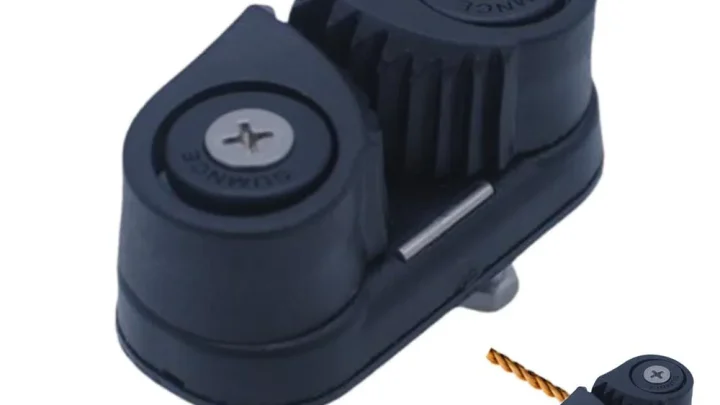
Image source: Bing (Web (fair-use with source credit))
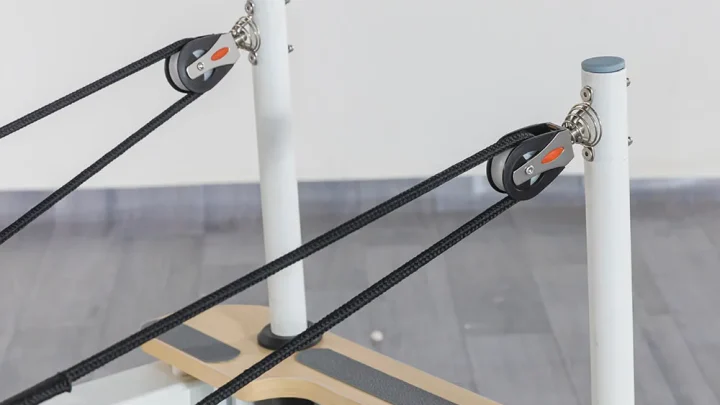
Checking your pulley hardware takes only a few minutes per reformer. Follow this four-step diagnostic procedure systematically to catch structural weaknesses before they create safety hazards.
Step 1: Unload Dynamic Spring Tension and Clear the Carriage
Never inspect pulley bolts while the reformer is under tension. Detach all springs from the springbar and push the carriage to the footbar end of the frame.
Remove the straps from the pulleys and let the ropes hang loose. Inspecting unloaded hardware ensures that spring resistance does not mask loose threads or mechanical play.
Step 2: Perform the 3-Point Manual Deflection Test
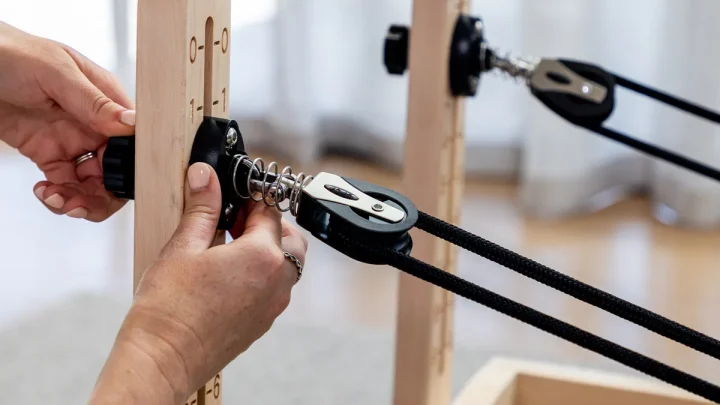
Grasp the pulley bracket firmly with your hand. Test the mounting hardware across three distinct physical planes:
- Axial Pull: Pull the pulley housing directly toward you along the bolt's central axis to check for end-play.
- Radial Push: Push the bracket up, down, and sideways against the post to test for mounting hole expansion.
- Rotational Wiggle: Twist the housing back and forth to ensure swivel rotation is smooth without wobbling on its base.
The pulley wheel should spin and swivel cleanly, but the mounting base itself must remain completely motionless against the frame.
Step 3: Visually Inspect Threads, Washers, and Substrate Contact
Use a bright flashlight to inspect the hardware contact points. Check the gap between the bolt head, washer, and mounting frame for visible separation.
Look closely for fine metallic dust, which signals that parts are grinding together under loose tension. On wooden reformers, check whether the washer has crushed deep into the timber grain, as this creates slack in the bolt shaft.
Step 4: Verify Mechanical Torque and Fastener Engagement
Fit the correct hex key or socket wrench onto the bolt head. Apply moderate hand pressure in the tightening direction to verify the bolt is seated firmly.
Do not force the bolt past its natural stopping point. If the bolt turns easily under light pressure, its locking mechanism has failed and requires immediate re-torquing with fresh threadlocker.
Critical Warning Signs of Hardware Fatigue and Looming Failure
Fastener failure rarely happens in an instant without preceding physical symptoms. Learning to spot these three early indicators allows you to replace worn hardware before an accident occurs.
Physical Creaks, Phantom Pops, and Lateral Pulley Wobble
A secure reformer pulley operates almost silently. If you hear a rhythmic clicking or creaking sound as the client pulls the straps, the mounting bolt is likely shifting inside its channel.
Phantom popping sounds during heavy jumpboard work often signal that the bolt is deflecting under peak load. If the pulley tilts sideways at an angle under rope tension, take the machine out of rotation immediately.
Metal-on-Metal Shavings and Thread Galling
The presence of fine silvery or black powder around the base of the pulley post is a severe warning sign. This dust consists of ground metal particles created when a loose bolt rubs against the frame hole.
If you remove a bolt and find rough, pitted, or stripped threads, the metal has suffered thread galling. Galled bolts lose their clamping force rapidly and must be discarded.
Elongated or "Ovalized" Frame Mounting Holes
When a reformer runs with a slightly loose mounting bolt, the hardened steel fastener repeatedly hammers against the softer frame material. Over time, round mounting holes stretch into an oval shape.
Once a mounting hole becomes ovalized, a new bolt will never seat properly. Catching loose bolts early protects the main chassis from permanent, irreparable frame damage.
Safe Tightening, Thread-Locking, and Replacement Standards
Knowing how to secure loose pulley bolts correctly is just as critical as finding them. Using improper torque or incorrect thread-locking compounds can damage the reformer frame and create new safety hazards.
Correct Fastener Torque Across Different Frame Materials
Different frame substrates require specific tightening techniques. Applying excessive force to an aluminum or wood reformer can crack the frame or strip captive nuts.
- Extruded Aluminum Tracks: Torque bolts to 8 to 12 Nm (6 to 9 ft-lb). Aluminum threads strip easily, so always start threads by hand before using tools.
- Solid Hardwood Frames: Tighten until the washer sits flat and firm against the wood, then add a quarter-turn. Never crank down so hard that the washer crushes deep into the maple grain.
- Tubular Steel Risers: Torque firmly to 12 to 15 Nm (9 to 11 ft-lb) using a standard socket wrench.
Loctite 242 vs. Nyloc Lock Nuts: Replacement Rules
Never rely on standard flat washers alone to hold dynamic fitness hardware in place. As of 2026, professional maintenance standards require mechanical or chemical thread-locking on all structural Pilates fasteners.
Nyloc nuts are designed for limited use. The internal nylon ring wears down each time you thread it onto a bolt, drastically reducing its locking grip. Replace Nyloc nuts after two or three installations.
When securing metal-to-metal pulley threads without lock nuts, apply one to two drops of medium-strength blue threadlocker (such as Loctite 242 or 243). Never use red high-strength threadlocker, as it requires heat guns to break down and can ruin delicate pulley bushings.
Immediate Quarantine Criteria: When to Take a Reformer Out of Service
Place an "Out of Order" sign on the reformer and disconnect its straps immediately if you identify any of the following conditions:
- Stripped female threads that spin freely without tightening.
- Visible hairline stress cracks along the bolt neck or unthreaded shank.
- An ovalized mounting hole that allows the pulley base to shift under hand pressure.
- A bent eye bolt or cracked riser post weld.
Keep the machine quarantined until original equipment manufacturer (OEM) replacement parts are installed and fully load-tested.
Recommended Maintenance Schedules and Safety Audit Logs
Staying ahead of fastener fatigue requires a scheduled maintenance routine. Group equipment checks into daily, weekly, and quarterly tiers to catch problems before hardware fails under load.
- Daily Visual Sweep: Glaze over the pulley risers during room reset. Confirm both pulleys sit straight and match in height.
- Weekly Physical Audit: Carry out the manual deflection test on every unit. Wiggle each pulley housing firmly to verify zero mechanical play.
- Quarterly Fastener Service: Inspect all bolt threads, washers, and frame holes with a flashlight. Check torque with a tool and refresh threadlocker where required.
Keep a dedicated digital or paper maintenance log in your studio office. Record the inspection date, reformer unit number, fastener condition, and any parts replaced.
Documenting your audits proves active compliance with fitness facility standards. It also tracks the lifecycle of individual fasteners across different apparatus models.
| Maintenance Tier | Frequency | Key Inspection Tasks | Action on Issue |
|---|---|---|---|
| Tier 1: Visual Check | Daily (between shifts) | Alignment check, rope tracking, obvious tilting | Re-align bracket or pause machine |
| Tier 2: Deflection Test | Weekly | 3-point manual wiggle, checking for loose mounts | Tighten bolt and verify washer seat |
| Tier 3: Torque Audit | Quarterly | Tool check, thread inspection, locknut audit | Replace Nyloc nuts, re-apply Loctite 242 |
| Tier 4: Hardware Overhaul | 12 to 24 Months | Complete bolt and bushing replacement | Install factory OEM replacement kits |
Frequently Asked Questions About Reformer Pulley Mounting Bolts
How often should I check reformer pulley mounting bolts?
Check reformer pulley bolts by hand once a week in commercial fitness studios. For home reformers, a monthly physical check is usually sufficient. Perform a complete tool-assisted torque inspection every three months to ensure fasteners remain properly locked against vibration.
What should I do if a reformer pulley bolt keeps coming loose?
If a pulley bolt loosens repeatedly, inspect the female threads and frame hole for wear. Clean off old chemical residue using a wire brush and isopropyl alcohol. Apply fresh medium-strength blue threadlocker (Loctite 242) and torque to spec.
If using a Nyloc nut, discard and replace it.
Can I use red Loctite on reformer pulley bolts?
No, you should never use red high-strength threadlocker on reformer pulley bolts. Red formulas require high heat (over 500 degrees Fahrenheit) to break down during disassembly. That excessive heat will warp plastic pulley wheels, destroy internal ball bearings, and damage timber frame finishes.
How do I know if my reformer mounting hole is stripped?
A mounting hole is stripped if the bolt spins continuously without tightening down. You may also see metal shavings falling from the thread cavity. If an aluminum rail or wood frame is stripped, you must install an oversized thread insert or replace the slider bracket.
What tools do I need to check reformer pulley hardware?
You need a metric and Imperial hex key set, a small adjustable spanner, and a torque wrench. Keep a bright flashlight handy to inspect thread gaps and washers. A bottle of blue Loctite 242 and spare OEM Nyloc nuts complete a basic studio maintenance kit.

Similar Posts