How to Adjust Reformer Riser Height: Step-by-Step Guide
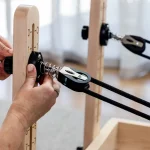
Learning how to adjust reformer riser height properly changes your entire Pilates workout. When your pulleys sit at the wrong elevation, ropes can rub against the carriage box or pinch your shoulders during arm series. Setting the correct line of pull ensures clean resistance across every repetition.
Manufacturer specifications from leading brands show that adjustable risers typically offer 4 to 8 inches of vertical travel. Equipment safety standards from organizations like the National Pilates Certification Program emphasize positive hardware engagement to prevent mechanical slips during weighted exercise. Understanding these adjustments helps you maintain spinal alignment and protect your joints.
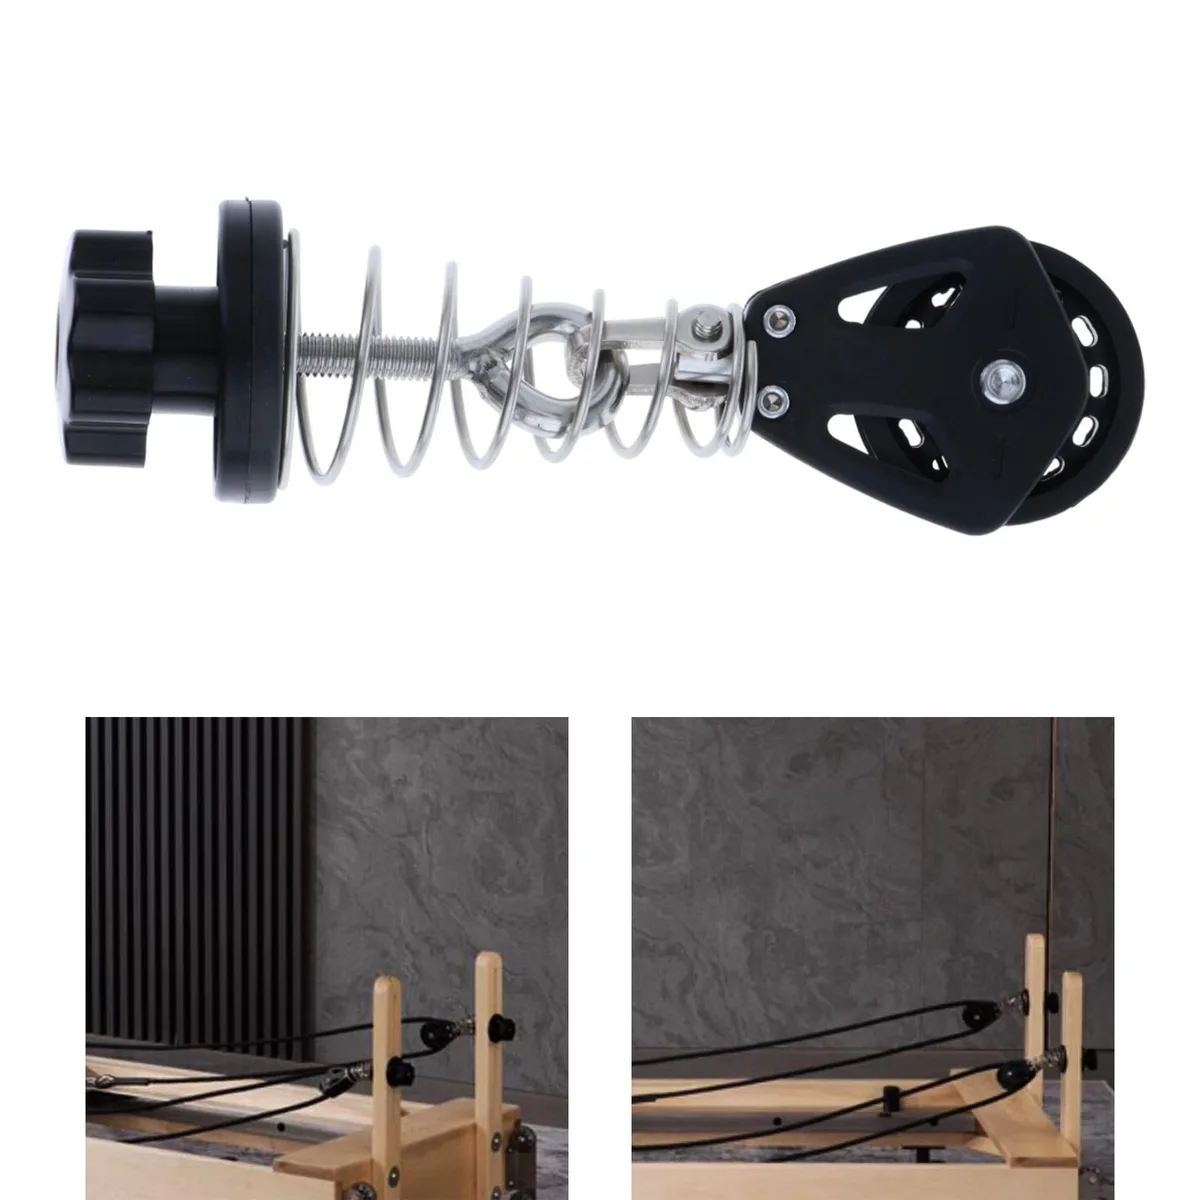
Image source: Web (Bing) / bodegaaurrera.com.mx (Web image (fair-use with source credit))
Quick Answer
To adjust reformer riser height, take all tension off the ropes first. Loosen the locking knob or retract the spring-loaded pop-pin. Slide the riser tube to your desired height notch.
Release the pin until you hear it click into place. Tighten the collar knob securely to lock the post.
Why Reformer Riser Height Matters for Your Alignment and Flow
Pulley risers dictate the angle of pull between the carriage springs and your body. When you change the riser height, you alter the mechanical resistance vector. A steep upward angle lightens initial resistance, while a flat horizontal angle maintains direct spring load.
Riser height also prevents physical friction during complex exercise flows:
- It stops dynamic ropes from scraping against the edges of long boxes.
- It keeps straps from brushing your ears, neck, or hair during supine leg work.
- It eliminates unwanted downward shear forces on your shoulder joints during seated arm pulls.
Matching the riser height to your specific limb length and exercise setup ensures seamless transitions. It keeps the carriage gliding quietly and protects your focus.
Anatomy of a Reformer Riser System
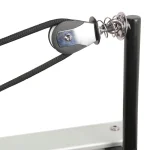
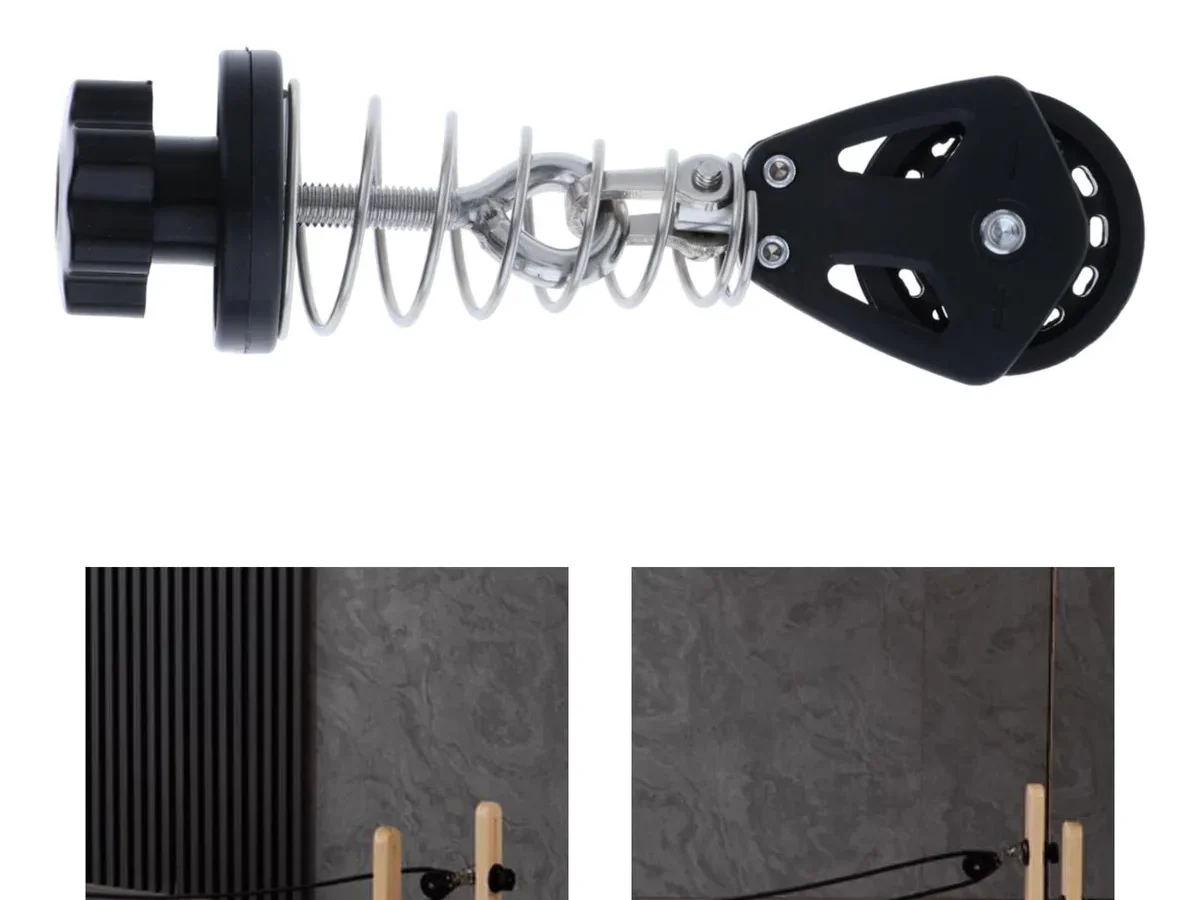
Modern reformer risers rely on a few simple, heavy-duty mechanical parts. Knowing how these components fit together makes adjustments fast and intuitive.
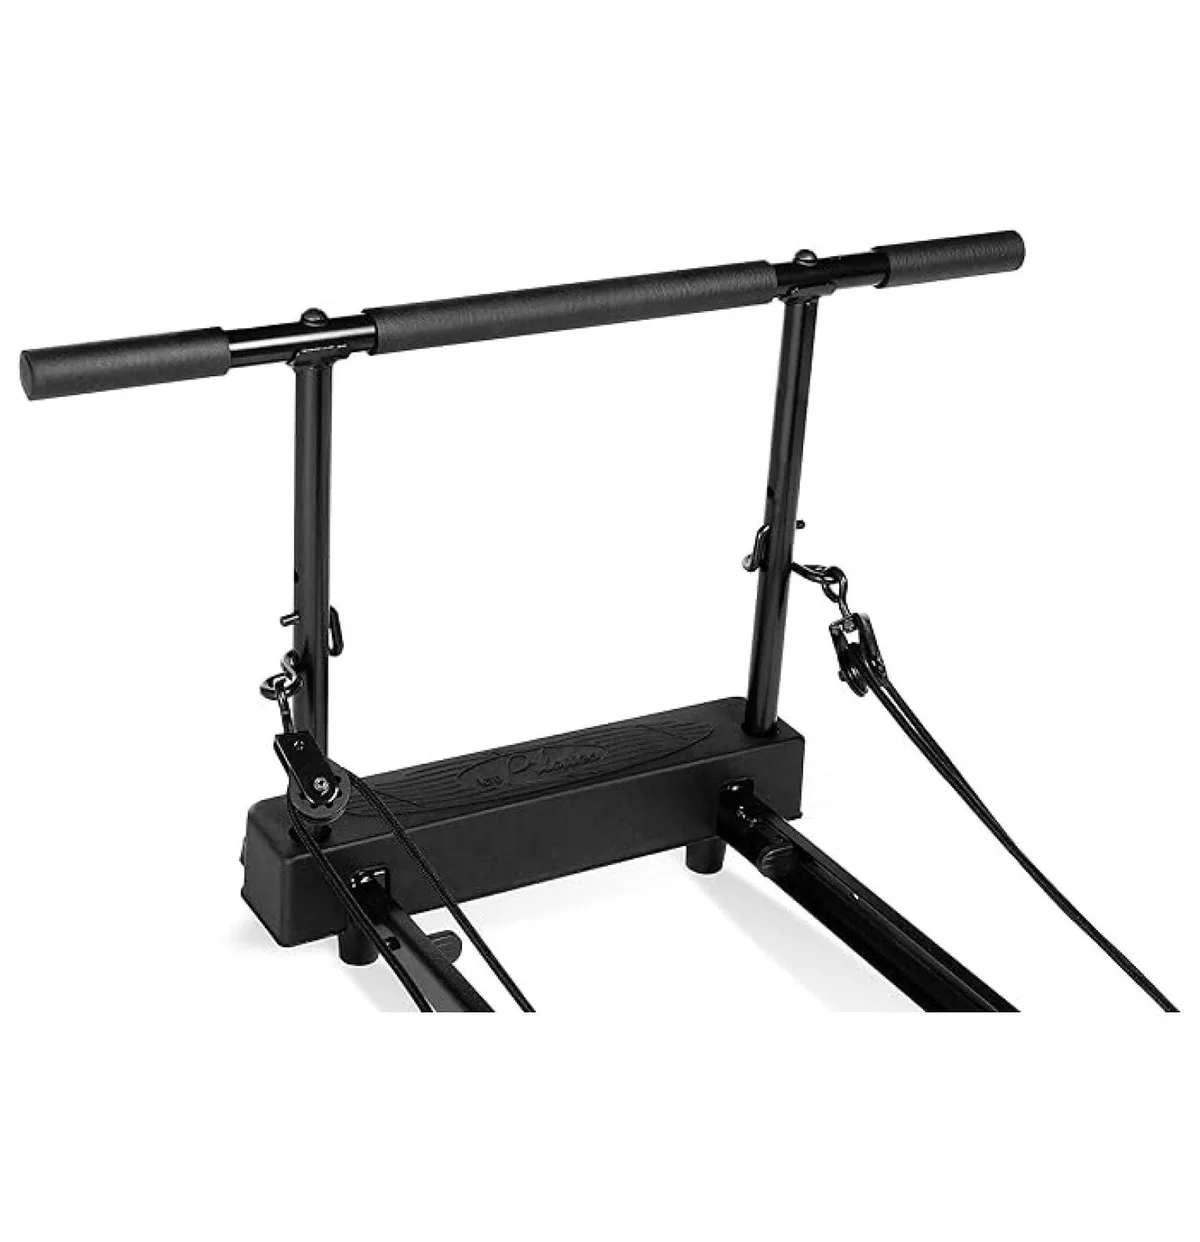
Image source: Web (Bing) / walmart.com (Web image (fair-use with source credit))
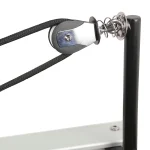
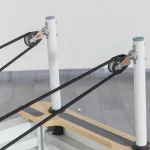
- Telescoping Riser Tube: The inner metal shaft slides vertically within the frame sleeve. Most tubes feature chrome plating or anodized aluminum for smooth movement.
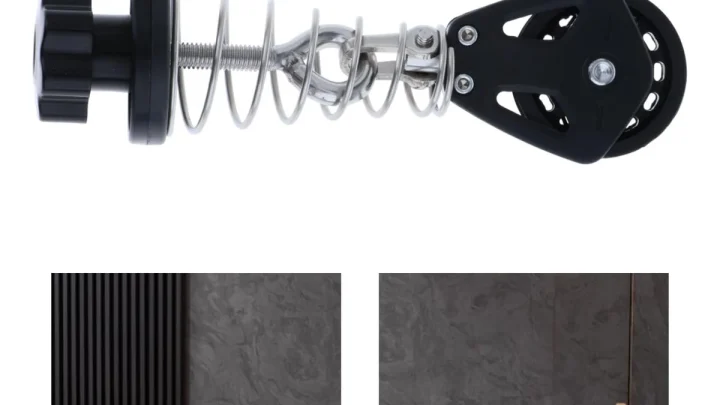
- Swivel Pulley Blocks: Mounted at the top of each riser, these dynamic heads rotate 360 degrees. They track your movement path without twisting the cord.
- Pop-Pin or Indexing Pin: A spring-loaded pin that snaps into pre-drilled holes along the inner tube. It bears the vertical load of the ropes.
- Threaded Locking Collar: A twist knob that clamps the outer sleeve tight against the inner tube. This eliminates mechanical rattle and wobble during use.
Decision Tree: Matching Riser Height to Your Movement
Your ideal riser height changes based on your position on the carriage. Use this decision logic to pick the best setting for your routine.
High Riser Settings (Level 3 to Top Notch)
Use the highest setting when you add accessories to the carriage. If you place a Long Box or Arc Barrel on the carriage, elevate the risers to their maximum notch. This creates clear vertical space so the ropes do not drag across the box upholstery during exercises like Pulling Straps or Back Stroke.
High settings are also helpful for supine leg series if you have tight hamstrings. The elevated angle provides a supportive vector that guides your legs back toward the ceiling.
Mid-Level Riser Settings (Level 2)
Mid-level settings serve as the universal baseline for general studio work. If you are doing standard supine footwork, seated arm series, or short spine massage, keep the risers in the middle position.
This height keeps the rope path roughly parallel to your torso. It delivers smooth, predictable spring tension without pulling upward on your glenohumeral joints.
Low or Flush Settings (Level 1 / Dropped Down)
Drop the risers completely flush with the frame for classical choreography and standing jumpboard routines. If you perform kneeling arm series facing front or back, low risers keep the pull line aligned directly with your core center of gravity.
Classical Pilates movements on studio apparatus also call for low pulley eyelets. This setup preserves pure horizontal resistance throughout the carriage stroke.
How to Adjust Riser Height on Major Reformer Brands
Adjusting mechanisms differ slightly across commercial and home reformers. Always check your unit's manual for specific weight ratings and locking torque guidelines.
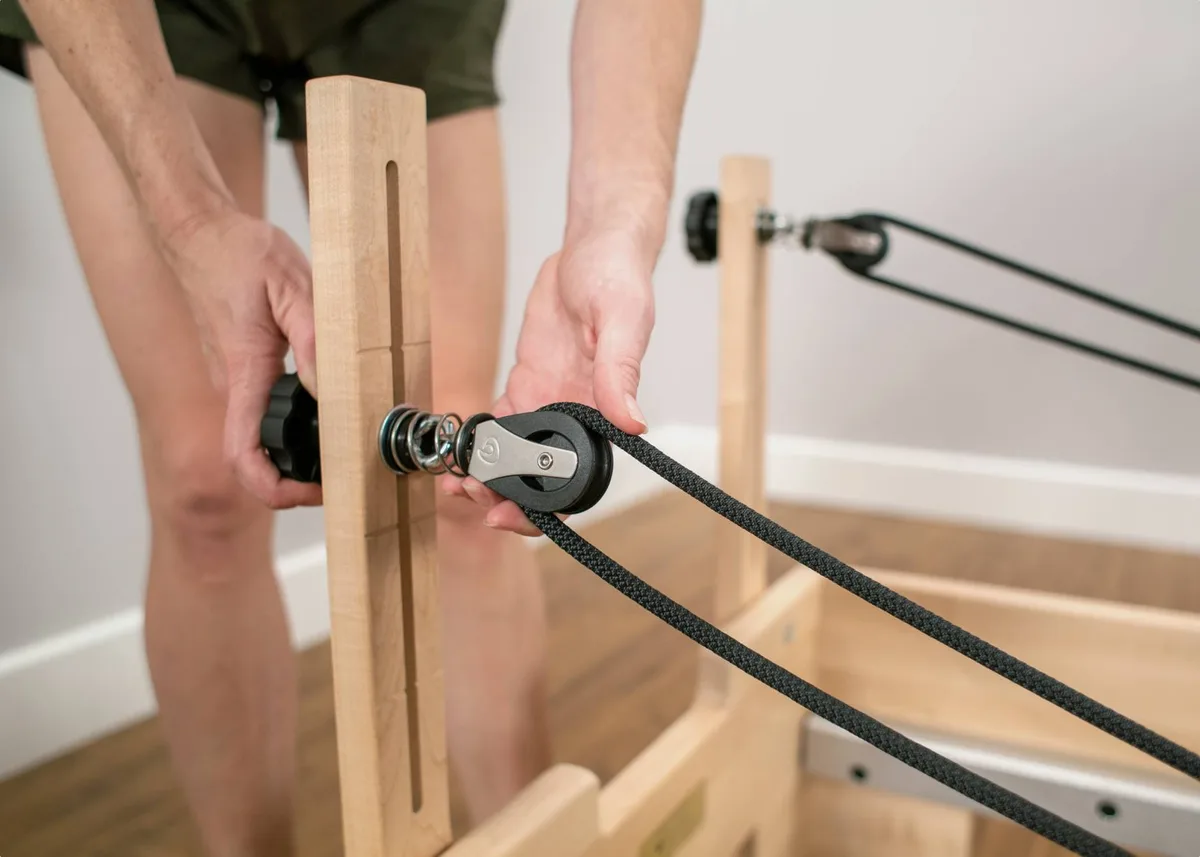
Image source: Bing (Web (fair-use with source credit))
Balanced Body Reformers (Allegro, Allegro 2, Studio Reformer)
Balanced Body equipment uses a combination of threaded thumb-screws and spring-loaded pop-pins. On models like the Allegro 2, as of 2026, the Soft-Touch riser system allows quick single-handed adjustment.
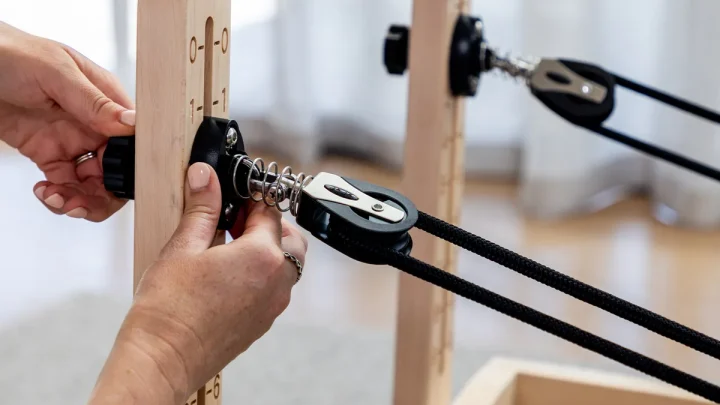
Loosen the rear locking knob by turning it counter-clockwise two full turns. Pull the plunger knob outward to disengage the pin from the shaft. Raise or lower the pulley head to your desired index mark, then let the pin snap in.
Turn the locking knob clockwise until snug to eliminate play. For detailed frame schematics, consult Balanced Body directly.
Merrithew / STOTT PILATES Reformers (SPX Max, V2 Max)
Merrithew machines feature traveling pulley tracks and high-precision telescoping posts. To change height on an SPX Max or V2 Max frame, locate the star-grip knob on the outer riser housing.
Unscrew the star knob until the internal locking shoe releases tension. Pull the spring-pin outward while holding the top pulley block. Slide the post up or down to align with the desired guide hole.
Release the pin, verify positive engagement with an audible click, and firmly tighten the star knob.
Peak Pilates and BASI Systems Reformers
Peak Pilates reformers, including the Casa and Fit lines, utilize heavy-duty indexing collars. Unscrew the knurled metal collar to free the riser shaft. Lift the tube to the target height notch and seat the internal detent pin.
Hand-tighten the collar to secure the assembly.
BASI Systems reformers incorporate marked measurement scales along the riser tube. This makes it easy to match both left and right sides precisely. Loosen the side clamp, set your desired number, and lock the lever flush against the frame.
Step-by-Step: The Safe Pulley Adjustment Workflow
Follow these sequential steps every time you alter your reformer setup.
- Remove Rope Tension: Unclip straps from the shoulder rests and let the carriage rest completely against the front bumper. Never adjust risers while ropes are under spring load.
- Release the Secondary Lock: Turn the threaded collar or star knob counter-clockwise to relieve clamping pressure on the riser tube.
- Disengage the Primary Pin: Pull the spring-loaded pop-pin outward with one hand while supporting the pulley head with your other hand.
- Set the Target Elevation: Slide the tube up or down to the chosen height notch.
- Confirm Pin Lock: Release the pop-pin and gently wiggle the tube until the steel pin snaps fully into the indexing hole.
- Tighten Clamping Knobs: Hand-tighten the threaded knob securely. Do not use tools, as overtightening can warp the outer sleeve.
- Match the Opposite Side: Repeat the exact same steps on the second riser. Always verify that both sides share the identical hole number.
- Test the Travel: Pull both straps forward by hand to confirm smooth pulley swivel and symmetrical rope tracking before lying down.
Common Riser Mistakes That Ruin Your Resistance Line
Adjusting your risers incorrectly can disrupt your workout and cause muscle strain. One of the most frequent errors is asymmetrical positioning. When the left riser sits in hole three while the right rests in hole two, you create an uneven pull across your pelvis and spine.
Always double-check your notch numbers before you begin.
Another common pitfall is forgetting to tighten the locking collar after setting the pop-pin. The pin holds vertical weight, but the collar stops dynamic side-to-side wobble. A loose collar creates rattle, causes mechanical wear on the frame sleeve, and can allow the tube to slip if you make sudden rotational movements.
- Leaving risers fully elevated during flat supine arm series, which reduces triceps engagement.
- Keeping risers flush against the frame when using a Long Box, leading to rope burn along the vinyl edges.
- Forcing the riser up or down while straps are under spring tension, which strips the internal indexing pins.
Avoid forcing parts into place. If a riser tube resists movement, wipe down the shaft with a dry microfiber cloth to remove dust. Lubricating the shaft with silicone spray can also restore smooth gliding.
Quick Reference: Exercise-to-Riser Setup Guide
Use this reference table to match your reformer riser settings to common exercises.
| Exercise / Series | Recommended Setting | Primary Mechanical Purpose |
|---|---|---|
| Long Box Series (Pulling Straps, T-Pull) | High (Top Notch) | Clears the box corners and prevents rope drag against vinyl upholstery. |
| Supine Leg Series (Feet in Straps) | Mid to High | Relieves hamstring strain and supports natural hip flexion trajectory. |
| Seated Arm Work (Rowing, Biceps, Chest) | Mid (Level 2) | Delivers a straight horizontal pull line parallel to the carriage bed. |
| Kneeling Arm Series (Facing Front/Back) | Low (Level 1) | Aligns the resistance vector directly with your core center of gravity. |
| Classical Floor & Long Stretch Series | Low / Flush | Preserves traditional flat resistance curves throughout full carriage extension. |
| Jumpboard Plyometrics | Low (Level 1) | Keeps ropes completely clear of foot placement and rapid carriage travel. |
Frequently Asked Questions About Reformer Pulley Risers
How do I know if my reformer risers are too low?
Your risers are too low if the ropes scrape across the carriage bed, shoulder rests, or box accessories during movement. You will also feel an aggressive downward pull on your arms or legs rather than a smooth, horizontal glide throughout the exercise stroke.
Can uneven riser heights cause injury?
Yes, uneven risers create asymmetric resistance across your body. One side of your core, back, or pelvis will pull against a different angle of resistance than the other. Over time, this unbalances spinal alignment and strains shoulder stabilizers.
Do classical Pilates reformers have adjustable risers?
Traditional classical reformers, such as original Gratz designs, use fixed-height eyelet pulleys rather than adjustable telescoping risers. Modern contemporary reformers include adjustable risers to accommodate varied body proportions, modern rehabilitation protocols, and diverse box accessories.
How often should I clean and inspect reformer riser tubes?
Inspect your riser hardware weekly in studio environments or monthly on home units. Check the spring tension on pop-pins and wipe down the metal tubes with a dry cloth. Never use oil-based lubricants, as they attract dust and lint into the locking collar.

Similar Posts