How to Level Reformer Risers: Step-by-Step Guide
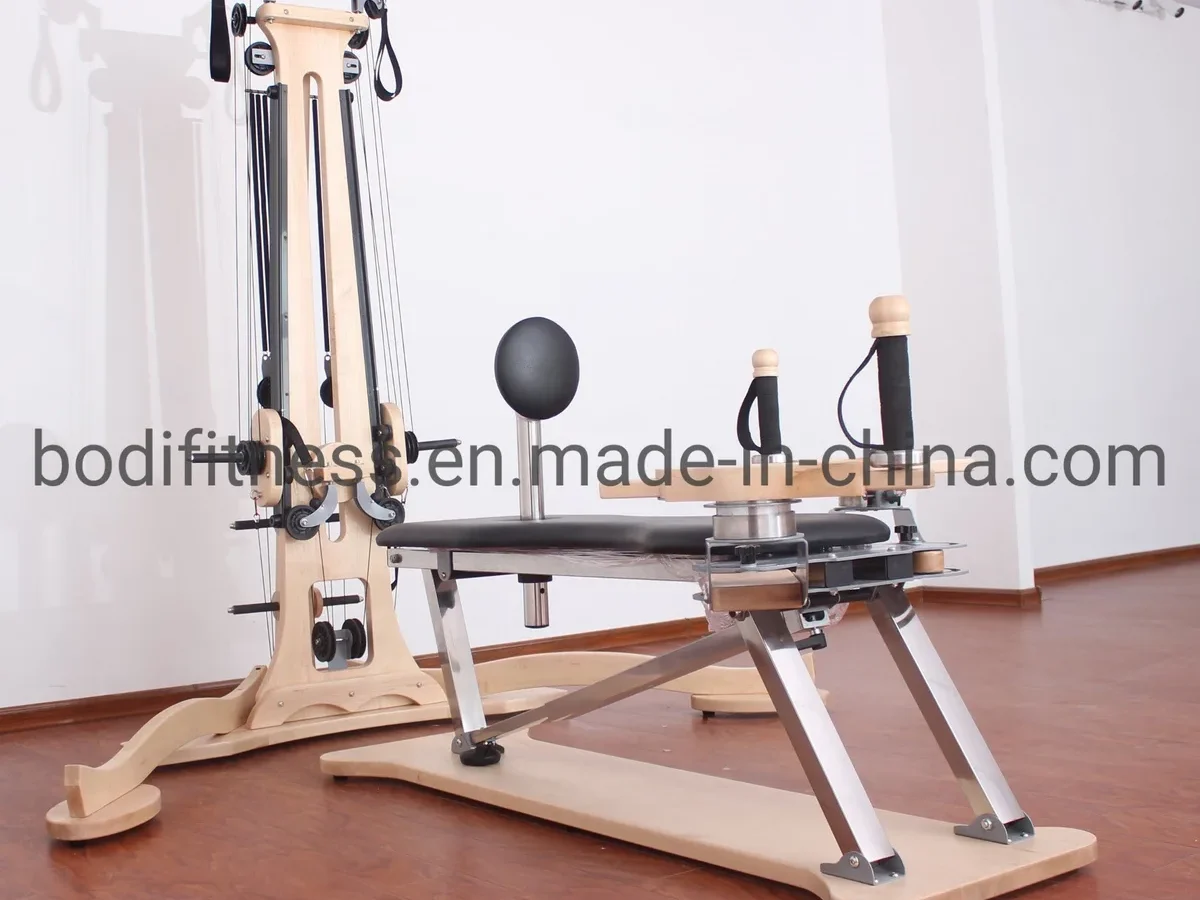
If you feel uneven shoulder drag or hear rubbing during arm arcs, learning how to level reformer risers will solve the issue quickly. Misaligned pulley posts create asymmetrical tension across the carriage. That uneven angle forces your body to compensate on every single stroke.
Commercial equipment standards from organizations like the Pilates Method Alliance recommend that pulley heights match within a 1/16-inch tolerance. Proper calibration eliminates frame torque and restores smooth tracking across the rails. Here is how to diagnose and balance your hardware accurately.
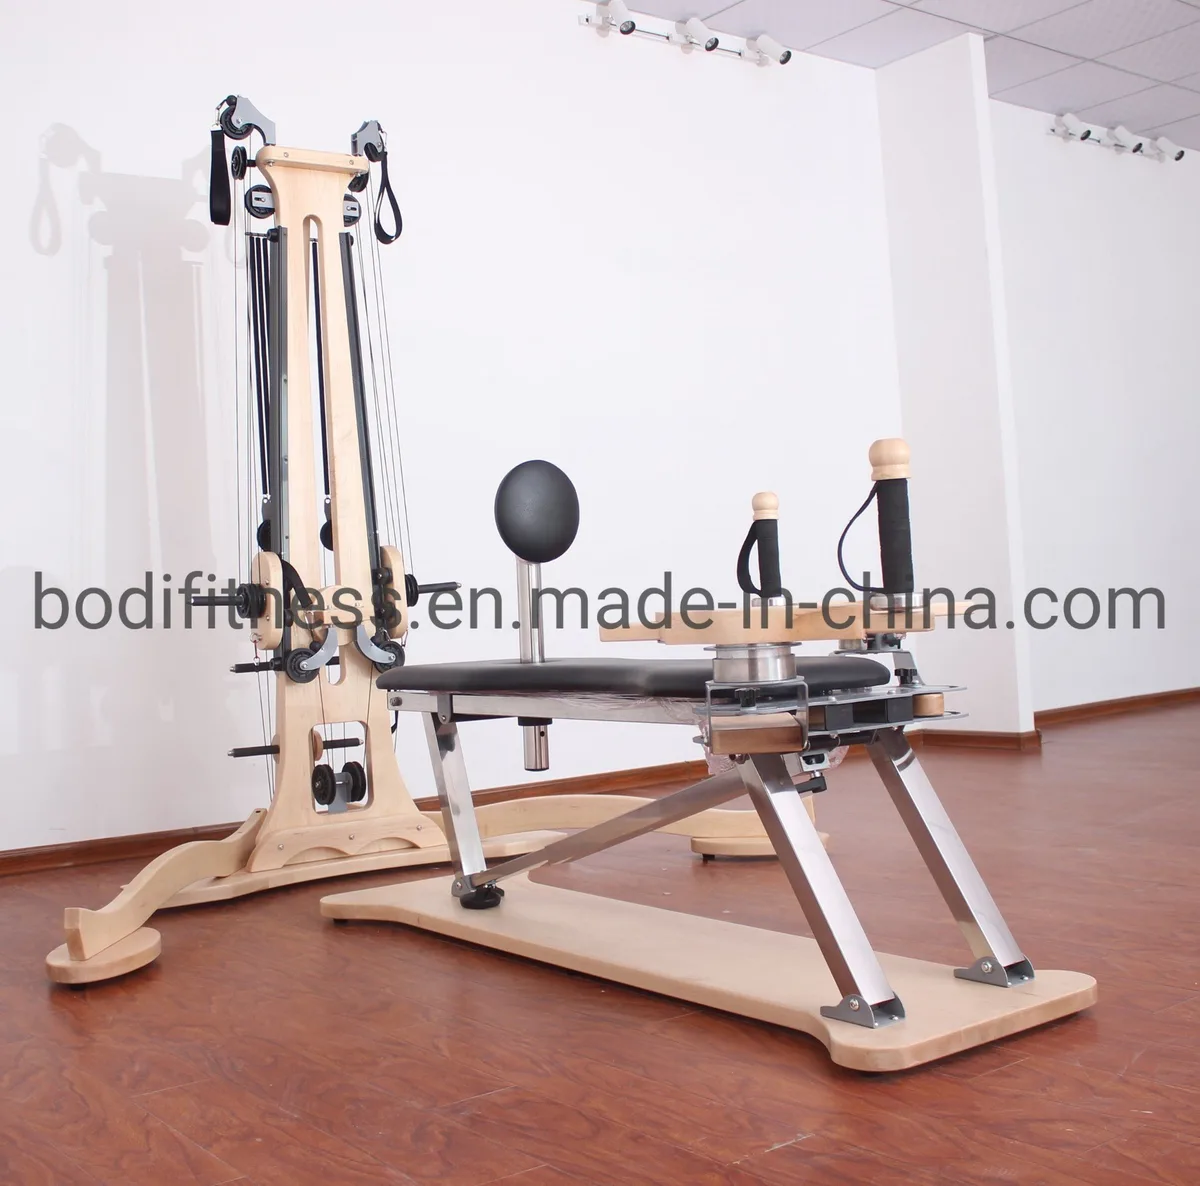
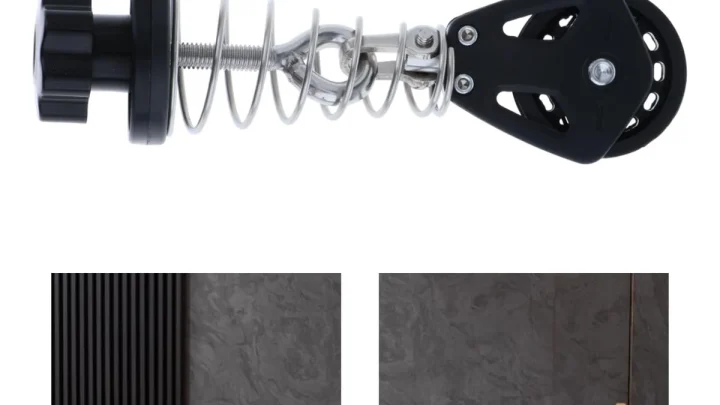
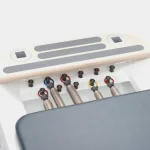
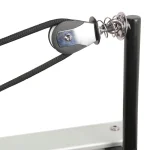
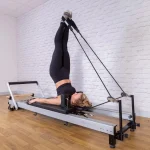
Image source: Web (Bing) / bodifitness.en.made-in-china.com (Web image (fair-use with source credit))
Quick Answer
Learn how to level reformer risers by checking your base frame first. Place a torpedo level across the carriage rails. Adjust the frame feet until completely flat.
Match both riser posts to identical pin stops. Tighten the locking collars firmly against the frame. Measure pulley heights from the carriage bed to confirm equal elevation.
Why Uneven Reformer Risers Throw Off Your Entire Workout
Reformer risers dictate the line of pull between the carriage and the dynamic rope cleats. When one riser sits even a fraction of an inch higher than the other, the vector angle changes. This asymmetry alters the load curve on your shoulders, spine, and hips during bilateral movements.
A height discrepancy also pulls the carriage sideways into the aluminum guide channels. Over time, that lateral friction creates premature wear on the carriage wheels and internal bearings. It also causes the dynamic ropes to chafe against the shoulder rests, creating unnecessary drag and frayed fibers.
Leveling your risers restores symmetrical musculoskeletal loading. It keeps the carriage centered between the rails and ensures that both sides of your body meet identical resistance throughout the entire range of motion.
The Fast Diagnosis: Is It Your Floor, Frame, or the Risers?
Before adjusting your riser hardware, you must isolate the root cause of the uneven pull. Many instructors assume the risers slipped when the real culprit is an uneven subfloor or a twisted frame.
Use this simple diagnostic sequence to locate the true source:
- If your torpedo level shows a slope along the rails, adjust the threaded frame feet under the legs first.
- If the frame is perfectly horizontal but the carriage drifts sideways during movement, check the riser post heights and pulley angles.
- If the ropes rub against the top of the shoulder rests, both risers are set too low for your exercise setup.
- If one rope produces more slack than the other at rest, measure the riser apex before adjusting rope cleats.
Fixing the base frame first prevents you from making counter-adjustments on the risers that make overall alignment worse.
The Reformer Hardware Decision Tree: Identify Your Riser Style
Different reformer brands use distinct locking mechanisms to control riser elevation. Identifying your hardware style determines the exact adjustment method you need to follow.
| Riser Style | Common Manufacturers | Adjustment Mechanism | Best For |
|---|---|---|---|
| Indexed Pop-Pin | Merrithew, Peak Pilates | Spring-loaded pin into numbered detent holes | Fast, foolproof height matching |
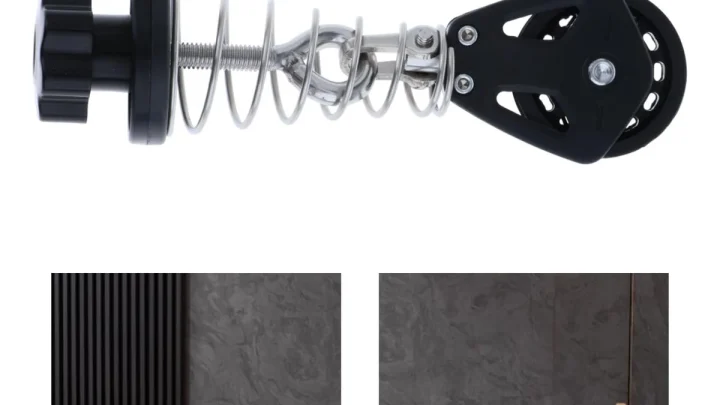
| Smooth Friction Collar | Balanced Body (Studio) | Threaded thumb screw tightening against the post | Infinitely variable micro-adjustments |
| Integrated Slotted Track | Balanced Body (Allegro 2) | Sliding pulley block along a fixed arch or track | Quick angle changes without loose posts |
| Threaded Post | Align-Pilates, Custom wood frames | Rotating collar nut on a threaded riser stem | Heavy-duty commercial stability |
If your machine uses indexed pop-pins, leveling is simply a matter of counting hole positions. If your reformer uses smooth friction collars, you must rely on physical tape measurements to guarantee both sides match perfectly.
Step-by-Step Calibration Workflow for Leveling Risers
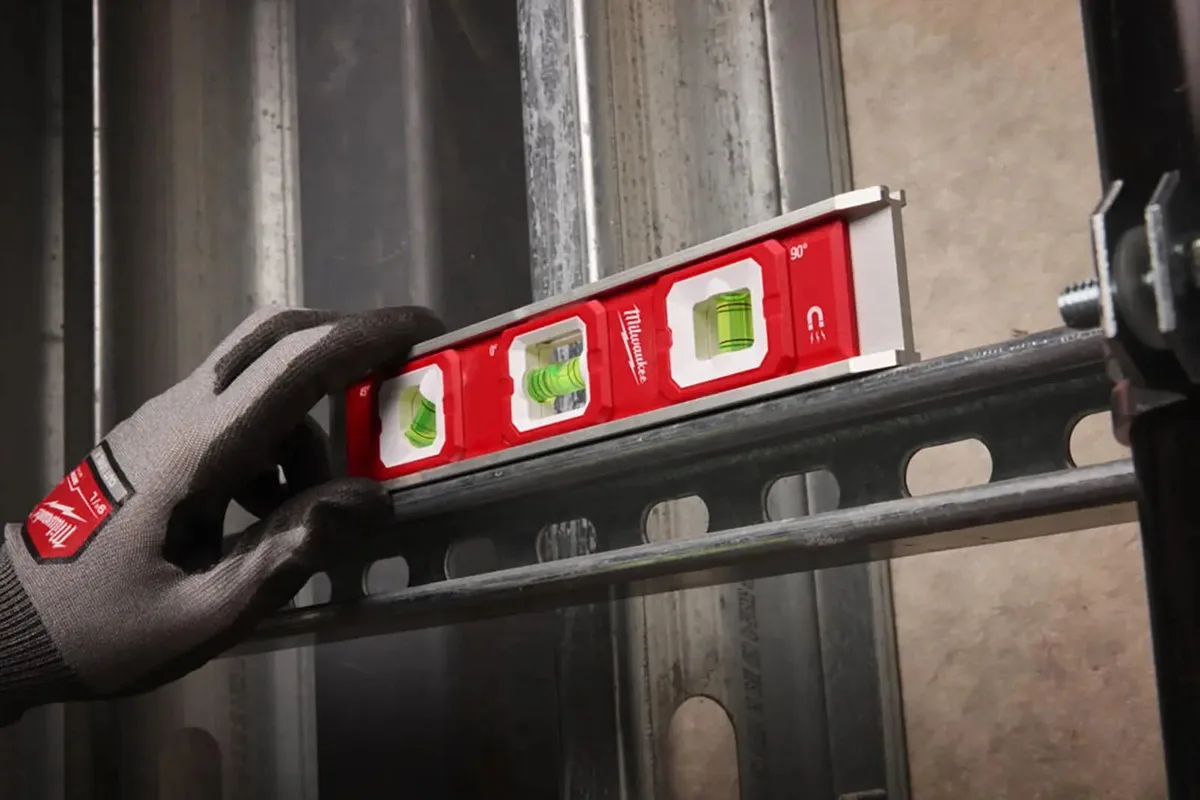
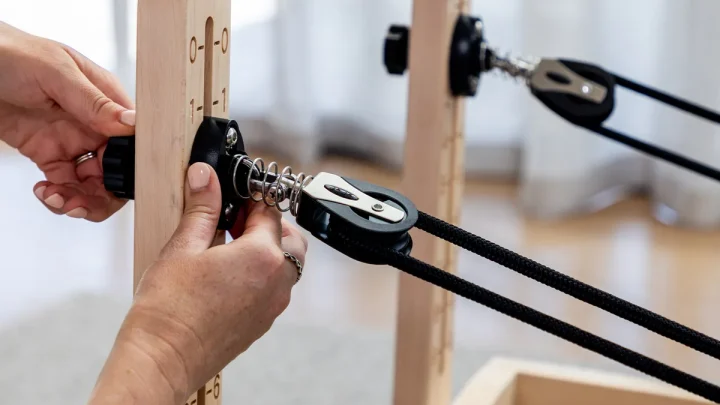
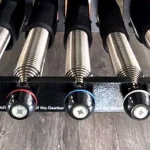
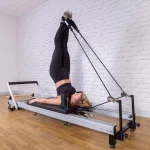
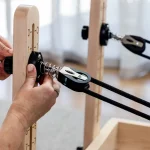
Image source: Bing (Web (fair-use with source credit))
Phase 1: Zeroing the Reformer Frame
Set your reformer in its permanent position. Lay a 9-inch torpedo spirit level across the two parallel aluminum rails near the head end.
Inspect the bubble indicator. If the bubble is off-center, turn the threaded leveling feet underneath the reformer legs clockwise or counter-clockwise. Check the foot end of the frame as well to ensure there is no diagonal frame twist.
Phase 2: Setting and Locking Equal Riser Heights
Loosen the locking knobs or pull back the spring pins on both riser brackets. Slide each riser post into the frame collar.
For indexed systems, release the pin into the identical numbered detent on each post. For smooth posts, use a steel tape measure to set the distance from the top of the wooden frame or aluminum rail to the top of the riser cap. Tighten the hand knobs until snug without over-torquing the aluminum casing.
Phase 3: Calibrating Pulley Apex and Rope Line Geometry
Measure the vertical distance from the top surface of the carriage vinyl to the center axle of each swivel pulley. Both sides should match within 1/16 of an inch.
Pull both dynamic ropes out until taut. Confirm that the ropes clear the top of the shoulder rests by at least 1 inch when the carriage sits against the gearbar stops. Test the rotation of each pulley bracket to make sure the swivel swings freely without contacting the frame.
Comparison of Riser Systems Across Major Reformer Brands
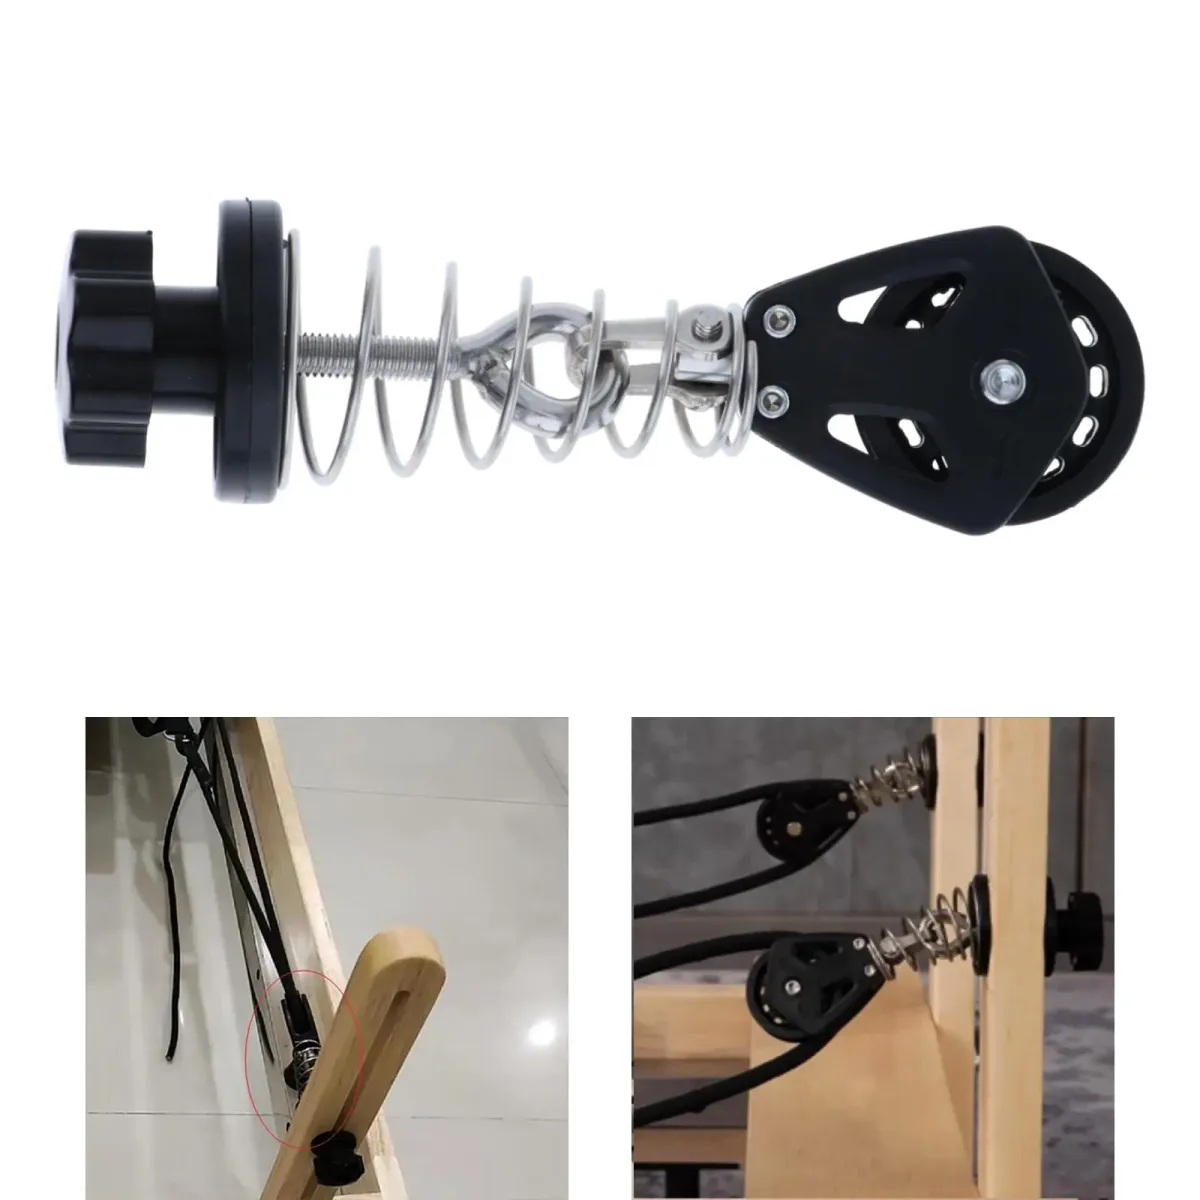
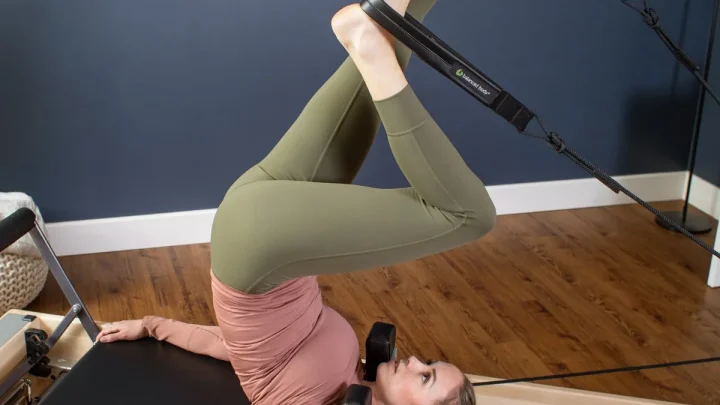
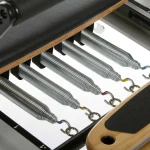
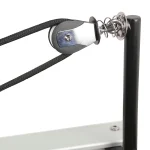
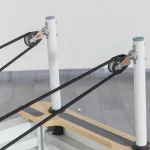
Image source: Bing (Web (fair-use with source credit))
Reformer manufacturers approach riser engineering with different priorities. As of 2026, the two dominant market standards are indexed drop-in posts and continuous-glide integrated tracks.
Merrithew machines utilize heavy-gauge tubular steel risers with spring-loaded pop-pins. These eliminate guesswork because you simply match pin holes. The internal nylon sleeve keeps the post snug, which stops vibration during dynamic jumping exercises on the cardio-tramp.
Balanced Body uses a friction-clamp design on their classic Studio reformers, requiring manual measuring for level positioning. However, their Allegro 2 design replaces traditional vertical posts with an integrated, arc-shaped riser bar. On that system, the pulley blocks slide along an indexed track, making height matching instantaneous and eliminating post wobble entirely.
Common Mistakes That Cause Asymmetrical Drag and Squeaks
The most frequent error is overtightening the locking collars on friction-style risers. Excess torque crushes the inner tubular casing, creating deep dimples in the metal. Once aluminum post walls deform, smooth micro-adjustments become impossible because the collar snaps into the damaged groove every time.
Another widespread misstep is adjusting rope cleats to fix an uneven feel without checking riser apex heights first. Shortening one rope masks the symptom while keeping the asymmetrical vector angle active. The uneven line of pull continues stressing your shoulder joint during supine arm work.
Finally, do not forget to align the pulley rotation brackets. If one pulley bracket is twisted forty-five degrees while the other sits straight, dynamic friction increases on one side. Both swivel heads must pivot freely along the natural path of your exercise motion.
Routine Maintenance and Wear Checks for Studio-Grade Stability
Set a firm schedule to inspect your riser assemblies. In high-traffic commercial studios, vibration from regular daily use slowly loosens friction thumb screws and mounting bolts.
- Inspect internal nylon shims monthly to ensure the riser posts fit snugly without side-to-side play.
- Check the pulley wheel bearings for hair and lint accumulation every two weeks.
- Wipe down the vertical posts with a dry microfiber cloth to remove sweat residue and aluminum dust.
- Test the spring return on pop-pin assemblies to confirm they seat fully into each detent hole.
Replacing worn nylon bushings early protects the metal frame sleeves from ovaling out over time. Clean hardware ensures that once you lock your risers into level position, they stay rigid through intense spring loads.
Frequently Asked Questions About Reformer Risers
How high should reformer risers be set for beginner workouts?
Set the risers so the ropes clear the top of the shoulder rests by 1 to 2 inches. This height prevents rope friction against the vinyl pads during carriage motion. It also provides a forgiving vector angle for basic arm and leg series.
Can uneven risers damage my Pilates reformer?
Yes. Uneven risers pull the carriage diagonally into the side rails. This uneven tracking wears out carriage wheels prematurely, degrades bearing seals, and frays dynamic synthetic ropes against the shoulder rest brackets.
Why do my reformer risers rattle during jumpboard exercises?
Rattling happens when the locking collar is loose or the internal nylon bushing sleeve is worn out. Tighten the locking knob completely. If the post still wobbles inside the frame collar, replace the inner plastic sleeve to restore a tight fit.
Do I need a laser level to balance my reformer risers?
No, a standard 9-inch torpedo spirit level and a steel tape measure are sufficient. Measure from the carriage bed vinyl to the center of the pulley axle on each side to confirm heights match within 1/16 of an inch.

Similar Posts