How to Fix a Loose Reformer Riser: Step-by-Step
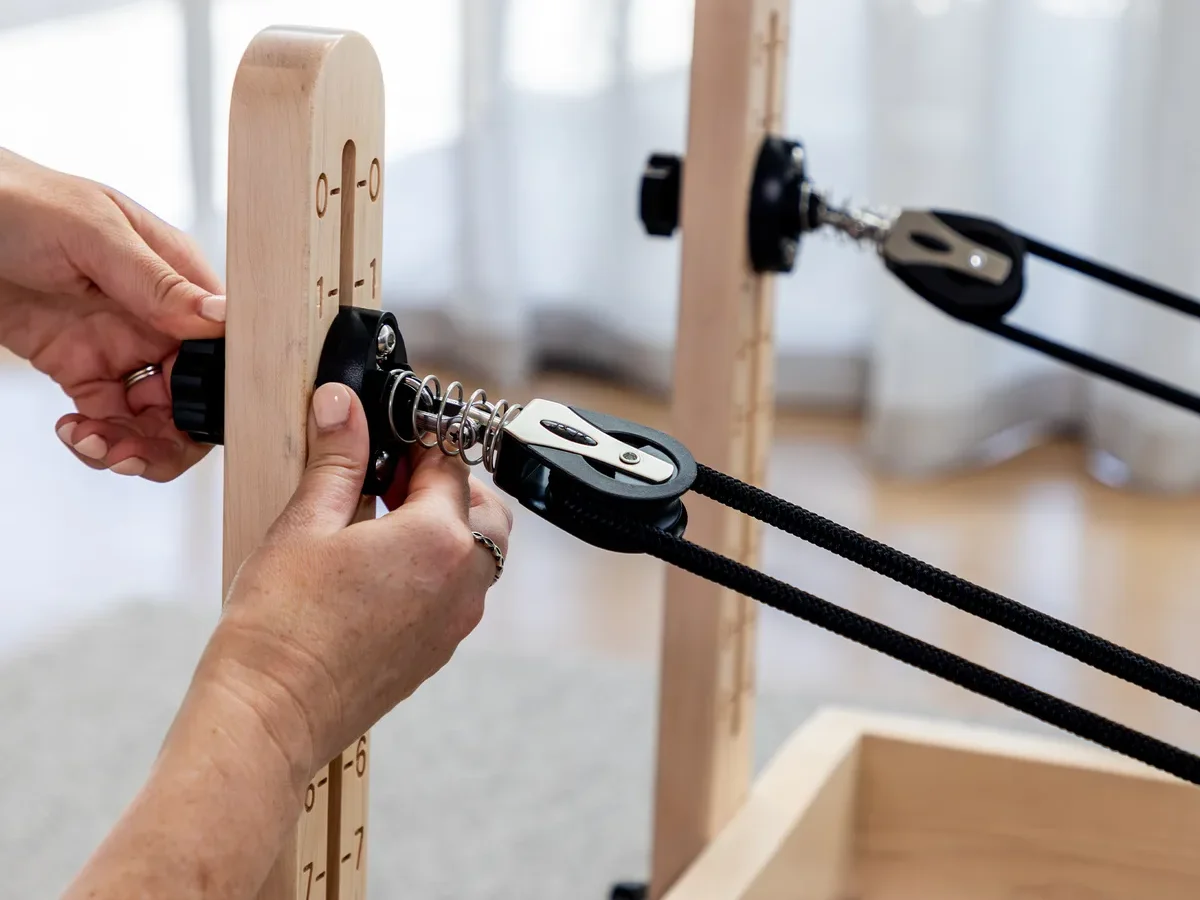
A rattling pulley post ruins your workout flow and compromises rope tracking. Learning how to fix a loose reformer riser is a straightforward repair that restores your machine to smooth, quiet operation. You only need a few common hand tools to get it done.
Under standard studio use, dynamic loads often exceed 100 pounds of lateral pull during athletic strap exercises. Standard guidelines from manufacturers like Balanced Body recommend checking riser hardware every 30 to 90 days. Here is everything you need to know to diagnose and eliminate the wobble for good.
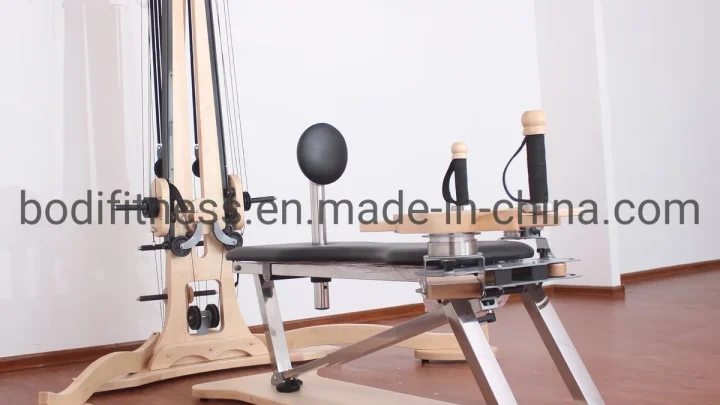
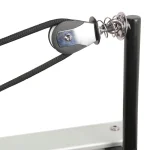
Image source: Bing (Web (fair-use with source credit))
Quick Answer
To fix a loose reformer riser, first identify the source of the movement. Tighten the underside frame mounting bolts using a hex key. Apply medium-strength blue threadlocker to prevent the bolts from backing out.
Adjust the collar clamp or replace worn internal nylon bushings if play persists. Test the post under spring load before regular use.
Why Your Reformer Riser Is Wobbly (and Why You Shouldn't Ignore It)
A loose riser is rarely just a minor annoyance. Every time you pull the ropes, the riser acts as a lever against the frame bracket. If there is even a millimeter of play at the base, that movement magnifies at the top pulley.
Over time, that rocking motion rounds out bolt holes and strips internal threads.
Ignoring the problem leads to uneven rope wear and noisy carriage returns. When the riser leans forward under load, the rope rubs against the pulley cheek plates instead of running cleanly over the center sheave. This friction creates synthetic rope dust and frays outer cord sheathing quickly.
Left unaddressed, the mounting hardware can fail entirely during high-resistance exercises. As of 2026, equipment audits show that loose frame hardware remains one of the top causes of preventable studio downtime. Fixing it early protects your investment and keeps workouts safe.
Diagnostic Decision Tree: Locating the Exact Source of the Play
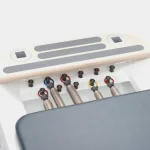
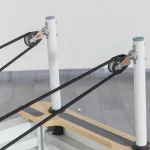
Before grabbing a wrench, you must pinpoint where the mechanical movement originates. Reformer risers experience looseness in three distinct zones: the frame base, the telescoping collar, or the top pulley swivel.
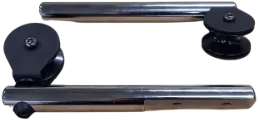
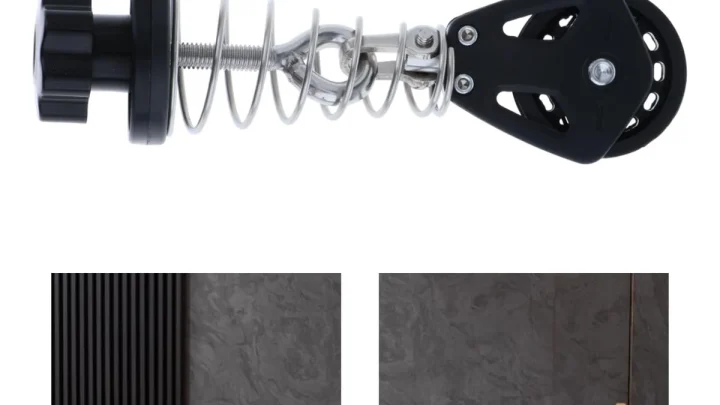
Image source: Web (Bing) / peakpilates.eu (Web image (fair-use with source credit))
Grasp the riser tube firmly in the middle and apply moderate forward, backward, and lateral pressure. Watch the joints closely to see which part moves first.
Base Mount Looseness vs. Frame Flex
If the entire riser assembly rocks from the very bottom, the problem sits in the base mounting bracket. Check where the metal receiver plate connects to the wood or aluminum frame.
- If the bracket shifts against the frame: The underside lag bolts or pass-through barrel nuts have backed out.
- If the bracket is rigid but the tube rocks inside the socket: The receiver set screws or lower clamp bolts are loose.
- If the wood frame itself creaks and flexes: The head-end cross member bolts require tightening across the full joint.
Telescoping Tube Play and Worn Bushings
If your reformer features adjustable-height risers, check the junction between the outer receiver tube and inner sliding tube.
- If the tube moves vertically: The pop-pin plunger is not fully seated in the indexing hole, or the clamping knob lacks tension.
- If the tube rattles side-to-side while locked: The internal nylon or Delrin guide bushing has worn down. This creates empty space inside the sleeve.
Swivel Pulley Bracket and Hardware Wear
Sometimes the riser post is solid, but the top assembly wobbles during arm circles.
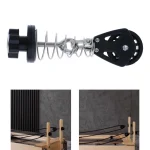
- If the pulley bracket rocks on top of the tube: The top eyebolt or securing locknut has backed off its threads.
- If the pulley wheel tilts within its metal housing: The internal axle bearing or retaining rivet is worn out, requiring a replacement pulley head.
Tools and Supplies You Need Before Starting
Fixing a riser does not require specialized machinery. Having the correct metric or imperial hex keys prevents rounded bolt heads.
| Tool / Supply | Standard Size | Purpose |
|---|---|---|
| Hex / Allen Keys | 4mm, 5mm, 6mm / 3/16", 1/4" | Tightening base cap screws and clamping collars |
| Open-End Wrench | 10mm, 13mm, 1/2", 9/16" | Holding underside locknuts in place |
| Blue Threadlocker | Loctite 242 or 243 | Preventing fastener back-out from vibration |
| Isopropyl Alcohol | 70% or higher | Cleaning thread debris and grease |
| Replacement Bushings | Model-specific nylon sleeves | Eliminating telescoping inner-tube play |
Never use permanent red threadlocker on reformer risers. Red formulas require heat guns to break loose, which will melt nearby plastic bushings and ruin wood finishes.
Step-by-Step Guide to Fixing Each Type of Loose Riser
Once you have identified the source of the play, follow the specific repair process below. Make sure to remove all reformer springs and disengage the ropes before working on the frame.
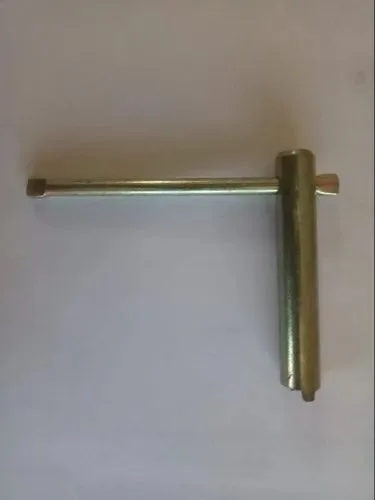
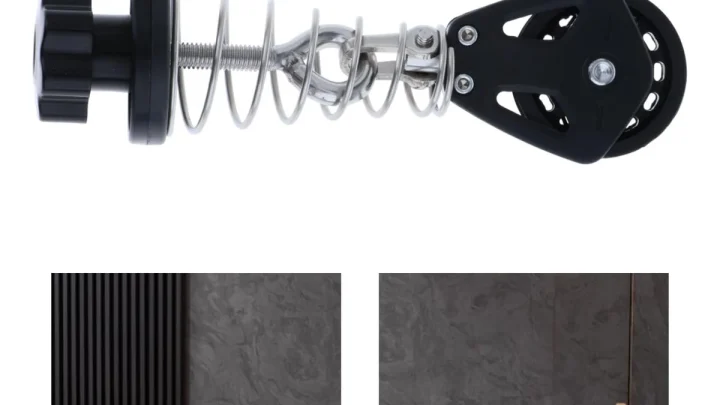
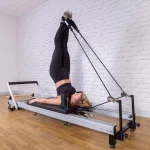
Image source: Web (Bing) / indiamart.com (Web image (fair-use with source credit))
Scenario A: Tightening Underside Frame Bolts and Base Brackets
Base brackets endure the highest rotational torque. When they loosen, you must re-seat the fasteners properly.
- Access the underside hardware: Slide the carriage to the footbar end. Look beneath the head-end frame to reach the mounting plate bolts.
- Remove the fasteners completely: Back out the bolts one at a time. Inspect the threads for metal shavings or stripped channels.
- Clean the threads: Wipe the bolt threads with a rag dipped in isopropyl alcohol to strip away old grease and debris.
- Apply threadlocker: Place two drops of medium-strength blue threadlocker onto the lower third of each bolt.
- Tighten in an alternating pattern: Thread the bolts back into the base receiver. Tighten them incrementally in a crisscross pattern to distribute clamping pressure evenly. Aim for 12 to 15 ft-lbs of torque.
Scenario B: Fixing Play in Adjustable Telescoping Risers
Adjustable metal risers rely on a friction collar or indexing pin. Lateral play here is usually caused by insufficient collar compression or worn guide sleeves.
- Loosen the clamping knob: Unscrew the collar knob and pull the inner riser tube completely out of the receiver.
- Inspect the nylon sleeve: Look inside the top of the outer receiver tube. If the plastic insert is split, flattened, or missing, snap a new manufacturer-spec nylon bushing into place.
- Clean the tube surface: Wipe the inner metal tube with a dry microfiber cloth. Do not apply oil or grease, as lubricants cause the post to slip downward during exercises.
- Reinsert and align: Slide the inner post back into the receiver. Ensure the pop-pin engages fully into your desired height hole before tightening the outer clamping collar.
Scenario C: Repairing Loose Wooden Riser Blocks
Classic wood reformers use solid oak or maple blocks bolted directly through the frame. Wood naturally expands and contracts with humidity changes, which loosens bolts over time.
- Check for wood compression: Inspect the wood surface where the bolt head or washer sits. If the washer has crushed the wood fibers, install a wider, heavy-duty fender washer.
- Stabilize stripped wood holes: If the mounting bolt threads directly into wood and spins freely, remove the bolt. Pack the hole with hardwood toothpicks coated in wood glue, allow it to dry for 24 hours, and cut it flush before re-driving the screw.
- Re-torque the through-bolts: For risers using pass-through bolts with underside nuts, hold the bolt head still with an Allen key while tightening the bottom locknut firmly with a socket wrench.
Scenario D: Securing Loose Pulley Swivel Heads and Eyebolts
The pulley head at the top of the riser must swivel freely 360 degrees without rattling up and down.
- Check the top securing nut: Hold the pulley bracket steady and check the underside retaining nut inside the top tube opening.
- Adjust locknut tension: Tighten the nylon-insert locknut until all vertical play disappears. Do not overtighten it, or the pulley bracket will bind and resist rotation.
- Check rotation: Spin the pulley head by hand. It should turn smoothly without hitching or wobbling.
Critical Mistakes That Can Strip Threads or Damage Your Frame
Small mistakes during maintenance can cause expensive damage to your reformer frame. Using the wrong tools or rushing the process often creates bigger mechanical problems down the line.
- Using the wrong hex key size: Imperial and metric sizes are not interchangeable. Using a 5mm key in a 3/16-inch bolt head strips the internal socket flats quickly. Always ensure your Allen wrench seats completely with zero slop before applying turning force.
- Overtightening aluminum threads: Aluminum frame channels and extruded receiver blocks strip easily. Cranking down on steel bolts seated in aluminum will shear the internal receiver threads. Stop turning as soon as the bolt seats firmly against its washer, or use a calibrated torque wrench.
- Using power drills to drive bolts: Impact drivers and cordless drills deliver too much instantaneous torque. They easily cross-thread fine-pitch hardware into wood or metal frames. Always start fasteners by hand and finish them with manual hand tools.
- Ignoring dry threadlocker cure times: Medium-strength blue threadlocker takes roughly 15 to 20 minutes to achieve handling strength. It requires a full 24 hours to cure completely. Jumping straight into high-load strap work right after maintenance breaks the chemical bond before it sets.
Studio Maintenance Schedule to Keep Risers Rock-Solid
Preventative maintenance keeps risers stable and prevents sudden mid-session rattles. Equipment guidelines from leading manufacturers like Merrithew highlight regular fastener audits as a core safety standard for commercial apparatus. Following a structured maintenance routine saves time and prevents hardware wear.
Weekly Visual and Tactile Inspection
Give each riser a quick manual shake test before beginning weekly classes. Check that telescoping clamping knobs are hand-tight and that pop-pins lock into their index holes. Inspect the ropes where they enter the pulley housing to confirm they are not fraying against the edges.
Monthly Hardware Check
Check all exposed fasteners around the riser mounting brackets with a hand tool. If a bolt turns under light pressure, remove it, clean the threads, apply fresh blue threadlocker, and re-torque it. Inspect the nylon sleeve bushings inside adjustable risers for cracks or thinning plastic.
Semi-Annual Deep Inspection
Perform a thorough hardware teardown every six months. Remove the riser tubes, clear out built-up dust inside the sockets, and check the underside frame locknuts. Replace any nylon-insert locknuts that have lost their grip, as these fasteners are designed for single-use retention.
Frequently Asked Questions About Reformer Risers
Why does my reformer riser keep loosening after I tighten it?
Vibration from repetitive spring tension causes standard bolts to back out over time. If a bolt loosens repeatedly, clean the threads with alcohol and apply medium-strength blue threadlocker. Also check if the nylon collar bushing is worn out, which allows excess movement that rattles bolts loose.
How tight should reformer riser bolts be?
Most manufacturer specs recommend tightening frame riser bolts to roughly 12 to 15 ft-lbs of torque. Tighten them until they are firmly snug against the lock washer without warping the frame bracket. Never overtighten bolts threaded directly into aluminum channels or wood frames.
Can I use WD-40 on a sticky or squeaky riser?
No, standard WD-40 should never be used on reformer risers. It acts as a solvent and attracts dust and lint into the riser tube. Use a dry silicone or PTFE spray if lubrication is needed, and keep the telescoping tube dry so it clamps securely.
What should I do if the bolt holes in my wooden frame are stripped?
Remove the loose bolt and fill the hole with hardwood toothpicks coated in wood glue. Let the glue cure fully for 24 hours, trim it flush, and drill a small pilot hole. Re-insert the screw, or convert the mounting point to a pass-through bolt with an underside fender washer.
How do I know if my riser bushing needs replacement?
Your bushing needs replacement if the inner post wobbles side-to-side even when the clamping collar is fully tightened. Inspect the plastic sleeve at the top of the outer tube. If the nylon is cracked, flattened, or missing, install a new manufacturer-spec bushing to restore a snug fit.

Similar Posts