Why Your Reformer Straps Twist (And How to Fix It)
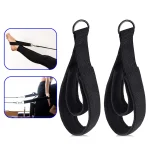
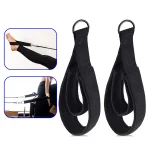
If you have ever been mid-exercise and felt synthetic webbing bite painfully into your wrist, you are probably wondering why does my reformer strap twist during routine workouts. Twisted straps disrupt carriage flow, create uneven tension, and pull your joints out of clean alignment. It is one of the most frustrating mechanical glitches for both home users and studio practitioners.
Equipment guidelines from major apparatus makers specify that reformer ropes require unimpeded rotational freedom to stay flat. When one component binds or twists under tension, that torsional force travels directly into your hand or foot loops. Identifying whether the issue stems from hardware friction, rope memory, or movement mechanics will get your carriage gliding smoothly again.
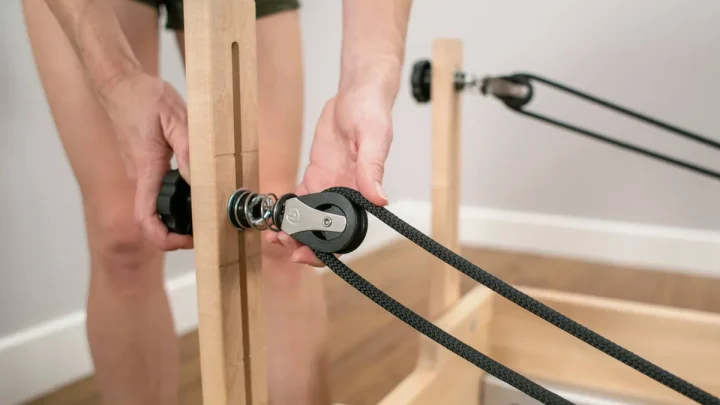
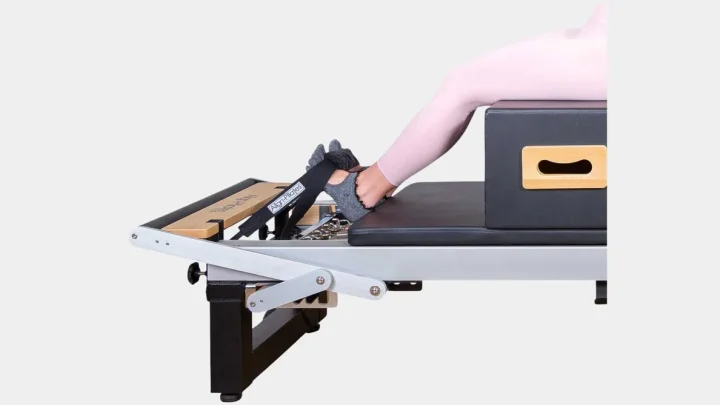
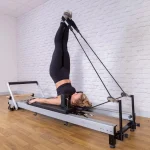
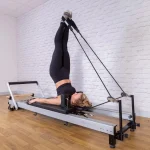
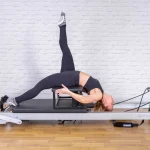
Image source: Web (Bing) / onlinepilatesclasses.com (Web image (fair-use with source credit))
Quick Answer
Reformer straps twist when pulleys seize or ropes build up internal tension. A stuck swivel block forces rope rotation directly into the loop. Uneven hand or foot pressure also rolls the webbing mid-exercise.
Re-threading the cam cleat and freeing the pulley stops the twisting completely.
The Real Reason Your Reformer Straps Keep Twisting
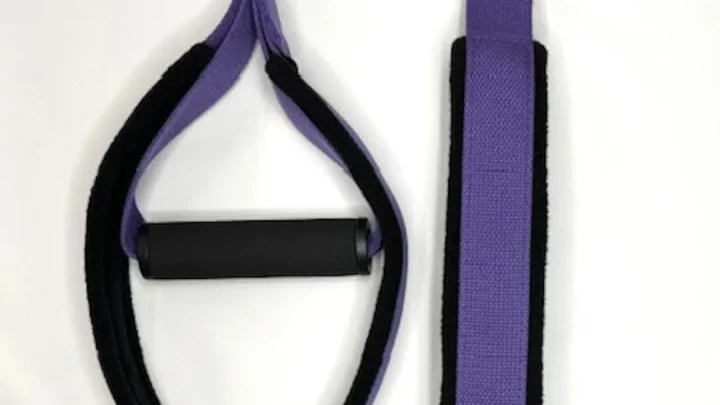
A reformer strap rarely twists on its own. The strap itself is a passive flat ribbon of cotton, nylon, or synthetic webbing. When it curls into a tight, roped spiral, it is responding to rotational torque coming from the rope attached behind it or the user pulling on it.
Modern reformers rely on braided synthetic ropes to tether the carriage to the pulley risers. These ropes naturally experience axial twist as they wind through tight angles under load. If that rotational energy cannot vent freely through a swivel housing, it travels along the line until it reaches the flat loop, forcing the strap to fold over itself.
| Root Cause Area | Primary Mechanical Trigger | Immediate Physical Sign |
|---|---|---|
| Pulley Assembly | Seized swivel eye or clogged bearing | Strap twists in the exact same direction on every stroke |
| Rope Core | Hockling (internal core twist) from improper storage | Rope curls into tight pigtails when slack |
| Cam Cleats | Off-center rope engagement or uneven teeth bite | Strap length changes slightly while twisting under load |
| User Technique | Dynamic wrist supination or rolling the feet inward | Strap stays flat when pulled by hand but twists during reps |
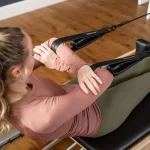
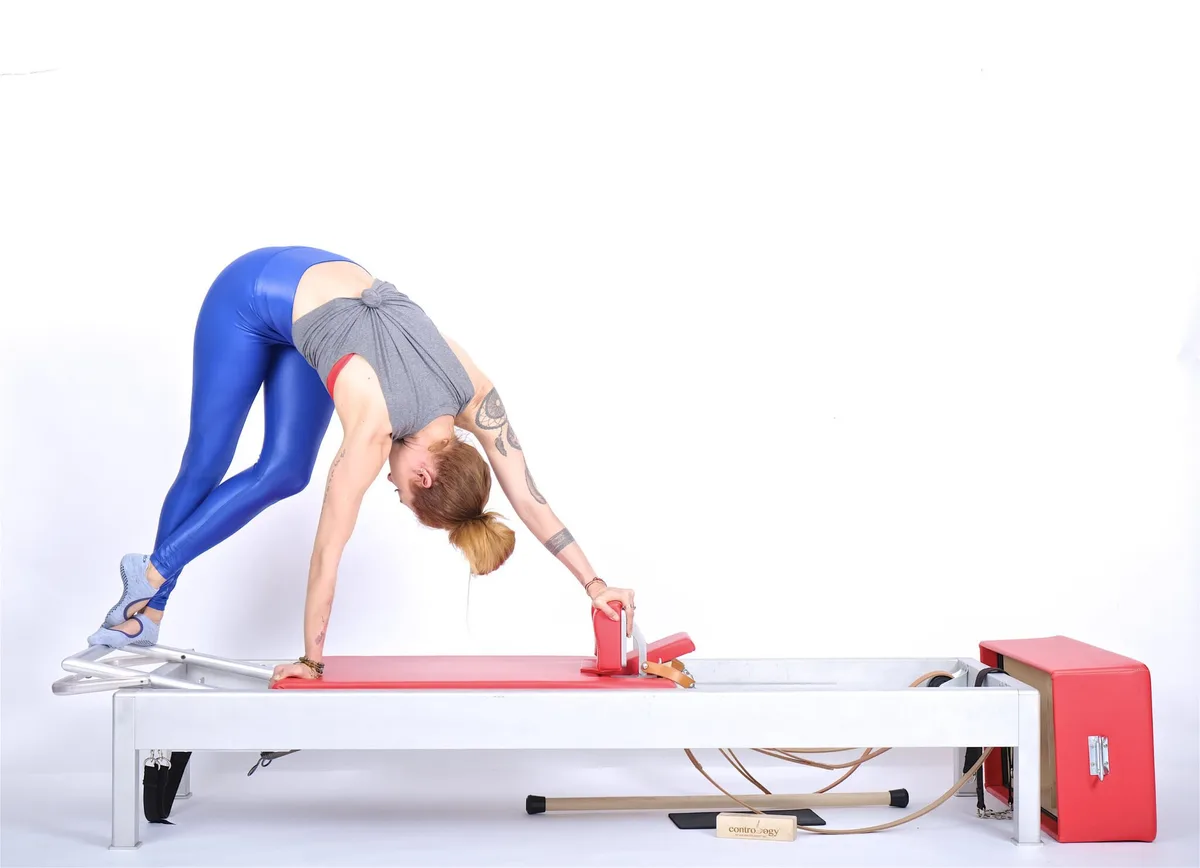
Movement habits also play a substantial role. When performing arm work or leg series, subtle rotational changes in your grip or foot angle can manually roll the strap. Once a strap rolls under tension, friction against your skin or socks holds the fold in place through the entire range of motion.
Diagnostic Decision Tree: Isolating the Root Cause
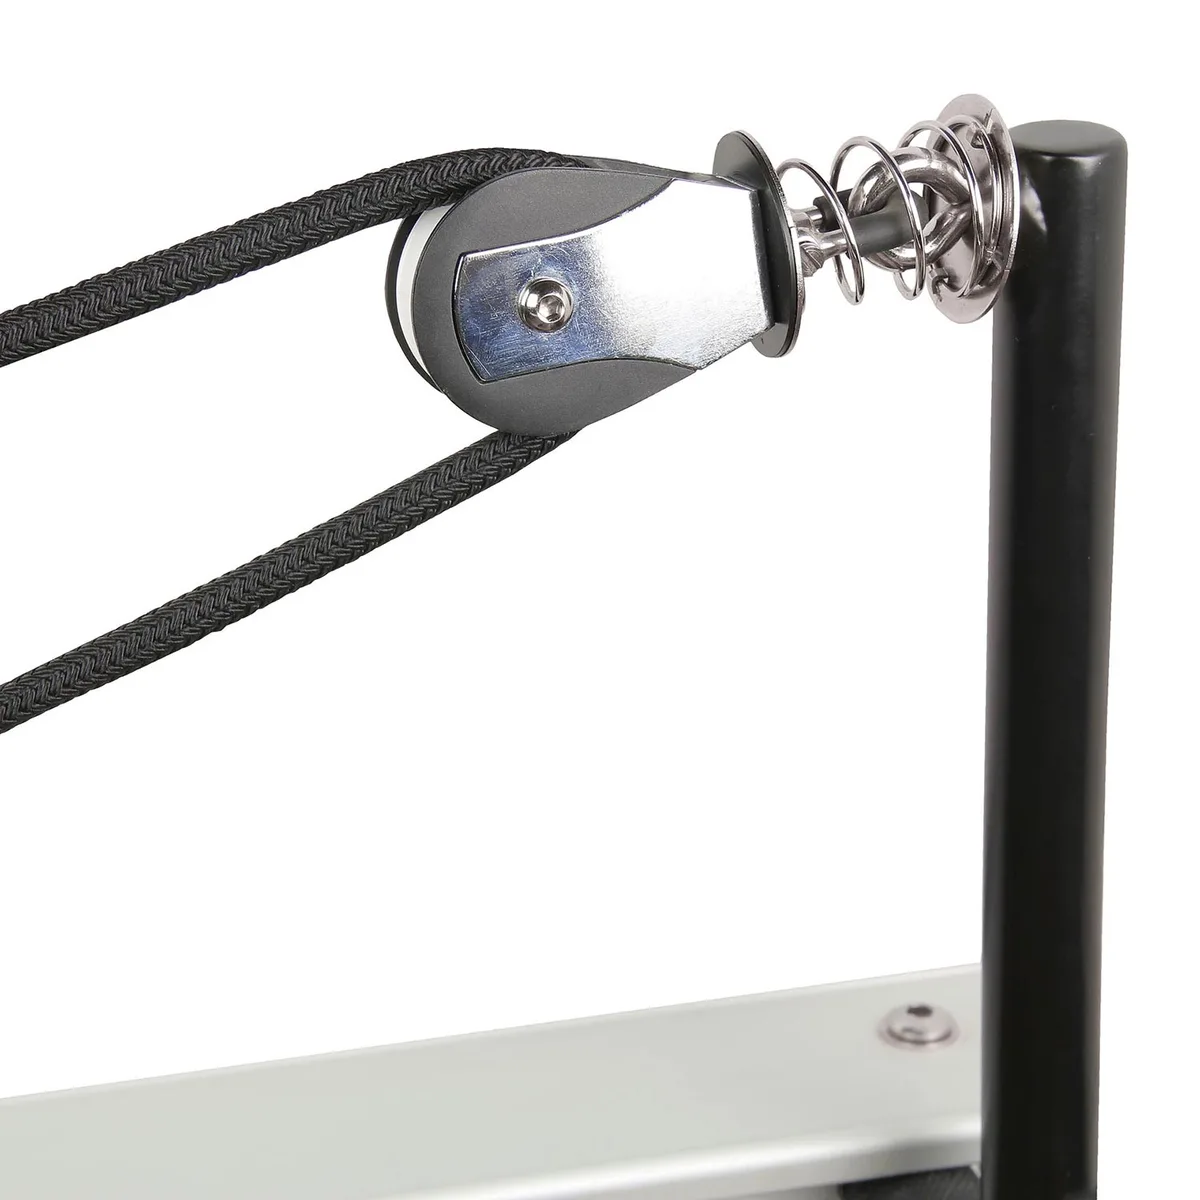
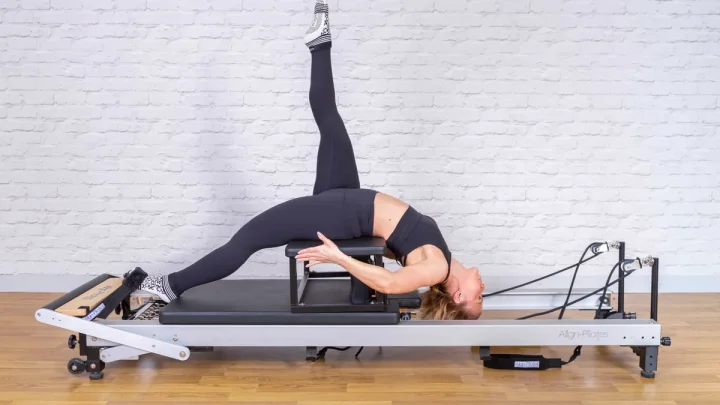
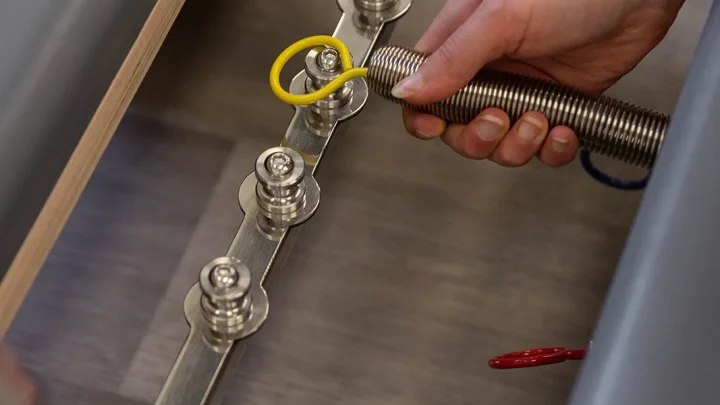
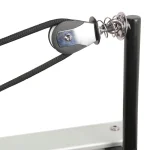
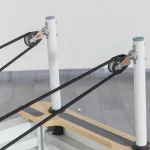
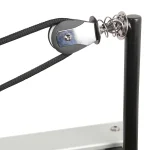
Image source: Web (Bing) / bodynova.de (Web image (fair-use with source credit))
Finding the culprit requires a quick step-by-step diagnostic flow. By isolating each component one at a time, you can fix the issue without taking apart hardware unnecessarily.
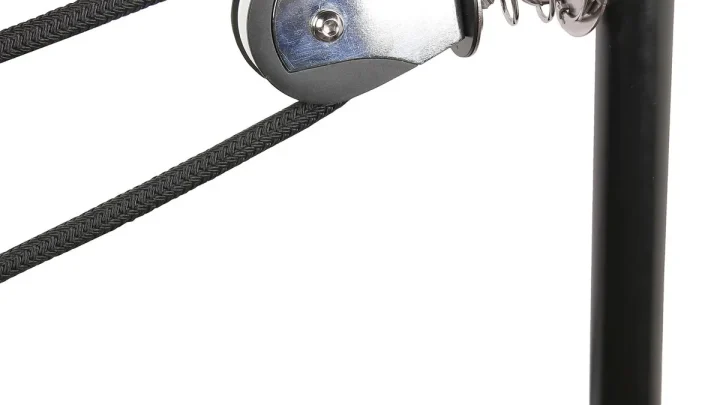
Hardware Check: The Pulley and Swivel Block
- Condition: Detach the strap loop and let the rope hang completely loose from the riser.
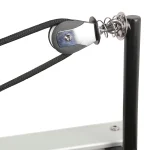
- If the pulley does not spin 360 degrees freely: The swivel eyelet is gummed up with dust, hair, or dried lubricant. A bound swivel cannot compensate for rope movement, forcing the flat strap to absorb all rotational force.
- If the pulley swivels effortlessly: Your hardware housing is functional. Move downstream to inspect the rope core and cleat setup.
Rope Setup: Threading, Cam Cleats, and Hockling
- Condition: Pull 3 feet of rope forward through the pulley and lay it flat on the carriage.
- If the rope loops into tight spirals on the carriage: The rope is suffering from hockling. This happens when internal strands twist against the outer sheath, usually after uneven adjustments in the cam cleat.
- If the rope lies completely straight: The cordage is in good structural health. The twisting is coming from strap loop orientation or movement mechanics.
Movement Dynamics: Hand and Foot Placement During Reps
- Condition: Place your hands or feet into the loops while watching the strap attachment point.
- If the strap twists only when pressing into the carriage: Check your wrist or ankle tracking. Habitual wrist supination during chest expansion or ankle pronation during leg circles will roll flat webbing within two repetitions.
- If the strap twists before applying pressure: The D-ring or carabiner is clipped backward on the rope end.
Step-by-Step Fixes for Every Branch of the Diagnostic Tree
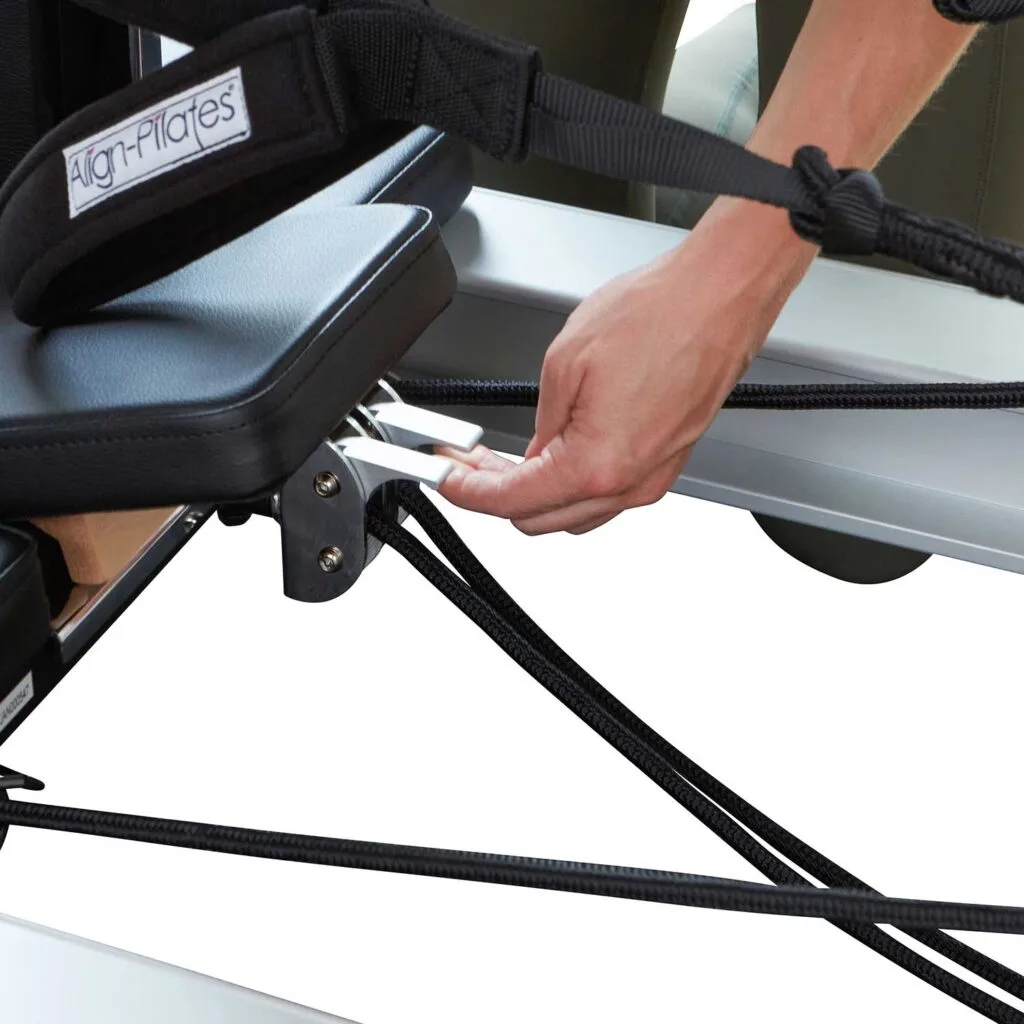
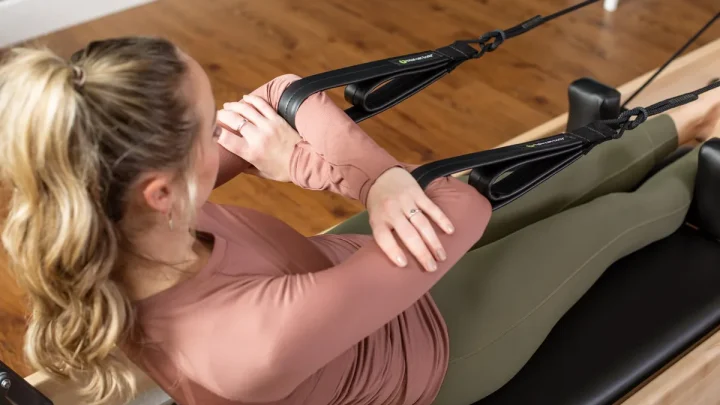
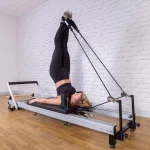
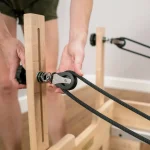
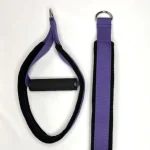
Image source: Web (Bing) / align-pilates.com (Web image (fair-use with source credit))
Once you know where the torque originates, follow these mechanical fixes to reset your equipment.
Freeing and Maintaining a Stuck Swivel Pulley
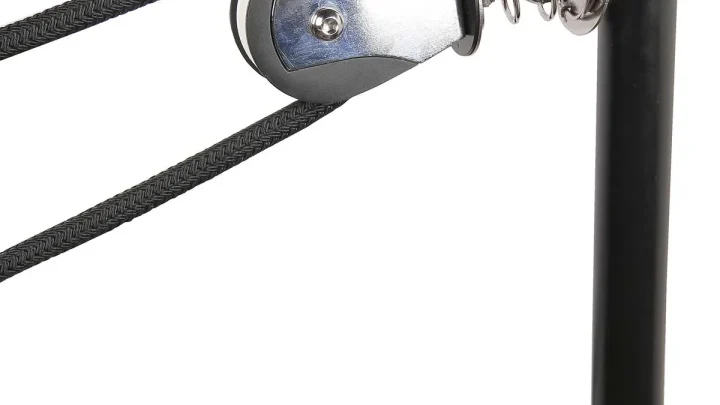
A locked swivel block is the single most common cause of persistent strap curling. The swivel mechanism must rotate without hesitation to neutralize line twist as the carriage moves.
- Wipe away surface lint, pet hair, and studio dust from the pulley post using a dry microfiber cloth.
- Apply a light spray of PTFE-based dry lubricant directly into the swivel joint. Avoid standard wet oils like WD-40, which attract dust and create a sticky paste.
- Manually rotate the pulley block in complete circles for 30 seconds to work the lubricant into the bearing race.
- Wipe away any overspray completely to protect your ropes from chemical degradation.
The Complete Rope Reset and De-Tensioning Workflow
If your rope has built up internal core memory, you must clear out the accumulated twist along its entire length.
- Release the rope completely from the cam cleat or underside rope bracket.
- Pull the entire rope out through the riser pulley so it hangs loose off the back of the frame.
- Run your hand firmly down the entire length of the rope, from the riser to the tail, allowing the cord to spin out its tension.
- Thread the rope back through the pulley riser, ensuring the line feeds straight into the center of the cam cleat without cross-wrapping.
- Level the carriage against the stopper and secure the rope at your standard working length.
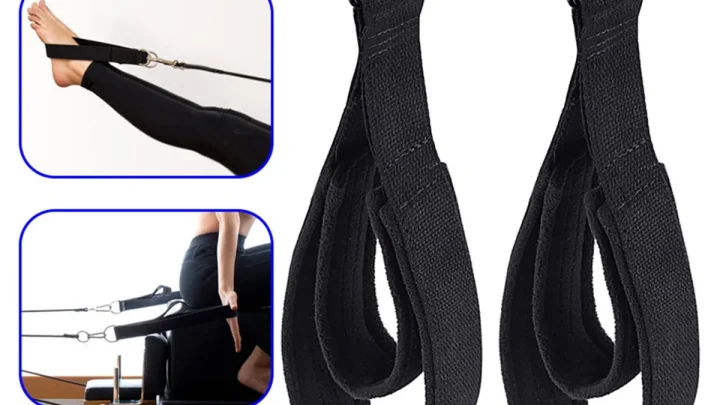
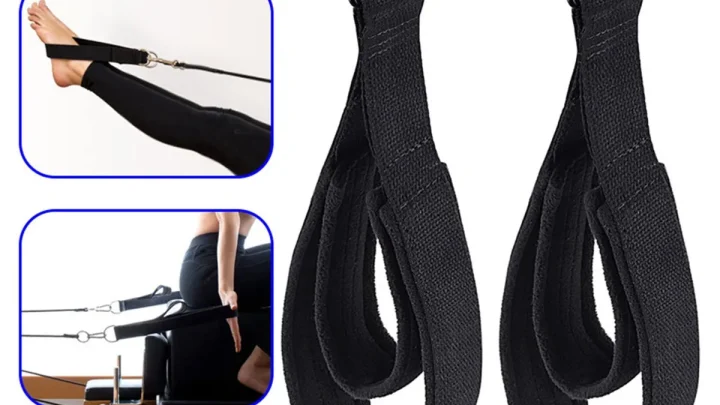
Installing and Aligning Webbing Loops Correctly
Incorrect loop attachment locks a half-turn into the fabric before you even begin exercising. Proper alignment keeps the flat surface of the webbing parallel to your limb.
- Unclip the carabiner or untie the rope loop from the strap attachment.
- Lay the webbing loop flat on the carriage surface with the soft lining facing upward.
- Verify that the D-ring or attachment loop sits flat without any folds in the fabric.
- Clip the carabiner directly through the D-ring, making sure the gate faces outward away from the carriage frame.
- Consult technical maintenance standards from Balanced Body or your specific apparatus builder to confirm factory rope routing paths.
Common Mistakes That Create Unwanted Strap Torque
Small everyday adjustments can introduce hidden torque into an otherwise clean reformer setup. Avoiding these common setup errors will keep your straps aligned.
- Wrapping the long strap around the short loop: Many users wrap excess strap length around the rope to keep it out of the way. This winds a permanent spiral into the fabric that binds under tension.
- Using oil-based wet lubricants on pulleys: Spraying standard penetrating oil or grease into the pulley housing attracts dust bunnies. This quickly binds the swivel mechanism completely.
- Adjusting rope length under active spring tension: Pulling ropes through cam cleats while springs are loaded pinches the outer sheath unevenly. This introduces severe torsional stress into the rope core.
- Ignoring hand placement inside the loops: Threading your hands through the straps from the outside in causes the webbing to flip 180 degrees during pressing movements. Always slide hands straight through from underneath.
Proactive Studio Maintenance to Prevent Twisted Straps
High-volume studio use accelerates rope fatigue and hardware friction. Setting up a regular maintenance schedule ensures that hardware components spin freely and straps remain straight for every class.
As of 2026, commercial apparatus standards recommend inspecting dynamic load points every 100 operating hours. For a busy commercial studio, this equals a monthly visual and physical inspection of every riser and cleat.
- Monthly Pulley Flushes: Clean out the riser pulley bearings with compressed air to clear fine grip-sock fibers and chalk dust.
- Bi-Monthly Rope Alternation: Switch the left and right ropes periodically. Because most users have a dominant side, ropes experience asymmetric torsional load over time.
- Hardware Alignment Checks: Confirm that the pulley riser posts sit parallel to the frame. A bent riser eye puts side-load on the pulley, stopping the swivel action under moderate spring resistance.
- Strap Webbing Replacement: Replace synthetic webbing loops every 1,000 to 2,000 hours of active use. Old straps lose weave stiffness, making them fold and pinch far more easily.
Frequently Asked Questions About Reformer Ropes and Straps
Why do my reformer straps twist only during feet-in-straps exercises?
Your feet naturally rotate outward or inward during dynamic leg movements. This rotational movement transfers torque directly into the webbing loop. If your pulley swivel is stiff, the strap cannot self-level, causing the fabric to curl tightly against your arch or ankle.
Can twisted reformer ropes cause injuries?
Twisted ropes create uneven tension between your right and left sides. This asymmetry places uneven strain across your wrists, shoulders, and hips during heavy spring loads. The curled webbing also creates narrow pressure points that can pinch skin and bruise delicate ankle bones.
How do I stop my reformer ropes from curling up into pigtails?
Pigtails happen when internal rope fibers develop torsional memory from repeated adjustments. Release the rope completely from its cam cleat and pull it free of the pulley. Let the cord hang loose off the carriage end to let the built-up tension unravel naturally.
Should I replace my reformer straps if they keep rolling up?
Old synthetic straps lose structural stiffness over time, making them collapse and roll easily. If your hardware swivels freely and the rope is straight, soft worn webbing is the culprit. Manufacturer guidelines from Merrithew recommend replacing tired loops to restore proper load distribution across your hands and feet.
Does the type of rope material affect how often straps twist?
Yes, marine-grade double-braid polyester ropes resist torsional twist far better than standard untreated braided cords. Cheaper ropes tend to flatten and bind inside pulley wheels, transferring rotational force straight to the strap. Investing in pre-stretched synthetic cordage reduces core twist significantly.
The Bottom-Line Fix for Smooth, Twist-Free Glides
Stopping reformer strap twist comes down to keeping your hardware spinning freely and your ropes aligned. A few seconds of basic equipment checks will save you from constant interruptions mid-workout.
Before starting any session, take a quick look at your risers and cam cleats. Ensure your swivel blocks rotate smoothly in a complete 360-degree circle without grit catching the bearings. Lay your ropes flat, verify that the webbing sits flush against your carriage, and slide your limbs straight into the loops without rotating the fabric.
When you address both the mechanical friction at the pulley and dynamic hand placement on the straps, your carriage returns to its quiet, effortless glide. Keep your hardware clean, de-tension your ropes regularly, and enjoy smooth, uninterrupted movement on every repetition.

Similar Posts