How to Measure Reformer Strap Length for a Perfect Fit
If you feel an uneven pull across your shoulders during arm series or your hips twist during footwork, your straps are likely uneven. Learning how to measure reformer strap length correctly ensures balanced resistance across your entire body. Many home practitioners assume they need a rigid tape measure, but that usually creates more problems than it solves.
Manufacturer specifications from equipment builders like Balanced Body emphasize equipment landmarks over fixed inch measurements. Reformer frames, carriage bumpers, and rope materials all settle differently over time. As of 2026, professional studios rely on physical alignment benchmarks to set neutral strap length quickly and accurately.
Quick Answer
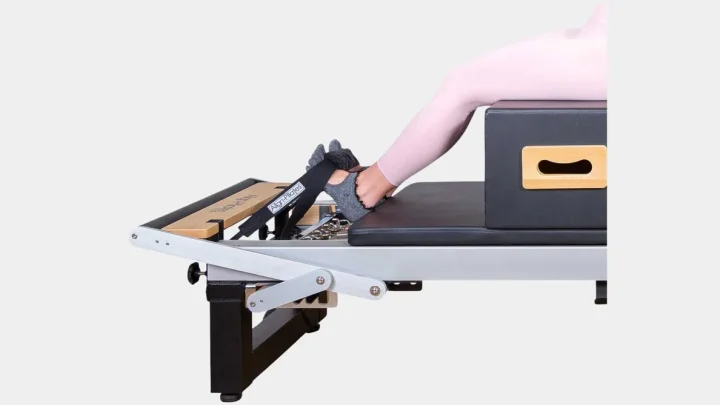
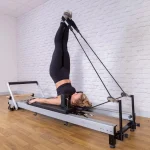
To measure reformer strap length, lock your carriage against the front stoppers with a spring. Pull both straps taut toward the shoulder rests. Align the metal clips or the base of the handles with the front edge of the shoulder blocks.
Secure the ropes into your cleats at that exact point.
Image source: Web (Bing) / goalignpilates.com (Web image (fair-use with source credit))
Why Reformer Strap Length Matters (And the Real Problem with Tape Measures)
Using a standard tape measure to set your reformer ropes sounds logical. In practice, measuring tape rarely accounts for dynamic rope tension or hardware variances. Ropes stretch with use, cam cleats bite at slight angles, and rubber bumpers wear down at different rates.
Measuring 30 inches of loose rope on the floor will not guarantee equal spring loading once you put weight on the carriage.
When straps are uneven by even a quarter inch, your body compensates instantly. The shorter strap takes the load first. This forces your dominant shoulder to hike, your rib cage to rotate, or your pelvis to tilt out of neutral.
Straps that are generally too long cause the carriage to hit the stoppers early. You lose resistance right at the top of your movement. If straps are too short, the carriage gets pulled off the bumper at rest.
This pre-loads the springs dangerously and cuts into your working range of motion.
| Measurement Method | Accuracy Under Load | Speed | Accounts for Rope Stretch? |
|---|---|---|---|
| Tape Measure Method | Low | Slow (3-5 mins) | No |
| Landmark Method | High | Fast (< 60 secs) | Yes |
| Floor Length Comparison | Moderate | Slow (2-4 mins) | No |
The Fast Setup Rule: Finding Your Equipment Landmarks
The easiest way to measure strap length is by using the physical landmarks already built into your reformer. These fixed points do not change when ropes stretch or stoppers compress.
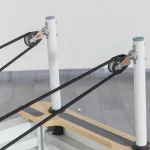
For a standard neutral setup, your baseline landmark is the shoulder block system. When the carriage rests completely against the home stoppers, both handles should sit flush against these blocks.
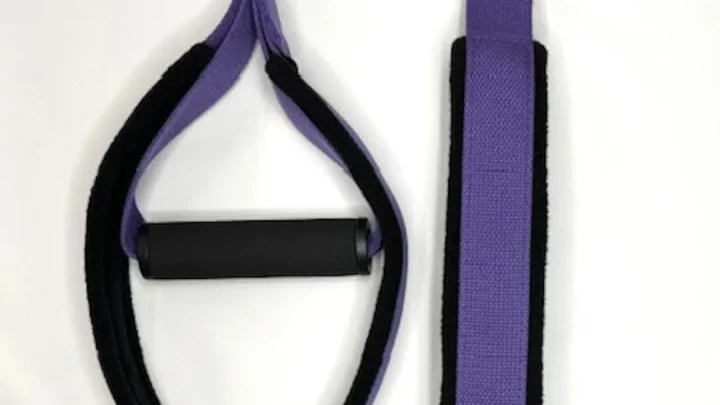
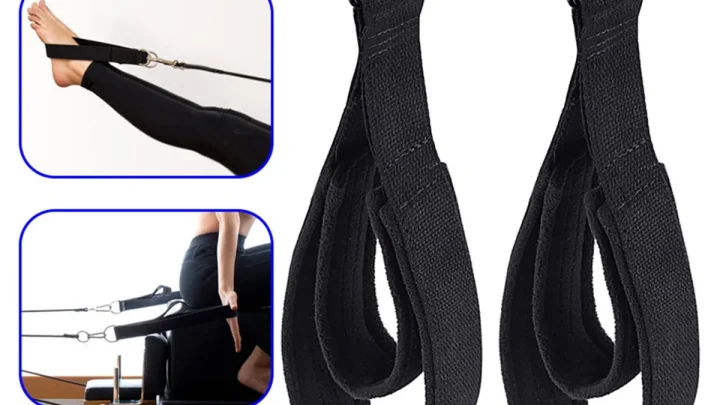
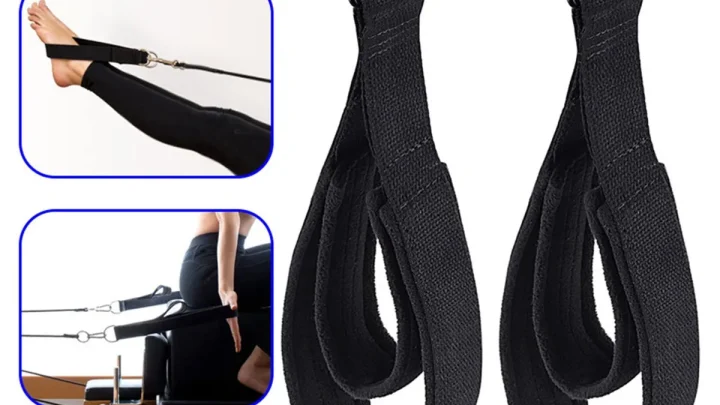
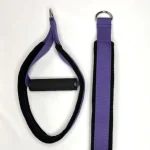
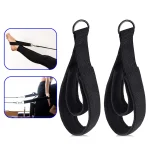
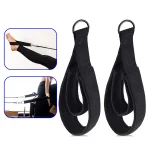
- Double-Loop Straps (Short Hand Loop): The seam where the small loop meets the long loop should align with the top post of the shoulder rest.
- Double-Loop Straps (Long Foot Loop): The bottom edge of the long loop should hang just past the back edge of the carriage.
- Single-Loop Handles: The metal D-ring or clip connecting the handle to the rope should sit directly on top of the shoulder block post.
- Leather Strap Thumb Loops: The thumb loop should reach the wooden edge of the carriage frame when pulled taut.
Using these points creates a zero-slack neutral. When you lie down, your springs will engage the split second you begin moving your limbs.
Decision Tree: How to Adjust Straps Based on Your Reformer Hardware
Different reformer designs use different adjustment hardware. Use this guide to determine how to set your length based on your machine style.
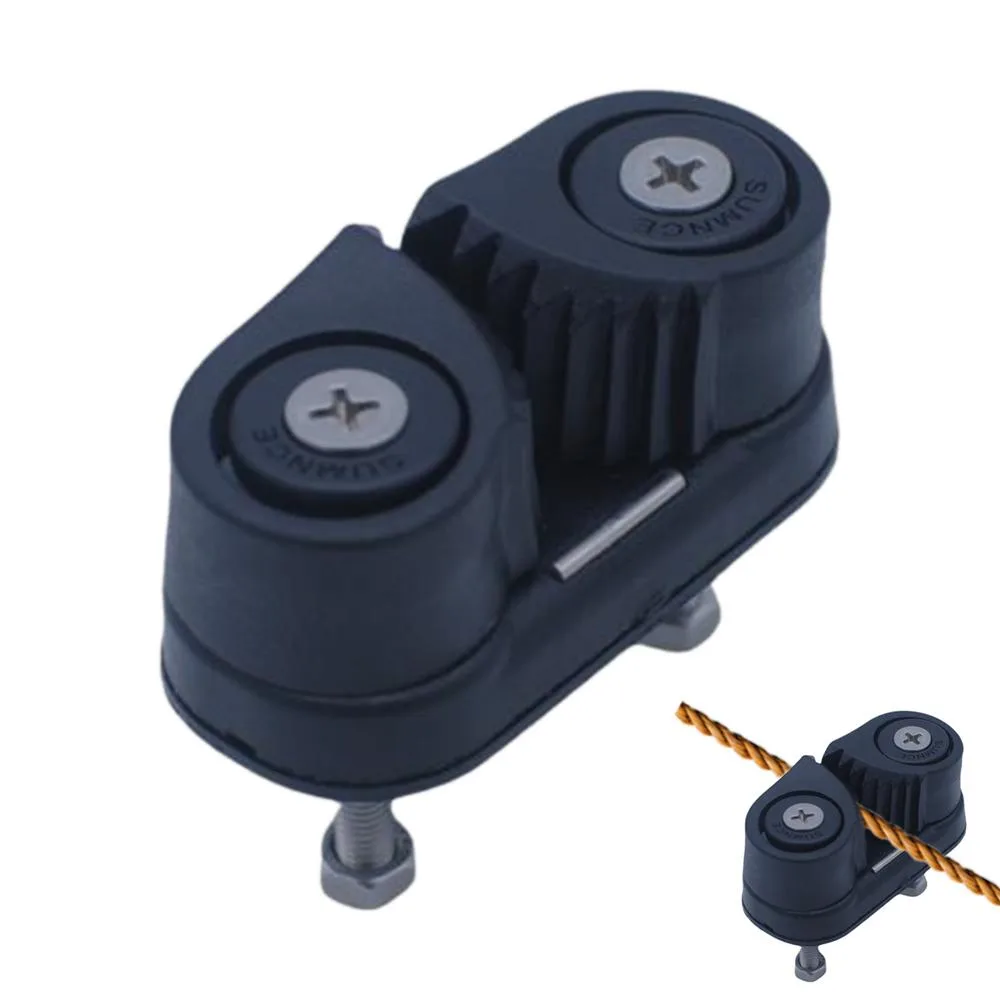
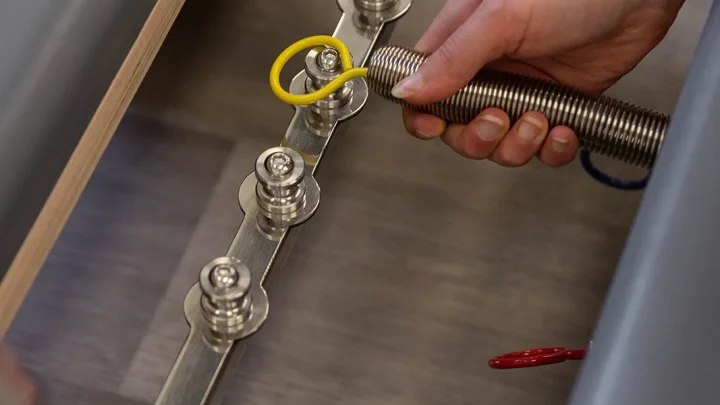
Image source: Web (Bing) / uk.vicedeal.com (Web image (fair-use with source credit))
Modern Rope and Cam Cleat Systems (Balanced Body, Merrithew, Peak)
If your reformer uses climbing ropes with nautical cam cleats behind the shoulder rests or under the carriage, follow this path:
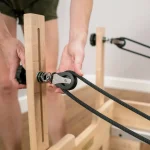
- If the carriage is pulled away from the bumper: Pop the rope upward out of the cam cleat teeth. Let out rope until the carriage rests flush against the frame stopper.
- If the rope has slack when resting on the shoulder posts: Pull the free end of the rope through the cleat until the handle sits snugly against the post. Push down firmly so the spring-loaded teeth bite the rope fibers.
Classical Leather Straps and Studs (Gratz, Archival Reformers)
If your reformer uses non-stretch leather straps with punched holes and metal studs:
- If you have standard limb proportions: Hook the middle pre-punched hole over the carriage peg underneath the frame.
- If the carriage leaves the bumper: Move one hole looser toward the end of the strap. Classical leather does not stretch quickly, so adjustments are made in fixed increments.
Slide-Bar and Buckle Mechanisms
If your machine uses webbing straps with sliding friction buckles:
- If strap tension slips during workouts: Feed the strap tail back through the secondary retainer bar to lock the friction slide.
- If leveling the sides: Use a fabric chalk mark on the webbing across both buckles to spot uneven slippage between sets.
Step-by-Step Workflow to Measure and Level Your Straps
Follow this exact sequence whenever you set up your machine or switch between users.
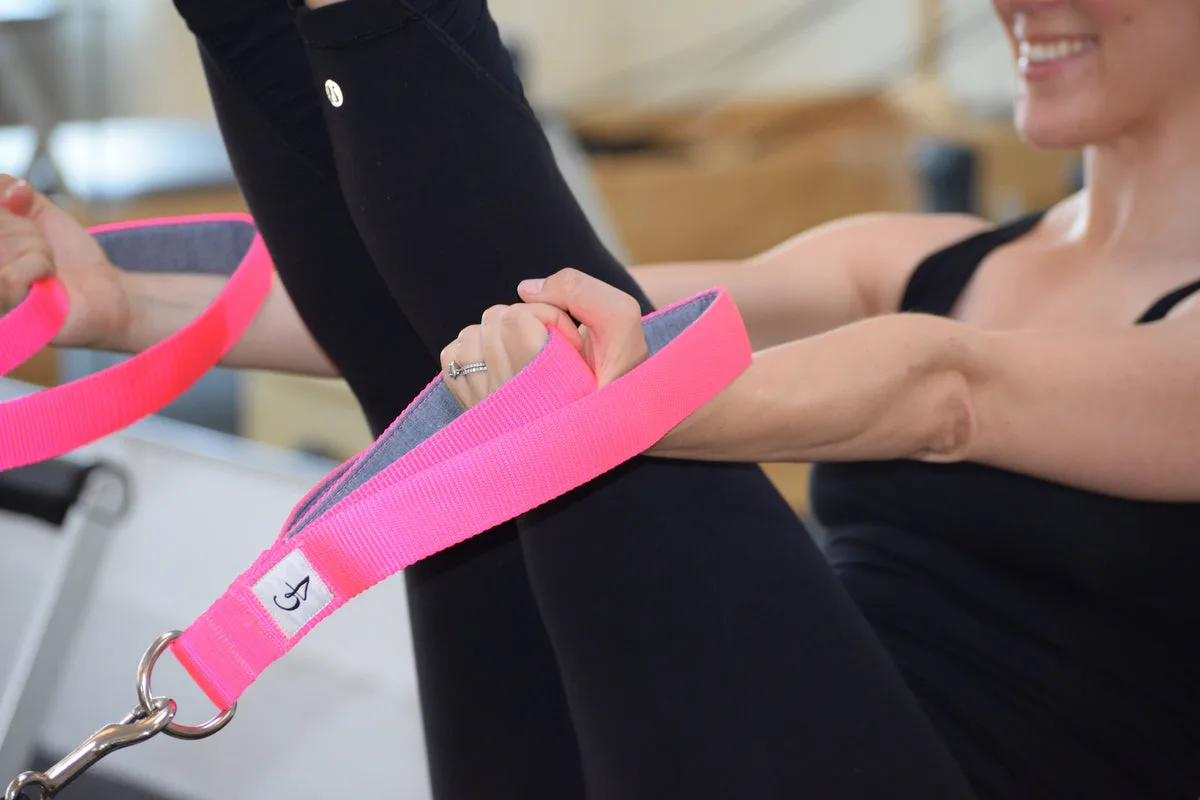
Image source: Web (Bing) / goodcitizenla.com (Web image (fair-use with source credit))
Step 1: Secure the Carriage at Home
Always attach at least one heavy or medium spring to your gearbar. Never adjust straps on an unweighted carriage. The spring keeps the carriage firmly pressed against the rubber bumper stoppers.
Step 2: Clear Rope Twists
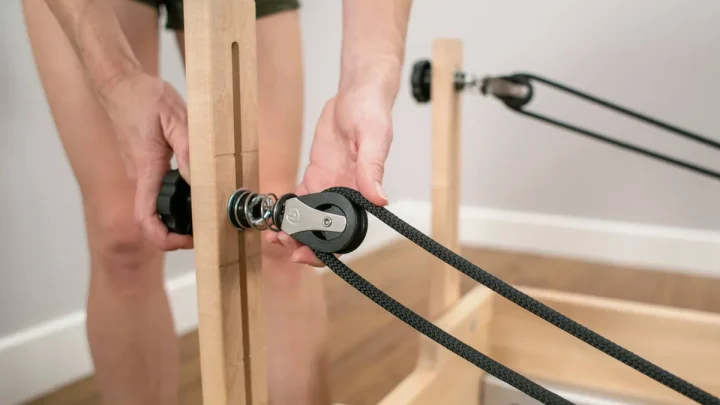
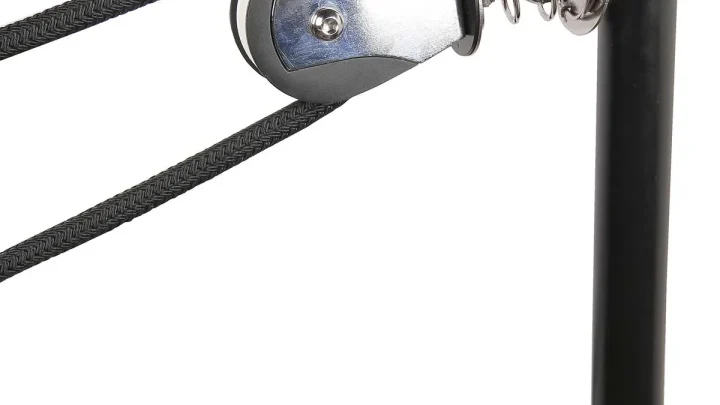
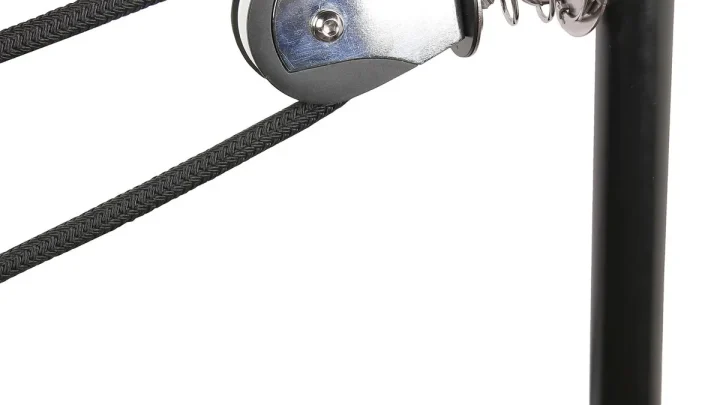
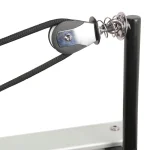
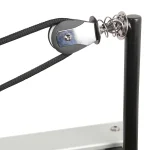
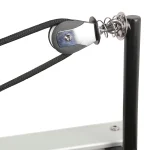
Inspect the path from the carriage cleats up through the pulley risers. Ropes frequently twist around themselves. A single twist alters the functional length by nearly half an inch.
Spin the pulley wheel with your fingers to ensure smooth tracking.
Step 3: Align to Your Reference Landmark
Grab both strap loops. Pull them toward the shoulder rests until the ropes are taut without lifting the carriage off the bumper. Drop the metal rings or inner loop seams directly onto the shoulder block posts.
Step 4: Lock the Fasteners
Push the ropes straight down into the cleat teeth. Give each strap a sharp tug toward the footbar. This seats the rope deep into the cleat jaws and prevents slippage during high-load exercises.
Step 5: Run the Dynamic Leveling Test
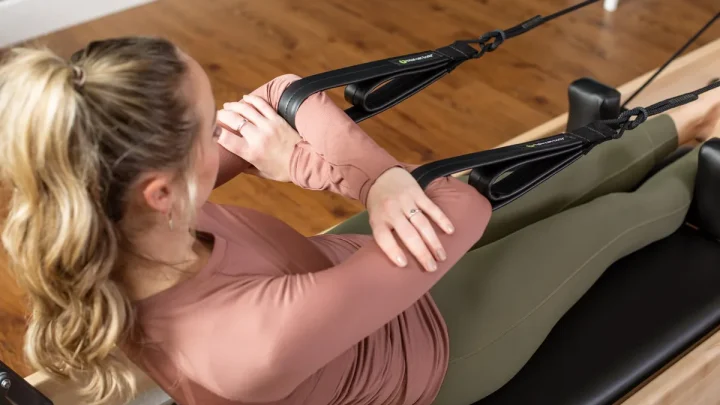
Lie flat on the carriage. Take one handle in each hand and reach your arms straight up toward the ceiling over your shoulders. Press the bottoms of the handles together.
If the handles line up flat across the knuckles, your straps are perfectly level. If one hand sits higher than the other, adjust the lower side by releasing a tiny bit of rope at the cleat.
Fine-Tuning for Body Proportions and Specific Exercises
Standard shoulder-block alignment works for roughly 80 percent of exercises and body types. You still need slight adjustments depending on whether you are doing upper-body work or leg routines.
Arm work demands immediate spring feedback. Feet in straps often requires more working clearance so your hip flexors do not grip at the start of a movement.
Adjusting for Arm Work vs. Feet in Straps
For kneeling arm series or supine arm work (like the Hundred or Midback series), neutral landmark positioning is ideal. You want spring resistance the second your hands move forward.
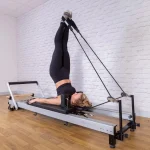
When transitioning to Feet in Straps (Leg Circles, Frogs), longer straps allow your legs to reach a 90-degree vertical angle without pulling the carriage into the bumpers.
- If your carriage hits the stoppers during leg circles: Lengthen each rope by 1 to 2 inches, or switch from the small hand loop to the longer outer loop.
- If you lose tension at the bottom of your arm press: Shorten the straps by 1 inch so the springs remain engaged through your entire reach.
Accommodating Taller, Shorter, or Hypermobile Movers
Body proportions dictate strap tension far more than raw height. A mover with a long torso and short limbs needs a different strap setup than a person of the same height with long legs.
- For movers under 5 feet 2 inches: Shorten the baseline rope length by moving the handle clip 1 to 2 inches past the shoulder block toward the footbar. This prevents joint strain from reaching too far back.
- For movers over 6 feet: Extend the straps until the loops hang 2 to 3 inches behind the shoulder rests. This provides full hip extension without bottoming out the carriage.
- For hypermobile movers: Keep straps at a strict zero-slack neutral. Loose straps encourage hyperextension of the elbows and knees at the end of a rep.
Five Common Strap Mistakes That Throw Off Your Alignment
Even experienced practitioners run into setup errors that degrade workout quality or place uneven strain on the spine.
1. Adjusting Straps Without Spring Tension
Never unlock your rope cleats while the carriage has zero springs attached. The carriage will slide away from the bumpers instantly, throwing off your reference point. Always keep at least one heavy spring hooked to the gearbar during adjustment.
2. Ignoring Pulley Riser Angles
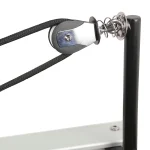
Pulley risers change the rope trajectory. If one pulley is set to hole 3 and the other is set to hole 1, the functional strap length changes completely. Both pulley risers must sit at identical heights before you level the ropes.
3. Misaligned Double Loops
Many users place the small loop over one shoulder post and the long loop over the other. Double loops must be mirrored on both sides. Use the identical ring or seam on each side as your visual anchor.
4. Overlooking Cam Cleat Wear
Cleat teeth wear down over years of heavy use. If you notice one side slipping longer during footwork, inspect the cam jaws. Worn teeth allow braided rope to slide under heavy spring loads.
5. Eyeballing from the Side of the Machine
Standing next to the reformer gives a distorted perspective. Always check strap symmetry while standing directly at the back of the frame, looking straight down the center line of the carriage.
Frequently Asked Questions About Reformer Straps
How often should I check my reformer strap length?
Check your strap symmetry before every workout session. Ropes stretch slightly under load, and cam cleats can shift during high-tension movements. A five-second check against your shoulder rests prevents uneven spinal torque.
Why do my reformer straps feel uneven even when measured?
Pulley heights or worn carriage bumpers are the usual culprits. If one pulley riser is higher than the other, the functional length changes. Unevenly compressed rubber stoppers also cause the carriage to sit crooked against the frame.
What is the standard neutral length for reformer ropes?
Neutral length places the handle clip or the inner loop seam flush against the shoulder rest post. The carriage must remain fully seated against the front bumper with zero spring pre-tension and zero rope slack.
Should I use the short loop or long loop for feet in straps?
Use the long loop for feet in straps exercises like Leg Circles and Frogs. The longer loop accommodates hip flexion and prevents the carriage from bottoming out against the stoppers at a 90-degree leg angle.
Can I replace classic leather straps with modern ropes?
Yes, most manufacturers offer rope and pulley conversion kits for classical frames. You will need to install pulley risers and cam cleats to accommodate synthetic braided climbing rope instead of fixed leather straps.

Similar Posts