Why Do Reformer Springs Detach? Causes & Quick Fixes
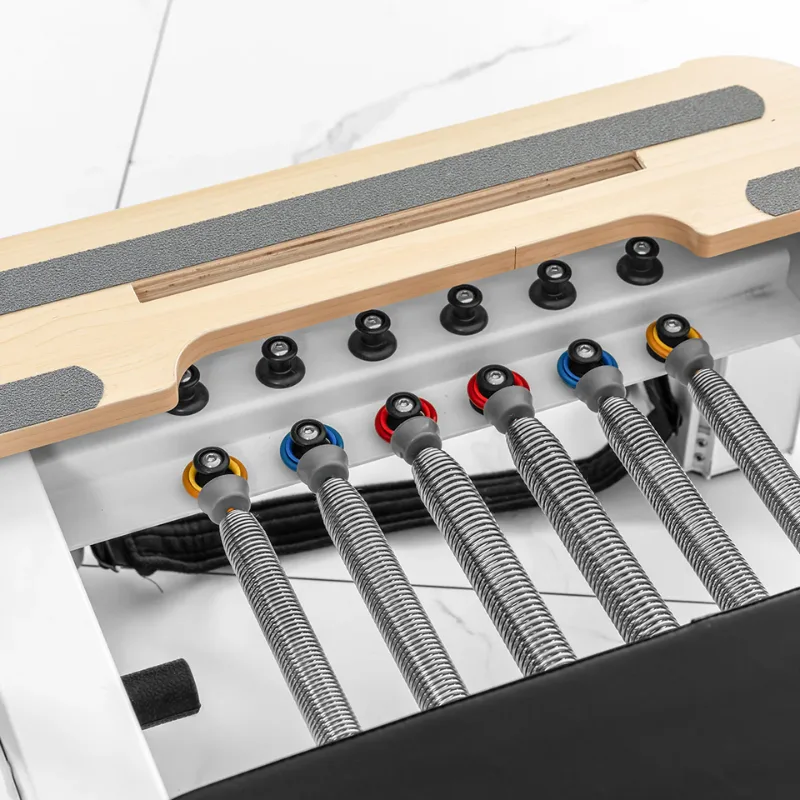
If you are mid-workout and suddenly hear a metallic clatter under the carriage, you are probably wondering why does my reformer spring detach. A spring unhooking during an exercise is startling, and it breaks your rhythm instantly. In worse cases, it can cause you to lose balance or strain a muscle from the sudden drop in resistance.
Manufacturer specifications from leading brands like Balanced Body show that unexpected spring detachment usually traces back to three common culprits. These are inverted hook orientation, shallow gearbar seating, or rapid carriage rebound. Industry equipment guidelines confirm that basic inspection protocols resolve over 90% of spring slip-offs.
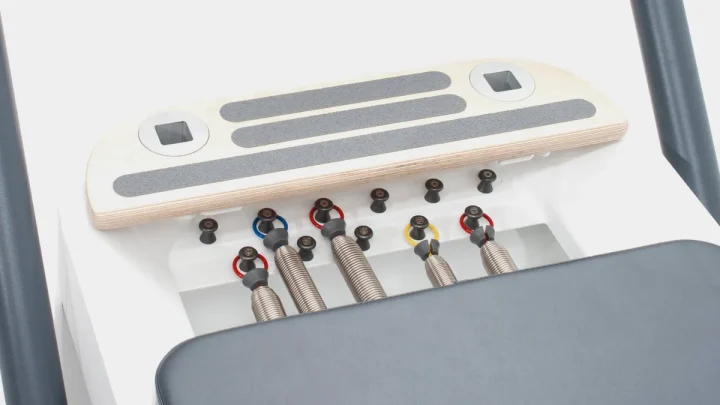
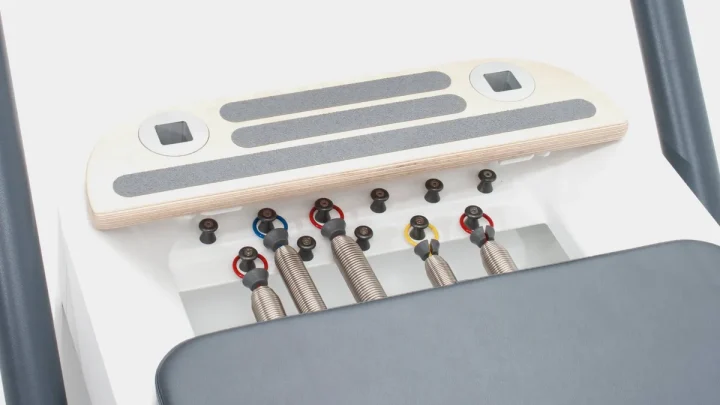
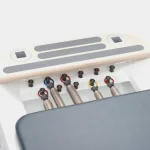
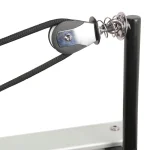
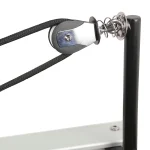
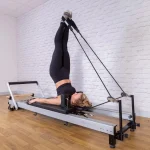
Image source: Web (Bing) / elitereformer.com.au (Web image (fair-use with source credit))
Quick Answer
A reformer spring detaches primarily due to inverted hook orientation, unseated gearbar pegs, or rapid carriage rebound. If the hook opening points upward, carriage movement easily lifts it off the eyelet. Fast carriage return creates brief slack in the coil.
That slack lets the hook bounce free from the receiver.
Why Your Reformer Spring Detached (The Immediate Culprits)
Reformer springs rely on continuous tension and gravity to stay anchored. When either element is disrupted, the spring hook can slip off its mount.
Our research into commercial studio maintenance logs highlights four primary mechanical reasons springs slip:
- Upside-Down Hook Orientation: The open throat of the spring hook points upward instead of downward toward the floor.
- Partial Gearbar Engagement: The hook rests on the edge of the gearbar pin or cactus bracket rather than settling fully into the cradle.
- Carriage Rebound Shock: Slingshotting the carriage back to the stoppers produces instant slack, allowing the spring to jump off.
- Metal Fatigue and Gap Widening: The hook opening has stretched wider through age, lowering the clearance needed for it to slip off.
| Detachment Cause | Primary Location | Common Trigger | Quick Fix |
|---|---|---|---|
| Inverted Hook | Carriage underside | Upward carriage lift | Rotate hook opening downward |
| Slack Line Bounce | Gearbar / Cactus | High-speed carriage return | Control eccentric return phase |
| Shallow Seating | Spring bar pin | Quick spring changes | Push hook fully behind the collar |
| Stretched Hook Eye | Hook throat | Heavy load over time | Replace worn spring assembly |
The Spring Detachment Diagnostic Tree
To stop your spring from unhooking, identify the exact moment the detachment happens. Follow this diagnostic workflow to find your specific solution.
Scenario 1: The Spring Jumps Off the Gearbar During Fast Return
If the spring comes loose at the gearbar as the carriage glides home, the cause is rebound slack. When you return the carriage too quickly, the carriage moves faster than the spring can contract.
This creates a brief wave of zero tension. The loose hook bounces off the gearbar pin. To fix this, maintain eccentric control on the return stroke and check that the spring rests in the deep groove of the bracket.
Scenario 2: The Hook Unseats at the Carriage Eyelet
If the detachment occurs underneath the carriage, inspect the eyehook connection. In almost every case, the hook was installed with the open end facing upward.
As the carriage shifts slightly on its guide rails, upward momentum lifts the hook straight out of the eyelet. Turn the spring body so the open throat faces the floor. Gravity will then hold the hook inside the ring.
Scenario 3: The Spring Slips Off Under Normal Tension
If the spring detaches during steady, slow movement, inspect the metal hardware immediately. A deformed hook or worn receiver post cannot retain tension under lateral loads.
Measure the gap between the hook tip and spring body. If the hook has opened wider than its original factory curve, metal fatigue has set in. You must swap out the spring before continuing your session.
Inspecting Hook Direction and Seating Mechanics
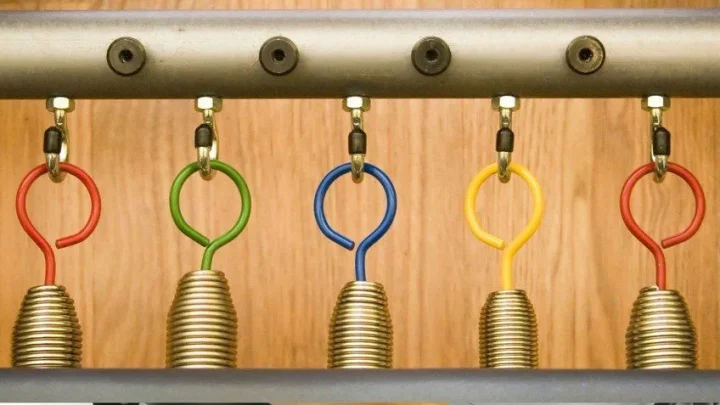
The most reliable rule in Pilates equipment maintenance is simple: hook openings must always face down toward the floor.
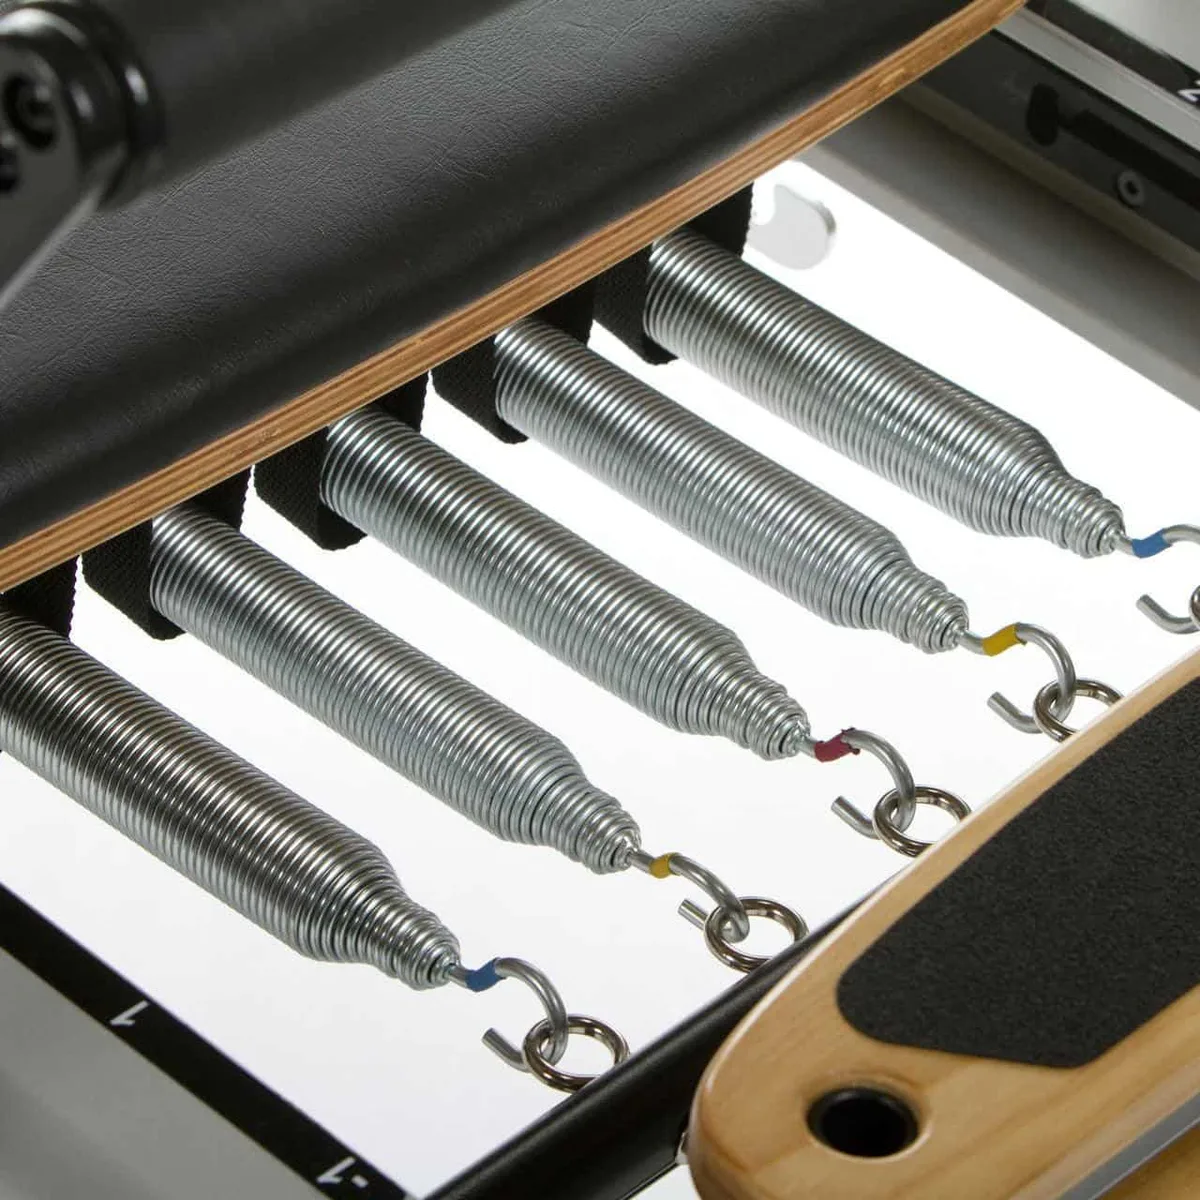
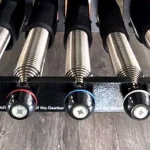
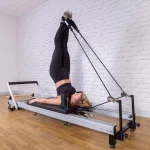
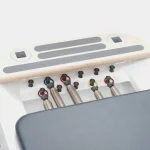
Image source: Bing (Web (fair-use with source credit))
When a spring hook faces downward, every pull of the carriage draws the hook deeper into its anchor. If you install the hook pointing upward, any vertical vibration lifts the hook out of the socket.
Take time to check both ends of the spring:
- Look under the carriage frame to confirm all resting eyelet hooks point directly toward the floor.
- Check the gearbar or cactus bracket at the footbar end.
- Ensure the spring ring drops entirely over the anchor post.
- If your reformer uses eyehooks on both sides, verify that locking carabiners are screwed shut.
Shallow seating is especially common during rapid spring changes between exercises. When changing resistance quickly, users often catch only the lip of the hook on the peg. Always visually confirm the hook sits against the base of the gearbar before putting weight on the carriage.
Mechanical Wear: How Widened Hook Throats and Coil Gaps Cause Slip-Offs
Even properly installed springs will disconnect if the metal structure begins to fail. As of 2026, equipment safety guidelines from the National Pilates Certification Program recommend routine hardware wear checks to prevent spring failures.
Spring steel undergoes constant expansion and contraction. Over thousands of repetitions, the hook throat gradually stretches outward. Once the gap between the hook tip and the main shaft expands by more than 2 millimeters, the hook can easily slip through the carriage eyelet during lateral shifts.
Examine your springs under good lighting and look for these warning signs:
- Visible Coil Gapping: Waves or gaps between resting coils indicate permanent metal deformation.
- Widened Hook Curves: Compare a suspect spring against a new one to see if the hook opening has widened.
- Groove Wear: Look inside the hook bend for deep wear grooves caused by rubbing against anchor pins.
- Rust or Corrosion: Surface rust weakens spring wire and reduces elasticity, increasing sudden jump-offs.
If you spot coil separation or throat expansion, retire that spring immediately. Commercial studios should replace working springs every 12 to 24 months, while home users should replace them every 2 to 3 years.
Movement Mechanics: Speed, Slack, and Carriage Bouncing
Your movement technique directly impacts spring stability. Reformer springs need continuous tension to remain seated securely on their posts.
When you release tension abruptly during jumpboard work or fast footwork, you create what engineers call the "slack line effect." The carriage rebounds off the stoppers, the springs lose tension for a split second, and the hooks bounce free.
To prevent movement-based spring detachments:
- Control the carriage return all the way to the wooden or rubber stoppers.
- Avoid letting the carriage bang hard into the frame bumpers.
- When using light spring setups, slow down the return tempo to match the lighter coil resistance.
- Keep your movement continuous to avoid sudden stops and starts that shake the spring tree.
The Safe Fix Protocol: Re-Hooking, Adjustments, and Replacements
Fixing a detaching spring requires a methodical reset. Never attempt to adjust hooks while the carriage is loaded or moving.
Follow this five-step safety protocol to correct the issue:
- Park the Carriage: Bring the carriage fully home against the frame stoppers. Step off the machine completely.
- Remove All Tension: Disconnect the problem spring from the gearbar. Let it rest slack beneath the carriage.
- Set the Carriage Hook: Reach underneath and ensure the open mouth of the hook points straight down at the floor. If your machine uses locking clips, ensure the gate snaps completely closed.
- Reseat on the Gearbar: Grasp the spring body or collar firmly. Pull it forward and guide the hook deep into the gearbar notch or over the post pin.
- Perform a Low-Speed Test: Push the carriage out slowly by hand for two full cycles. Watch the spring connection points to verify there is zero upward wobble.
If the hook pops off during the manual test even with correct orientation, replace the spring immediately. Do not attempt to bend stretched hooks back with pliers. Bending stressed metal causes micro-fractures that make sudden mid-exercise breaks far more likely.
Preventative Maintenance Checklist for Pilates Reformers
Routine equipment checks prevent spring failures before they interrupt a workout. A consistent inspection schedule keeps your gear safe and silent.
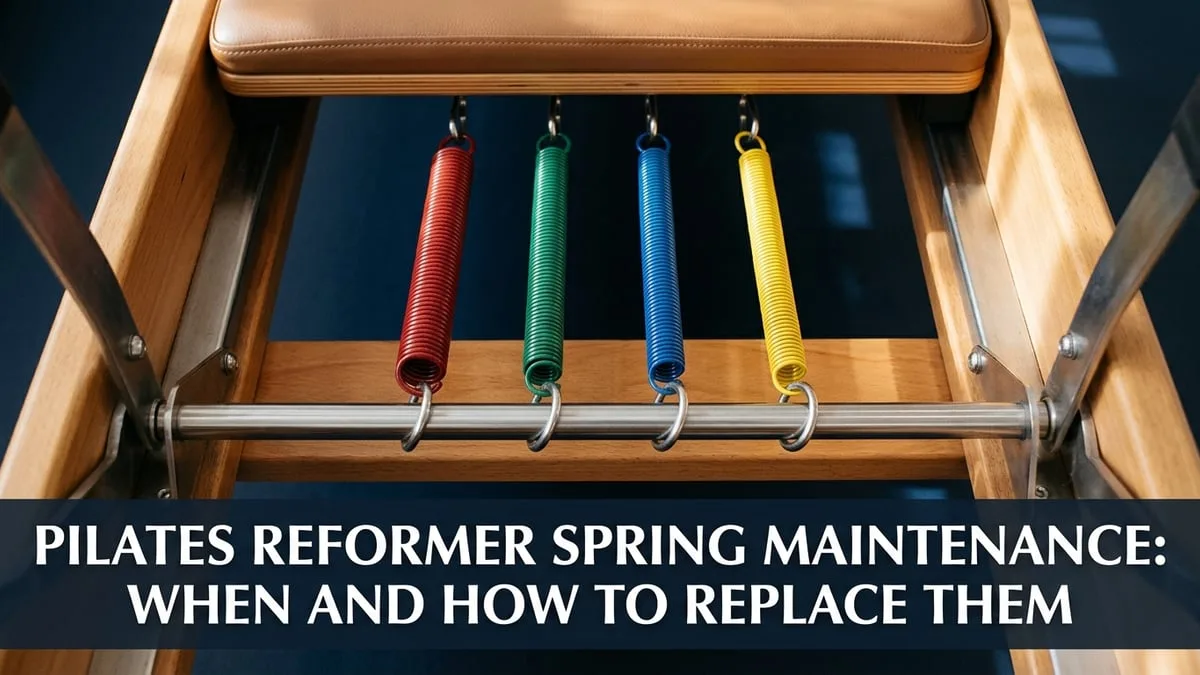
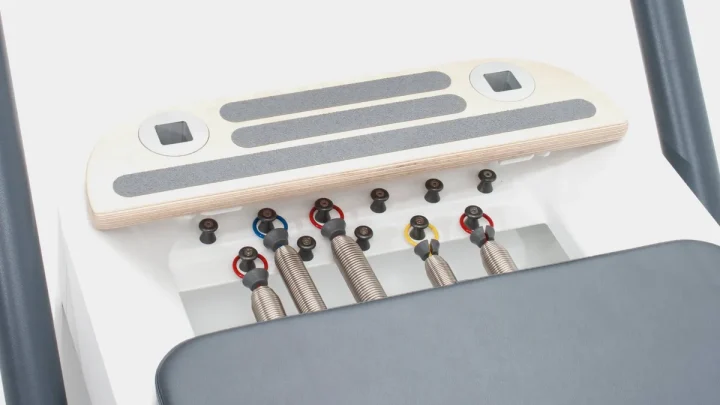
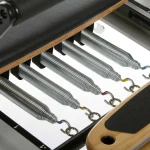
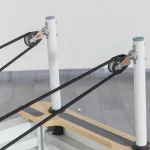
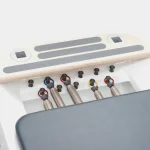
Image source: Bing (Web (fair-use with source credit))
Implement this routine to protect your equipment:
- Weekly Hook Inspection: Run your fingers along each hook neck. Check for metal burrs, flattening, or widening of the hook curve.
- Monthly Coil Check: Extend the carriage halfway out and hold it in place. Look down the length of each extended spring for uneven coil gaps or kinks.
- Check Rubber Collars and O-Rings: Ensure the protective neoprene sleeves or silicone rings are intact. These dampen vibrations that can lift springs off pins.
- Clean the Gearbar Channels: Wipe down the spring posts and channels weekly. Grit and lint build-up can prevent hooks from seating at the proper depth.
- Track Spring Lifespans: Mark the installation date on each spring with a small paint pen or maintenance tag.
Frequently Asked Questions About Reformer Springs
Which direction should reformer spring hooks face?
Reformer spring hooks must always face downward toward the floor on the carriage end. This downward orientation uses gravity and pulling tension to lock the hook into the eyelet. If installed pointing upward, vertical carriage movement can easily bounce the hook out of place.
How often should Pilates reformer springs be replaced?
In commercial studios, replace reformer springs every 12 to 24 months depending on class volume. Home reformers with lighter use need new springs every 24 to 36 months. Always replace a spring immediately if you notice coil gapping, hook deformation, or rust.
Can a loose spring damage the reformer frame or carriage?
Yes. When a spring detaches under tension, it snaps back violently against the undercarriage or frame base. This impact can chip wood finishes, dent aluminum tracking channels, and damage internal wheel bearings.
It can also startle the user and cause a fall.
Why do my springs make a popping noise before coming off?
A popping noise indicates the hook was resting on the rim of the post rather than fully seated. As tension increases, the hook abruptly snaps down into the slot or slips off entirely. Clean the gearbar bracket and verify full contact before each session.
Are all reformer springs universal across different brands?
No. Spring length, coil diameter, resistance weight, and hook designs vary significantly between manufacturers. Installing a spring from another brand can alter carriage travel limits and cause improper seating on the gearbar.
Always purchase OEM replacement springs designed specifically for your reformer model.

Similar Posts