How to Correctly Balance Pilates Reformer Springs
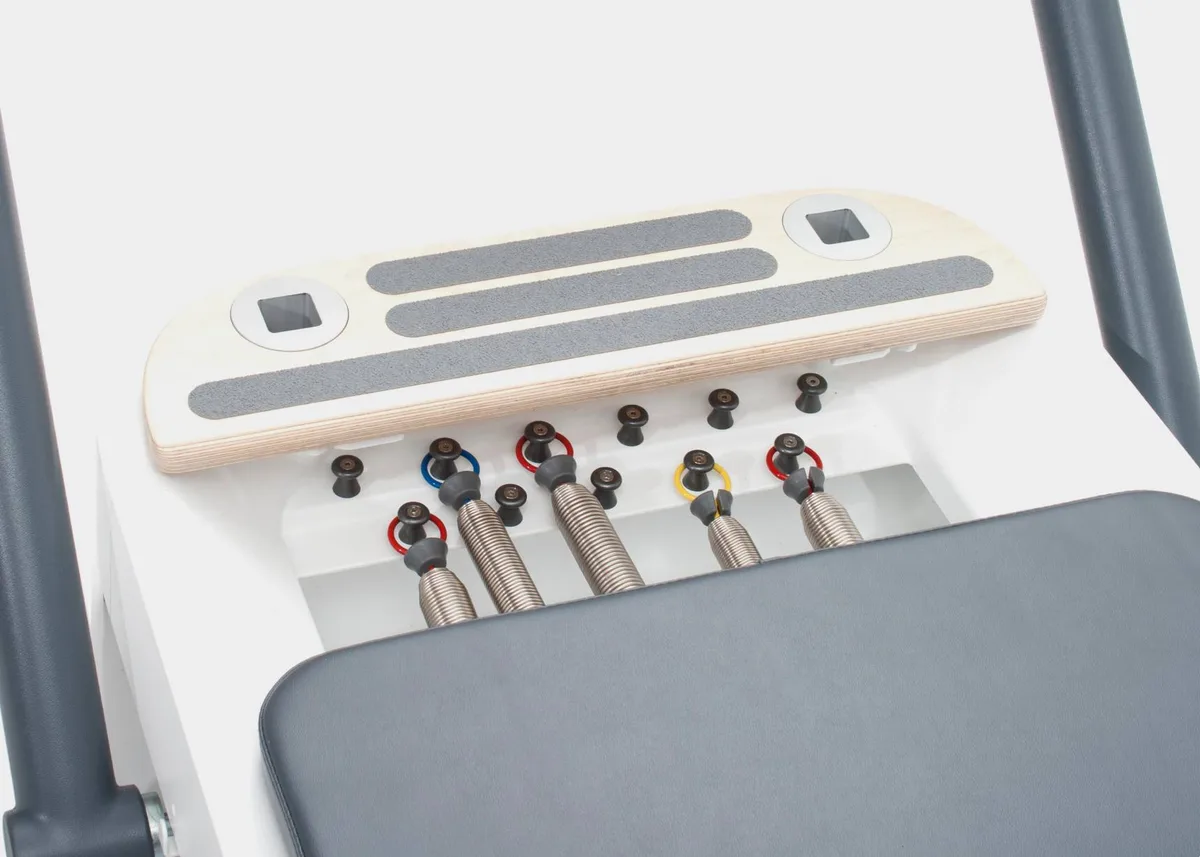
Setting up your workout requires knowing how to balance springs on a reformer with precision. The wrong spring tension changes the mechanical focus of an exercise, which can cause poor alignment or sudden muscle strain.
Spring tension ratings vary widely across manufacturers. Technical specifications from Balanced Body show that a standard red spring delivers about 31 pounds of resistance at 50 percent extension. As of 2026, modern studio protocols emphasize that lighter spring setups often demand greater core stabilization than heavy setups.
Image source: Web (Bing) / pilates.com (Web image (fair-use with source credit))
Quick Answer
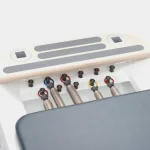
To balance springs on a reformer, attach springs symmetrically around the centerline of the gearbar. Always hook inner springs first, working outward toward the frame edges. Match your total tension to the movement goal instead of muscle size.
Heavy springs support bodyweight or provide leg resistance. Light springs challenge core stability and control carriage recoil.
Understanding Reformer Spring Resistance and Balance Dynamics
Reformer springs do not behave like traditional gym weights. A barbell provides constant downward gravitational resistance. In contrast, reformer springs use progressive resistance that increases as the carriage moves away from the footbar.
Controlling the carriage as it returns to the stopper requires eccentric strength. If you unload the springs too quickly, the carriage will slam into the bumper. Balancing your springs properly ensures smooth travel along the aluminum tracks.
The Core Concept: Assistance vs. Challenge
In traditional strength training, heavier weight equals harder work. On a Pilates reformer, that rule is often inverted.
Heavy springs give you a stable base that assists your bodyweight during support exercises. When you perform pelvic curls or footwork, heavy tension holds the carriage steady beneath you.
Light springs offer very little mechanical support. In exercises like the Elephant or Long Stretch, light springs force your deep abdominal muscles to prevent the carriage from drifting out.
Brand Color Codes and Tension Equivalencies
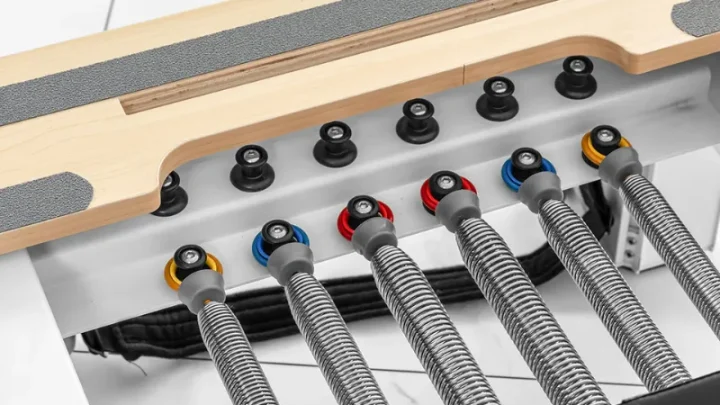
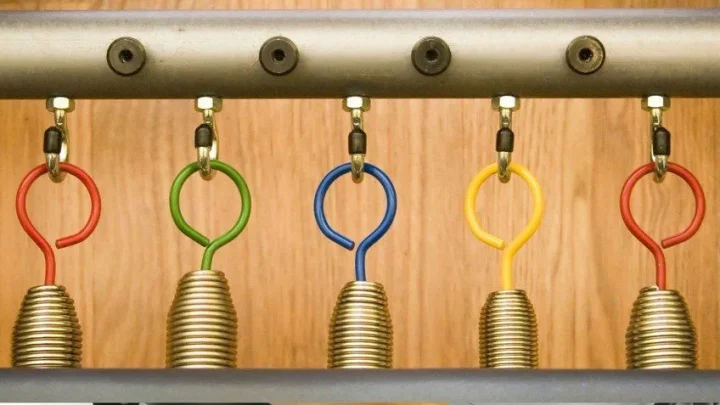
Reformer brands use distinct color schemes to indicate spring tension. The table below outlines standard tension ratings across major manufacturers.
| Brand | Heavy (100% / 1.0) | Medium (50% / 0.5) | Light (25% / 0.25) | Extra Heavy (125% / 1.25) |
|---|---|---|---|---|
| Balanced Body | Red | Blue | Yellow | Green |
| Merrithew (STOTT) | Red | Blue | White | Black |
| Peak Pilates | Red | Blue | Yellow | N/A |
| Gratz | Uniform Steel (4) | Uniform Steel | Light (Optional) | N/A |
Classical reformers like Gratz use four unpainted springs with uniform heavy resistance. Contemporary machines feature five springs with varied resistance gradients.
Step-by-Step Decision Workflow: Setting Your Springs for Any Exercise
Choosing the correct spring setting requires a clear three-step evaluation process. Use this workflow before starting any sequence.
[Start: Assess Exercise Goal]
           │
  Is the exercise for:
  ├─ Bodyweight Support / Heavy Legs? ──► [Select 3 to 4 Heavy Springs]
  ├─ Upper Body / Moderate Core?       ──► [Select 1 Heavy + 1 Light/Medium]
  └─ Pure Core Stability / Balance?    ──► [Select 1 Medium or 1 Light Spring]
           │
[Step 2: Adjust for Mover Size]
  ├─ Body weight > 180 lbs / Long limbs ──► [Add 1/2 Spring or Adjust Gearbar Out]
  └─ Joint pain / Short lever arms      ──► [Drop 1/2 Spring]
           │
[Step 3: Symmetrical Hook Placement] ────► [Hook from Centerline Outward]
Step 1: Identify the Mechanical Objective
- If you need full bodyweight support: Choose 3 to 4 full springs (e.g., 3 Red, 1 Blue).
- If you need upper-body resistance: Choose 1 full spring or 1 medium spring (e.g., 1 Red or 1 Blue).
- If you need core stability challenge: Choose 1 light or 1 medium spring (e.g., 1 Blue or 1 Yellow).
Step 2: Account for Mover Body Weight, Height, and Leverage
Taller movers have longer limbs, which creates longer levers and greater mechanical torque. If you are tall or carry higher body mass, you may need an extra half-spring to prevent bottoming out against the frame.
Shorter movers or individuals with tight hip flexors often need to drop half a spring. Adjusting the gearbar position helps maintain a 90-degree hip angle at the starting position without straining the lower back.
Step 3: Match the Spring Load to the Target Movement Pattern
Always test the carriage range with a slow repetition before starting your set. If your lower back arches or the carriage shudders on the return path, adjust the tension immediately.
How to Balance Springs Symmetrically on the Gearbar
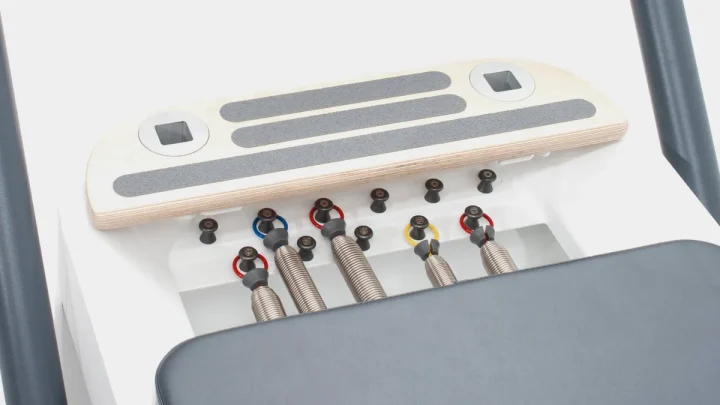
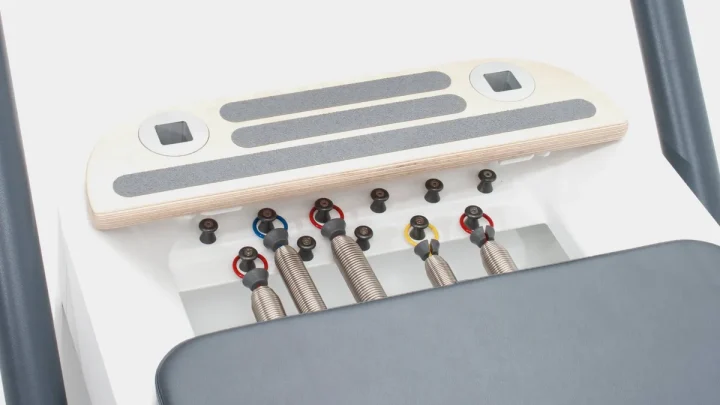
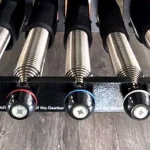
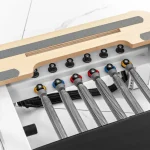
Spring placement across the gearbar determines how evenly the carriage glides on its wheel bearings. Asymmetrical loading creates uneven pull, which wears down the carriage rollers over time.
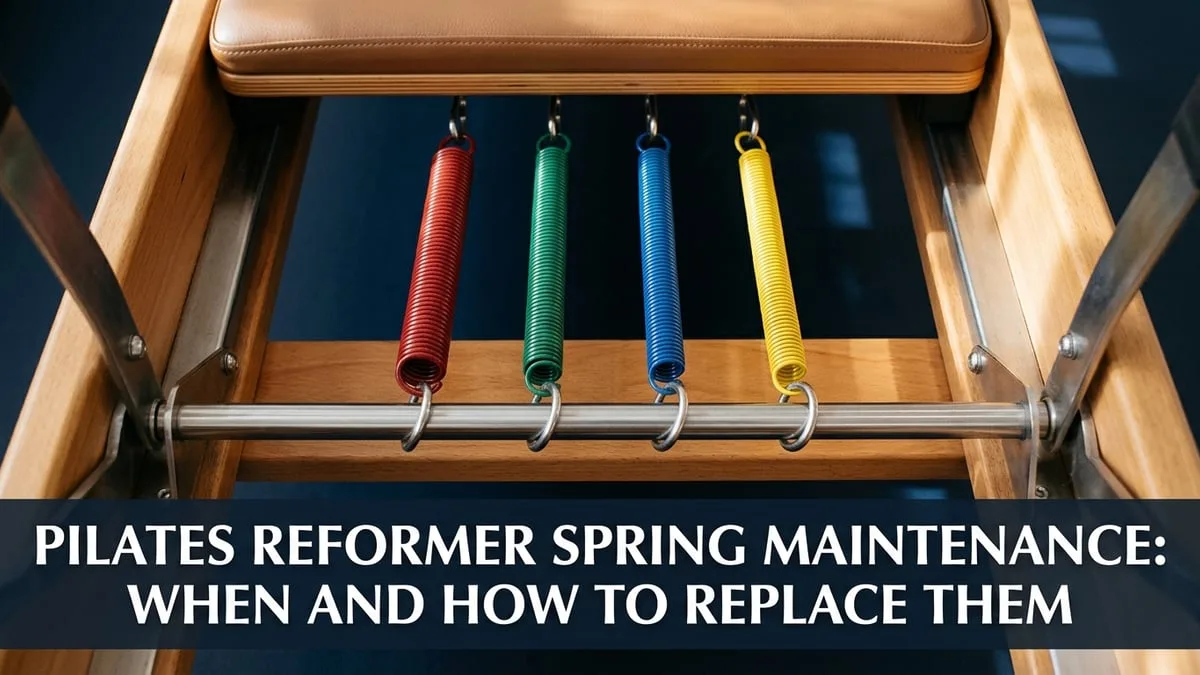
Image source: Bing (Web (fair-use with source credit))
Preserving Carriage Alignment and Centerline Tracking
The gearbar features five distinct spring slots or hooks numbered from side to side. Placing all your springs on one side creates lateral torque.
This torque forces the carriage wheels to grind against the side channels. Over time, uneven loading leads to squeaking, sticking wheels, and damaged tracks.
Distributing Springs from the Inside Out
Always balance your spring selection starting from the center hook. Follow these placement rules for clean alignment:
- Single spring setup: Place the spring on the center hook (Position 3).
- Two-spring setup: Place springs symmetrically on slots 2 and 4, flanking the center.
- Three-spring setup: Place springs on slots 2, 3, and 4.
- Four-spring setup: Place springs on slots 1, 2, 4, and 5 to leave the center open.
Managing Intentional Asymmetric Loading
Certain advanced unilateral exercises deliberately use asymmetrical spring placement to challenge rotational stability. When doing single-leg variations, offset loading forces the oblique slings to work harder.
Only use asymmetric loading when explicitly instructed by a certified movement protocol. Return the springs to a symmetrical pattern immediately after completing the exercise.
Quick Reference Spring Configurations by Exercise Category
Different movement categories rely on distinct spring ratios to maximize safety and recruitment.
Footwork and Leg Work in Straps
Footwork requires high load to engage the glutes, quadriceps, and hamstrings safely. Straps work requires moderate load so the hips can move freely without the carriage running away.
- Footwork (Standard): 3 to 4 Red springs (Balanced Body) or 3 Red, 1 Blue.
- Feet in Straps (Leg Circles, Frogs): 2 Red springs or 1 Red and 1 Blue.
Abdominals, Long Box, and Short Box Series
Abdominal series focus on spinal articulation and deep core engagement. Heavy springs can cause the hip flexors to take over the movement.
- Short Box Series (Flat Back, Round Back): All springs attached (to anchor the carriage completely).
- Long Box (Pulling Straps, T-Pull): 1 Blue or 1 Red spring.
- Hundred (Supine with Straps): 1 Red and 1 Blue spring.
Inversions and Spinal Articulation
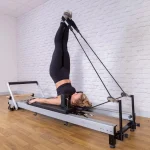
Inversion exercises like Short Spine Massage and Jackknife require enough spring assistance to lift the pelvis safely without compressing the cervical spine.
- Short Spine Massage: 2 Red springs (or 1 Red, 1 Blue for lighter movers).
- Long Spine Massage: 2 Red springs.
- Semi-Circle: 2 Red springs.
Standing Balance and Carriage Lunges
Standing exercises carry higher fall risks. Use caution when configuring your resistance.
- Carriage Lunges (Front Split): 1 Red or 1 Blue spring.
- Side Splits (Adductor focus): 1 Blue or 1 Yellow spring.
- Side Splits (Abductor focus): 1 Red spring.
Common Spring Balancing Mistakes That Compromise Safety and Form
Incorrect spring management causes common safety issues in home gyms and commercial studios. Avoiding these errors protects your joints and your equipment.
The "Heavier Equals Harder" Fallacy
New practitioners often assume adding springs makes every exercise more effective. In stabilization exercises like Kneeling Abdominals, heavy springs turn the movement into a simple quad exercise. Light springs remove the resting shelf and force the transverse abdominis to engage.
Off-Center Spring Placement and Carriage Drag
Hooking two springs onto the far left slots causes the carriage to twist slightly in the rails. You will hear a scraping sound from the nylon wheels rubbing against the frame. Always space your springs evenly across the centerline.
Forgetting to Lock In Base Springs Before Mounting
Never sit, stand, or kneel on a reformer carriage without checking that at least one spring is fully engaged in the gearbar hook. A completely unhooked carriage will slide instantly under your body weight, creating a severe fall hazard. Standard guidelines from the National Pilates Certification Program recommend confirming spring attachment before every transition.
Routine Inspection, Maintenance, and When to Replace Reformer Springs
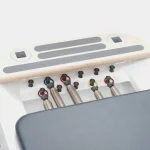
Reformer springs lose tension over time due to repeated metal fatigue. Inspecting your hardware regularly prevents sudden spring failure during dynamic movements.
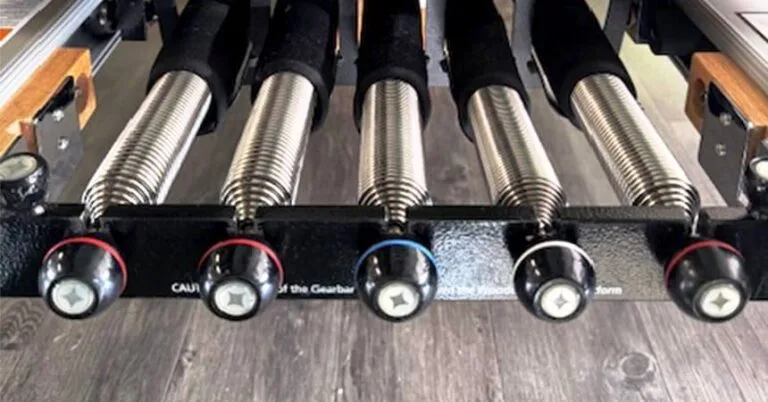
Image source: Web (Bing) / bilinkpilates.com (Web image (fair-use with source credit))
Signs of Spring Fatigue: Gaps, Waves, and Rust
Check your springs weekly while the carriage rests against the stopper. Look for these four primary indicators of structural wear:
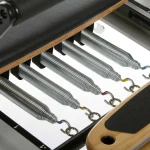
- Visible gaps: The coils should touch each other completely at rest. If you see light between individual coils, the spring has lost elasticity.
- Wavy profile: The spring body should form a straight cylinder. A bent or wavy profile means the core wire has warped.
- Corrosion or rust: Surface oxidation weakens the nickel plating and causes microscopic cracks.
- Metallic clicking: Loud clicking noises during extension often signal internal coil friction or damaged anchor hooks.
The 2-Year / 3,000-Hour Replacement Benchmark
Manufacturer safety guidelines recommend replacing all reformer springs every two years in commercial studios. This matches roughly 3,000 hours of active client use.
For home reformers used by a single mover, replace springs every three to five years. Always replace the entire spring set at the same time. Installing one new spring alongside four old springs creates uneven carriage pull.
Frequently Asked Questions About Reformer Spring Balance
How do I know if my reformer springs are too heavy?
Your springs are too heavy if your neck strains, your hips grip excessively, or your lower back arches off the carriage. Heavy resistance should challenge your muscles without forcing secondary muscle groups to compensate. If you cannot complete a full range of motion smoothly, drop half a spring.
Can I mix spring brands on the same gearbar?
You should not mix spring brands on the same machine. Different manufacturers use varied spring lengths, hook diameters, and tension curves. Combining brands creates uneven lateral pull across the gearbar, which causes carriage jamming and premature rail wear.
Why does my carriage make a grinding sound when moving?
Grinding sounds usually point to off-center spring placement or dirty guide rails. If springs are loaded on one side only, the carriage tilts sideways and rubs against the frame. Center your springs across the gearbar and wipe down the aluminum tracks with a dry microfiber cloth.
Should I leave springs attached when storing the reformer?
Always leave at least one spring attached when the reformer is not in use. A reformer with zero springs attached allows the carriage to roll freely. This creates an unexpected trip or fall risk if someone bumps the frame.
What is the difference between a gearbar and a springbar?
The terms gearbar and springbar are often used interchangeably to describe the notched bar holding the spring hooks. However, gearbars usually refer to modern multi-position bars that slide forward and backward. Springbars traditionally refer to fixed-position bars found on classical reformer frames.

Similar Posts