Why Your Reformer Carriage Gets Stuck in One Spot
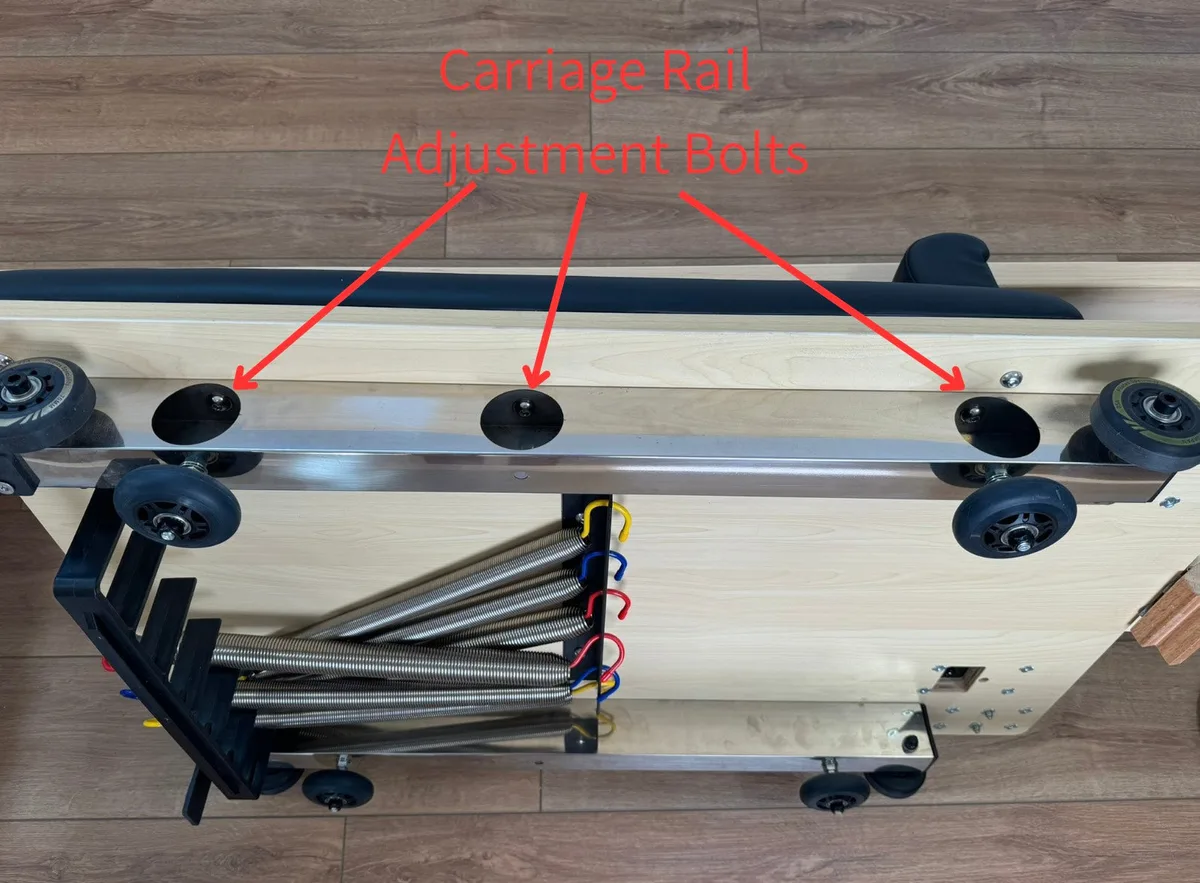
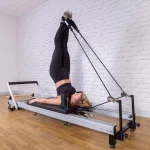
If your workout suddenly grinds to a halt, you are probably wondering why does my reformer carriage stop at one spot. A catching carriage disrupts your flow and can jar your joints during controlled movements. Identifying the root cause is usually straightforward once you know where to look.
Pilates equipment specifications from manufacturers like Balanced Body show that carriage rollers rely on high-precision sealed bearings with tight 1 to 2 mm guide clearances. Even tiny obstructions or slight hardware shifts can interrupt the glide.
Image source: Bing (Web (fair-use with source credit))
Quick Answer
A reformer carriage stops in one spot due to rail debris, track dents, or misaligned guide wheels. Hair and compacted dust frequently jam the roller bearings. A physical dent on the metal rail creates an abrupt stopping point.
Misaligned side wheels can also pinch the frame. Cleaning the tracks and checking wheel alignment solves most glide problems.
Single Fixed Spot vs. Repeating Bump: The Math Behind the Glide
Before taking anything apart, you need to determine if the catch happens at an exact geographic point on the frame or at repeating intervals. This single distinction cuts your troubleshooting time in half.
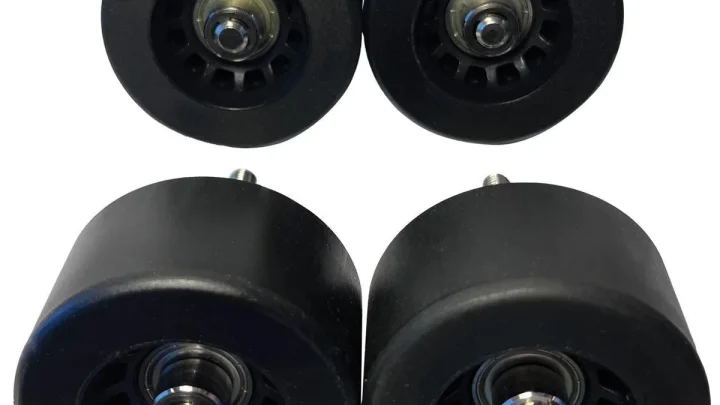
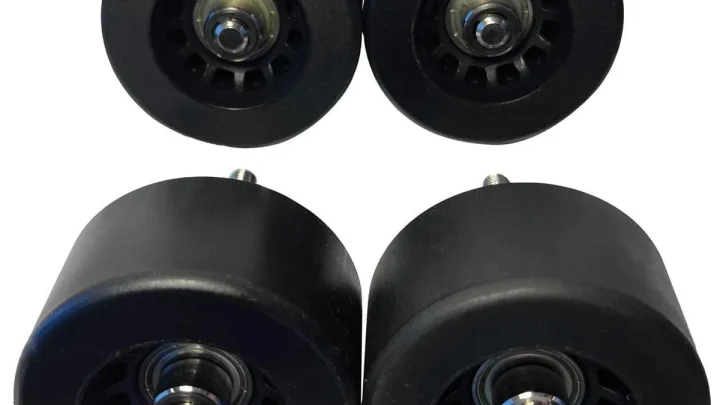
Most commercial and home reformer wheels have a diameter between 2.0 and 2.5 inches (50 to 64 mm). Based on basic geometry (circumference = π × diameter), a single full rotation of the wheel covers roughly 6.3 to 7.85 inches (16 to 20 cm) of linear track travel.
- Repeating Bumps (Every 6 to 8 Inches): If the carriage catches, clicks, or thumps rhythmically as it moves down the frame, the problem is on the wheel itself. You are dealing with a flat spot, a cracked wheel, or hair wound tightly around an axle.
- Single Fixed Point on the Frame: If the carriage moves smoothly for most of the travel but hits a wall at one specific spot on the rail, the issue is with the frame, track profile, or underside clearance.
| Symptom | Catch Pattern | Likely Cause | Primary Fix |
|---|---|---|---|
| Hard stop at one frame spot | Static location | Rail dent, foreign object, rope tail snag | Clear rail or adjust hardware |
| Rhythmic click or thump | Every 6 to 8 inches | Flat-spotted wheel or axle debris | Clean axle or replace wheel |
| Heavy drag along full stroke | Entire rail length | Lateral guide wheel rubbing rail wall | Re-center guide wheels |
| Sudden squeak and lockup | Variable under heavy load | Blown bearing or dry axle sleeve | Replace sealed bearing unit |
Step-by-Step Diagnostic Workflow to Pinpoint the Catch
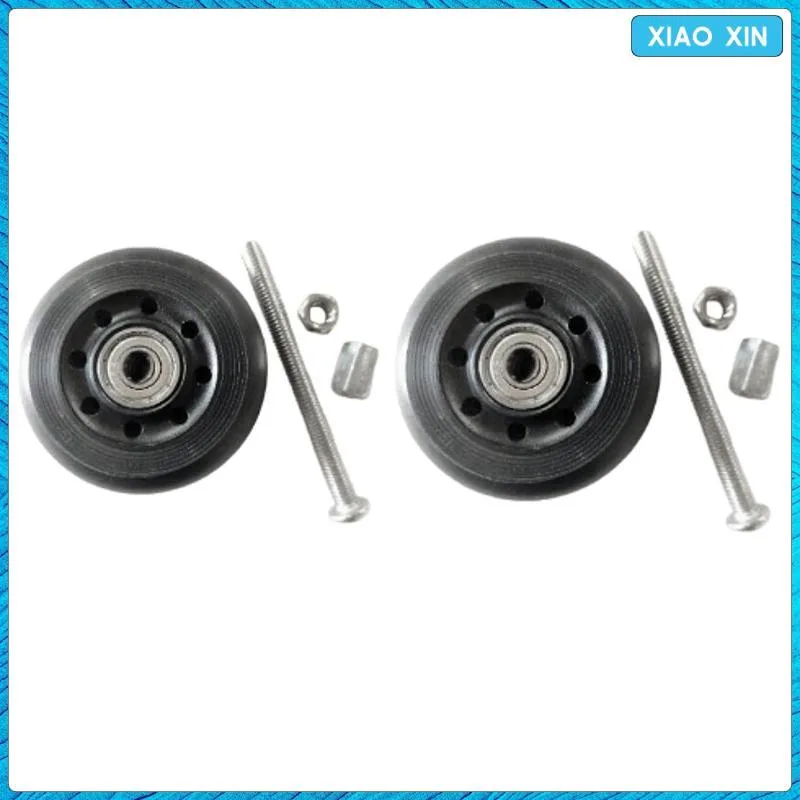
Image source: Bing (Web (fair-use with source credit))
Follow this diagnostic workflow to isolate the obstruction without guessing. Work through these steps in order.
1. The Zero-Spring Manual Push Test
Start by removing all spring resistance. Unhook every spring from the gearbar so the carriage floats freely on the tracks.
Gently push the carriage with one hand from the footbar end to the headrest end. Without spring tension masking the movement, your fingertips will feel the exact millimeter where resistance begins.
If the carriage glides freely by hand but stops when you lie on it, the issue involves vertical load wheels compressing under body weight.
2. Sighting and Feeling the Track Surface
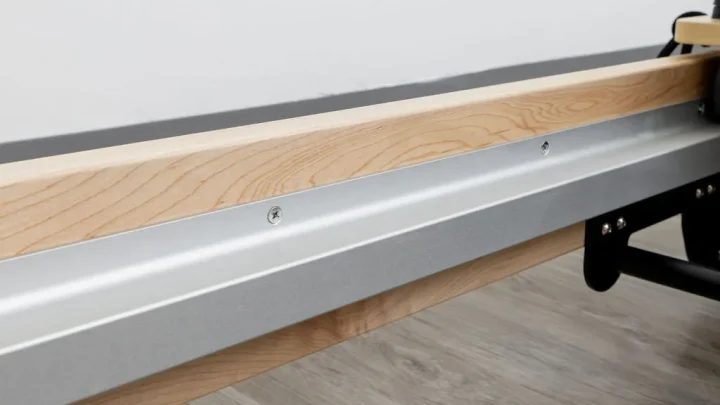
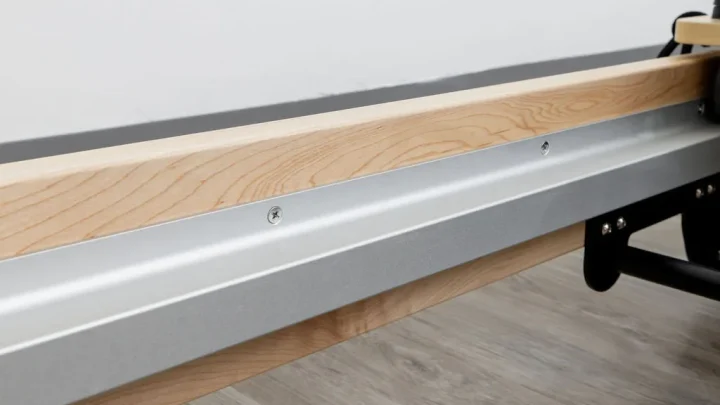
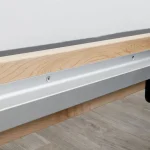
Get down to eye level with the guide rails. Look along the anodized aluminum C-channel or tubular rail surface with a flashlight.
Run your bare fingers along the top, inside, and underside running surfaces of the rail. Feel for tiny indentations, metal burrs, or hardened ridges of compacted dust.
A dropped footbar pin or heavy gearbar can create a tiny metal divot. That small dent is enough to halt a precision wheel.
3. Checking the Lateral Guide Wheels and Rail Clearance
Reformer carriages use vertical load wheels to support weight and horizontal guide wheels to keep the carriage centered.
Inspect the gap between the guide wheels and the inner edge of the rail channel. You should see a consistent 1 to 2 mm clearance gap along both sides.
If the carriage is shifted diagonally, a guide wheel will press hard against the aluminum rail wall. That friction causes the carriage to bind at wider or narrower spots in the frame.
4. Inspecting the Underside Hardware, Springs, and Ropes
Crouch down and look beneath the carriage while moving it past the sticking point.
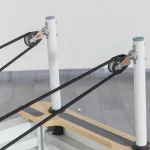
Check whether loose rope tails hanging from the cam cleats are snagging on frame crossbars. Look at the spring attachment hooks under the carriage deck.
A bent spring bracket or loose bracket bolt can drop low enough to clip a frame crossmember at mid-stroke.
How to Fix the Most Common Sticking Points
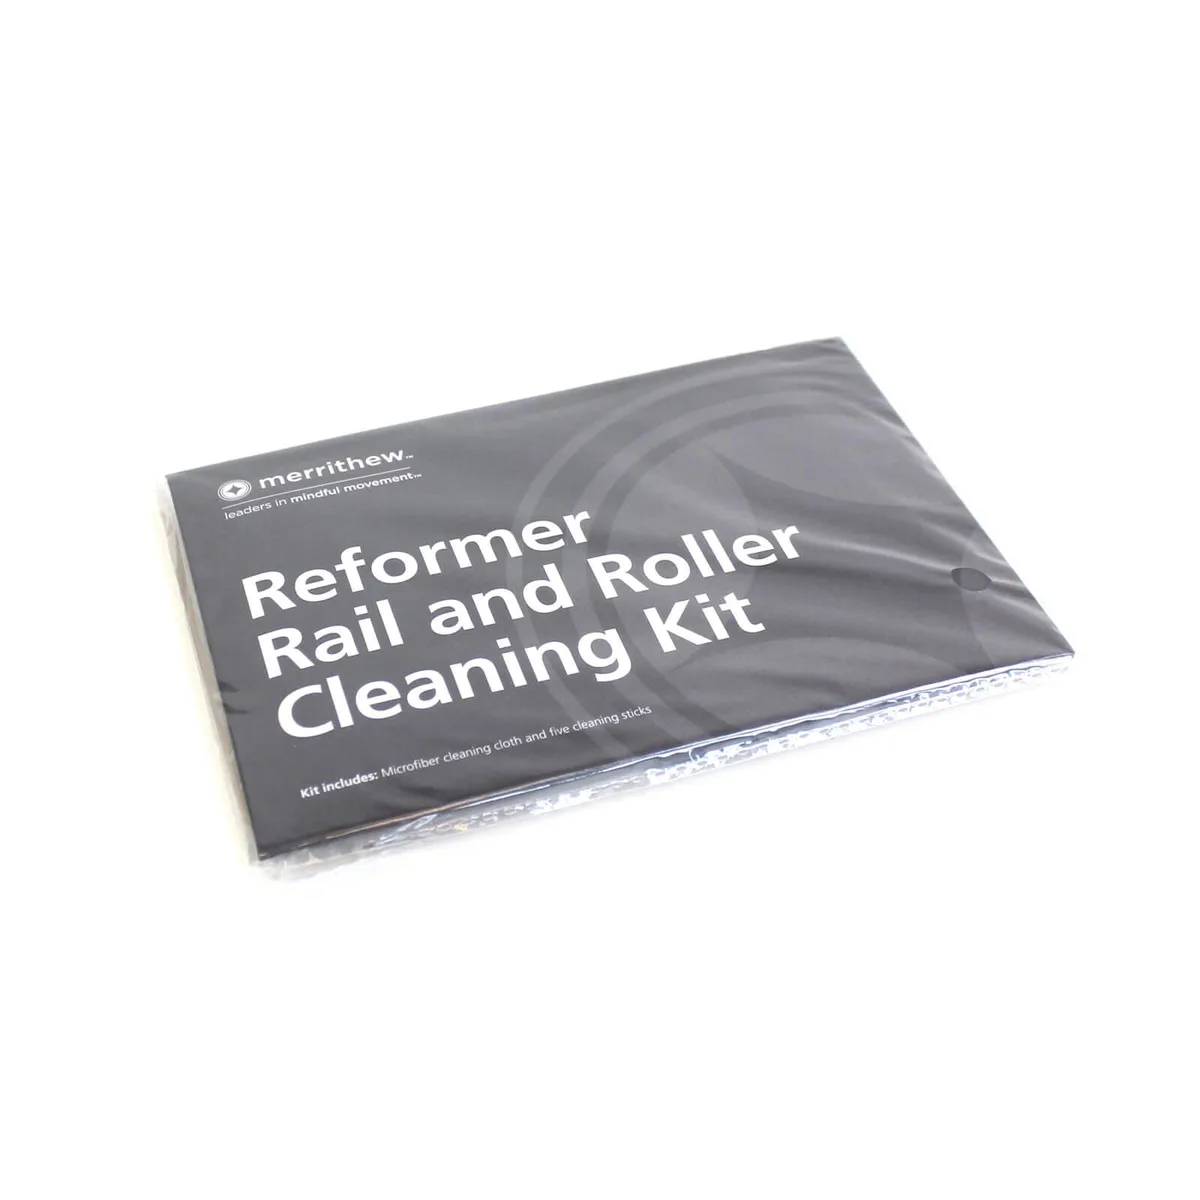
Image source: Web (Bing) / merrithew.com (Web image (fair-use with source credit))
Once you have identified the source of the friction, use these mechanical fixes to restore a silent, smooth glide.
Cleaning Compacted Track Debris and Hair Buildup
Skin cells, grip sock fibers, and studio dust combine with ambient moisture to form hard black patches inside the rail channel.
- Dampen a clean microfiber cloth with 70% isopropyl alcohol.
- Rub the rail channels firmly to dissolve compacted grime down to bare metal.
- Inspect each wheel hub. Use fine tweezers or a small pick to unwind hair and carpet fibers wrapped around the axle bolts.
- Wipe the rolling surface of each polyurethane wheel until the cloth comes away clean.
Realigning Rubbing Guide Wheels and Frame Hardware
If a guide wheel is rubbing against the track wall, you must adjust the carriage alignment brackets.
- Locate the mounting bolts holding the lateral guide wheel brackets under the carriage.
- Loosen the locknuts slightly with an Allen wrench and an open-ended wrench.
- Shift the bracket until you achieve an even 1 to 2 mm gap between the wheel edge and the rail.
- Retighten the hardware securely while holding the wheel bracket in place.
- Roll the carriage across the entire length of the frame to verify that the gap remains consistent.
Swapping Out Damaged Wheels and Seized Bearings
If a wheel bearing has seized or developed a flat spot from sitting under uneven load, cleaning will not solve the issue.
- Remove the carriage stops at the headrest end of the frame.
- Carefully roll the carriage off the end of the rails onto an exercise mat.
- Unscrew the axle bolt using the correct metric hex key.
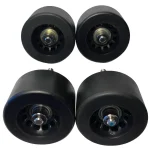
- Slide off the damaged wheel assembly and install the replacement wheel from the manufacturer.
- Tighten the locknut until snug, ensuring the wheel still spins freely without side-to-side wobble.
The Costly Mistake: Why You Should Never Spray WD-40 or Grease on Reformer Rails
When a reformer starts catching, the instinct for many owners is to grab a can of WD-40, silicone spray, or white lithium grease. This is the worst thing you can do for a Pilates reformer.
Reformer wheels are made of precision-machined polyurethane or heavy-duty nylon compounds. Equipment guidelines from manufacturers like Merrithew explicitly state that rails and wheels must be kept completely dry and clean.
- Polyurethane Degradation: Wet petroleum lubricants chemically soften polyurethane roller surfaces, causing them to deform, crack, or permanently flat-spot.
- The Dust Magnet Effect: Wet oils attract lint, hair, and dust. The rolling wheel compresses that mixture into a thick, abrasive paste that grinds down aluminum tracks.
- Loss of Wheel Traction: Reformer wheels must roll smoothly, not slide. Oily rails cause the wheels to skid, which quickly creates flat spots along the perimeter.
Keep all lubricants off your rails. A clean microfiber cloth and simple isopropyl alcohol provide all the care your tracks need.
Routine Maintenance Checklist to Keep Your Carriage Gliding Smoothly
Preventative care is the easiest way to avoid sticking carriages and costly part replacements. Commercial studios follow rigorous maintenance schedules, and home users can benefit from the same habits.
As of 2026, leading Pilates equipment protocols recommend keeping track care simple, dry, and frequent. A few minutes of weekly attention keeps your machine running like new.
- Daily Quick Wipe: At the end of every workout session, wipe the top and inside edges of the aluminum rails with a dry microfiber cloth. This removes sweat droplets and skin oils before they cure into hard deposits.
- Weekly Alcohol Scrub: Dampen a cloth with 70% isopropyl alcohol and thoroughly clean the full track channels. Roll the carriage all the way to both ends to clean the hidden resting zones.
- Monthly Axle and Wheel Inspection: Check every wheel for trapped hair, lint strings, or visual cracks. Spin each wheel by hand to ensure the internal bearings spin freely without gritty resistance.
- Quarterly Hardware Check: Inspect the locknuts on lateral guide wheels, carriage brackets, and spring mounts. Tighten any bolts that have worked loose from repeated carriage momentum.
Frequently Asked Questions About Reformer Carriage Sticking
Can I use rubbing alcohol on all reformer rails?
Yes, 70% isopropyl alcohol is completely safe for anodized aluminum rails, steel frames, and polyurethane wheels. It cuts through body oils and track grime without leaving sticky chemical residues. Avoid harsh bleach, acetone, or citrus-based cleaners, which can degrade the protective anodized finish and damage wheel plastics.
How do I know if my reformer wheel has a flat spot?
A flat spot creates a distinct rhythmic click or bump every 6 to 8 inches of carriage travel. You will feel a slight drop in the carriage deck each time the flat edge hits the rail. Visual inspection will show an uneven, worn flat patch on the rolling surface.
Why does my carriage stop only when I stand or kneel on it?
This problem points to failing vertical load wheel bearings or insufficient rail support. When unweighted, the carriage rolls easily. Under your body weight, the compromised bearing binds internally, or the carriage deck flexes slightly and causes the underside brackets to scrape the frame.
How often should Pilates reformer wheels be replaced?
In busy commercial studios, vertical load wheels usually last two to three years under heavy daily use. For home reformer setups, high-quality polyurethane wheels and sealed ABEC bearings often last five to seven years. Replace wheels immediately if you notice flat spots, cracked rims, or bearing play.
Why is my carriage dragging even after thorough cleaning?
If the rails are completely clean but the carriage still drags, check your lateral guide wheel alignment. Guide wheels that press too tightly against the rail channel create continuous side friction. Loosen the bracket bolts, reset the gap to 1 to 2 mm, and retighten the hardware.

Similar Posts