What Size Rope for a Pilates Reformer? Sizing Guide
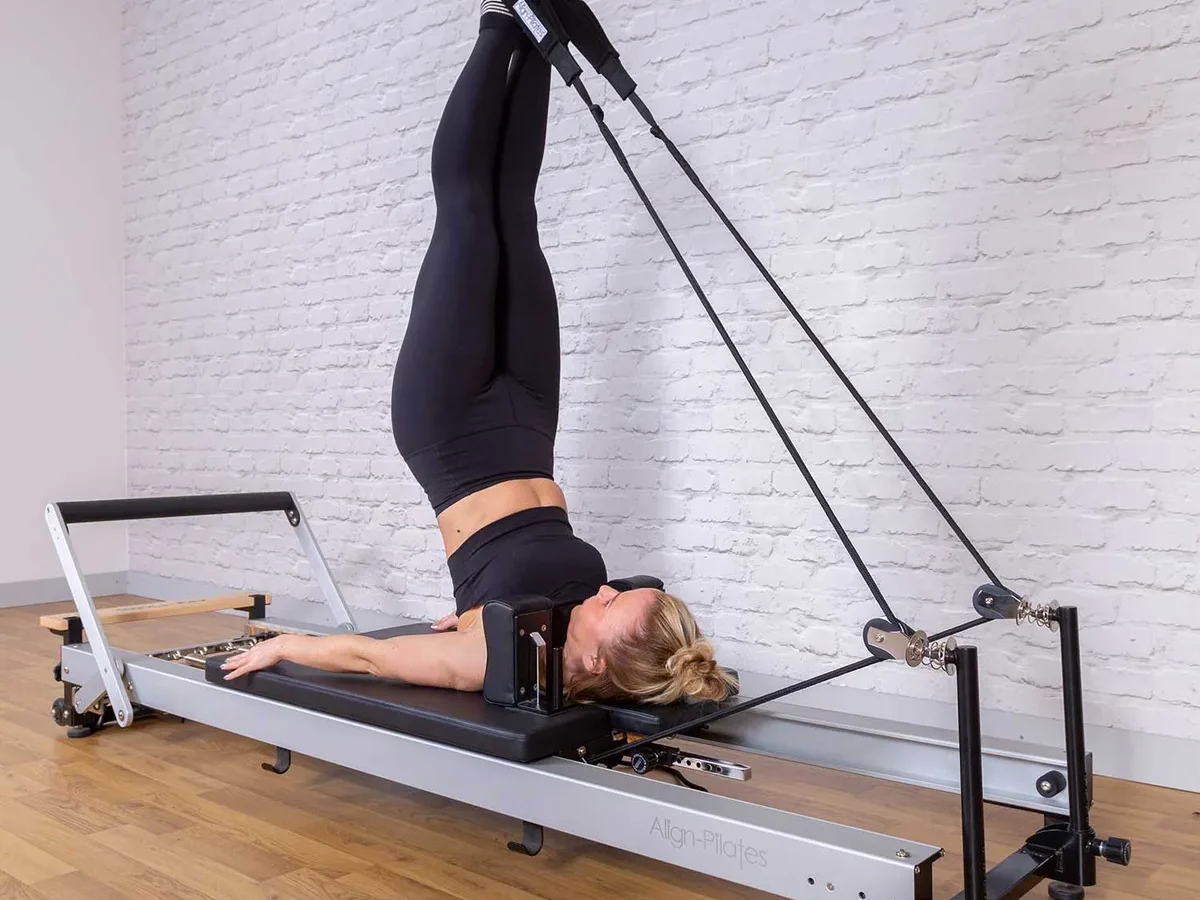
Finding what size rope for pilates reformer machines requires matching your frame's locking cleats with the correct cord thickness. A rope that is too thick will jam inside the pulley wheels. A cord that is too thin will slip through the cleats when you pull against heavy spring loads.
Most commercial and home reformer frames rely on diameters between 8 mm (5/16 inch) and 10 mm (3/8 inch). Technical standards from the Cordage Institute confirm that low-stretch braided ropes provide the exact structural stability needed for controlled mechanical loads. Let us examine standard machine sizing so you can select the correct line.
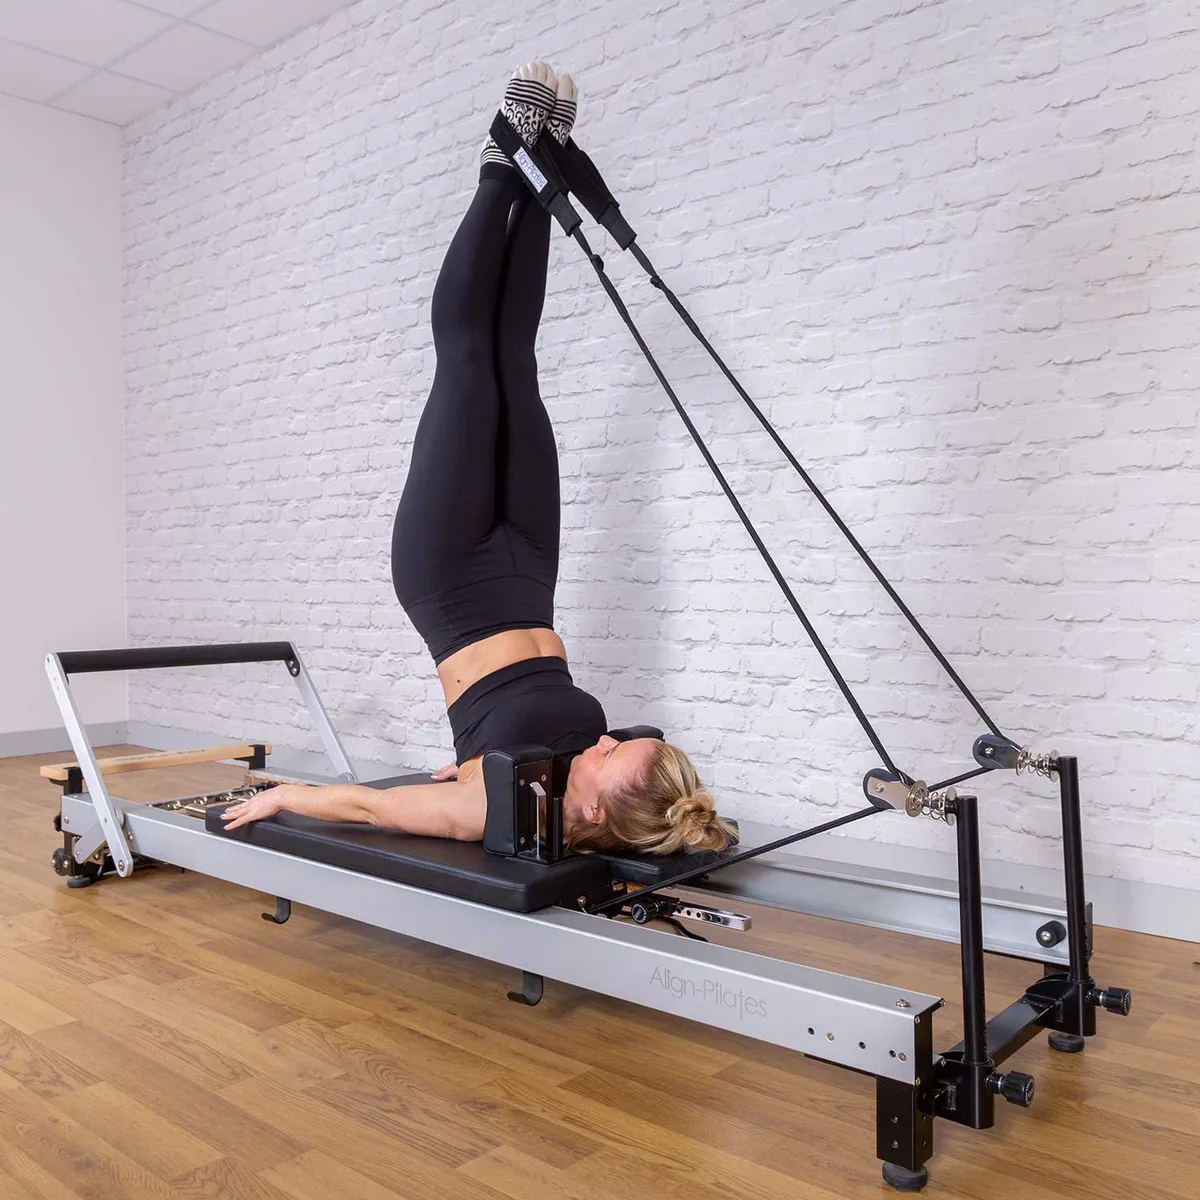
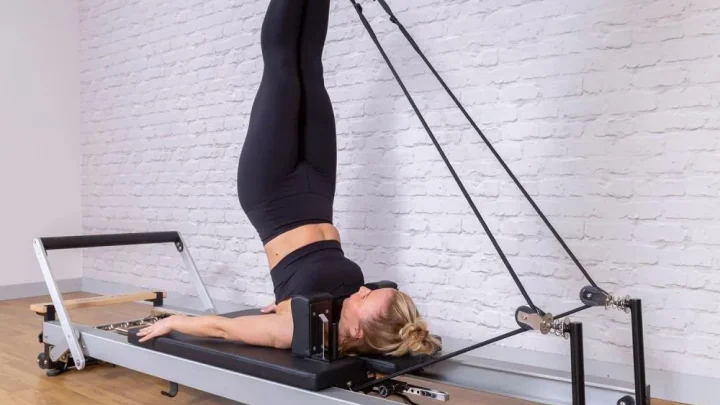
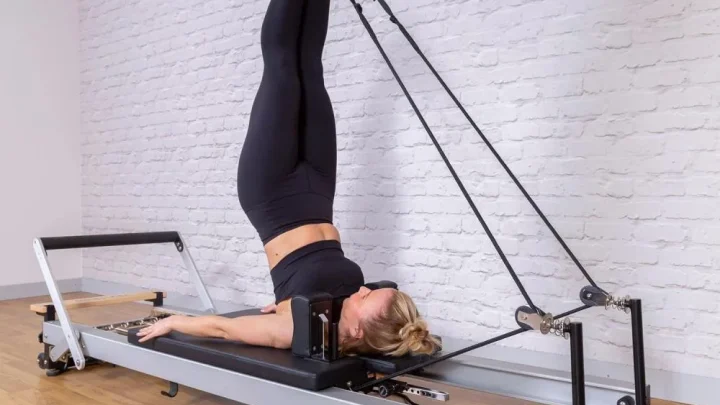
Image source: Bing (Web (fair-use with source credit))
Quick Answer
Most Pilates reformers use 8 mm to 10 mm diameter rope. Balanced Body reformers standardly use 8 mm or 5/16-inch low-stretch line. Merrithew and Peak Pilates equipment often utilize 9.5 mm or 10 mm rope.
You must select pre-stretched double-braid polyester. Dynamic climbing ropes stretch too much and cause safety hazards.
The Short Answer: Pilates Reformer Rope Sizes at a Glance
Choosing the right cord starts with knowing your frame manufacturer. Different manufacturers design their hardware around imperial or metric cordage. Using the exact recommended diameter keeps the carriage gliding smoothly and prevents sudden slippage during exercise.
Reformer Brand and Rope Size Compatibility Chart
The following table summarizes standard factory specifications across major equipment lines as of 2026.
| Reformer Brand / Line | Standard Rope Diameter | Standard Length (Per Side) | Hardware Locking Type |
|---|---|---|---|
| Balanced Body (Studio, Allegro, Rialto) | 8 mm (5/16 in) | 8.5 to 9.0 ft (2.6 to 2.7 m) | Cam cleats / Nautical locks |
| Merrithew / STOTT (SPX Max, V2 Max) | 9.5 mm to 10 mm (3/8 in) | 9.5 to 10.0 ft (2.9 to 3.0 m) | Retractable / Cleat systems |
| Peak Pilates (Afina, Fit, Casa) | 9.5 mm (3/8 in) | 9.0 ft (2.7 m) | Cam cleats |
| Basi Systems | 8 mm to 9 mm (5/16 in) | 8.5 ft (2.6 m) | Integrated cam cleats |
| Elina Pilates | 9 mm to 10 mm (3/8 in) | 9.0 ft (2.7 m) | Cam cleats |
Why Diameter and Construction Matter Equally
Rope diameter determines how well the cord sits within the groove of your pulleys. If you choose a line that is even 1 mm too wide, the jacket will rub against the pulley housing. That friction creates drag and frays the outer braid quickly.
Construction matters just as much as thickness. A proper reformer line must not stretch under load. If your ropes flex under body weight, your carriage calibration drifts, which throws off alignment during arm and leg work.
How Reformer Hardware Dictates Your Rope Diameter
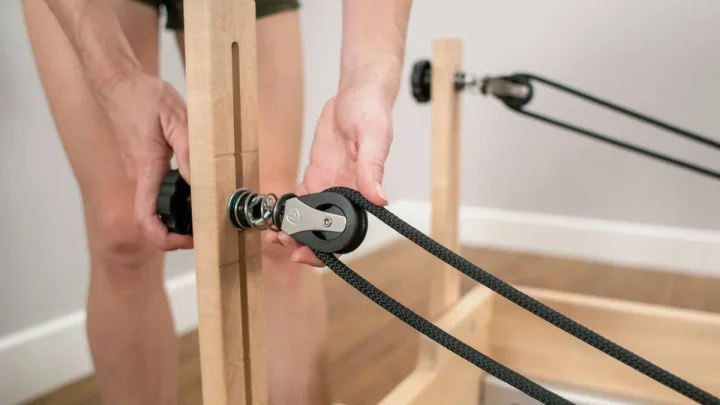
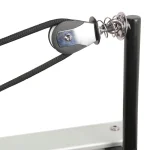
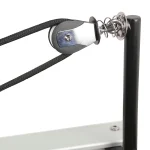
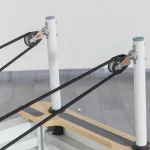
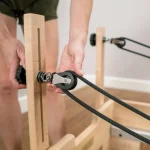
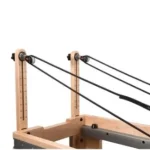
Your machine hardware sets rigid physical boundaries for rope selection. Reformers use two primary contact points: the cam cleats mounted near the carriage or risers, and the swivel pulley sheaves at the back of the frame.
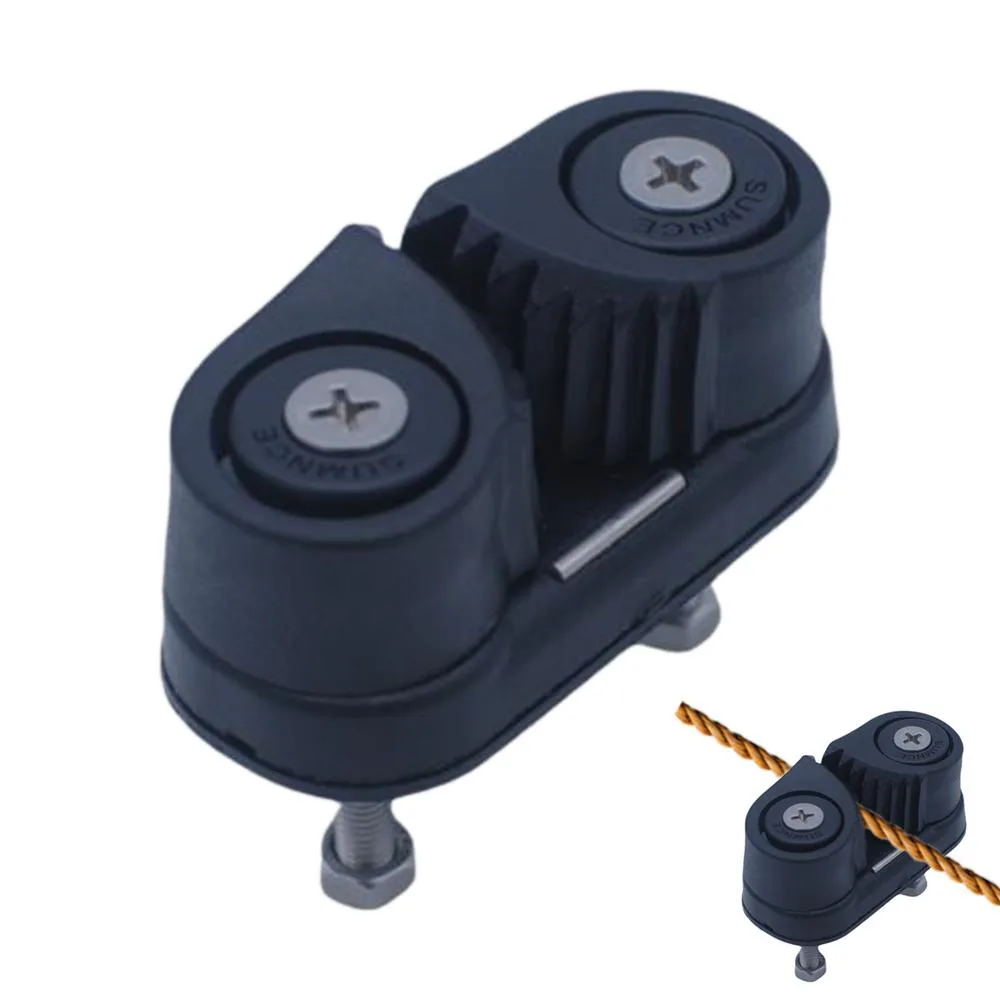
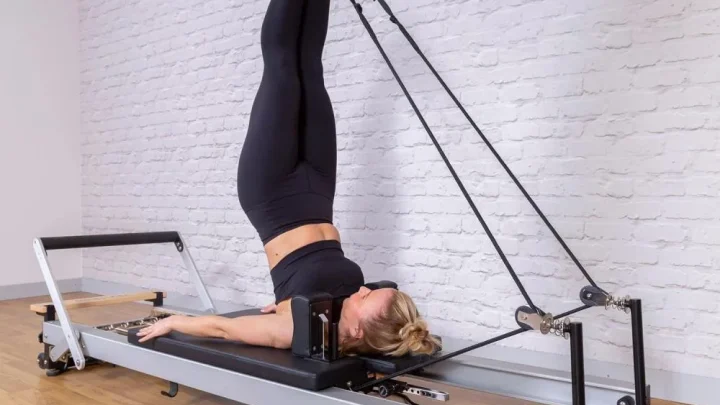
Image source: Bing (Web (fair-use with source credit))
Cam Cleat Bite Range and Grip Depth
Cam cleats use spring-loaded, grooved jaws to pinch and hold the rope under tension. Every cleat model has a designated working range, such as 6 mm to 10 mm or 8 mm to 12 mm.
If your line is under the minimum thickness, the grooved teeth cannot apply enough pinching force. The rope can suddenly slip forward when you put full body weight into the straps. If the line is too fat, it will ride on top of the jaws without dropping into the grip channel.
Pulley Sheave Width and Binding Prevention
The pulley sheave is the rotating wheel inside the metal or composite housing at your rope risers. The curved groove in that wheel matches a specific maximum cord width.
When you pull an oversized cord through a narrow sheave, the rope wedges into the groove. This prevents the wheel from spinning freely. The rope then drags across static metal, generating heat, making loud squeaking noises, and wearing out the outer fibers.
Measuring Your Current Ropes Accurately
Do not measure your old ropes with a standard flat ruler. Braided ropes compress when squeezed, which makes visual estimates inaccurate.
- Use a digital vernier caliper to measure the cord across its circular profile without crushing the core.
- Measure the rope at a section that has not been pinched repeatedly inside the cleat jaws.
- Check the diameter while pulling the line taut, since relaxed braided ropes tend to expand outward.
Material Selection: Why Marine Double-Braid Polyester Wins Every Time
Selecting the right raw material is critical for long-term safety and performance. You should never pick a utility line simply because it fits the hardware.
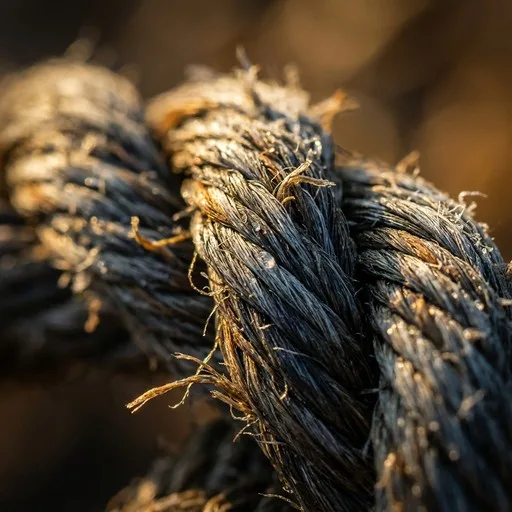
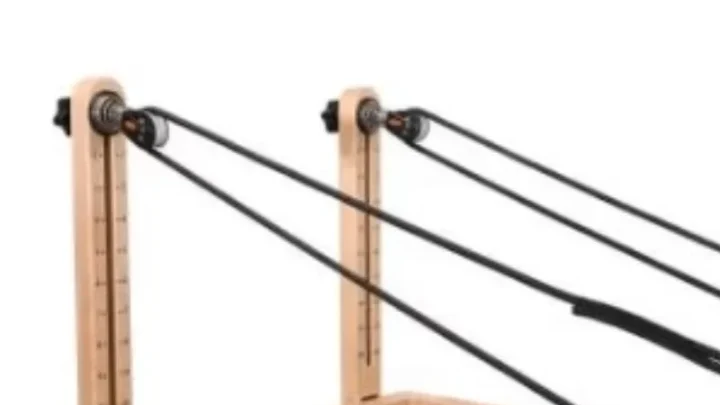
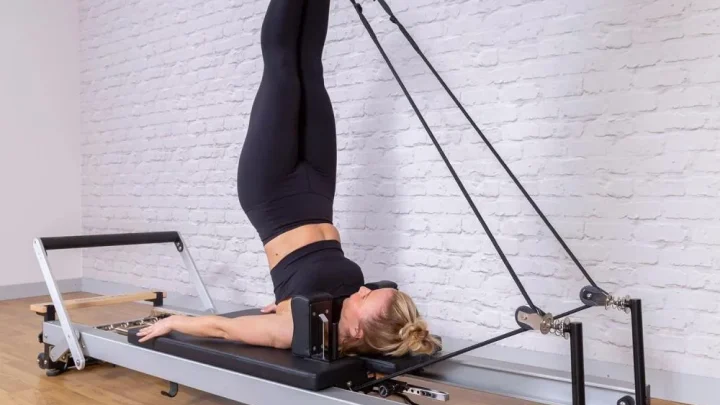
Image source: Bing (Web (fair-use with source credit))
Pre-Stretched Polyester vs. Nylon (The Stretch Problem)
Nylon is the most common utility cord found in home improvement stores, but it is unsuitable for reformers. Nylon has high natural elasticity. It acts like an extra, uncontrolled spring in your system.
Pre-stretched polyester (often called PES in rigging specifications) has virtually zero dynamic stretch. It transfers your movement directly to the springs without lag. Polyester also resists abrasion against metal cleats and will not degrade under studio lighting or daily friction.
Double-Braid vs. Kernmantle and Dynamic Climbing Ropes
Double-braid polyester consists of a braided inner core protected by a tightly woven outer jacket. Both the core and the cover share the tension load equally.
Climbing ropes (dynamic kernmantle lines) are specifically engineered to stretch to absorb fall impacts. Using dynamic climbing rope on a reformer creates uneven carriage movement and unstable foot positioning. Static double-braid stays firm and keeps your loop heights identical on both sides.
Tensile Strength and Safe Working Load Minimums
A typical Pilates exercise routine rarely exerts more than 100 to 200 pounds of force per side. However, safety factors require high breaking strengths.
Standard 8 mm double-braid polyester provides a minimum breaking strength of roughly 2,500 to 3,000 pounds. A 10 mm line delivers over 4,000 pounds of breaking capacity. This high safety threshold guarantees that surface wear or single-strand snags will not lead to sudden snapping failures during use.
Step-by-Step Decision Workflow: Choosing the Exact Rope for Your Setup
Follow this structured workflow to determine the exact cord specifications you need before ordering any replacement material.
[Check Reformer Brand & Hardware]
      │
      ├─► Balanced Body / Basi Systems? ─────► Choose 8 mm (5/16 in) Double-Braid Polyester
      │
      └─► Merrithew / Peak / Elina? ─────────► Choose 9.5 mm or 10 mm (3/8 in) Double-Braid Polyester
                                                         │
                                                         ▼
                                             [Calculate Cut Length]
                                             Measure existing line + 18 inches for knots/tails
                                                         │
                                                         ▼
                                             [Select Material Grade]
                                             Marine Yacht Braid (Low-Stretch Polyester)
Identifying Your Reformer Make, Model, and Locking Mechanism
Start by identifying whether your reformer uses open cam cleats, under-carriage nautical cleats, or an enclosed reel system.
If you own a Balanced Body Studio Reformer or Allegro, standard 8 mm line is the universal fit. If you use a Merrithew Professional or SPX model, the hardware channels are wider and grip best on 9.5 mm or 10 mm line. Check the cleat brand name if visible, as marine hardware makers stamp size tolerances directly on the cleat body.
Calculating Finished Cut Lengths and Tail Allowances
Never cut your new cord to the exact resting length of the old one. You need additional length for terminal knots, splices, and safety tails.
- Measure your existing rope from the attachment clip to the end of the cleat tail.
- Add 18 to 24 inches to that number per side.
- This extra length accounts for the eye-splice or knot at the strap end and leaves an easy-to-grab tail behind the cleat.
- For most reformers, buying a pair cut to 9 feet (or a single 18-foot spool) gives you ample margin.
OEM Replacements vs. Spooled Marine Rigging Line
Original Equipment Manufacturer (OEM) kits come pre-spliced with hardware clips attached. They offer plug-and-play convenience but cost significantly more.
Purchasing bulk marine-grade rigging line (such as Sta-Set or similar yachting lines) provides identical low-stretch performance at a fraction of the cost. If you are comfortable cutting, heat-sealing, and knotting the cord ends yourself, buying high-grade marine polyester by the foot is an economical approach.
How to Cut, Seal, and Install New Reformer Ropes
Installing new reformer ropes is a straightforward process that requires only basic tools and careful attention to loop symmetry.
Tools Needed for a Clean, Fray-Free Cut
Cutting synthetic braided cord requires heat to prevent the woven sheath from unraveling immediately.
- Heavy-duty utility shears or a dedicated rope-cutting hot knife
- Electrician's tape or painter's tape
- A standard butane lighter or micro-torch (if not using an electric hot knife)
- A tape measure
Threading, Splicing, and Calibrating Loop Lengths
Wrap a tight band of electrical tape around the cutting mark before making any cut. Slice directly through the middle of the taped section. Immediately apply heat with your lighter to melt the core and sheath fibers into a single solid plastic plug.
Step 1: Wrap tape tightly at the cut line.
Step 2: Slice through the center of the tape.
Step 3: Melt the raw end with heat to fuse jacket and core.
Step 4: Form an eye knot or bowline on your clip hardware.
Step 5: Thread through the riser pulley into the cam cleat.
Thread the plain end through the riser pulley sheave from back to front. Pass the line through the cam cleat teeth, pulling enough tail through to leave an accessible handle.
Attach your hand and foot loops to the clip end. Bring both loops forward until they rest against the shoulder rests. Pull the cleat tails until both ropes hold identical tension with the carriage resting flush against the front stops.
Post-Installation Load Testing and Safety Checks
Before letting any client or student use the machine, perform a static load test.
Attach all springs to the spring bar. Stand at the back of the frame and pull both ropes with firm, steady body weight. Observe the cleats closely to ensure neither line slips even a fraction of an inch under heavy resistance.
Check that the pulley wheels turn freely without sideways rubbing.
Common Sizing Mistakes and Safety Hazards to Avoid
Mismatched ropes create safety hazards that affect both the user and the machine hardware. Avoiding a few common sizing errors ensures your equipment operates reliably under full tension.
Using Undersized Ropes That Slip Under Heavy Spring Loads
Installing a 6 mm or 7 mm line in an 8 mm cleat creates an immediate slip risk. The cam teeth cannot exert enough mechanical bite on thin cords.
When a client bridges or performs feet-in-straps, high spring tension pulls against the line. An undersized rope can suddenly yank through the cleat jaws. This sudden loss of resistance can cause muscle strains or carriage collisions.
Oversized Lines That Jam or Damage Cleat Teeth
Forcing an 11 mm or 12 mm cord into an 8 mm or 9.5 mm system damages the hardware. The thick line forces the cam jaws open past their intended design angle.
This excessive spreading puts extreme side torque on the cleat mounting bolts. The outer jacket also rubs against the pulley housing, creating friction that slows down carriage return and shreds the outer woven layer.
Ignoring Jacket Wear, Fuzzing, and Core herniation
Ropes experience localized friction where they sit inside the cleat teeth and bend over the pulley wheels. Inspect these high-wear zones every month.
Surface fuzzing is normal over time, but visible core strands or flat spots mean the inner fibers have failed. If you see the white inner core poking through the colored jacket, replace both ropes immediately to prevent line snapping.
Pilates Reformer Rope FAQs
How often should Pilates reformer ropes be replaced?
Studio reformers under daily commercial use need new ropes every 12 to 24 months. Home reformers typically last 3 to 5 years before showing significant wear. Replace lines sooner if you notice fraying, flat spots, core exposure, or slipping inside the cam cleats.
Can you use rock climbing rope on a Pilates reformer?
No, you should never use dynamic climbing rope on a reformer. Climbing line is engineered to stretch significantly under load to absorb fall impact. That elasticity ruins carriage calibration and destabilizes your joint positioning during resistance exercises.
Always use low-stretch, static double-braid polyester.
Can you wash Pilates reformer ropes?
Yes, you can hand-wash polyester reformer ropes in cold water using a mild laundry detergent. Soak the lines in a basin, rinse them thoroughly with clean water, and let them air dry completely away from direct heat. Never put them in a machine dryer, as high heat shrinks the fibers.
How do you know if your reformer rope is slipping or stretching?
Mark the rope with a fabric pen right where it exits the cam cleat. Perform a set of heavy footwork exercises, then check the line. If the mark has moved forward away from the cleat teeth, your rope is slipping and is either worn or too thin for the hardware.
What knot is best for attaching reformer loops?
A standard bowline or an eye-splice knot is best for securing hardware clips to reformer cordage. Bowlines create a secure, non-slip loop that holds high tension without jamming permanently. This knot also unties easily whenever you need to adjust or replace your hardware.

Similar Posts