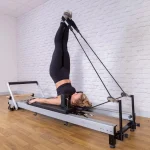
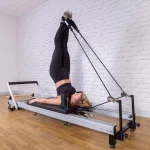
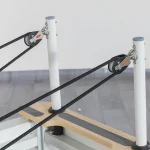
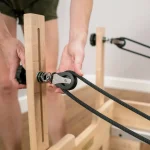
How to Untwist Pilates Reformer Straps in Seconds
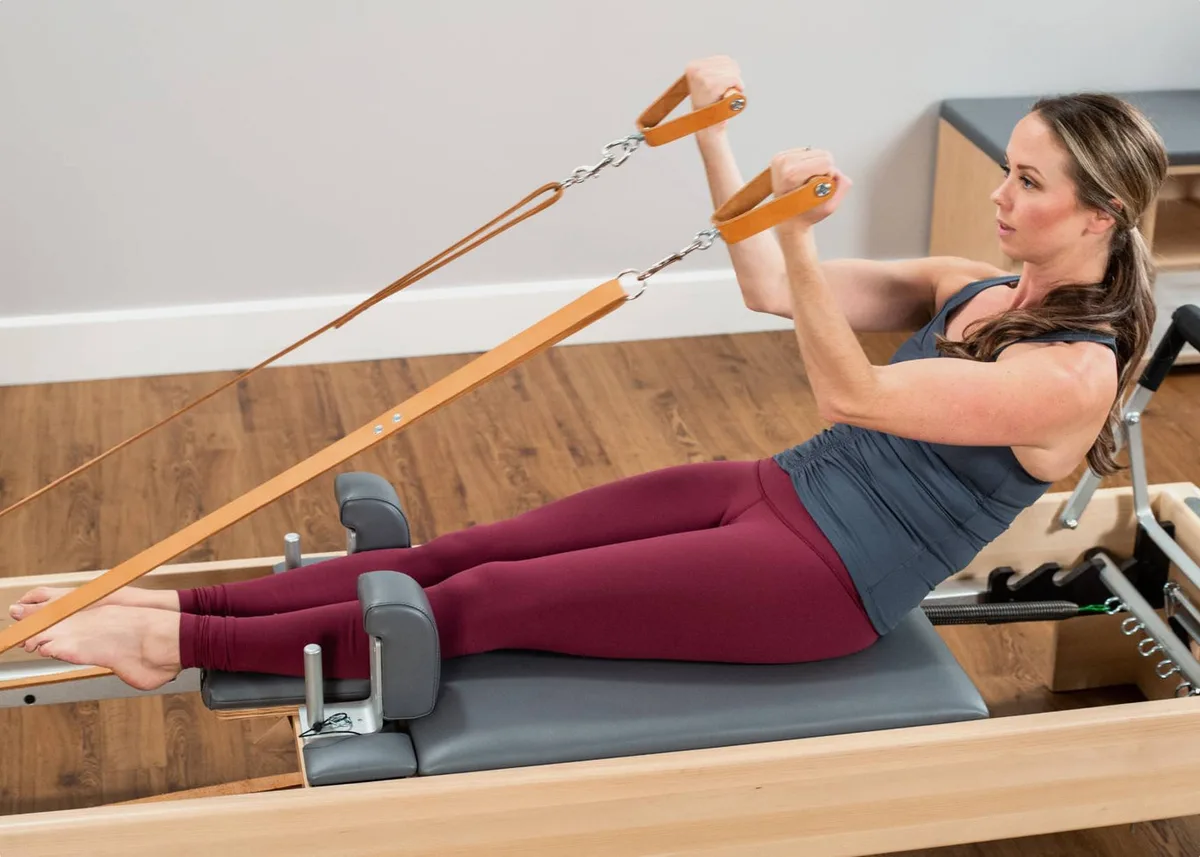
Image source: Bing (Web (fair-use with source credit))
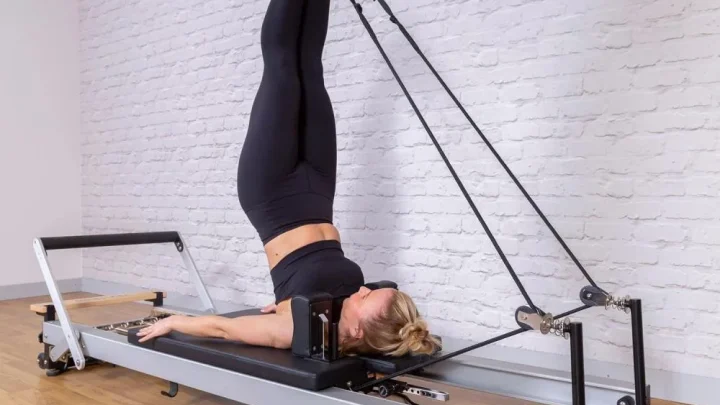
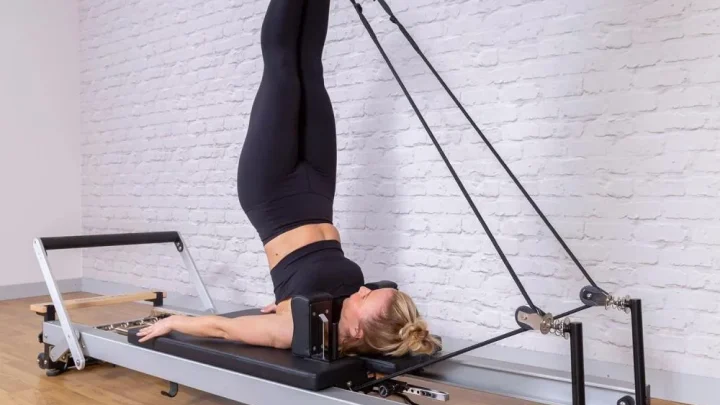
A twisted Reformer strap throws off your alignment, drags against the pulley wheel, and interrupts the flow of your workout. Learning how to untwist reformer straps properly keeps your carriage gliding smoothly and protects your equipment from premature wear.
Most twists happen when the handle flips through its own loop or the strap rotates inside the pulley housing. As of 2026, standard commercial Reformer ropes use high-density 8mm to 10mm synthetic cord or 1.5-inch nylon webbing, both of which require specific handling to reset their flat plane.
Quick Answer
To untwist reformer straps, disconnect all carriage springs first. Trace the strap from the carriage anchor up to the pulley. Rotate the webbing until it lies completely flat against the wheel.
Pass the handle through its loop if the twist sits at the hardware. Re-lock the line into the cleat at equal lengths.
The Anatomy of a Twisted Reformer Strap (and Why It Happens)
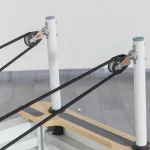
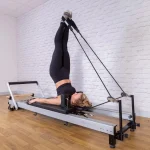
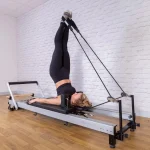
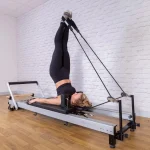
A Pilates Reformer strap system relies on a clean, linear path between the carriage anchor, the pulley riser, and the handle. When the strap twists, it creates friction points that shorten the working length of that side. This imbalance changes the resistance profile during bilateral exercises.
Twists usually originate from one of three mechanical zones:
- The Handle Connection: The handle rotates 360 degrees through the attachment clip or soft loop.
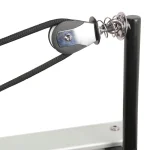
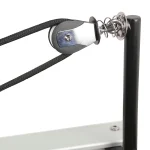
- The Pulley Wheel: Flat webbing flips sideways, jamming between the wheel and the riser bracket.
- The Cam Cleat or Anchor: Slack behind the carriage slips out of alignment when adjusting rope lengths.
When synthetic webbing twists inside the pulley groove, it rubs against the metal or plastic housing. Manufacturer guidelines from Balanced Body emphasize that repeated friction degrades fiber integrity and damages the pulley bearings. Fixing the twist early prevents uneven resistance and keeps your movements symmetrical.
Quick-Check: Identifying Your Reformer’s Strap & Pulley System
Before attempting to fix a twisted line, identify the exact system installed on your frame. Different mechanisms require distinct troubleshooting steps.
| System Type | Common Hardware | Primary Twist Location | Quick Fix Method |
|---|---|---|---|
| Flat Webbing Straps | Metal eyelets, flat rollers | Pulley frame entry | Manual flat-plane tracing |
| Braided Rope Systems | Swivel pulleys, cam cleats | Under-carriage cleat / riser | Cleat release and line spin |
| Retractable Systems | Internal spring reels | Under-carriage housing | Full line extension and guided recoil |
| Leather Straps | Stud buckles, wooden frames | Buckle attachment holes | Buckle unfastening and re-slotting |
Braided ropes rotate more freely inside swivel pulleys. Flat webbing systems demand strict directional alignment so the broad face of the fabric rests flat against every roller surface.
Step-by-Step: How to Trace and Untwist Webbing Straps
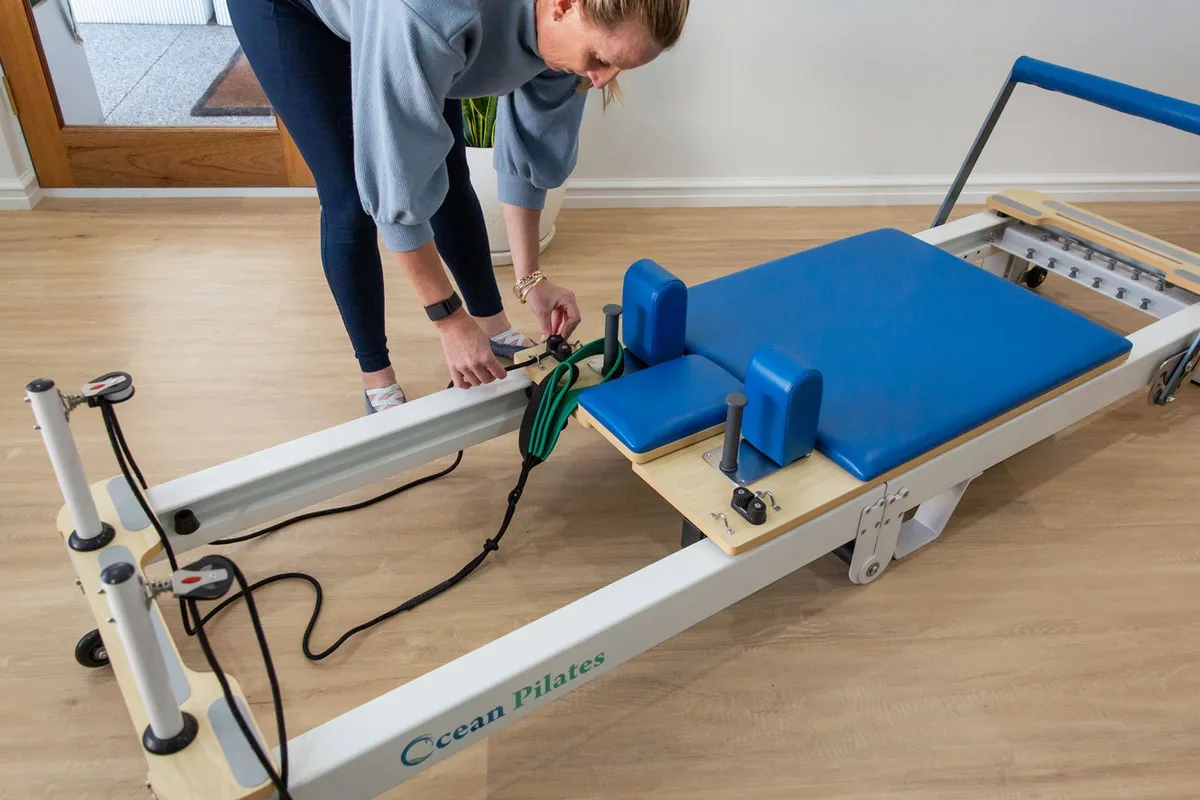
Image source: Bing (Web (fair-use with source credit))
Follow this sequence to clear twists along flat webbing lines without damaging the frame or hardware.
1. Drop the Tension
Unhook all carriage springs from the gearbar. Park the carriage gently against the front stops. Working with slack lines prevents hardware binding and protects your fingers.
2. Locate the Anchor Point
Find where the webbing connects to the carriage base or under-carriage adjustment cleats. Ensure the strap exits the anchor completely flat with no folded edges.
3. Trace the Flat Plane
Run your thumb and index finger along the strap toward the pulley riser. Keep the webbing flat between your fingers. Do not allow the material to roll over your hand.
4. Feed Through the Pulley Riser
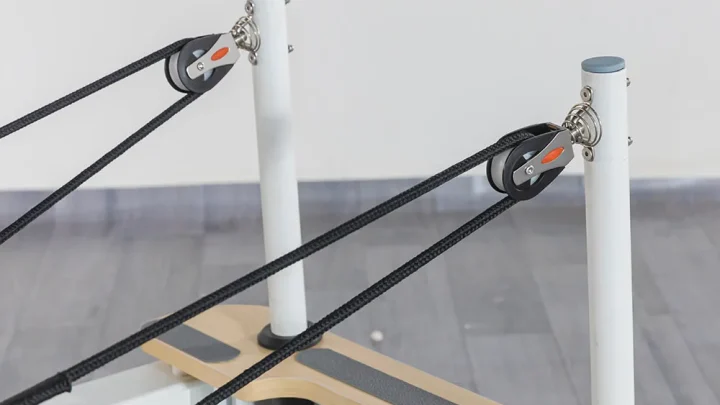
When you reach the pulley, check how the strap sits in the wheel groove. If the strap is flipped, pull roughly 12 inches of slack toward the carriage. Rotate the strap half a turn in the opposite direction of the twist, then pull it forward through the wheel.
5. Clear the Extension Line
Continue tracing the line from the front of the pulley down to the handle. Ensure the webbing does not fold over itself before reaching the extension clip.
How to Fix Twisted Ropes, Cam Cleats, and Retractable Systems
Rope-based Reformers behave differently than flat webbing. Braided ropes twist internally, creating kinks that bind inside the pulley teeth.
To clear a twisted rope system:
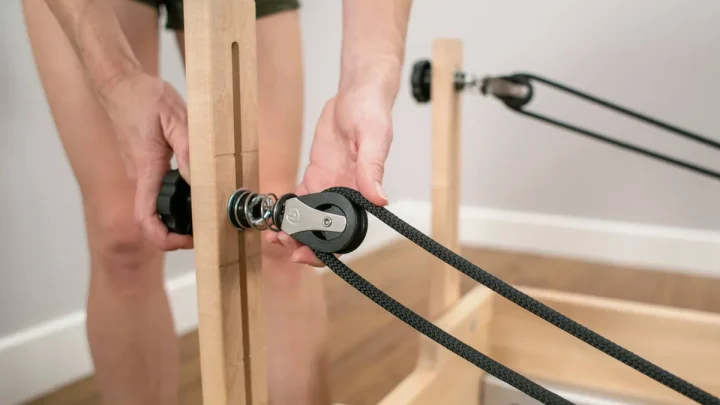
- Pop the Rope from the Cam Cleat: Pull the free end of the rope upward to release it from the cleat teeth.
- Pull Working Slack: Draw two to three feet of rope through the pulley toward the carriage.
- Spin the Cord: Hold the rope loosely near the pulley and allow the internal tension to spin the line back to neutral.
- Re-seat in the Cleat: Pull the rope taut so it drops straight down between the cam cleat cams without crossing over itself.
For retractable rope units, pull the rope all the way out until it reaches maximum extension. Hold the line straight under light tension. Guide the cord slowly back into the housing so the internal spool winds the rope flat without overlapping.
Fixing Inverted Double Loops and Hardware Twists
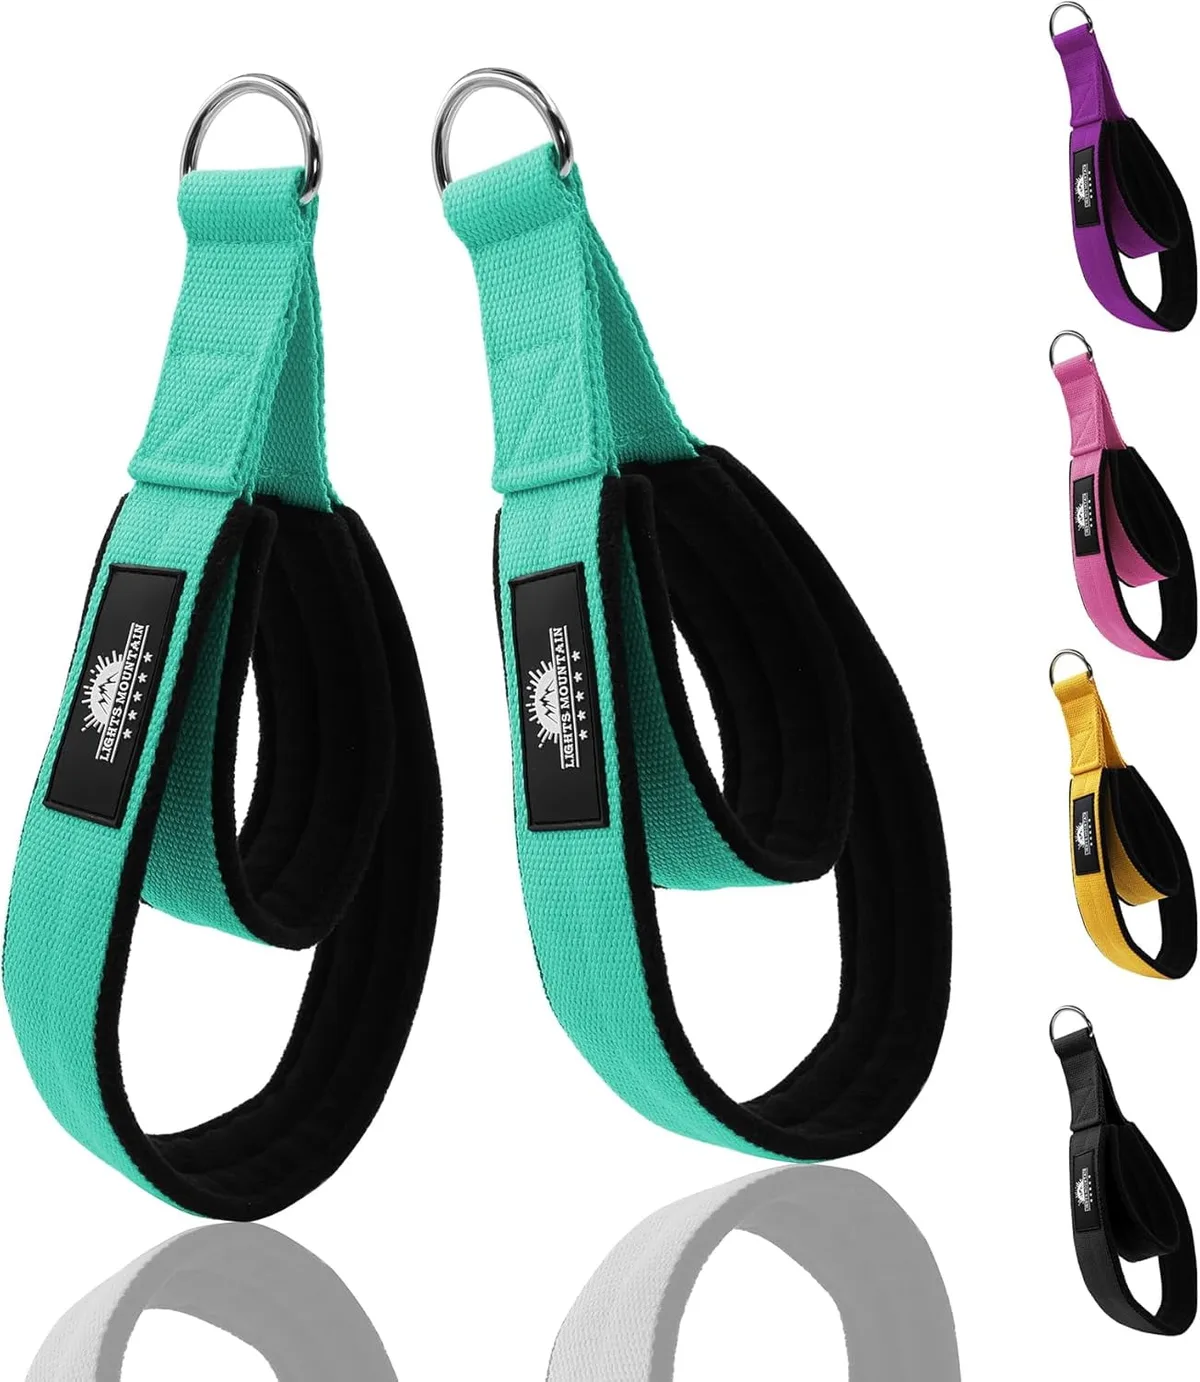
Image source: Bing (Web (fair-use with source credit))
Double loop handles often flip inside out during transitions between footwork and hand series. When the small inner loop passes through the large outer loop, the handle bunches up and feels uneven on your grip.
To fix an inverted double loop:
- Lay the handle flat on the carriage surface.
- Separate the short hand loop from the long foot loop.
- If the webbing crosses over the metal D-ring, push the small loop backward through the main loop opening.
- Check the swivel snap hook at the base of the strap. If the hook does not rotate smoothly on its pivot, spray a tiny drop of dry silicone lubricant into the swivel joint.
Hardware clips should spin 360 degrees without resistance. A stuck swivel will continually twist the strap every time a client rotates their wrists during arm exercises.
Common Mistakes That Make Strap Twists Worse
Tugging on a stuck strap without looking at the full line usually makes the twist tighter. When tension builds up, people often try quick fixes that end up damaging the hardware.
Here are the most common errors to avoid:
- Pulling Against Active Springs: Trying to force a twist through a pulley while springs are loaded pinches the webbing. This friction can shred outer rope fibers and warp pulley brackets.
- Spinning the Handle Blindly: Twirling the handle without tracking the rest of the line often adds a second twist near the carriage. Always trace the line from the anchor point forward.
- Wrapping Straps Around Risers for Storage: Wrapping straps tightly around shoulder rests or pulley posts creates permanent memory bends in nylon webbing. Hang them loosely on designated pegs instead.
- Ignoring Seized Swivel Clips: When snap hooks stop spinning, the strap twists every time your hand turns. Check hardware regularly so clips rotate freely under movement.
If a strap resists light pressure, stop pulling. Release the line tension completely before trying to feed the material through the hardware.
Studio Maintenance Habits to Prevent Future Strap Twisting
Consistent equipment care stops strap twists before they start. Studio audit data shows that routine strap checks reduce equipment downtime and protect users from sudden resistance shifts.
Inspect your ropes and webbing every week. Look for frayed edges, stiff spots, and uneven wear along the pulley contact track. Clear any dust or hair out of the pulley wheel axles with a dry brush.
Apply a dry silicone spray to the pulley bearings once a month. Never use standard oil lubricants or grease. Wet lubricants attract dust and lint, which gums up the wheel and causes the rope to drag sideways.
Store handles flat or hung by their D-rings at the end of each session. When setting up for classes, pull both handles up to the carriage shoulder rests to verify that the lengths match. If one handle hangs lower, reset the cleats before loading spring tension.
Frequently Asked Questions About Reformer Straps and Pulleys
Why do my reformer straps keep twisting during workouts?
Straps twist when handles rotate during movement or when the hardware swivel fails. Natural wrist rotation during arm work turns the strap. If the carabiner swivel is stuck with dust or lint, that rotational force travels up into the webbing rather than spinning out cleanly.
How do I know if my reformer straps are uneven?
Pull both strap handles forward until they touch the base of the carriage shoulder rests. Look at the position of the clips and loops side by side. If one handle extends past the other, release the cleat or rope lock and adjust the slack until both align evenly.
Can I wash twisted or dirty Pilates reformer straps?
Yes, most nylon and polyester webbing straps can be hand-washed in warm water with mild detergent. Place them in a mesh laundry bag to protect metal hardware. Always let them air-dry completely before rethreading them through the pulleys, as damp straps can stretch and slip inside cleats.
How often should I replace reformer ropes and straps?
Commercial studios should replace ropes and webbing every one to two years depending on class volume. Home users can typically go three to five years. Replace lines immediately if you notice fraying, thinning core fibers, cracked carabiner clips, or webbing that fails to grip inside the cleats.
Why is my reformer strap making a squeaking or clicking sound?
Clicking or squeaking usually means the strap is rubbing against the pulley housing rather than riding centered in the groove. A twisted line forces the cord against the bracket wall. Check for twists, align the webbing flat, and apply dry silicone lubricant to the wheel axle.

Similar Posts