How to Replace Rusty Pilates Reformer Bolts (Easy Guide)
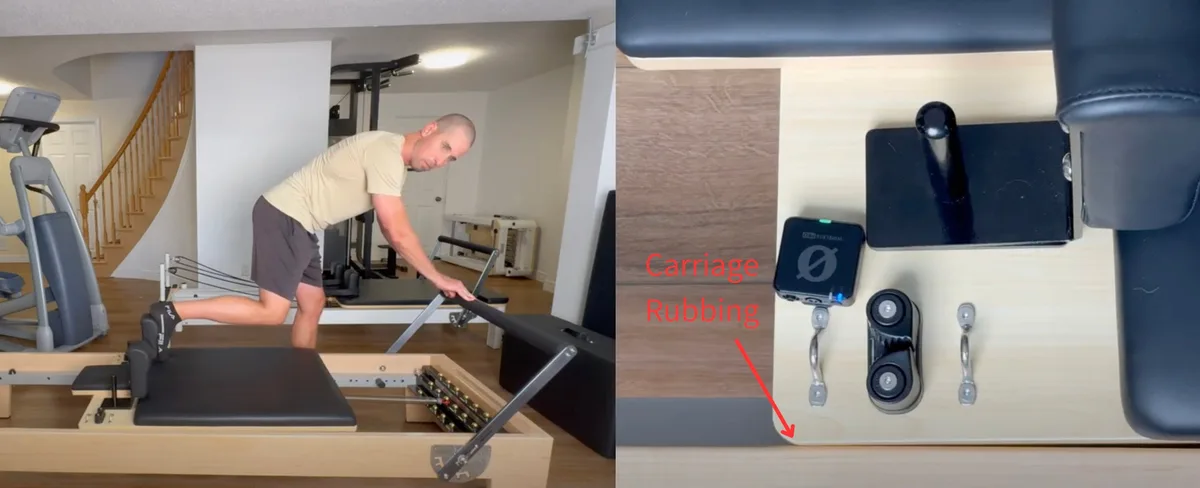
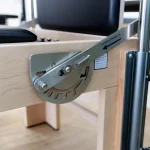
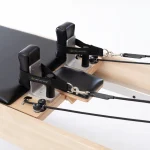
Learning how to replace rusty reformer bolts is an essential maintenance skill that keeps your Pilates equipment safe, silent, and structurally sound. Studio humidity, daily sweat exposure, and acidic cleaning sprays quietly corrode metal fasteners over time. When left unchecked, a seized or rusted bolt can freeze into the frame or snap entirely under heavy spring loads.
Commercial Pilates reformers handle significant dynamic forces. Equipment safety guidelines under ASTM International fitness standards emphasize structural fastener integrity to handle loads that regularly exceed 200 pounds of spring resistance. Swapping out compromised hardware protects your clients, preserves expensive aluminum rails, and prevents costly frame damage.
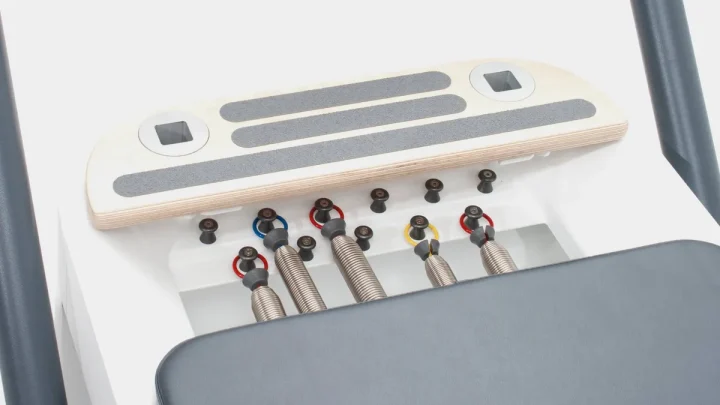
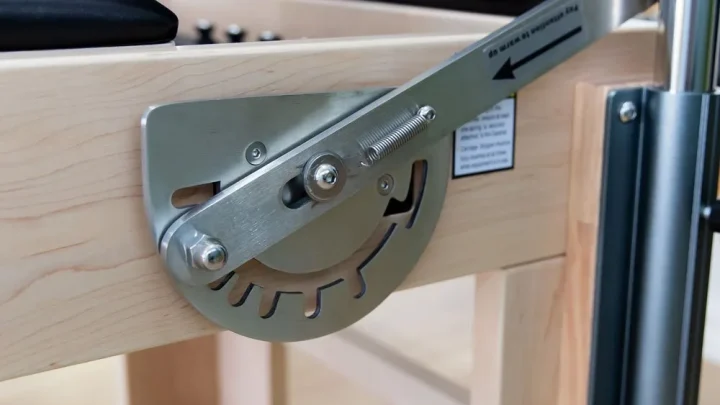
Image source: Web (Bing) / fortuspilates.ca (Web image (fair-use with source credit))
Quick Answer
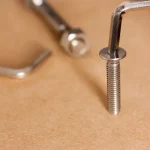
To replace rusty reformer bolts, start by removing all spring tension. Shield nearby vinyl upholstery and wheel bearings with heavy towels. Apply a targeted drop of penetrating fluid to the rusted threads.
Tap the bolt head gently to break galvanic bonds. Back the bolt out using a sharp hex bit or spiral extractor. Clean the internal threads thoroughly.
Finally, install a marine-grade 316 stainless steel replacement coated with medium threadlocker.
Why Rusty Reformer Bolts Are a Serious Safety Hazard
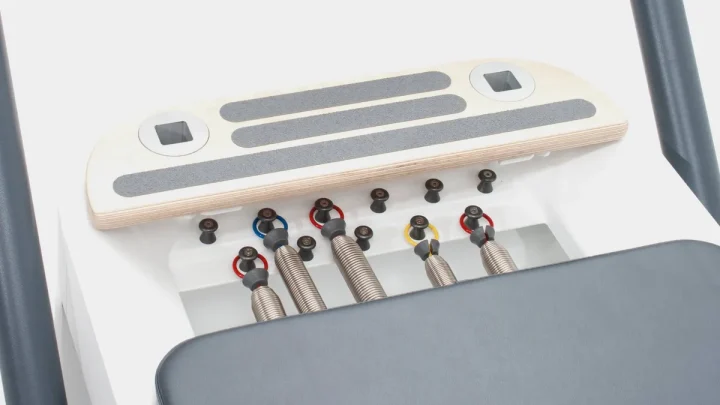
Rusted hardware on a reformer is never just an aesthetic problem. Fasteners on the footbar assembly, gear bar, and carriage wheel mounts experience constant cyclic loading. When corrosion sets in, it eats away at the bolt shank, creating micro-fractures that drastically reduce its sheer strength.
Galvanic corrosion is the primary culprit on modern reformers. When steel bolts sit directly inside extruded aluminum side channels, the contact between dissimilar metals accelerates oxidation. Sweat acts as an electrolyte, speeding up this chemical reaction.
If a corroded footbar bolt shears while a client is performing a standing exercise, the structural collapse happens instantly. Beyond personal injury risks, a corroded bolt that seizes permanently can ruin an entire aluminum rail or tear the internal wood anchors out of a classic maple frame.
Assessing the Corrosion: The Decision Tree for Removal Strategy
Before grabbing your hex keys, evaluate the condition of the fastener. Forcing the wrong tool onto a weakened bolt will round out the socket head instantly.
Scenario A: Surface Oxidation with an Intact Socket
If the rust is superficial and the internal hex drive is crisp, standard removal applies. Clean the head with a brass brush to seat the Allen bit fully. Apply steady counter-clockwise torque with a ratchet rather than a flexible hand key.
Scenario B: Seized Bolts Welded by Galvanic Corrosion
If the bolt head is intact but refuses to budge, galvanic bonding has locked the threads. Do not use brute force. You will need a penetrating release fluid, localized heat, and mechanical vibration to fracture the oxide bond before turning.
Scenario C: Stripped, Rounded, or Broken Bolt Heads
If a previous repair rounded out the socket, or the head snapped off flush, mechanical extraction is necessary. You must transition to left-hand drill bits and reverse-flute extractors to pull the remaining shank safely.
| Corrosion Level | Socket Condition | Recommended Approach | Risk Level |
|---|---|---|---|
| Surface Rust | Sharp, defined hex drive | Brass brush clean, standard socket drive | Low |
| Galvanic Seizure | Intact drive, frozen threads | Penetrating fluid, heat cycle, impact shock | Moderate |
| Severely Stripped | Rounded internal drive | Spiral flute screw extractor, manual impact tool | High |
| Sheared Shank | Bolt head missing | Center punch, reverse drill bit, screw extractor | Critical |
Studio Prep: Protecting Vinyl, Bearings, and Wooden Frames
Reformer maintenance requires deliberate preparation to avoid collateral damage. Standard penetrating oils contain petroleum distillates that destroy carriage vinyl, degrade neoprene shoulder pads, and dissolve bearing grease.
Start by unhooking all springs and moving the carriage to the opposite end of the frame. Lay thick shop rags or silicone mats over the vinyl upholstery and wooden runners.
Mask the polyurethane carriage wheels with painter tape if you are working anywhere near the tracking channels. Keep a bottle of mild, soapy water and a microfiber cloth nearby to wipe away any stray fluid drips immediately.
Step-by-Step Bolt Extraction and Thread Restoration
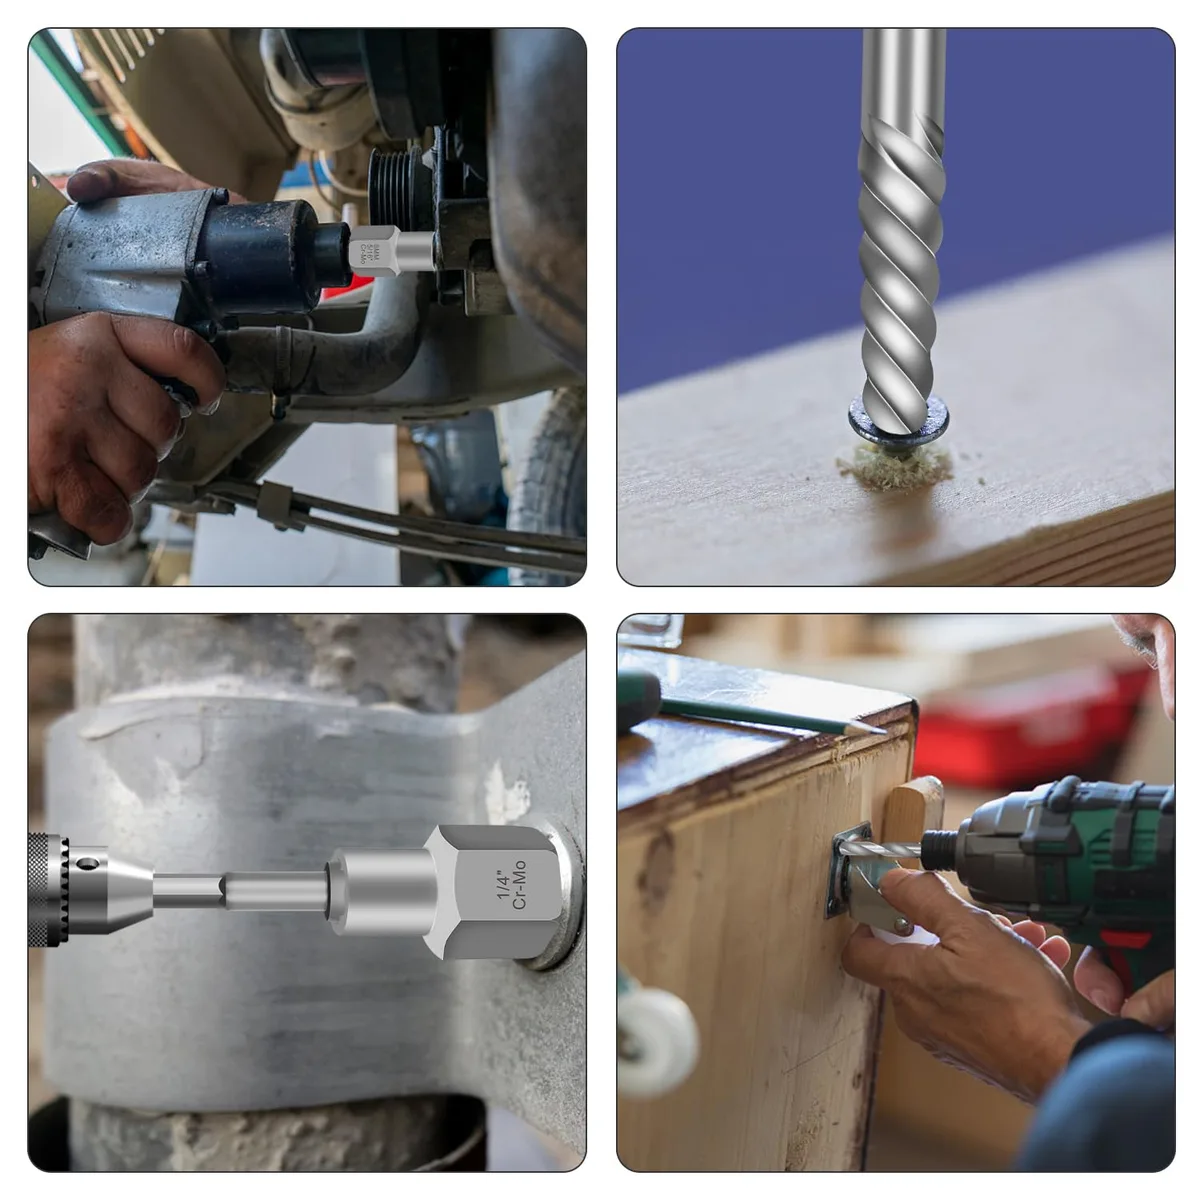
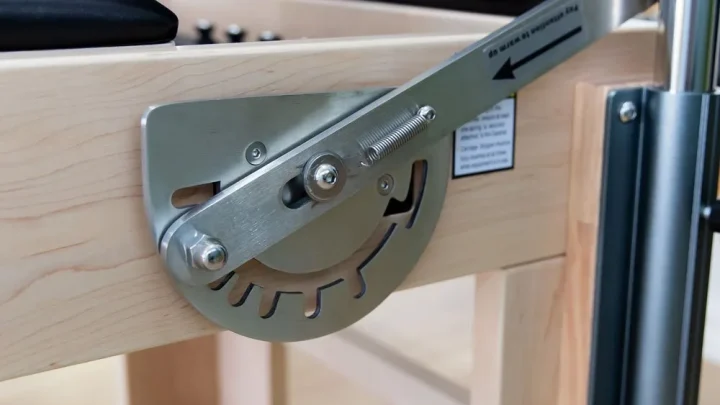
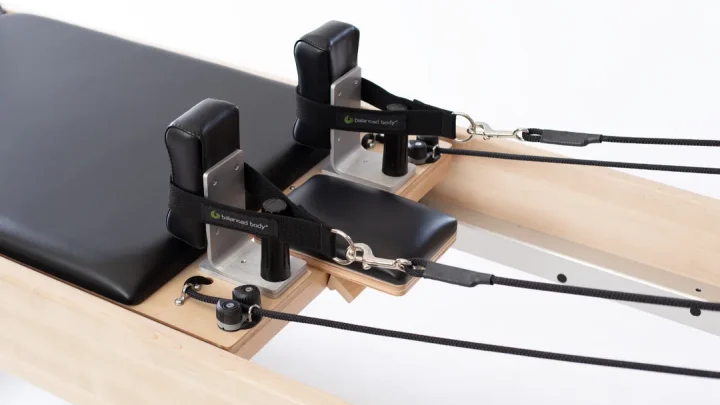
Image source: Bing (Web (fair-use with source credit))
Follow this sequential workflow to remove corroded fasteners without damaging the surrounding frame components.
Step 1: Deload Tension and Isolate the Component
Disconnect all spring resistance completely. If you are servicing the footbar or gear bar, support the weight of the mechanism with a wooden block so the fastener is not under mechanical tension.
Step 2: Apply Targeted Penetrating Fluid and Mechanical Shock
Place one or two drops of penetrating fluid directly at the base of the bolt head. Let it wick down the threads for 15 to 20 minutes.
Insert a punch or an old hex bit into the socket. Tap it firmly with a small hammer three or four times. This axial shock sends vibrations through the threads, fracturing the brittle rust deposits locking the bolt in place.
Step 3: Extract the Seized or Stripped Fastener
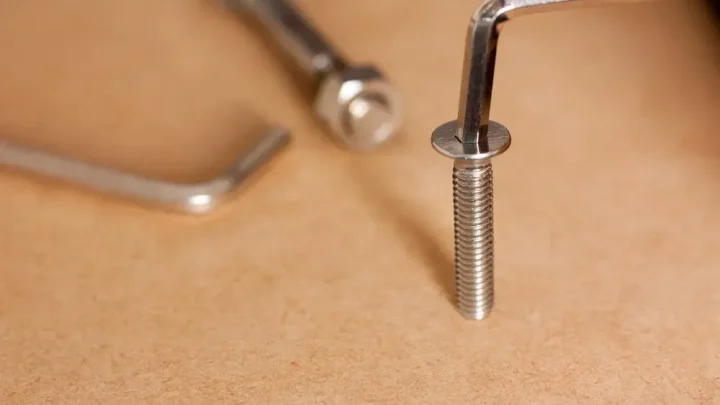
Fit a high-grade hex bit into your ratchet handle, ensuring it seats to the full depth of the socket. Apply firm downward pressure while rotating counter-clockwise.
If the socket slips, stop immediately. Switch to a spiral screw extractor. Drill a small pilot hole into the center of the bolt using a left-hand drill bit running in reverse.
Insert the extractor flute and turn slowly until it bites and draws the damaged bolt out.
Step 4: Chase and Clean Internal Threads
Once the old bolt is out, inspect the receiving threads. Run a dedicated thread tap or thread-chasing brush through the hole to clear out dried oxidation and old threadlocking compound. Blow out remaining debris using compressed air.
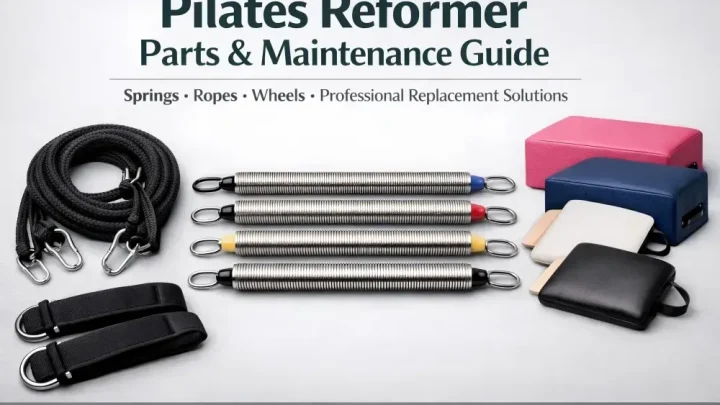
Sourcing the Correct Replacement Hardware: Sizing, Grades, and Materials
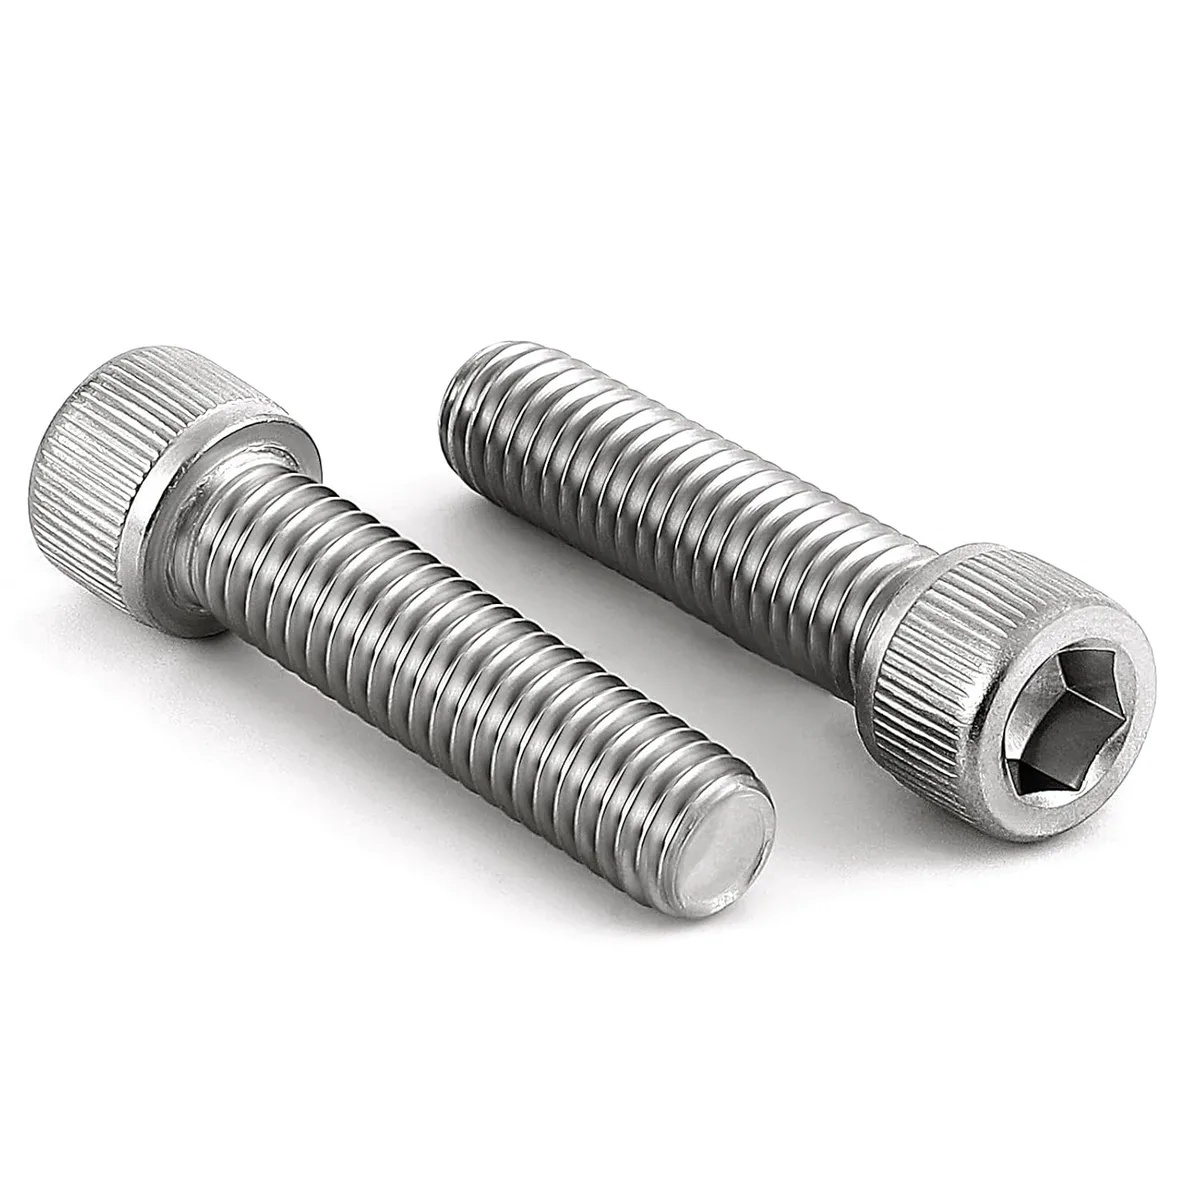
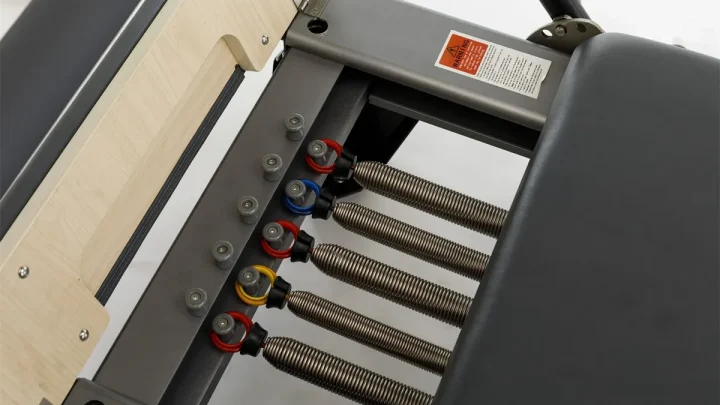
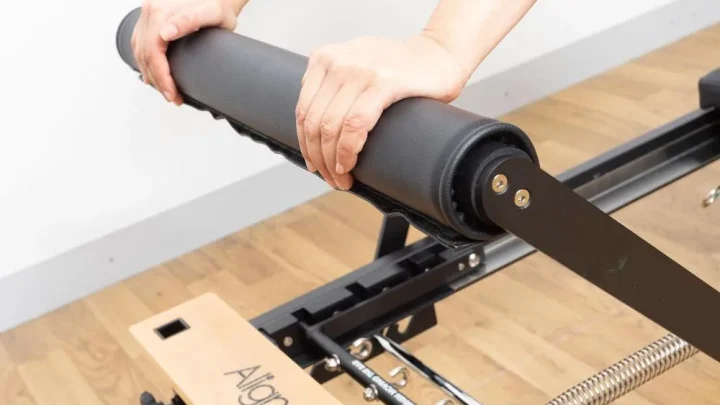
Image source: Web (Bing) / amazon.in (Web image (fair-use with source credit))
Never replace reformer bolts with generic hardware store fasteners of unknown tensile strength. Fasteners on commercial apparatus must withstand high dynamic loads without deforming.
Material Selection: 304 vs. 316 Stainless Steel vs. Zinc-Plated Steel
Zinc-plated carbon steel offers high tensile strength, but the thin coating wears away quickly under sweat exposure.
Grade 304 stainless steel provides solid corrosion resistance for average home use. For commercial studios or coastal facilities as of 2026, grade 316 marine-grade stainless steel is the professional standard. It contains molybdenum, which shields the metal against chlorides found in human perspiration and commercial disinfectants.
Understanding Thread Pitch, Sizing, and Load Ratings
Most modern commercial reformers use socket head cap screws or button head machine screws. Sizing generally falls into two camps:
- Metric Hardware: Merrithew and many European builders rely on M6 and M8 metric threads with standard 1.0mm or 1.25mm thread pitches.
- Imperial Hardware: Balanced Body and classic apparatus commonly use 1/4-20 UNC or 5/16-18 UNC standard threads.
Always match the replacement thread pitch exactly. Forcing an imperial bolt into a metric insert will permanently cross-thread and destroy the internal mounting block.
Installation Best Practices: Anti-Seize, Threadlockers, and Torque Limits
Installing your replacement hardware correctly ensures you will never have to fight a seized bolt on that reformer again. You must choose between anti-seize paste and threadlocking fluid based on the location of the fastener.
Use a marine-grade nickel or zinc anti-seize paste if you are threading stainless steel bolts directly into static aluminum frame extrusions. This paste creates a physical barrier that stops galvanic corrosion completely.
Use medium-strength blue threadlocker (such as Loctite 242) for dynamic, vibrating components like footbar pivots, wheel axles, and gear bar brackets. Blue threadlocker cures in the absence of air, preventing vibration loosening while still allowing removal with hand tools later. Never use red high-strength threadlocker, as it requires high heat to release and will melt nearby plastic bushings.
Tighten fasteners carefully using a calibrated hand wrench. Most M6 and 1/4-inch reformer hardware requires modest torque, typically between 8 and 12 Newton-meters (6 to 9 foot-pounds). Over-tightening crushes internal nylon washers, binds pivot joints, and strips out soft aluminum threads.
Critical Mistakes That Damage Reformers During Hardware Swaps
A simple bolt swap can quickly turn into a major repair bill if you make one of these common mechanical mistakes.
- Using standard hardware store zinc bolts: Cheap carbon steel fasteners corrode rapidly in high-sweat studio environments, leading to premature failure under load.
- Spraying aerosol penetrants recklessly: Spraying generic penetrating oils coats the carriage deck and damages polyurethane wheel bearings, causing flat spots and rough tracking.
- Using rounded or ball-end Allen keys: Ball-end hex drivers make contact on very small surface areas and will instantly strip out a stubborn, corroded socket head. Always use flat, sharp-edged hex bit sockets.
- Ignoring thread pitch differences: Forcing a metric fastener into an imperial wooden T-nut will tear the anchor completely out of the hardwood frame.
- Over-torquing pivot fasteners: Cranking down dynamic pivot bolts pinches nylon spacer bushings, resulting in sticky, squeaking footbar adjustments.
Frequently Asked Questions About Reformer Hardware Maintenance
How often should reformer bolts be inspected for rust?
Reformer hardware should be visually checked every month in commercial studios and every three months in home settings. Look closely around footbar brackets, spring attachment posts, and wheel mounts where sweat accumulates. Perform a hands-on tightness check with a hex key every quarter to catch loose bolts early.
Can I clean and reuse a rusted reformer bolt?
No, corroded load-bearing fasteners should always be replaced rather than cleaned. Rust eats away the actual steel shank, causing pitting that drastically lowers the shear strength of the bolt. Once rust appears on a spring bar or pivot bolt, structural integrity is permanently compromised.
What is the best penetrating oil for reformer repairs?
Use a specialized low-VOC, high-wicking synthetic penetrating fluid applied drop-by-drop with a needle applicator. Avoid wide-spray aerosol cans of generic lubricants. Precise drops protect nearby vinyl upholstery, carriage padding, and sealed ball bearings from chemical degradation while you work on frozen hardware.
How do I stop new stainless bolts from seizing in aluminum rails?
Apply a thin layer of marine-grade anti-seize compound to the bolt threads before installation. This prevents galvanic interaction between the dissimilar metals. It also eliminates galling, a common cold-welding phenomenon where stainless steel threads seize and bind permanently during installation.

Similar Posts