How to Replace Reformer Grip Handles: Easy Step-by-Step
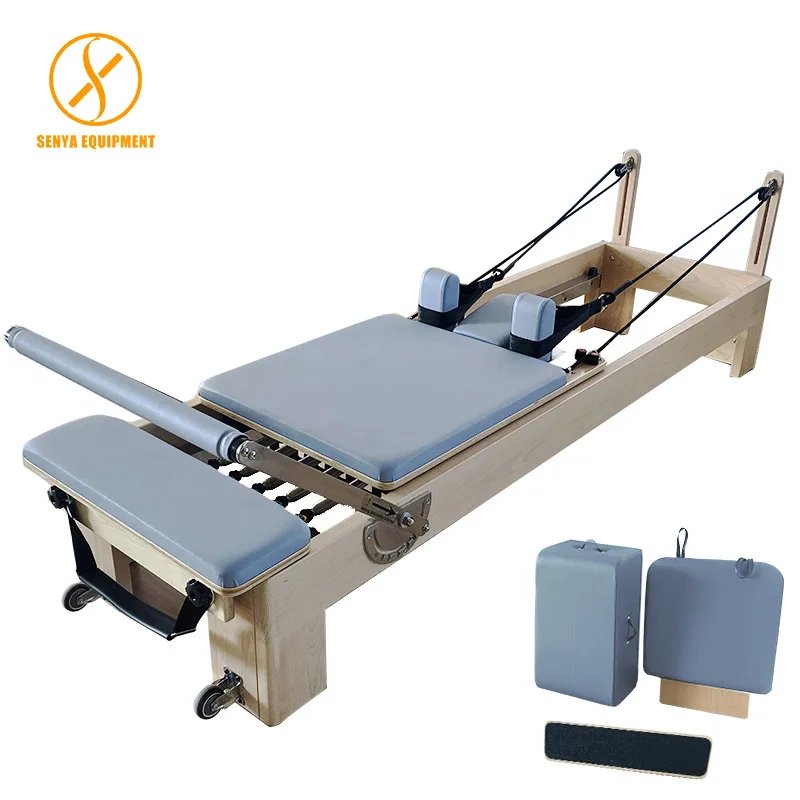
Knowing how to replace reformer grip handles is essential for maintaining smooth resistance and rider safety during workouts. Worn straps lose their grip, fray at high-friction points, and can snap without warning under heavy spring loads. Regular hardware inspection keeps your equipment running quietly and prevents unexpected mid-exercise slips.
Commercial studio standards from equipment manufacturers recommend inspecting connection hardware monthly. Most synthetic nylon loops hold up to 300 pounds of static load before showing structural fatigue. Replacing your handles takes only five to ten minutes once you understand your reformer's specific connection system.
Image source: Bing (Web (fair-use with source credit))
Quick Answer
To replace reformer grip handles, first lock all carriage springs. Unclip the carabiner or unthread the loop webbing from the rope eyelet. Attach the new handle using the matching hardware or a girth hitch knot.
Check both rope lengths at the headrest to verify equal tension.
Why Your Reformer Grip Handles Need Replacing (And What Happens If You Wait)
Pilates handles absorb friction, sweat, and body oils during every session. Over time, high-tensile nylon webbing begins to fuzz, pill, and thin out around the D-rings. If you put off replacement, micro-tears in the webbing can fail suddenly under tension during moves like the Hundred or Long Spine.
Foam grips also break down with age. They compress, split, and turn slick, which strains your wrists as you overcompensate for poor traction. In high-traffic studios, older porous handles harbor bacteria and resist thorough cleaning.
As of 2026, most commercial studios follow maintenance guidelines from the Pilates Method Alliance to swap heavily used handles annually. Routine replacement restores a firm grip, protects your joints, and ensures your carriage glides safely.
Choosing the Right Replacement Handles: Double-Loops, Wipeable Grips, and Hardware Styles
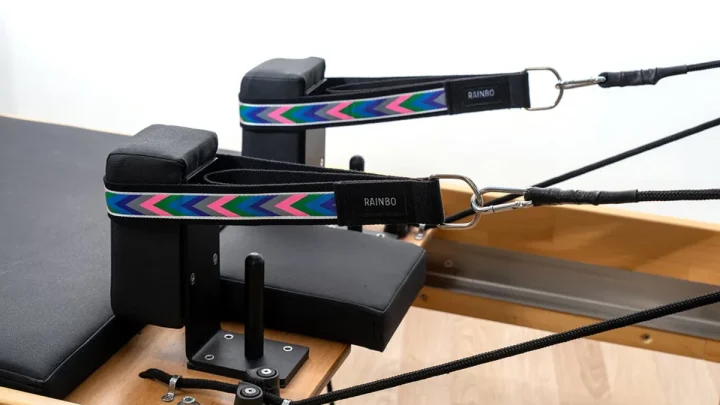
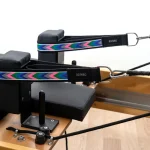
Selecting replacement handles depends on your exercise style and hygiene preferences. Most modern reformers use double-loop straps, featuring a short loop for hands and a longer loop for feet. This dual setup lets you transition between exercises without stopping to adjust rope length.
| Handle Style | Primary Material | Best Use Case | Key Benefit |
|---|---|---|---|
| Padded Double-Loop | High-tensile nylon with fleece or neoprene | General studio workouts | Fast transitions between hands and feet |
| Non-Porous Synthetic | Medical-grade vinyl or silicone | High-traffic commercial studios | Easy to sanitize between clients |
| Single Hard Handle | Molded composite with nylon strap | Upper-body strength training | Rigid ergonomic grip for heavy spring loads |
| Traditional Leather | Top-grain leather with D-ring | Classical studio apparatus | Authentic tactile feel and longevity |
Wipeable handles have become the standard for shared spaces. Non-porous surfaces allow instructors to disinfect straps between clients with hospital-grade wipes without degrading the fabric fibers.
If you practice mainly at home, plush neoprene or fleece-lined double loops offer superior comfort against bare skin.
The Reformer Connection Decision Tree: Identifying Your Attachment Method
Before buying new parts, examine how your current handles attach to the ropes. Reformer brands use three main connection styles across their lineups:
- If your ropes end in metal clips or snap hooks: You have a quick-release system. This is common on modern commercial units from brands like Merrithew and Peak Pilates. You simply unclip the old D-ring and snap the new handle in place.
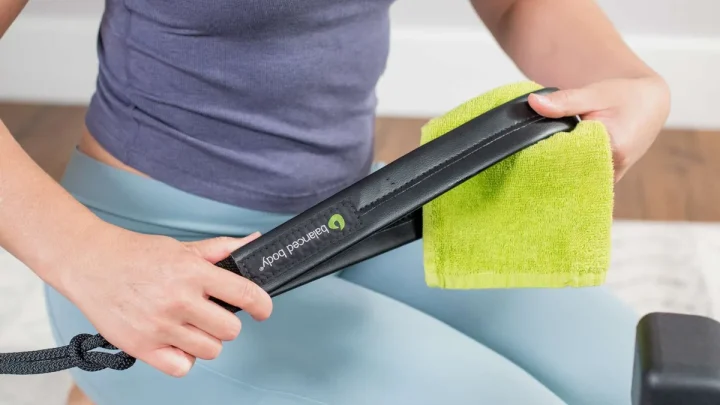
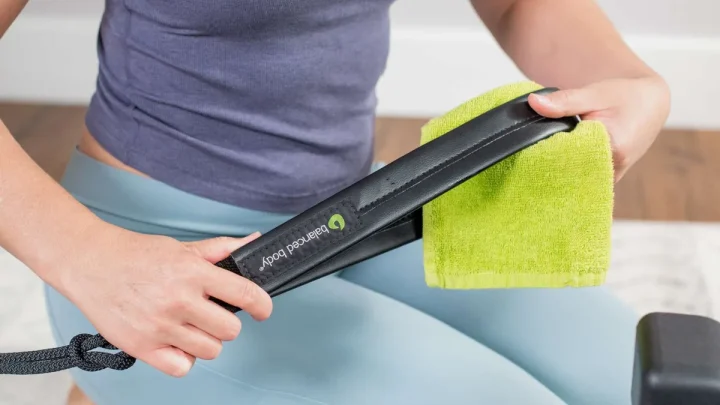
- If your ropes end in a stitched fabric loop: You have a loop-through system. This setup is standard on Balanced Body Allegro reformers. It requires threading the handle strap through the rope eye using a girth hitch knot.
- If your reformer uses raw cord or leather straps: You have a traditional knot or rivet attachment. Classical reformers like Gratz use braided ropes tied through eye bolts or leather straps secured with Chicago screw posts.
Matching your replacement handle to your attachment hardware prevents unwanted play in the ropes. Never mix mismatched metal carabiners with soft-loop ropes, as metal edges will chew through bare nylon loops.
Step-by-Step Replacement Guide by Attachment Style
Always secure your carriage before starting any maintenance. Hook at least two heavy springs to the spring bar so the carriage cannot roll forward while you work.
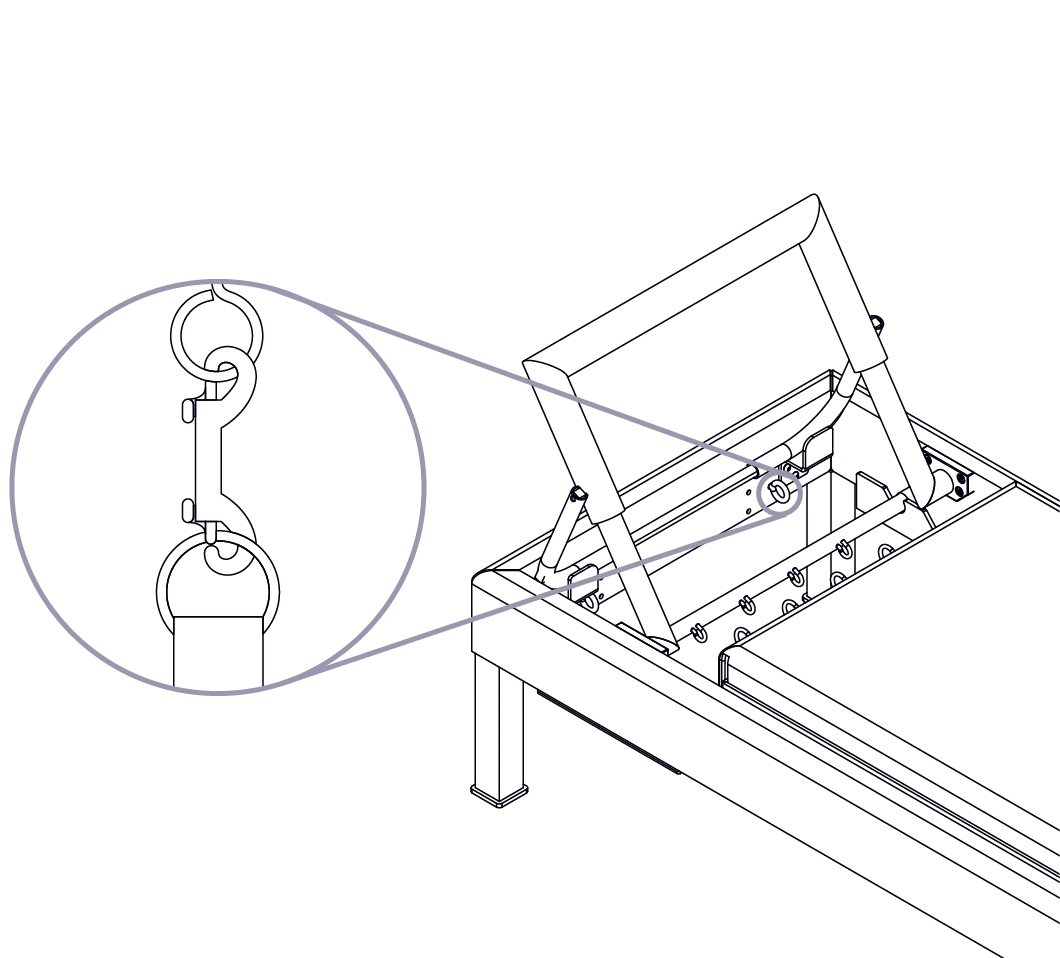
Image source: Bing (Web (fair-use with source credit))
Method A: Quick-Release Carabiners and Snap Hooks
- Inspect the spring-loaded gate of the carabiner for smooth closure and rust.
- Depress the gate and unhook the old handle D-ring.
- Slip the D-ring of the new handle into the snap hook.
- Confirm that the gate snaps completely shut. If using locking carabiners, twist the barrel to secure the closure.
Method B: The Loop-Through Method (Girth Hitch Webbing)
- Unfeed the old handle by pushing its webbing backward through the rope loop until it loosens.
- Take the tail strap of your new handle and feed it through the rope loop from front to back.
- Open the handle loop and pull the entire grip through its own webbing tail.
- Cinch the knot tightly against the rope eye. Ensure the fabric lies flat without bunching.
Method C: Knot-Tied Rope Systems and Classic Leather Straps
- For rope setups, untie the existing figure-eight or stopper knot near the eye bolt.
- Thread the rope end through the handle loop or D-ring.
- Re-tie a clean figure-eight follow-through knot, leaving at least two inches of tail cord.
- For leather straps, unscrew the Chicago binding posts with a flathead screwdriver, swap the handle, and re-tighten the posts firmly with thread-locking fluid.
Calibrating Rope Length and Equalizing Tension After Installation
Replacing handles often alters rope tension, especially when switching between different strap brands. Uneven ropes cause the carriage to pull crookedly against the aluminum rails. This introduces uneven resistance and creates premature wear on your guide wheels.
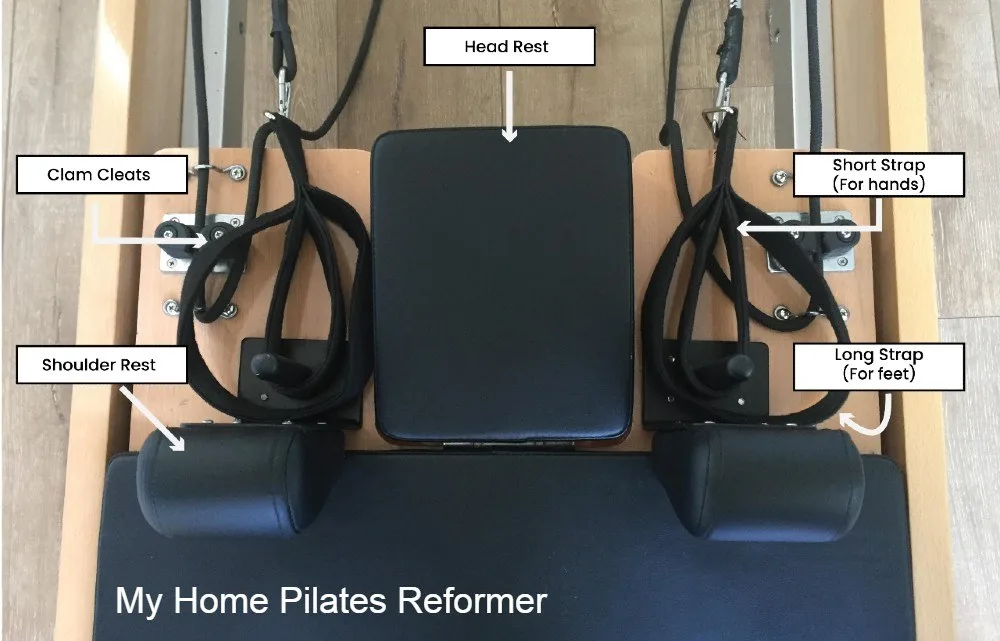
Image source: Bing (Web (fair-use with source credit))
To calibrate your ropes, rest the carriage completely against the front stops. Pull both handles forward until the metal rings or stitching meet directly over the shoulder rests. Look across the carriage to see if both handles align horizontally.
If one handle sits further forward, release the rope from its cam cleat underneath the carriage or behind the pulley riser. Adjust the rope length until both handles rest at the exact same point on the headrest. Press down firmly into the cam cleats to lock the braided cord into the grooved teeth.
Give each handle a sharp tug to verify that the cleats hold firm under dynamic tension.
Common Installation Mistakes That Compromise Studio Safety
Replacing reformer handles seems simple, but small hardware oversights create serious safety hazards under load. The most frequent error is installing replacement carabiners with open gates facing toward the user. When ropes slacken during dynamic footwork, an inward-facing gate can snag on clothing or pop off the rope ring entirely.
Another common mistake involves twisted webbing during a girth hitch installation. If the strap twists as you pull it through the eyelet, pressure concentrates on a single edge of the fabric. This focused friction cuts down the lifespan of the strap and causes premature fraying.
Always smooth the webbing flat before cinching it down.
Using non-rated hardware from local hardware stores is a dangerous shortcut. Reformer ropes handle high dynamic loads during intense athletic movements. Hardware store snap hooks often lack working load ratings and can shear under sudden tension.
Stick strictly to marine-grade stainless steel or manufacturer-rated climbing carabiners.
Finally, never skip a dynamic pull test after changing parts. Anchor both feet against the footbar and pull both straps forcefully to full extension before starting a routine. This test sets the knots, seats the hardware, and ensures the cleats hold before you put your full body weight on the carriage.
Frequently Asked Questions About Reformer Handle Replacement
How often should reformer grip handles be replaced?
In high-traffic commercial studios, handles should be replaced every 12 to 18 months. Home users can typically wait 2 to 3 years. Replace handles immediately if you spot frayed stitching, cracked foam, or sluggish carabiner spring gates.
Can you wash Pilates reformer handles in a washing machine?
Yes, most fabric and neoprene handles are machine washable. Place them inside a mesh laundry bag to protect the metal D-rings from damaging your washing drum. Wash on a gentle cycle with cold water and mild detergent.
Always air dry them completely before reinstalling.
Are reformer replacement handles universal across all brands?
Most modern replacement handles are cross-compatible across brands like Balanced Body, Merrithew, and Peak Pilates. The main compatibility factor is the attachment method. Check whether your reformer uses snap hooks, soft webbing eyes, or traditional leather straps before ordering new parts.
How do you fix squeaking hardware after replacing handles?
Squeaking happens when metal carabiners rub directly against metal eye bolts. Apply a single drop of dry silicone lubricant to the contact point. Avoid petroleum-based oils like WD-40, as they attract dust and degrade adjacent nylon fibers.
Should you replace the reformer ropes when you replace the handles?
You do not need to replace both at the same time unless the ropes show wear. Inspect the entire rope length for fuzzy spots, flattening, or core degradation near the pulleys. If the rope fibers look compromised, replace both ropes and handles together.

Similar Posts