How to Replace a Reformer Strap Handle: Step-by-Step
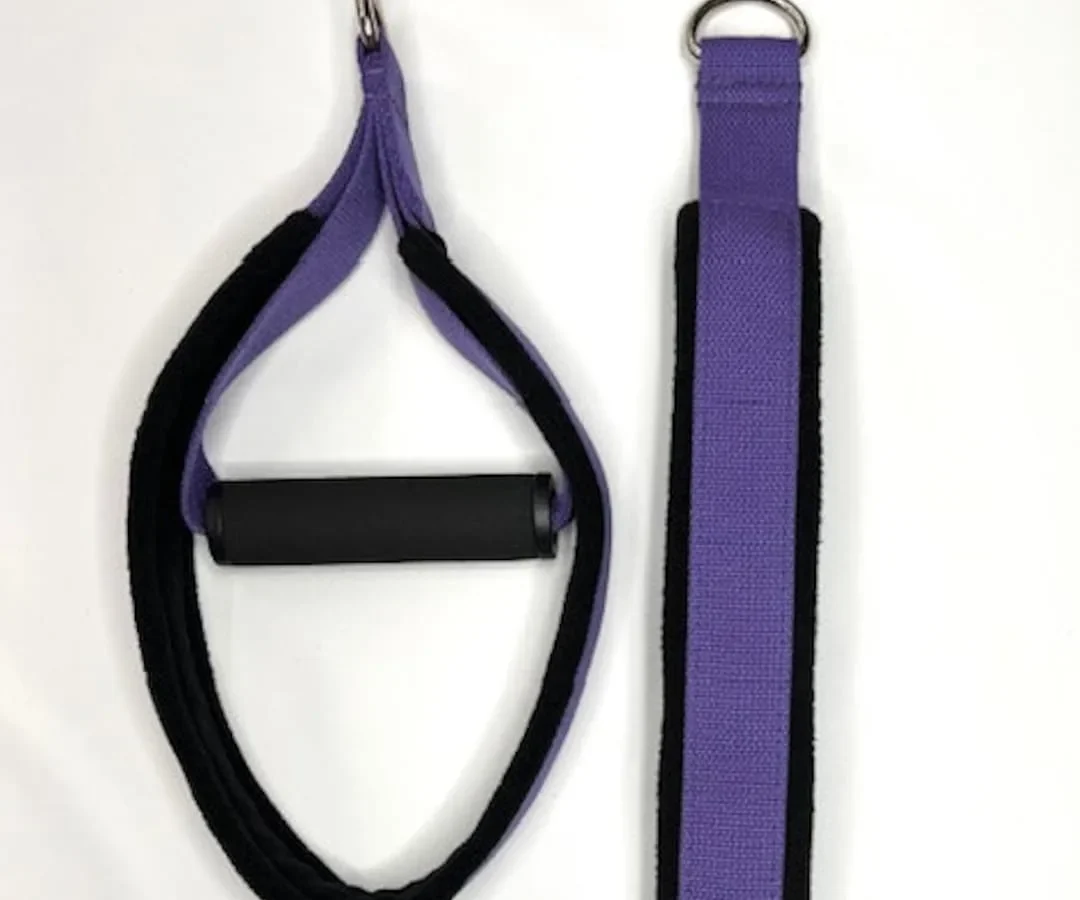
Worn, frayed, or squeaky handles can compromise your workout and create real safety risks on a Pilates reformer. Learning how to replace a reformer strap handle is a straightforward maintenance task that takes less than five minutes once you know your specific attachment style.
Most modern commercial and home reformers use either 8mm or 10mm marine-grade braided ropes paired with dynamic carabiners, soft webbing loops, or traditional leather billets. Based on manufacturer guidelines from equipment leaders like Balanced Body, inspecting your connection hardware monthly prevents catastrophic failures during high-tension exercises. Let us walk through the exact steps to identify your setup and complete the swap safely.
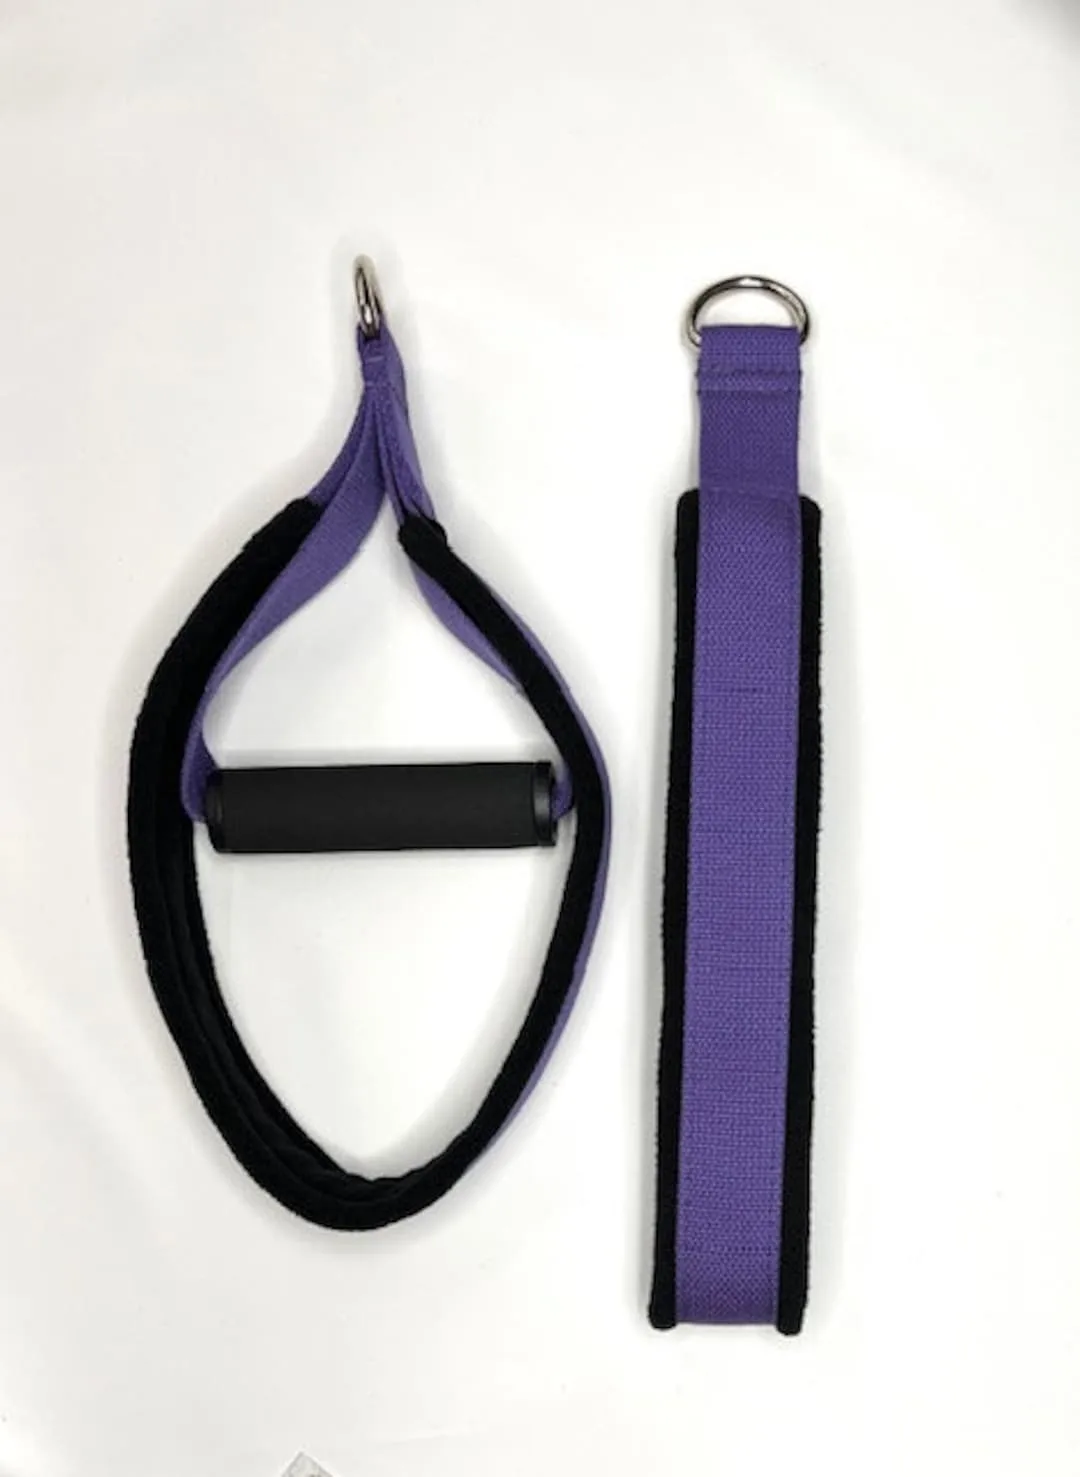
Image source: Web (Bing) / etsy.com (Web image (fair-use with source credit))
Quick Answer
To replace a reformer strap handle, first check your attachment system. Unclip carabiner snaps directly from the rope D-ring. For soft rope setups, loosen and unthread the lark's head knot.
For classical leather, unbuckle the strap under the carriage. Attach your new handle securely. Always equalize both rope lengths before working out.
Identifying Your Reformer Handle Connection Style
Before ordering parts or grabbing tools, you need to identify how your handles connect to your ropes or straps. Reformers generally fall into one of three distinct mechanical categories.
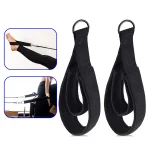
The most common modern style uses metal hardware, such as swivel snap hooks or locking carabiners. These clip directly into a stitched loop or metal D-ring at the end of the rope. You will frequently see this setup on contemporary commercial units.
The second style is a soft-loop connection, which uses no metal hardware at all. Instead, the rope passes directly through a loop on the handle using a girth hitch, also known as a Lark’s Head knot. This design eliminates clanking sounds against the frame.
The third style appears on classical apparatus. These use unlined or lined leather straps that fasten beneath the carriage using heavy-duty prong buckles.
| Connection Style | Typical Hardware | Common Brands | Best Known For |
|---|---|---|---|
| Snap Hook / Clip-In | Swivel snaps, carabiners | Merrithew, Peak Pilates | Fast swaps between single and double loops |
| Soft-Loop (Knot) | Webbing loops, rope eyelets | Balanced Body (SoftTouch) | Silent movement, no metal clatter |
| Classical Buckle | Leather billets, brass buckles | Gratz, Basil, Tirado | Traditional feel, fixed hole adjustments |
Method 1: Replacing Snap-Hook and Carabiner Handles
Replacing a clip-in handle is the fastest method. It requires no knots or rope adjustments if your existing rope length is already balanced.
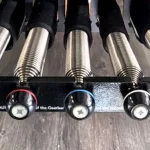
First, set your carriage on at least two full-tension springs. This stops the carriage from rolling forward unexpectedly while you work with the ropes.
Next, depress the spring gate on the swivel snap hook or unscrew the locking sleeve on your carabiner. Detach the old handle from the rope end.
Inspect the attachment point on your rope. Look closely for internal fraying where the metal hardware rests against the rope core. If the rope eyelet is intact, clip the new handle directly into the open connector.
Ensure the spring gate snaps shut completely. If your carabiner uses a screwgate, hand-tighten the collar until secure. Give the handle a firm tug away from the pulley riser to confirm the gate will not pop open under load.
Method 2: Swapping Soft-Loop and Lark’s Head (Girth Hitch) Handles
Soft-loop systems connect the handle to the rope using friction and geometry rather than metal clips. This keeps the apparatus quiet and reduces wear on the carriage wood.
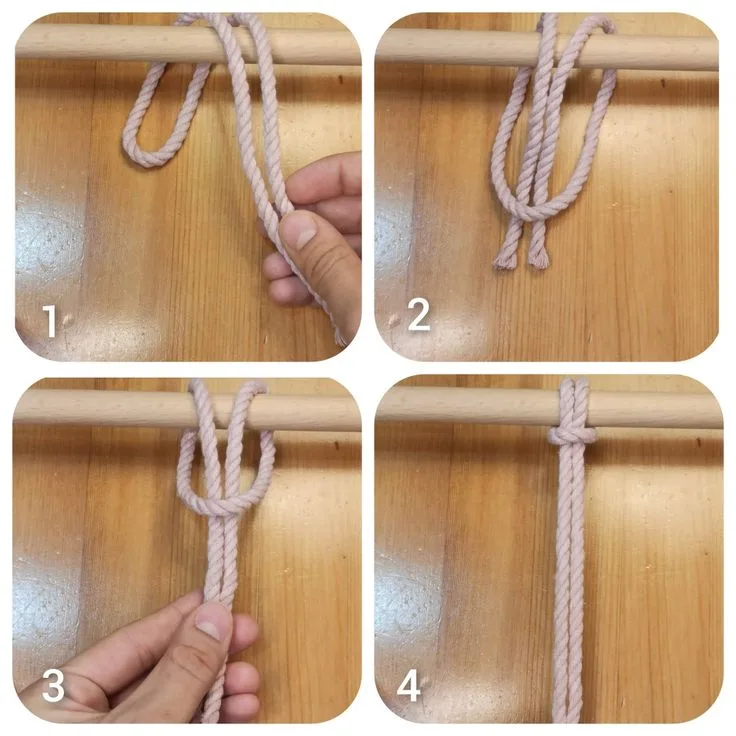
Image source: Web (Bing) / id.pinterest.com (Web image (fair-use with source credit))
To remove an old soft-loop handle, locate the Lark's Head knot at the rope end. Under heavy body weight, these knots cinch down tightly over time.
Work your fingers into the junction where the handle webbing meets the rope loop. Push the webbing back toward the rope eyelet to loosen the knot. Once slack, pull the entire grip through the open loop to detach it.
To install the new handle, feed the sewn webbing loop of the new handle through the rope's stitched eyelet. Next, take the main body of the handle and pass it entirely through its own webbing loop.
Pull the handle firmly away from the rope. The webbing will cinch snugly around the rope end, forming a clean, secure knot. Smooth out any twists in the fabric so the strap sits flat against the rope.
Method 3: Changing Classical Leather Straps and Buckle Attachments
Classical reformers use continuous leather straps rather than synthetic climbing cords. Replacing these handles involves working directly with the carriage billets.
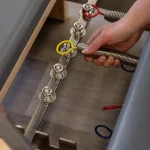
Start by locking all springs to the gearbar to immobilize the carriage. Reach underneath the carriage frame near the headrest to locate the strap buckles.
Unthread the tongue of the buckle from the current leather hole. Pull the worn leather strap up and out through the wooden pulley guides.
Thread the new leather strap through the pulley wheels, keeping the smooth grain side facing toward the user. Slide the strap end through the carriage guide slots and down to the buckle underneath.
Fasten the buckle prong through the matching hole on both sides. Classical straps require exact hole alignment so both handles sit at the exact same distance from the shoulder rests.
How to Equalize Rope Lengths and Lock Cam Cleats After Replacement
Whenever you change handles, your working rope lengths can shift slightly. Uneven straps cause the carriage to pull sideways, leading to poor exercise form and uneven track wear.
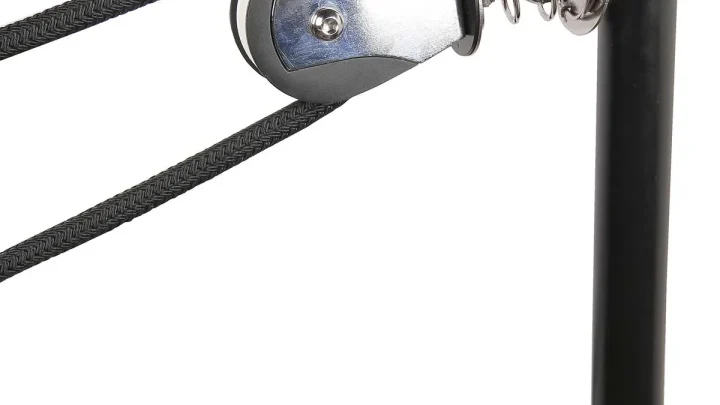
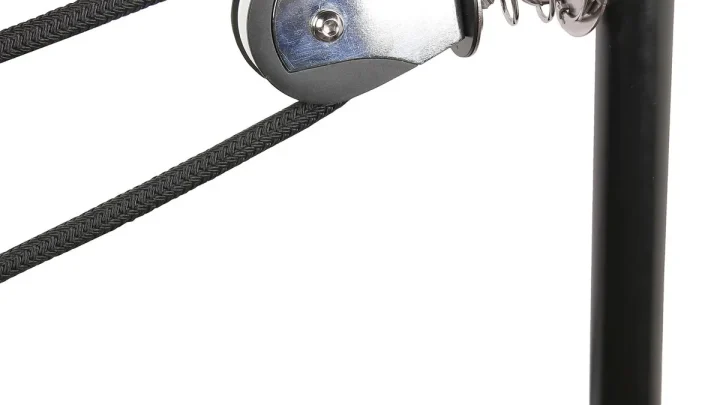
Begin by disengaging the ropes from the cam cleats, which are the spring-loaded teeth mounted behind your shoulder rests or under the carriage.
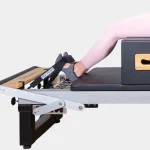
Pull both handles forward toward the shoulder rests. Place the base of each handle loop directly over the top of each shoulder block.
With both handles hooked over the shoulder rests, pull the loose tail of each rope taut through the pulley risers. Push the ropes firmly downward into the cam cleats so the ribbed teeth bite securely into the cord.
Test the hold by gripping the ropes near the pulleys and pulling hard toward the carriage. The ropes must not slip through the cleat teeth under firm manual pressure.
Handle Styles Compared: Double Loops, Single Loops, and Cleanable Vinyl
Selecting the right replacement handle depends on how you use your reformer and your hygiene requirements. Most modern studios choose between three primary handle materials and configurations.
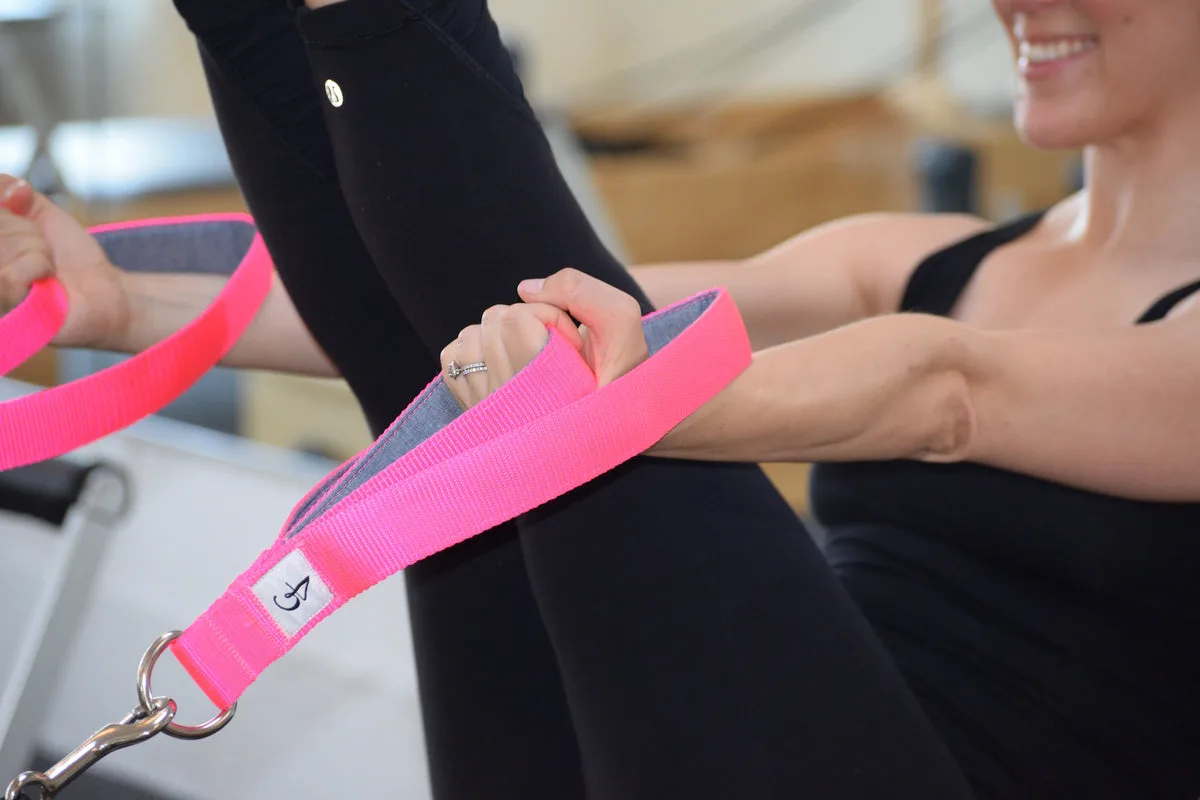
Image source: Web (Bing) / infinitypilates.gr (Web image (fair-use with source credit))
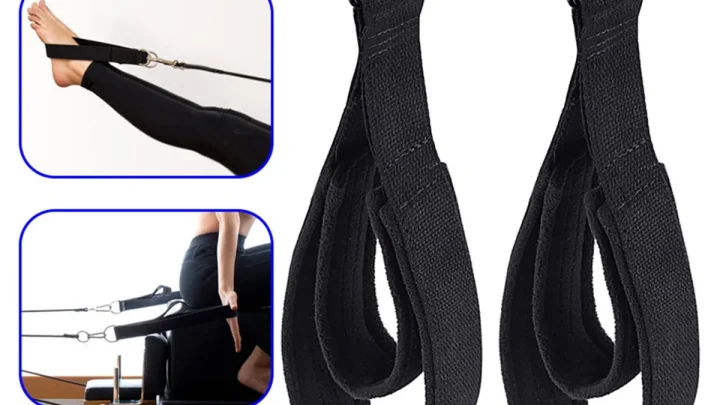
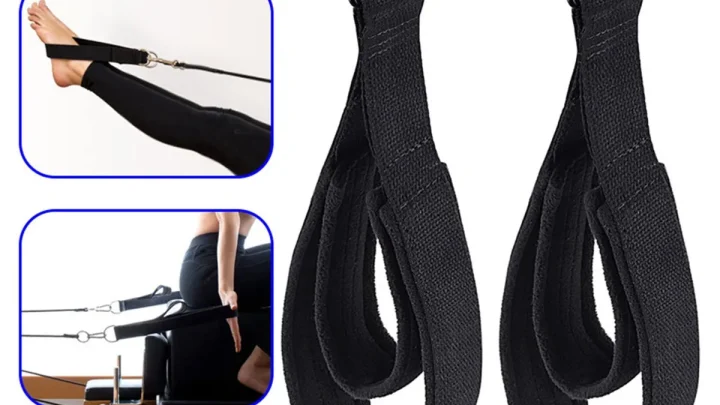
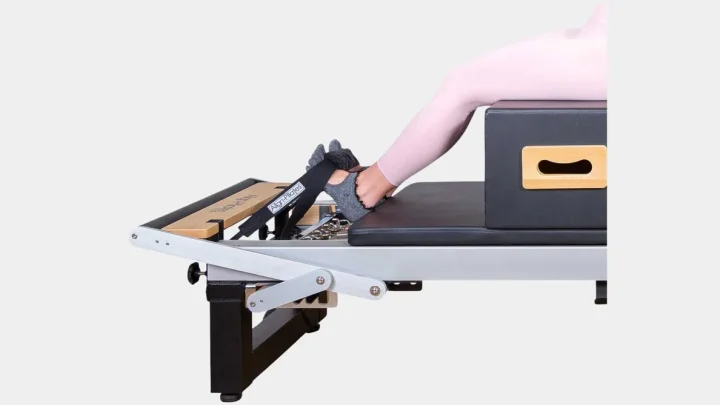
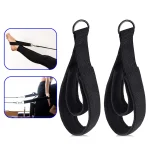
Double-loop straps feature a short inner loop (around 10 inches) for hand exercises and a longer outer loop (around 16 inches) for feet-in-straps work. This design eliminates the need to adjust rope lengths mid-session when transitioning between arm pulling and leg series.
Single loops offer a minimalist feel with less bulk around the risers. They work exceptionally well for classical choreography where precise hand placement is critical.
Wipeable vinyl handles are increasingly standard as of 2026 across high-volume commercial studios. Unlike porous cotton webbing or neoprene, non-porous vinyl can be disinfected between clients with hospital-grade surface wipes without breaking down the core fibers.
- Double Loops: Best for contemporary group classes and quick exercise transitions.
- Single Loops: Best for classical practitioners who want traditional grip feedback.
- Wipeable Vinyl / Synthetic: Best for commercial studios requiring immediate sanitization.
- Padded Fleece / Neoprene: Best for home users prioritizing maximum foot and wrist cushioning.
Critical Safety Mistakes and Hardware Inspection Checklist
Routine wear on reformer hardware can lead to sudden mechanical failure under heavy spring loads. Equipment safety audits from the Pilates Method Alliance emphasize regular hardware checks to protect clients from falls or carriage impacts.
The most common failure point is metal-on-metal grooving. When a stainless steel carabiner rubs repeatedly against a brass or steel D-ring, the metal slowly grinds away. Check the inner curve of your clips monthly for thinning or sharp ridges.
Never ignore cracked stitching along the load-bearing loops. If the cross-box stitch pattern on a webbing handle begins to pull apart, replace the strap immediately.
- Inspect Spring Gates: Confirm snap hooks close fully without sticking or manual pushing.
- Check Rope Eyelets: Look for fraying where the rope passes through metal rings.
- Test Cam Cleat Bite: Verify cleat teeth are sharp and hold ropes firmly without slippage.
- Examine Swivel Joints: Ensure swivel hooks rotate smoothly without binding under load.
- Retire Worn Leather: Replace classical leather straps when cracking appears near adjustment holes.
Frequently Asked Questions About Reformer Handles and Straps
How often should reformer strap handles be replaced?
Commercial studios should replace fabric handles every 6 to 12 months depending on class volume. Home users can expect handles to last 2 to 3 years. Replace any handle immediately if you notice thread fraying, cracked hardware, or sticking snap gates.
Can I put cloth reformer strap handles in the washing machine?
Yes, most cotton and neoprene handles are machine washable. Place them inside a mesh laundry bag to protect your machine from metal D-rings. Wash on a gentle cycle with cold water and allow them to air dry completely before reinstallation.
Why are my reformer ropes slipping out of the cleats?
Ropes slip when cam cleat teeth become clogged with lint or worn down from heavy use. Inspect the cleat teeth for debris and clean them with a small stiff brush. If slippage continues, the rope diameter may be worn down below the cleat gripping tolerance.
Can I upgrade my single-loop reformer to double loops?
Yes, double loops are universally compatible with almost any modern reformer. As long as your rope end features a standard snap clip or soft-loop eyelet, you can swap single loops for double loops without modifying your pulleys or carriage hardware.

Similar Posts