How to Check Pilates Reformer Carabiners for Safety
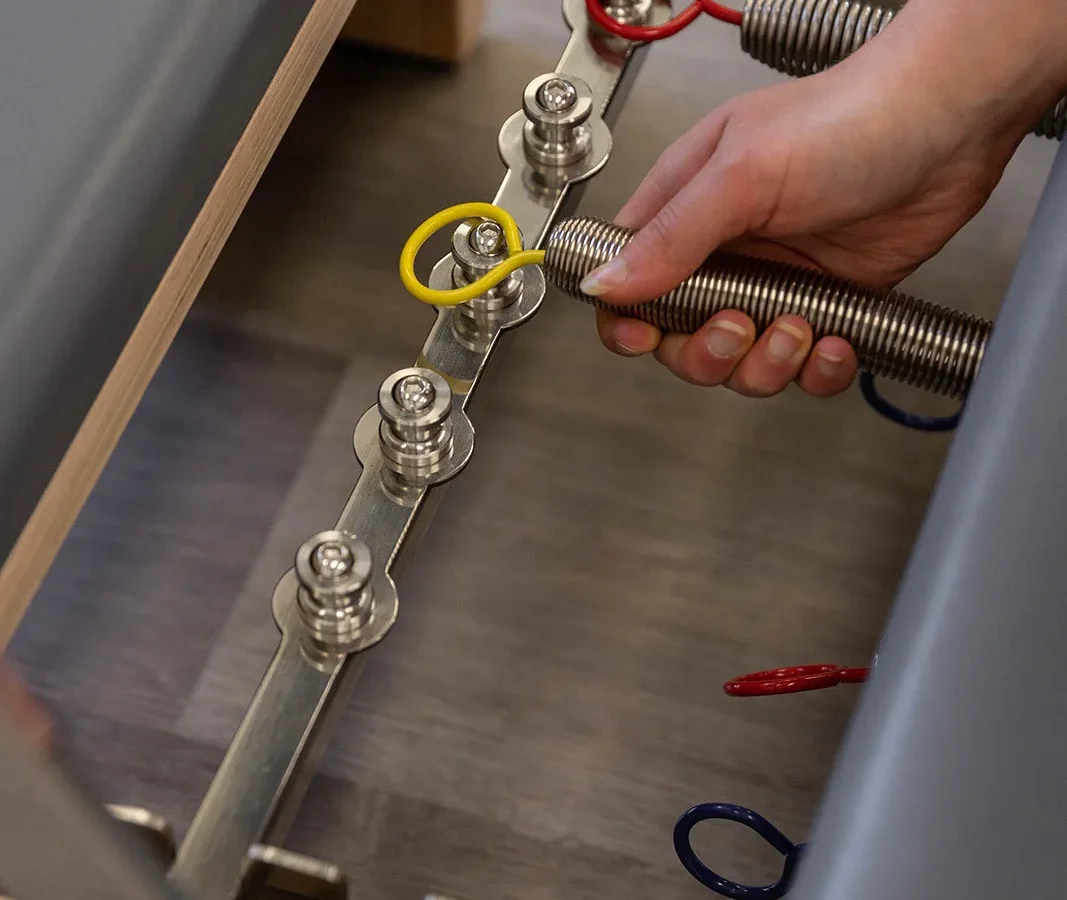
Learning how to check reformer carabiner safety is essential for any studio owner or home practitioner. Reformer springs and rope clips endure heavy cyclic stress every time a carriage moves. A sudden clip failure can release high dynamic tension instantly, creating a serious risk of injury.
According to safety guidelines from equipment manufacturers like Balanced Body, load-bearing hardware requires systematic physical inspection to prevent catastrophic fatigue failure. Catching micro-cracks, gate sluggishness, and friction grooves early keeps your equipment running smoothly and protects everyone in your studio.
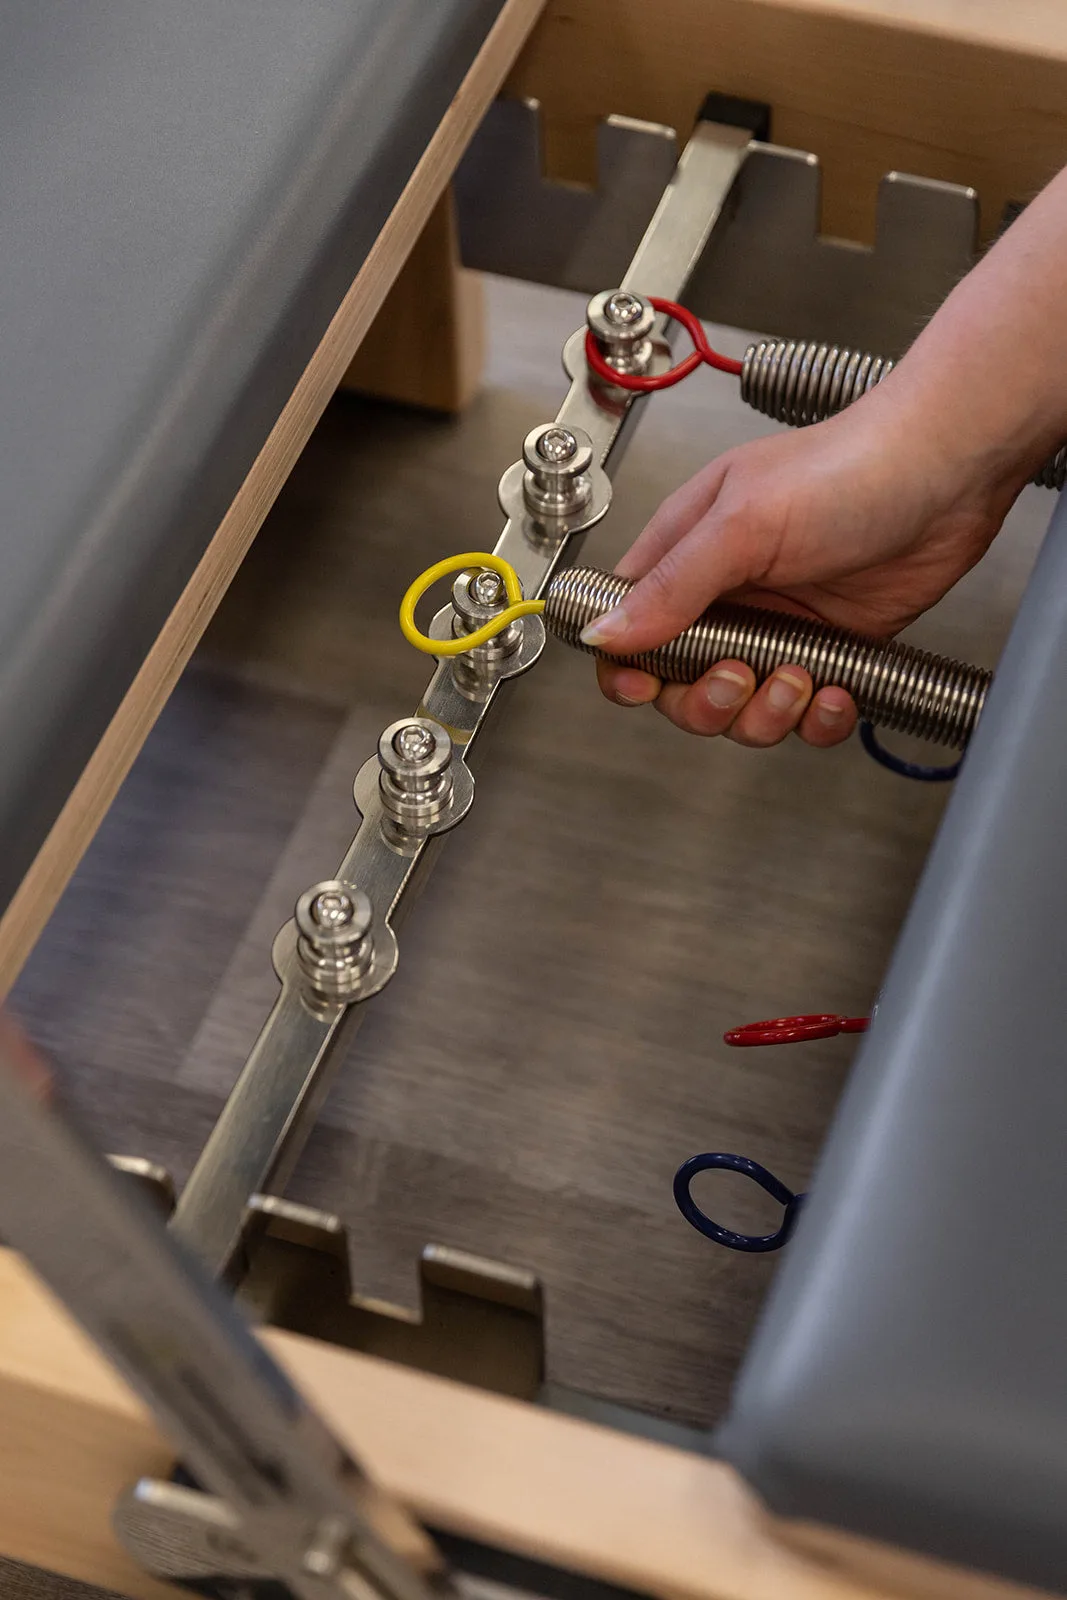
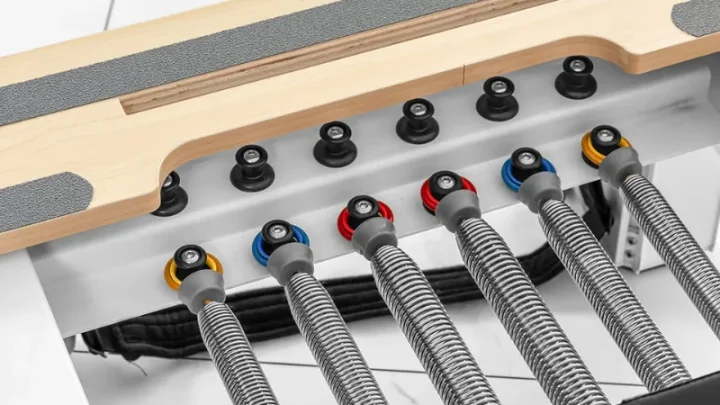
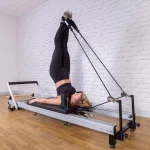
Image source: Web (Bing) / lopepilates.co.nz (Web image (fair-use with source credit))
Quick Answer
To check reformer carabiner safety, inspect four physical failure points. First, check the metal body for surface cracks and pitting. Next, open the gate fully and release it.
The gate must snap shut instantly without sticking. Then, measure rope friction grooves along the inner curve. Retire any clip with wear deeper than 1 millimeter.
The Hidden Risks of Reformer Carabiner Fatigue Under Dynamic Load
Pilates reformers create dynamic tension cycles. Unlike static hanging loads, reformer hardware handles repeated acceleration, deceleration, and sudden stops. As of 2026, modern athletic reformer workouts place even higher peak forces on spring clips and rope attachments during jumpboard and rebound movements.
Dynamic fatigue weakens metal over time without showing obvious external damage. Every time a user presses away from the footbar, the carabiner flexes at microscopic levels. If a clip has minor surface imperfections, those tiny flaws can turn into structural fractures under repeated tension.
Corrosion accelerates this metal fatigue. Studio environments collect airborne sweat, body oils, and humidity. When moisture settles into the hinge pin or inner basket of a carabiner, stress corrosion cracking develops quietly.
Regular inspections catch these internal weaknesses before a clip snaps under load.
Anatomy of a Safe Reformer Carabiner: Load Ratings and Materials
Reformer hardware must withstand rigorous mechanical demands. Understanding the materials, gate designs, and load ratings helps you identify which clips are safe for daily dynamic use.
| Feature / Spec | Stainless Steel (316/304) | Anodized Aluminum | Nickel-Plated Carbon Steel |
|---|---|---|---|
| Corrosion Resistance | Excellent (Sweat & chemical proof) | High (Protective oxide layer) | Moderate (Plating wears off over time) |
| Friction Wear Resistance | High (Resists rope gouging) | Low to Moderate (Grooves faster) | Moderate (Rusts once plating grooves) |
| Typical Working Load Limit | 500 to 1,200+ lbs | 400 to 1,000 lbs | 300 to 600 lbs |
| Best Application | Studio ropes and heavy springs | Lightweight carriage attachments | Light-duty home reformers only |
Marine-Grade Stainless Steel vs. Aluminum vs. Plated Steel
Marine-grade 316 or 304 stainless steel is the gold standard for reformer hardware. It offers high tensile strength and resists rust from sweat and cleaning sprays.
Forged aluminum clips are lightweight and smooth, making them popular for rope ends. However, aluminum is softer than steel and develops friction grooves faster when rubbing against metal eyebolts. Nickel-plated steel is common on budget reformers, but the protective plating eventually chips, exposing raw steel to rapid oxidation.
Locking Mechanisms: Screw-Lock, Auto-Lock, and Non-Locking Snaps
Non-locking snap hooks allow rapid spring changes during fast-paced group classes. However, they carry a minor risk of accidental rollout if a strap twists across the gate.
Screw-lock and auto-locking twist-lock carabiners provide superior security on main rope risers and overhead Cadillac connections. They prevent accidental gate openings during dynamic leg and arm series.
Understanding Working Load Limits (WLL) vs. Minimum Breaking Strength (MBS)
Hardware strength is defined by two key measurements:
- Minimum Breaking Strength (MBS): The absolute force at which the metal snaps under factory testing.
- Working Load Limit (WLL): The maximum safe working load, usually calculated as one-fifth of the MBS.
For Pilates applications, load-bearing connectors should maintain a WLL of at least 300 to 500 lbs to safely absorb human body weight combined with dynamic spring recoil.
The 4-Step Physical Inspection Protocol for Reformer Hardware
Perform this structured four-point safety check to catch hardware degradation before it leads to equipment failure.
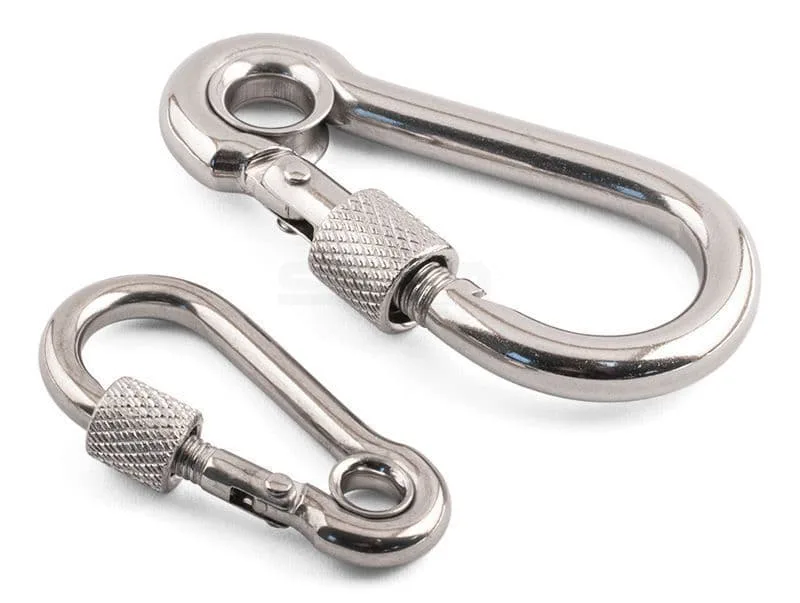
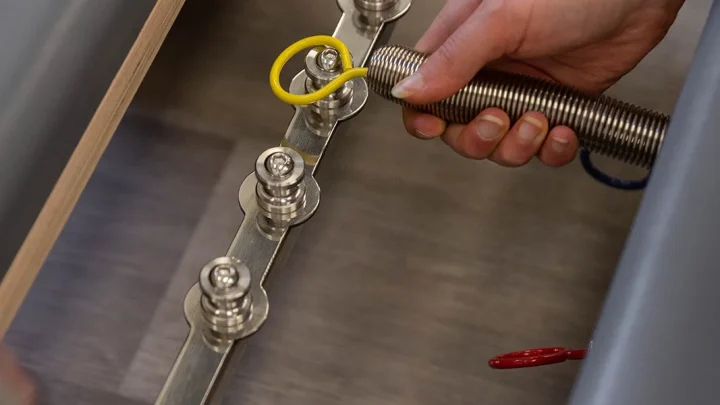
Image source: Web (Bing) / adl-components.co.uk (Web image (fair-use with source credit))
Step 1: Visual Inspection for Micro-Cracks, Pitting, and Deformation
Wipe the carabiner clean with a dry microfiber cloth. Examine the spine, basket, and gate under bright lighting.
Look for hairline surface cracks, especially around high-stress curve areas. Check for rough pitting caused by sweat corrosion, and ensure the spine has not twisted out of its original shape.
Step 2: The "Snap-Back" Gate Action and Alignment Test
Open the gate completely with your finger and let go. The gate must snap shut immediately and fully seat into the nose hook within a fraction of a second.
If the gate hesitates, sticks halfway, or requires manual pushing to seat, the internal torsion spring is compromised. Check that the gate pin is tight and that the gate does not wobble sideways.
Step 3: Tactile Groove and Wear Depth Check
Run your fingernail along the inside curve of the carabiner basket where the rope or eyebolt rests. Metal-on-metal friction creates worn flat spots and sharp ridges over time.
If your nail catches in a distinct groove or notch, the metal has thinned. Deep grooves create sharp edges that can fray reformer ropes or cause the clip to snap under sudden load.
Step 4: Eyebolt and Rope Attachment Point Check
Never inspect the carabiner in isolation. Examine the carriage eyebolts, swing-arm hooks, and rope loops that contact the clip.
Check for metal burrs on the eyebolts that could grind into the clip. Ensure that fabric rope loops are free from internal grit that acts like sandpaper against the hardware.
Critical Wear Thresholds: When to Retire and Replace Hardware Immediately
Knowing when to retire hardware is critical for studio safety. If a clip crosses any of these structural wear thresholds, take it out of service immediately.
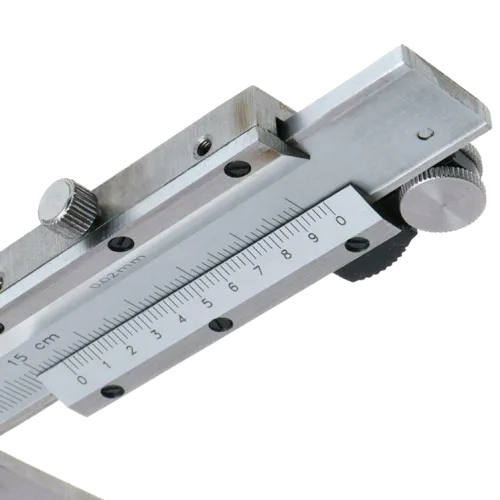
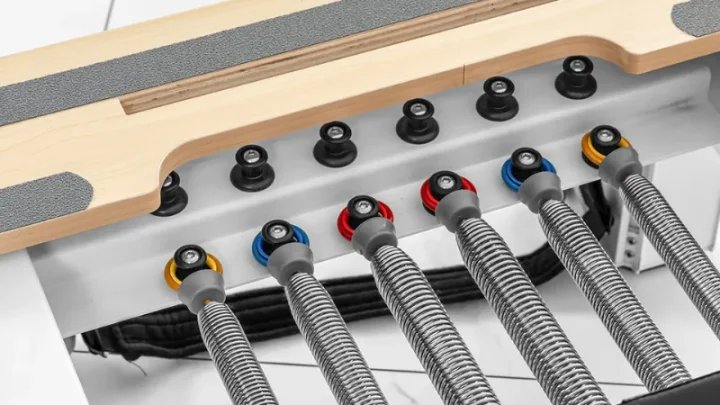
Image source: Web (Bing) / store.fastseal.eu (Web image (fair-use with source credit))
The 10% Material Loss Rule (Groove Depth Limit)
Follow the 10% material reduction rule recommended by standards organizations such as the American Society for Testing and Materials. If rope friction or eyebolt contact wears away more than 10% of the original rod diameter, retire the clip.
On a standard 8 mm or 10 mm reformer carabiner, any groove deeper than 1 millimeter compromises structural integrity.
Sluggish Gates, Spring Fatigue, and Pin Looseness
A carabiner is only as strong as its closed gate. When the gate is closed, the spine and gate share the dynamic load together.
If an internal spring weakens and leaves the gate slightly ajar, the carabiner's load capacity drops by more than 50%. Retire any hardware that exhibits loose hinge pins, excess gate play, or delayed closure.
The Zero-Tolerance Drop Policy for Studio Hardware
Adopt a strict zero-tolerance drop rule. If a metal carabiner drops onto a concrete or hardwood studio floor from waist height or higher, pull it from service.
Impact shocks can cause internal micro-fractures inside the metal matrix without leaving a visible mark on the outside. Replace dropped clips immediately to avoid sudden failure under dynamic tension.
Common Carabiner Mistakes That Compromise Safety
Even high-grade hardware can fail if handled or installed incorrectly. Avoid these common equipment mistakes to maintain a safe studio.
Cross-Loading Along the Minor Axis
Carabiners are engineered to bear tension along their long spine (the major axis). Cross-loading occurs when a clip shifts sideways, forcing the load across the narrow gate (the minor axis).
Minor-axis loading slashes the clip's strength by roughly two-thirds. Use rubber keeper bands or tight webbing loops to keep carabiners properly aligned.
Using Unrated Hardware Store Clips
Never substitute utility snap clips from a standard hardware store for commercial Pilates hardware. General utility clips are designed for keychains or light tarps, not dynamic human loads. Always source replacement parts directly from reputable Pilates equipment manufacturers.
Chemical Damage from Harsh Studio Disinfectants
Bleach wipes and quaternary ammonium sanitizers break down metal surface finishes over time. Liquid cleaners can seep into the hinge pin, washing away protective lubricants and sparking stress corrosion. Clean clips with mild soap and dry them completely after disinfection.
Routine Maintenance, Cleaning, and Replacement Cycles
Proper care extends the working life of your clips while keeping mechanisms responsive. Setting up a predictable inspection and cleaning routine prevents grit buildup from causing premature gate failure.
Safe Cleaning and Dry-Lube Application (No WD-40)
Clean metal hardware using warm water and a drop of mild dish soap. Use a soft nylon brush to remove lint, chalk, and dried sweat from the hinge mechanism. Rinse the hardware with clean water and dry it immediately using a clean towel or compressed air.
Never apply standard WD-40 or heavy wet oils to reformer hardware. Wet lubricants attract airborne dust, hair, and strap fibers, creating a grinding paste inside the hinge.
Instead, apply a tiny drop of dry PTFE (Teflon) spray or dry graphite lubricant directly to the gate pivot pin. Work the gate ten to fifteen times to distribute the lubricant, then wipe off any excess.
Daily, Monthly, and Annual Inspection Schedules
Establish clear inspection intervals based on studio usage:
- Daily Scan: Check all spring clips and rope carabiners during morning setup. Test that every gate snaps shut instantly. Look for cross-loaded clips before the first class begins.
- Monthly Teardown: Remove clips from ropes and springs. Inspect the contact baskets under bright light. Check for rope friction grooves and measure any wear spots with calipers.
- Annual Replacement: In commercial studios with heavy daily attendance, replace all dynamic spring clips and rope carabiners every 12 to 24 months regardless of visible condition. For home reformers with light use, replace hardware every two to three years.
Frequently Asked Questions About Reformer Carabiner Safety
How often should reformer carabiners be replaced?
Commercial studios should replace high-use reformer carabiners every 12 to 24 months. Home users can typically replace them every 24 to 36 months. However, replace any clip immediately if it develops visible rope grooves, a sticky gate, or suffers a hard floor drop.
Can I use standard climbing carabiners on a Pilates reformer?
Yes, climbing carabiners rated by the UIAA or CE are safe for reformer ropes. They often exceed reformer strength requirements. Ensure the physical size fits your carriage eyebolts cleanly without binding, and opt for smooth keylock noses to prevent rope snags.
Why is my reformer carabiner gate sticking?
A sticking gate is usually caused by sweat residue, studio dust, or a failing internal spring. Wash the hinge pin with warm soapy water, dry it fully, and apply dry PTFE lubricant. If the gate still hesitates to snap shut, retire the carabiner immediately.
What is the maximum safe groove wear depth on a clip?
The maximum safe groove depth is 10% of the hardware's total rod diameter. On standard 8 mm to 10 mm reformer clips, any friction wear deeper than 1 millimeter compromises structural strength. Once wear reaches this limit, replace the hardware to prevent rope damage or metal failure.

Similar Posts