Why Your Reformer Riser Is Loose & How to Fix It
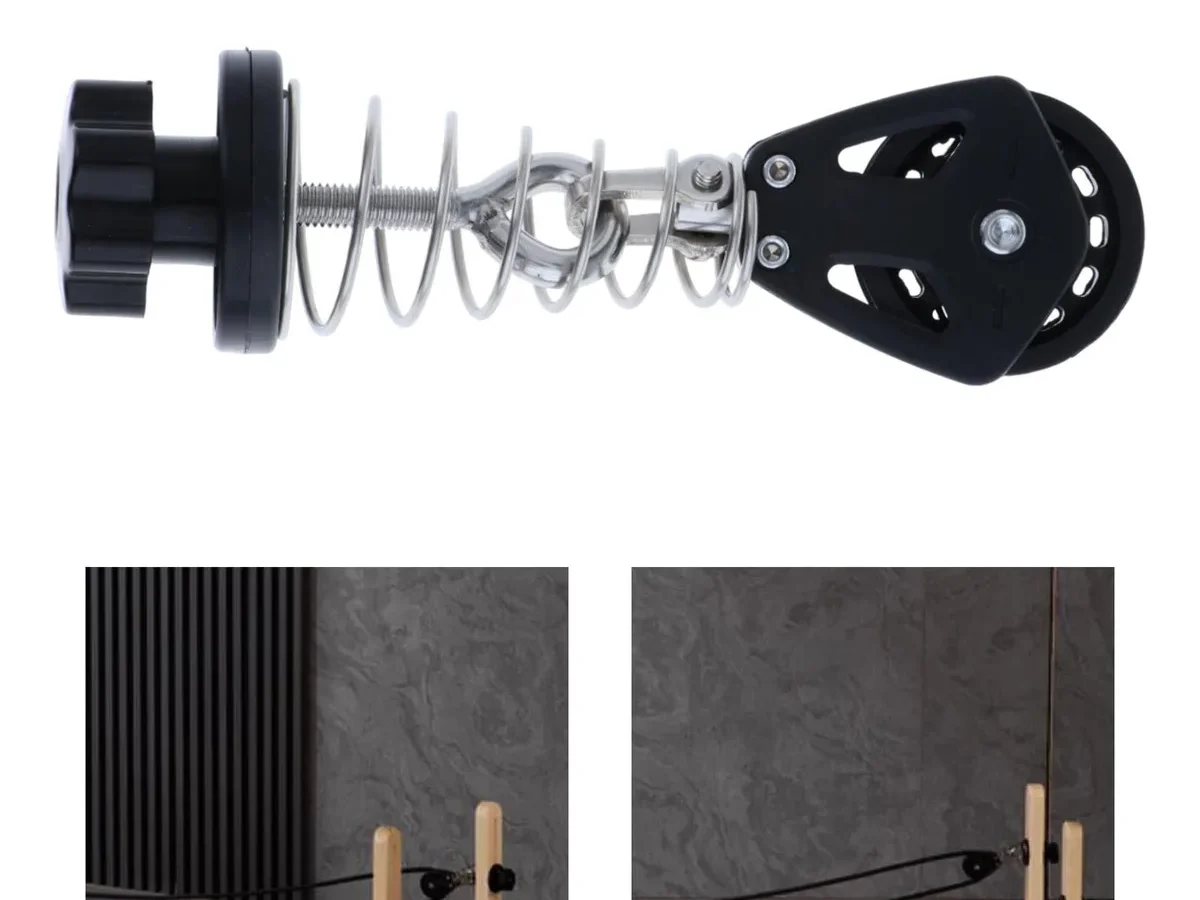
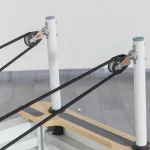
If your pulley post wobbles during footwork, you are probably wondering why is my reformer riser loose. A shaky riser ruins smooth rope tracking and creates an annoying metallic rattle. Most riser looseness comes down to four mechanical wear points along the frame.
Pilates apparatus guidelines from the Pilates Method Alliance emphasize regular hardware checks to prevent sudden mechanical stress. Lateral movement exceeding 3 millimeters under spring load points to loose frame bolts or worn internal sleeves. Identifying the exact source of play will get your reformer back to silent, stable performance.
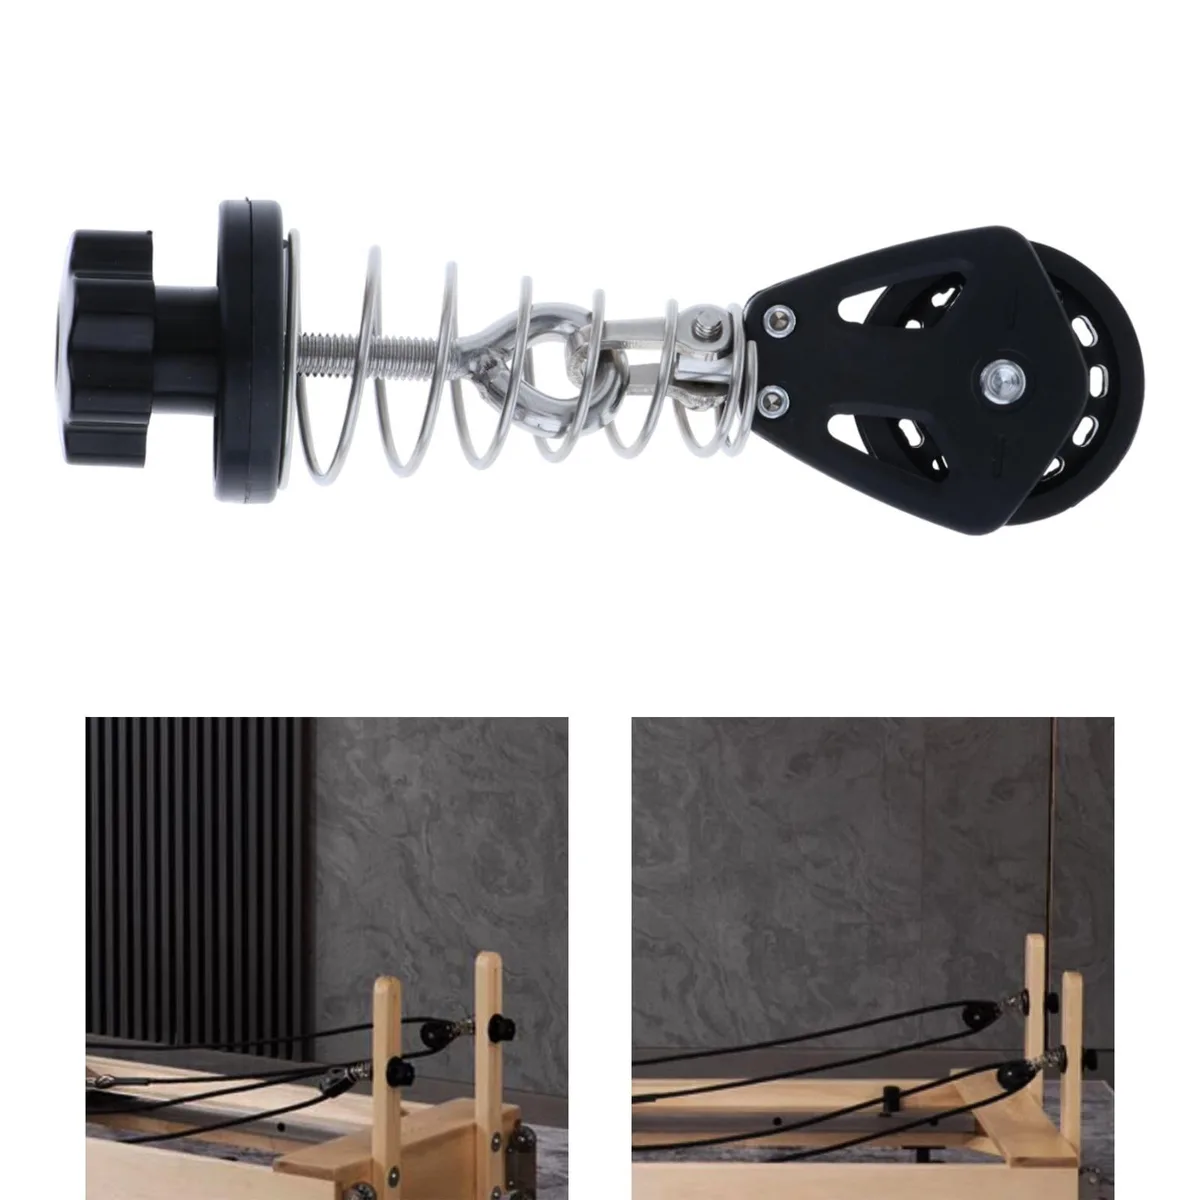
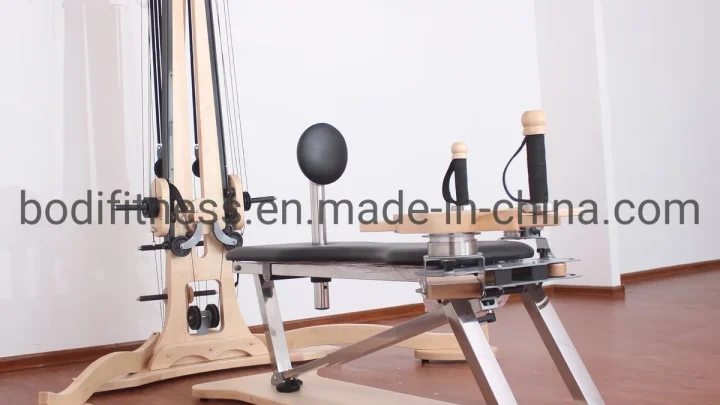
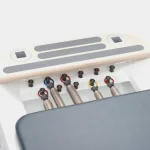
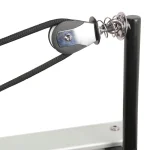
Image source: Web (Bing) / bodegaaurrera.com.mx (Web image (fair-use with source credit))
Quick Answer
A reformer riser feels loose when its locking hardware vibrates free. Most wobble comes from worn internal Delrin sleeve bushings. Loose under-frame mounting bracket bolts also cause excess movement.
Stripped star knobs fail to grip the riser tube properly. Unseated spring pop-pins create vertical and lateral post play.
Why Reformer Risers Get Loose (and What's Actually Moving)
A reformer riser is an upright post at the head of the frame that elevates the rope pulleys to match carriage height. When tension shifts during movement, the riser absorbs multi-directional force. Over time, that constant leverage works fasteners loose.
The Anatomy of a Reformer Riser Assembly
The riser assembly relies on several components working together under load:
- Receiver tube or mounting bracket: Anchors the entire assembly directly to the reformer frame.
- Vertical riser post: The chrome, steel, or aluminum shaft that adjusts for rope angle.
- Delrin sleeve bushings: Low-friction plastic shims inside the receiver tube that prevent metal-on-metal play.
- Locking mechanism: A threaded star knob, friction collar, or spring-loaded pop-pin.
- Pulley head assembly: The top eye-bolt and swivel pulley guiding the rope.
Structural Play vs. Normal Dynamic Flex
Metal tubing naturally has a tiny amount of give under heavy spring resistance. Flexible movement under a full load of five heavy springs is expected.
Structural play is different. If the post clicks, clangs, or shifts when you push it by hand, hardware has loosened. Ignoring this play causes the metal post to deform the softer receiver housing over time.
Diagnostic Decision Tree: Isolating Where Your Riser Is Wobbling
To fix the problem, you need to find where the movement starts. Grab the top of the riser post near the pulley and gently rock it forward, backward, and side to side.
Condition 1: The Whole Bracket Moves Against the Frame
If the base bracket shifts against the wooden or aluminum frame, your mounting bolts are loose. Look underneath or along the outer frame channel. The through-bolts holding the bracket plate have vibrated away from their factory torque.
Condition 2: The Vertical Post Wobbles Inside the Sleeve
If the bracket stays fixed but the post shifts inside the collar, check the internal sleeve. Over thousands of reps, the plastic Delrin insert wears down. Once this gap widens past 1 millimeter, the post rocks regardless of how hard you turn the knob.
Condition 3: The Riser Slips Down Under Load
If the riser drops height during exercise, examine the locking hardware. On friction-lock designs, the threaded star knob tip has stripped or lost traction. On indexed designs, the spring pop-pin is failing to seat fully into the pre-drilled holes.
Condition 4: The Pulley Head or Swivel Eye-Bolt Rattles
If the vertical post is solid but you hear a distinct rattle, check the top eye-bolt. The lock nut securing the swivel pulley to the riser cap has backed off its threads.
| Symptom | Primary Cause | Primary Component to Inspect |
|---|---|---|
| Whole assembly shifts at frame | Loose mounting bolts | Under-frame bracket through-bolts |
| Post rocks inside receiver | Worn internal insert | Delrin or nylon sleeve bushing |
| Post drops downward under load | Stripped threads or pin fatigue | Star knob or indexing pop-pin |
| Pulley rattles during transitions | Loose eye-bolt fastener | Top swivel nylon lock nut |
Step-by-Step Fixes for Every Common Riser Issue
Once you isolate the loose part, repairs take only a few minutes with basic hand tools.

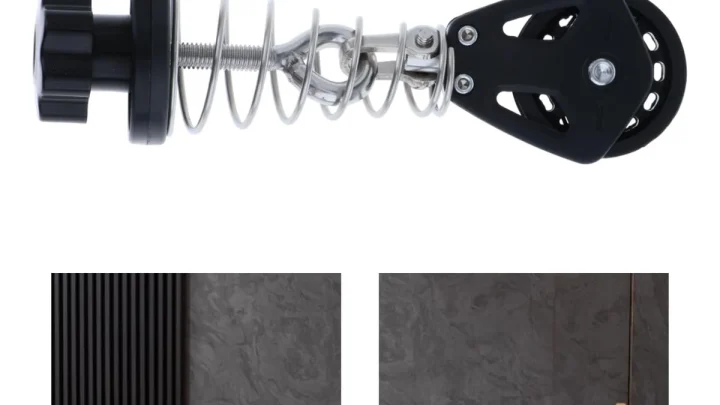
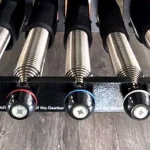
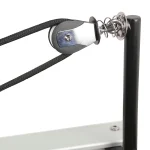
Image source: Web (Bing) / peakpilates.eu (Web image (fair-use with source credit))
Tightening and Securing Frame Mounting Brackets
- Remove the carriage stop or move the carriage to the footbar end.
- Locate the bracket through-bolts under the frame using a 5/32-inch or 3/16-inch hex key.
- Loosen each bolt two turns to re-align the bracket squarely against the frame.
- Tighten the bolts in an alternating pattern so clamping pressure stays balanced.
Replacing Worn Delrin Sleeves and Nylon Shims
When plastic bushings thin out, tightening the lock knob only tilts the post instead of securing it.
- Unscrew the locking knob completely and pull the riser post out of the frame.
- Pry out the old plastic sleeve from the top of the receiver tube using a flat trim tool.
- Press a new manufacturer replacement Delrin sleeve firmly into the receiver housing.
- Slide the post back into place and test for lateral movement.
Fixing Stripped Star Knobs and Worn Pop-Pins
If your star knob spins endlessly without locking, the threads have stripped. Remove the knob and inspect the stud. If the threads on the knob are flattened, replace the knob assembly.
If the internal threads in the bracket are damaged, install a thread repair insert or replace the bracket collar.
For pop-pin systems, wipe away dirt buildup around the spring barrel. Add one drop of dry silicone lubricant to ensure the pin snaps into the adjustment holes completely.
Rebuilding the Swivel Pulley and Eye-Bolt Assembly
- Hold the eye-bolt base with an open-ended wrench.
- Tighten the underside nylon lock nut with a matching socket wrench.
- Verify that the pulley swivels smoothly across a full 180-degree arc without binding.
Riser Designs Compared: Friction Clamps vs. Pop-Pins vs. Classic Wooden Blocks
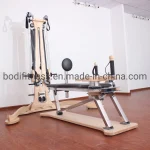
Reformer manufacturers use different mechanical approaches to secure rope risers. Each system features distinct wear characteristics and maintenance needs.
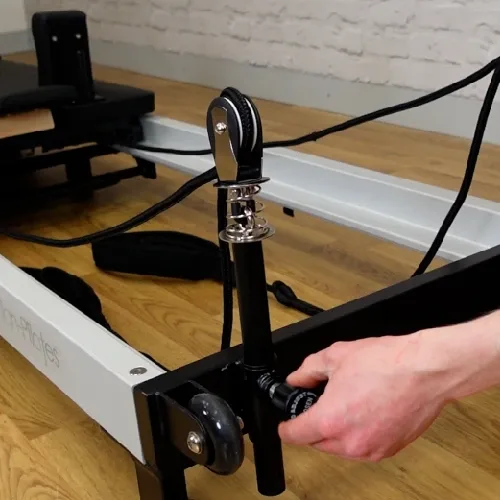
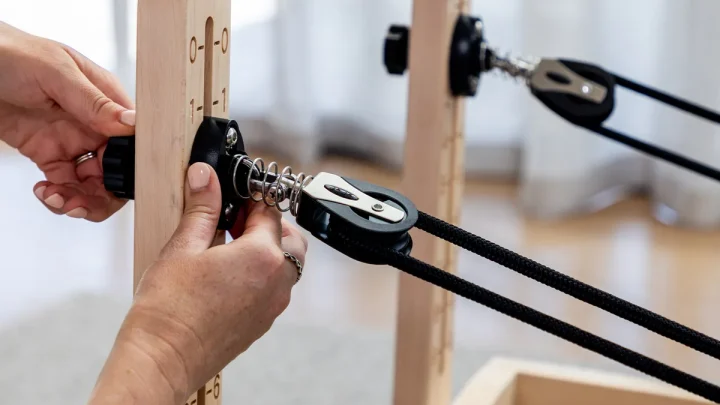
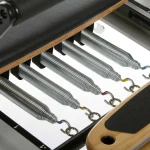
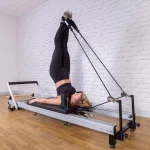
Image source: Web (Bing) / align-pilates.com (Web image (fair-use with source credit))
Friction-Clamp Risers
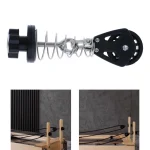
Friction systems rely on a threaded knob pressing a brass or plastic pad directly against a smooth post. They allow infinite height micro-adjustments. However, they require frequent re-tightening and suffer from thread wear over years of heavy studio use.
Indexed Pop-Pin Risers
Pop-pin mechanisms use a spring-loaded steel pin that locks into machined holes along the riser tube. These offer positive mechanical locking that cannot slip vertically under load. They develop slight rotational play when the pin holes widen over time.
Classic Wooden Riser Blocks
Traditional wood reformers use solid maple blocks permanently bolted to the frame. These non-adjustable risers eliminate telescoping wear points entirely. Looseness on these models is almost always limited to the frame mounting wood screws or the top eye-bolt.
| Mechanism Type | Height Adjustment | Common Looseness Point | Best Fix |
|---|---|---|---|
| Friction Star Knob | Continuous (Micro) | Stripped threads, worn pad | Replace knob and internal pad |
| Detent Pop-Pin | Stepped (Index holes) | Pin barrel play, hole wear | Replace spring pin cartridge |
| Retractable Drop-In | Pre-set positions | Receiver collar bushing wear | Swap out Delrin sleeve insert |
| Fixed Wood Block | None (Static height) | Frame mounting wood screws | Tighten lag bolts, fill screw holes |
As of 2026, most commercial equipment builders use modular Delrin sleeves across both friction and pop-pin systems to make routine maintenance faster.
Critical Mistakes That Damage Reformer Frames and Hardware
Fixing a loose riser is simple, but aggressive repairs can permanently damage your apparatus frame.
Over-Torquing Into Aluminum Extrusions
Aluminum frame channels are softer than the steel bolts that secure them. Cranking down on mounting bolts with long-handled wrenches easily strips out internal frame threads. Use standard hand tools and stop turning once the bolt head seats firmly against the bracket washer.
Using the Wrong Threadlocker or Lubricants
Never use permanent threadlockers on riser hardware. If you want to keep mounting bolts from backing out, use a single drop of medium-strength removable blue threadlocker. Avoid spraying petroleum oils like WD-40 inside receiver tubes, because petroleum degrades plastic Delrin bushings and attracts dirt.
Ignoring Receiver Tube "Ovaling"
If you leave a loose riser post unaddressed for months, dynamic rope pull forces the steel post to hammer against the aluminum receiver collar. This deforms the round hole into an oval. Once ovaling occurs, new plastic sleeves cannot sit flush, requiring you to replace the entire frame receiver bracket.
Routine Maintenance Workflow to Keep Risers Rock-Solid
Preventing loose risers takes far less effort than repairing damaged frame channels. A structured maintenance schedule keeps fasteners tight and protects internal bushings from premature wear.
Weekly vs. Monthly Inspection Checklist
Commercial studio schedules demand consistent checkups, while home reformers need monthly reviews.
- Weekly check: Grasp each riser post and apply light multi-directional pressure. Check for rattles during quick rope pulls. Inspect star knobs for smooth thread engagement.
- Monthly check: Check under-frame mounting bracket bolts with a hex key. Remove the riser tubes to inspect Delrin sleeves for thin spots or hairline cracks. Wipe away dust from the receiver tube interior.
- Bi-annual check: Inspect the top eye-bolt threads and nylon lock nuts. Replace any nylon lock nuts that have backed off, as the internal nylon ring loses holding strength once unthreaded.
Essential Tools and Replacement Hardware to Keep on Hand
Keeping a dedicated maintenance kit near your reformer prevents downtime.
- Hex key set: Standard 5/32-inch, 3/16-inch, and metric 4mm to 6mm Allen wrenches.
- Adjustable wrench and socket set: For securing eye-bolt nuts and frame bracket hardware.
- Blue threadlocker: Medium-strength liquid thread sealant for metal-to-metal bracket bolts.
- Dry silicone lubricant: For spring pop-pin barrels (never use oil or grease).
- Spare Delrin sleeves: 1 to 2 manufacturer replacement bushings per reformer.
- Spare star knobs: Matching thread-pitch replacement clamping knobs.
Frequently Asked Questions About Loose Reformer Risers
How much movement is normal in an adjustable reformer riser?
A tiny amount of dynamic flex under full spring tension is normal. However, you should feel zero clanking, rattling, or independent rocking inside the receiver collar when pushing the post by hand. Any free play over 2 millimeters indicates loose mounting bolts or worn Delrin sleeve bushings.
Can I use tape as a temporary shim for a wobbling riser?
Electrical tape or painter tape works as a temporary fix for a few days. However, tape adhesive quickly shreds and gums up the inside of the metal receiver tube. It is better to replace the worn plastic sleeve with a proper Delrin bushing to ensure long-term stability.
Why does my riser slip down during heavy arm exercises?
Riser slippage happens when a friction knob loses its clamping grip or a pop-pin fails to engage its index hole. Check if the knob threads are stripped or if the internal pressure pad has worn away. Clean the pin mechanism to let the spring fully seat into the post.
How tight should the riser mounting bracket bolts be?
Mounting bolts should be snug and firmly seated against the bracket, but never forced. Use standard hand hex keys rather than power drills. Over-tightening steel bolts into aluminum frames easily strips the extrusion threads, leading to costly structural frame repairs.
When should I replace the entire riser assembly instead of repairing it?
Replace the entire assembly if the metal receiver tube has stretched into an oval shape. If new Delrin sleeves still wobble inside the frame collar, or if the welded bracket joints show hairline cracks, install a completely new manufacturer riser assembly for safety.

Similar Posts