Why Your Pilates Reformer Spring Is Loose & How to Fix It
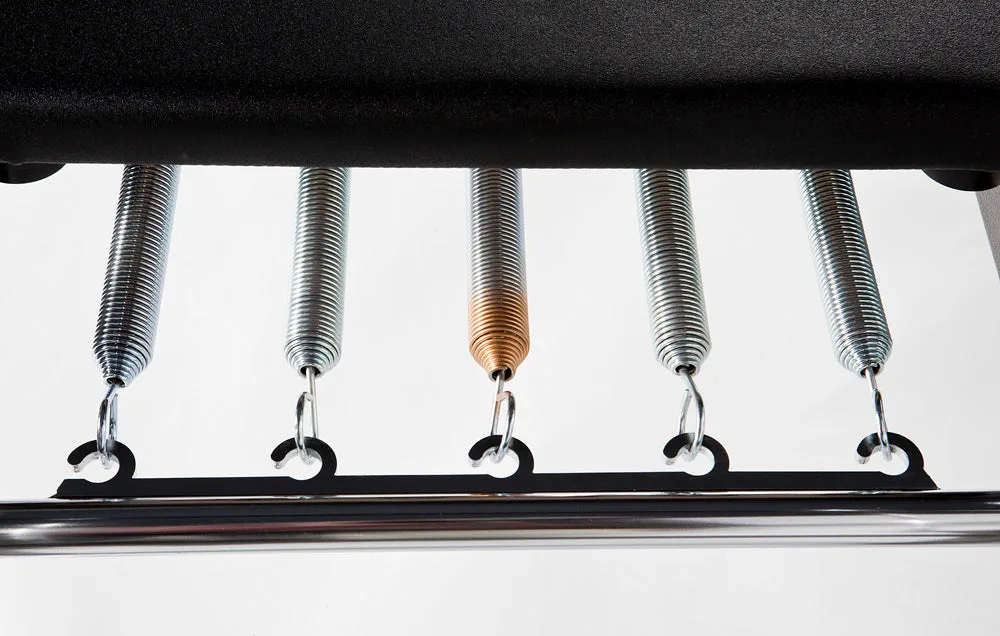
You sit down on the carriage, press away from the footbar, and feel an odd dead zone before the resistance catches. Wondering why is my pilates reformer spring loose is a common puzzle for both home users and studio instructors. In most cases, a sagging or loose spring does not mean the entire machine is broken.
Often, the issue comes down to gearbar alignment, carriage stopper settings, or simple unhooked anchors underneath the frame. Reformer springs made from high-tensile carbon steel wire operate under precise pre-load tension standards, requiring specific physical conditions to stay taut. Here is how to diagnose the issue quickly and safely.
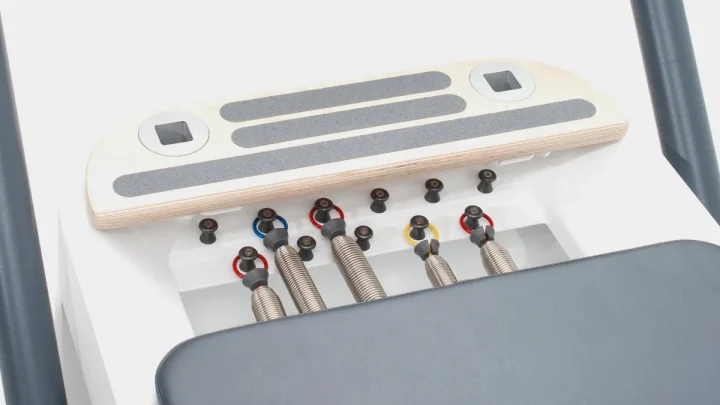
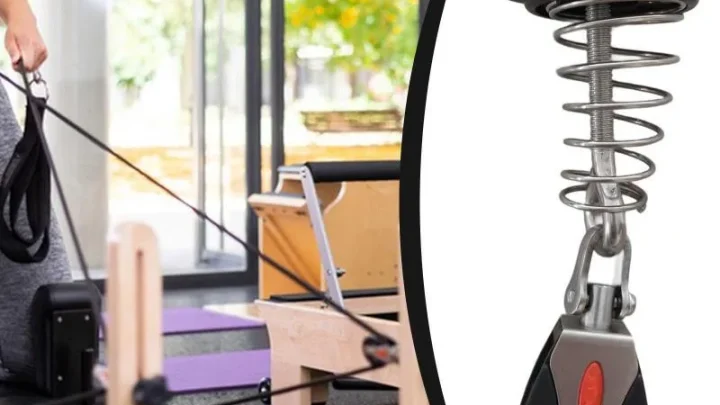
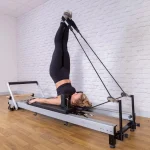
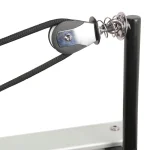
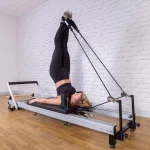
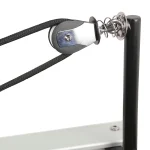
Image source: Web (Bing) / shop.dmapilates.com (Web image (fair-use with source credit))
Quick Answer
A pilates reformer spring feels loose due to three common causes.
First, the carriage stopper and gearbar sit in mismatched positions.
Second, the spring hook slipped off its anchor beneath the carriage.
Third, the metal coils suffered permanent fatigue from excessive stretching.
Check your carriage stopper holes before buying replacement parts.
The Spring Diagnostic Flowchart: Pinpointing the Root Cause
When a spring loses tension, do not guess the cause. Follow a systematic process of elimination to find whether the problem is mechanical placement, hardware detachment, or steel failure.
If your spring hangs loose when attached to the gearbar, check the carriage resting position first. When the carriage rests too far forward or backward relative to the spring gear, the spring loses its resting tension. If the carriage position looks correct, inspect the attachment points at both ends.
Is the spring loose while attached?
├── YES: Check Carriage Stopper & Gearbar
│    ├── Mismatched positions? ──> Re-align stopper with gearbar
│    └── Correct positions? ──> Inspect under-carriage eyebolts
│         ├── Eyebolt loose/unhooked? ──> Reseat and tighten hardware
│         └── Eyebolts secure? ──> Inspect coils for physical gaps
│              ├── Gaps visible between coils? ──> Replace spring immediately
│              └── No gaps? ──> Spring wire has lost elastic tension; replace spring
└── NO: Spring is loose only when unhooked
     └── This is normal resting behavior for unattached springs
Scenario A: Carriage Stopper and Gearbar Mismatches
The carriage stopper determines where the rolling platform stops along the frame. The gearbar holds the front hooks of the springs.
If you adjust the gearbar into a forward position but leave the stopper in a rear hole, the carriage cannot travel far enough forward at rest. This gap removes the initial stretch from the spring, creating noticeable slack. Both components must be calibrated to the same positional index.
Scenario B: Mechanical Eyebolt or Hook Disengagement
Every spring attaches to two points: the springbar or gearbar at the front, and an eyebolt or anchor bracket beneath the wooden or metal carriage.
Vibration and repeated movement can loosen the nuts holding the underside eyebolts. If an eyebolt backs out or twists sideways, the spring loses its fixed distance. In some cases, the rear hook simply slips off the eyebolt during aggressive movement.
Scenario C: Metal Fatigue and Permanent Coil Separation
Every tension spring has an elastic limit, known in materials engineering as the yield point. When a spring stretches past this threshold, the steel deforms permanently.
Once metal fatigue sets in, the coils no longer pull back together tightly. The spring becomes physically longer than its factory specification. A deformed spring can never regain its tension and must be retired.
Normal Resting Slack vs. Dangerous Coil Damage
Not every loose spring is broken. You need to distinguish between intentional mechanical slack and dangerous metal failure.
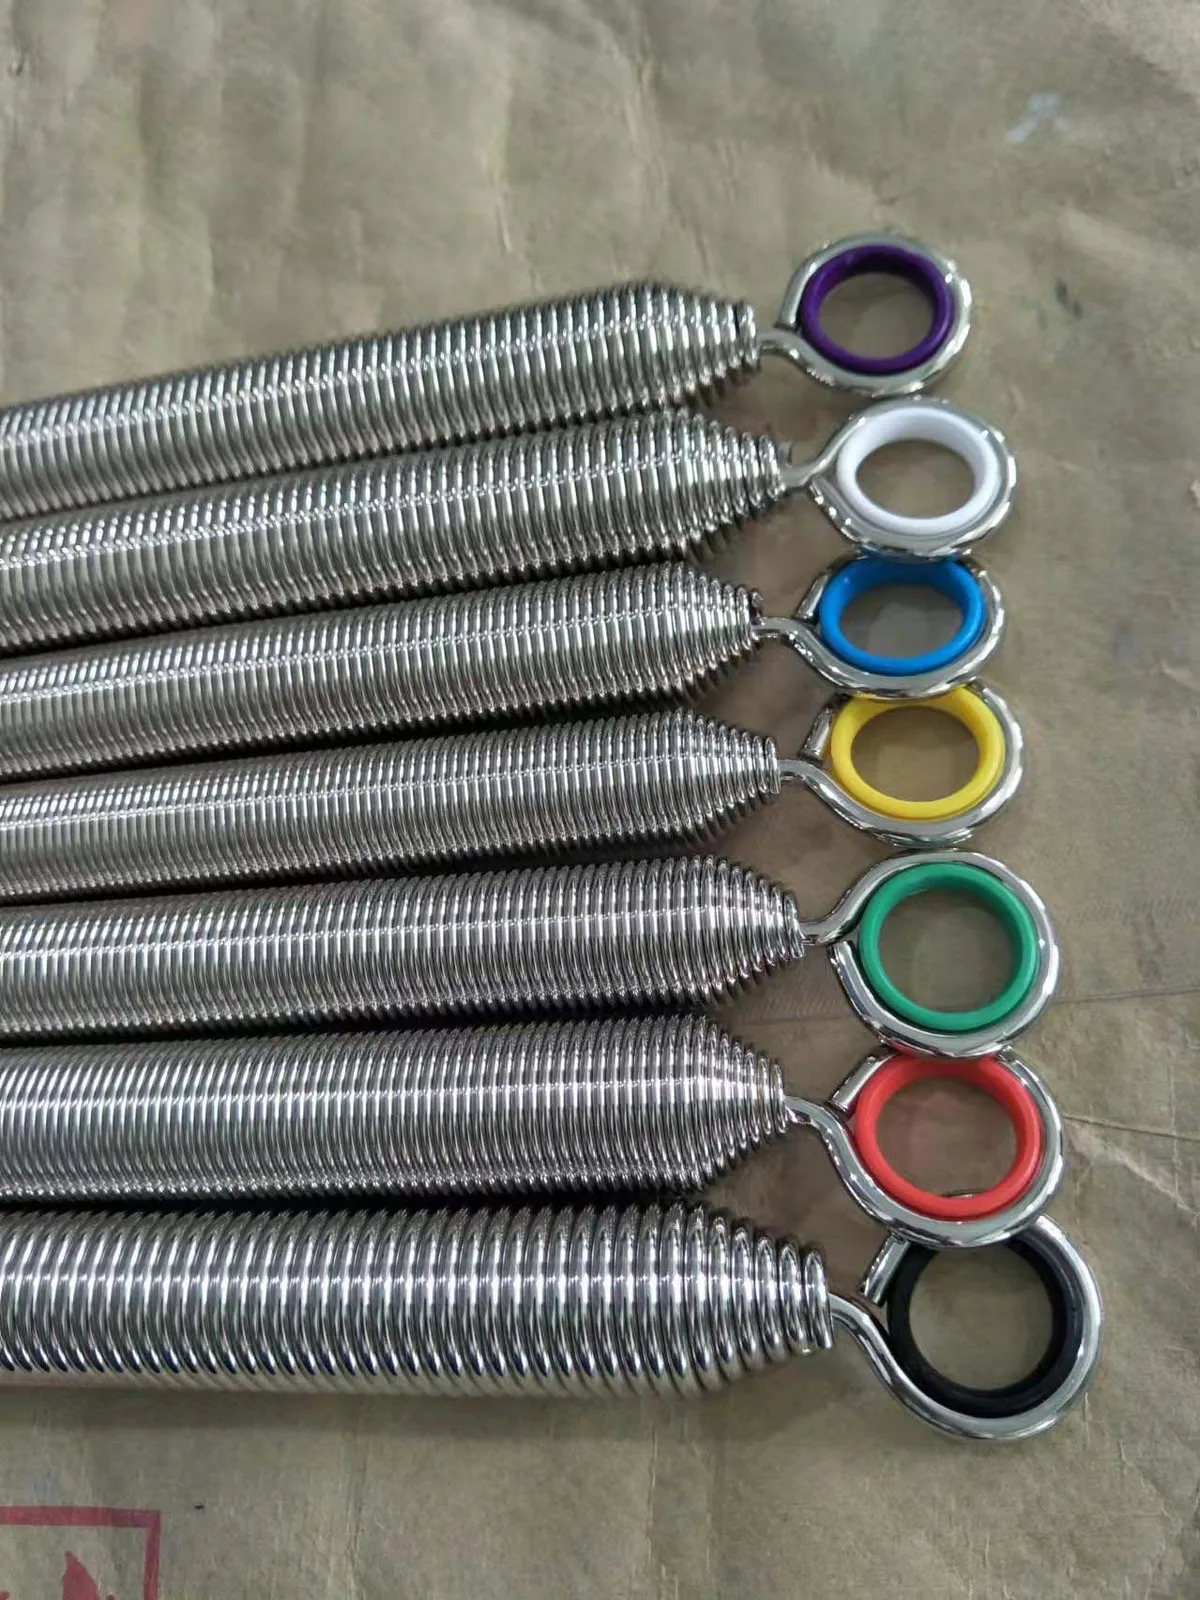
Image source: Web (Bing) / weihuispring888.en.made-in-china.com (Web image (fair-use with source credit))
When a spring rests on the frame unattached to the gearbar, it hangs without tension. That is completely normal. However, when a spring attaches to the gearbar while the carriage sits against the stopper, the coils must stay closed.
If you see light passing through the coils while the spring rests in its attached position, the internal structure has failed.
| Condition | Visual Indicator | Physical Feel | Safety Risk Level | Required Action |
|---|---|---|---|---|
| Normal Slack | Coils completely closed, zero light between rings | Firm resistance when pulled by hand | Safe | None (normal setup) |
| Misaligned Gear | Coils closed, spring hook hangs loosely off the bar | Loose until carriage moves 1 to 2 inches | Low (uneven movement) | Re-align gearbar and stopper |
| Loose Anchor | Coils closed, rear eyebolt angled or wobbling | Inconsistent resistance during exercises | Moderate (hardware failure risk) | Tighten underside bracket |
| Overstretched Coil | Visible gaps between coils at rest | Soft, mushy pull with no snapback | High (catastrophic snap risk) | Immediate replacement |
| Bent Hook / Cone | Hook opening bent outward or twisted | Hook fails to seat flush on the post | High (spring detachment risk) | Immediate replacement |
Step-by-Step Fixes for Every Common Cause
Once you identify why the spring is slack, you can resolve the issue with standard adjustments or basic maintenance steps.
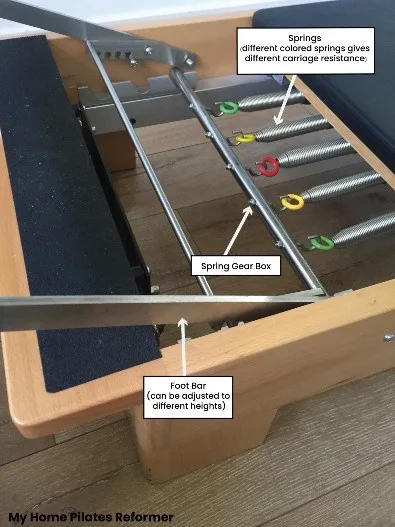
Image source: Web (Bing) / alphagofitness.com.au (Web image (fair-use with source credit))
Re-aligning the Gearbar and Carriage Stopper
Fixing positional slack takes less than two minutes.
- Disconnect all springs from the gearbar so the carriage moves freely.
- Check your reformer manual for matching gearbar and stopper slots. Most systems use numbered positions from 1 to 3.
- Lift and slide the gearbar into your chosen slot, making sure it sits completely flush in its cradle.
- Move the carriage stopper pin into the corresponding hole along the runner track.
- Roll the carriage forward until it rests firmly against the stopper block.
- Re-attach the springs to the gearbar. The slack should disappear instantly.
Reseating Under-Carriage Anchors and Hooks
If the gear alignment is correct but one spring still sags, look underneath the carriage platform.
- Lock the carriage in place by attaching at least two good springs to the gearbar.
- Look under the headrest end of the carriage using a flashlight.
- Check the threaded eyebolts. Each bolt should sit perpendicular to the mounting frame with the retaining nut fully tightened.
- If an eyebolt is loose, use an adjustable wrench to tighten the locking nut against the carriage frame.
- Ensure the spring teardrop loop or rear hook sits centered in the eyelet curve.
Safe Spring Replacement Protocol
When a spring shows physical coil separation or hook deformation, remove it from service immediately.
- Unhook all springs to relieve tension across the entire frame.
- Unhook the damaged spring from the front gearbar.
- Reach beneath the carriage and slide the rear loop off its mounting bolt.
- Match your replacement spring to the original color rating and length.
- Slide the new spring rear loop over the underside eyebolt until fully seated.
- Hook the front cone over the gearbar receiver. Test the carriage stroke by hand before lying down on the machine.
Reformer Spring Maintenance and Replacement Lifespans
Reformer springs do not last forever. Even under normal use, cyclic loading gradually degrades the tensile strength of the spring steel.
According to equipment maintenance guidelines from manufacturers like Balanced Body, commercial Pilates studios should replace reformer springs every 2 years or 3,000 hours of use. For home reformers used by one or two people, springs generally last between 3 and 5 years.
Fitness safety guidelines outlined by ASTM International recommend regular inspections for all load-bearing fitness components. Keep a regular maintenance log to catch spring wear before an unexpected failure happens.
- Daily Checks: Look for springs that do not snap back cleanly when returning the carriage to the home position.
- Monthly Inspections: Run your hand along each spring coil. Feel for wave patterns, uneven coil spacing, or loose hook ends.
- Bi-Annual Rotation: Swap the positions of your springs. Move heavily used center springs to the outer slots to ensure balanced wear across the full set.
- Full Set Replacement: When replacing fatigued springs, replace them in matched pairs or full sets. Mixing old, relaxed springs with brand-new, stiff springs creates uneven torque on the carriage rollers.
As of 2026, many modern commercial reformers feature enclosed spring sleeves or captive hook systems to simplify tracking and minimize wear. Even with these newer designs, regular visual checks remain your best defense against loose hardware and spring fatigue.
Common Setup Mistakes That Create Unwanted Spring Slack
Most reports of loose reformer springs stem from simple setup errors rather than broken equipment. Small oversights during routine adjustments can create immediate dead zones in your carriage movement.
The most frequent error is changing the gearbar position without adjusting the carriage stopper. When you move the gearbar closer to the footbar, the carriage must move forward with it. Failing to move the stopper leaves the carriage too far back, leaving the springs with zero initial tension.
Another common mistake involves hooking springs while the carriage is not fully home. If a strap, grip pad, or stray towel blocks the carriage from hitting the bumper, the spring connects with artificial slack. Always clear the tracks before changing spring configurations.
- Crossing Springs Incorrectly: Hooking a spring to an opposite diagonal post changes the travel path. This can cause the spring to rub against the frame and fail to retract fully.
- Partial Gear Seating: Dropping the gearbar into its channel at an angle leaves one side raised. This creates a loose feel on one half of the carriage and excessive tension on the other.
- Ignoring the Pre-Load: Some budget reformers require manual pre-load adjustments using extension hooks. Skipping this calibration step leaves the springs hanging limp at rest.
Frequently Asked Questions About Pilates Reformer Springs
Why is my reformer spring sagging when not in use?
An unattached spring naturally hangs with slight slack when rested on the frame. If the spring sags while hooked to the gearbar, check that your carriage rests fully against the stopper. If the carriage is seated correctly, visible sag indicates the metal coils have permanently overstretched.
Can I fix an overstretched reformer spring by bending it back?
You cannot safely repair an overstretched reformer spring by bending the coils. Once carbon steel deforms past its yield point, the metal loses its structural integrity. Bending the spring damages the crystalline structure further, creating a severe snap hazard under load.
Always replace deformed springs.
Why does my carriage have a dead zone before resistance starts?
A dead zone happens when the carriage stopper sits too far back relative to the gearbar. The carriage rolls freely until it takes up the extra slack in the springs. Align the carriage stopper hole with the corresponding gearbar position to restore instant resistance.
How often should I replace my Pilates reformer springs?
Commercial studios should replace reformer springs every two years or roughly every 3,000 hours of class time. Home reformers experience lower volume and typically need new springs every three to five years. Inspect your springs monthly for coil gaps, kinks, or hook wear regardless of age.
Is it normal for some spring colors to feel looser than others?
Yes, reformer springs are intentionally calibrated to provide different resistance levels. Yellow and blue springs use thinner wire gauges to deliver light resistance. Red and green springs use thicker wire for heavier loads.
A lighter spring will feel easier to pull, but the coils should still remain closed at rest.

Similar Posts