How to Stop Reformer Straps From Slipping: Easy Fixes
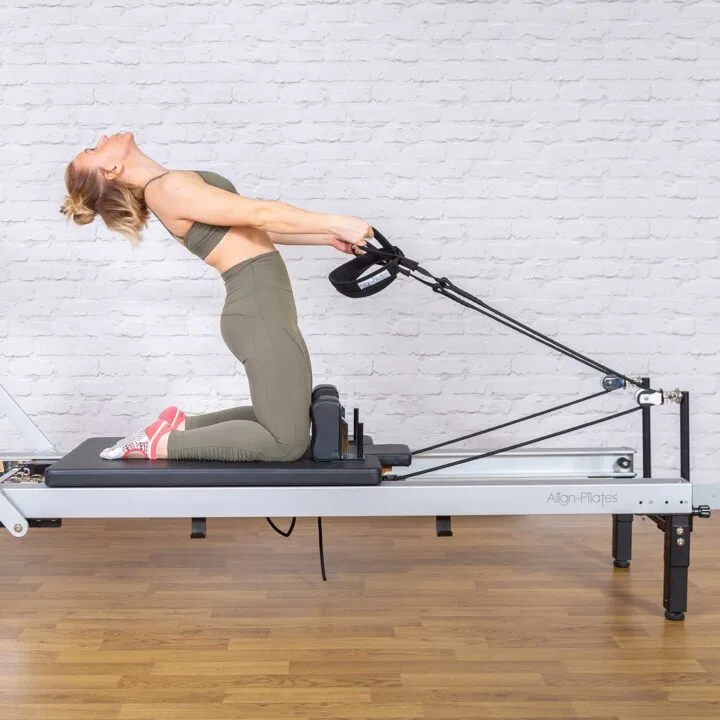
Slipping reformer straps ruin your workout rhythm and can cause sudden joint jarring. Learning how to stop reformer strap from slipping comes down to diagnosing whether the issue is mechanical hardware failure or poor surface friction against your hands and feet. Once you pinpoint the root cause, fixing it takes only a few simple adjustments.
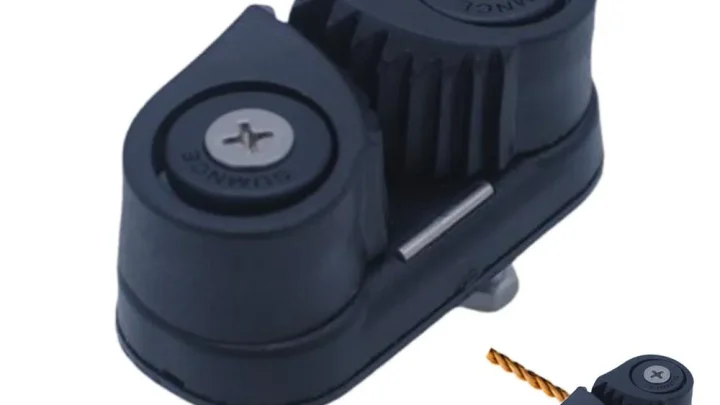
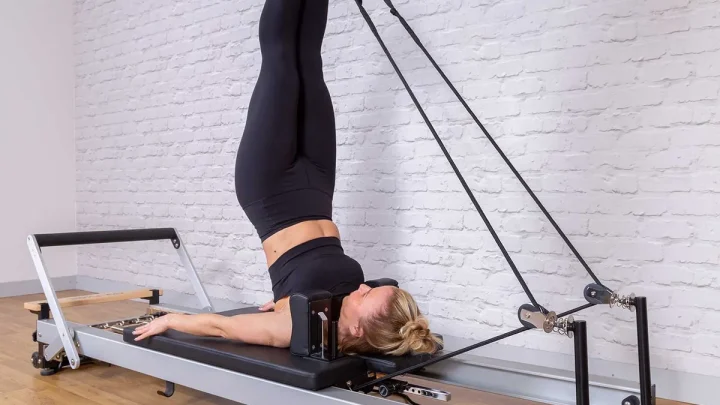
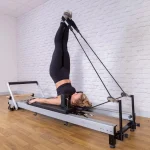
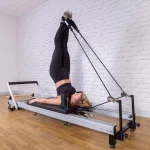
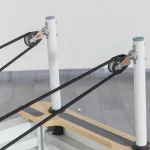
Standard commercial and home reformers use 8mm to 10mm marine-grade ropes held by spring-loaded cam cleats. Understanding how these tension systems operate ensures your carriage glides smoothly without unexpected rope drops or sliding feet.
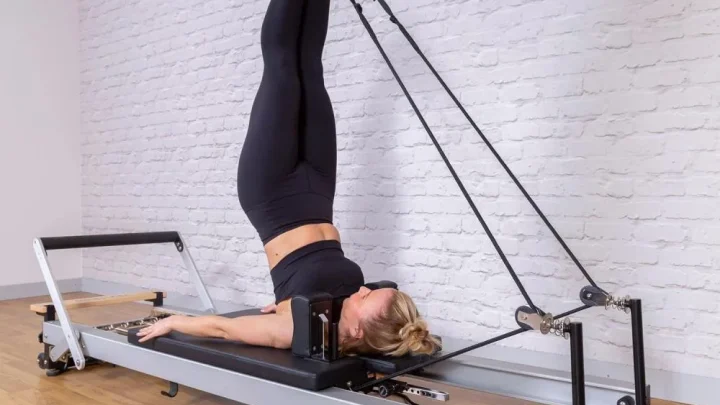
Image source: Web (Bing) / align-pilates.com (Web image (fair-use with source credit))
Quick Answer
To stop a reformer strap from slipping, check whether the rope or your foot is moving. Pull ropes firmly down and backward into cam cleat teeth to lock hardware. Clean debris out of cleat jaws.
Replace glazed or worn cordage. Wear high-traction silicone grip socks to stop foot slippage. Use the smaller inner loop for hands and the longer outer loop for feet.
Why Your Reformer Straps Are Slipping (Mechanical vs. Grip Issues)
Reformer strap slippage falls into two distinct categories: mechanical failure and ergonomic friction loss.
Mechanical slippage happens when the rope physically moves through the clamping hardware under load. The carriage loses resistance, or one strap suddenly grows longer than the other. This usually stems from rounded cam cleat teeth, glazed rope fibers, or an improper entry angle into the cleat jaws.
Grip slippage happens when the hardware holds firm, but your body loses contact with the loop webbing. Slick athletic socks, sweat buildup on synthetic webbing, and incorrect arch placement cause your feet to slide out during leg circles or frog extensions.
| Slippage Type | Primary Location | Common Symptoms | Immediate Solution |
|---|---|---|---|
| Mechanical | Cam cleat or rope riser | Strap lengthens under tension; audible click or rope release | Clear cleat debris, reseat rope downward, or replace worn line |
| Grip / Ergonomic | Loop webbing | Heel slips out of loop; strap slides up the calf | Switch to grip socks, use smaller loop, or adjust foot arch placement |
| Hardware Creep | Pulley attachment points | Gradual unevenness over several sets | Re-calibrate resting strap length and tighten riser hardware |
Identifying which type of slippage you have prevents wasting time on the wrong fix. Tightening your grip will not solve a worn cam cleat, and replacing ropes will not keep slick socks inside a wide polyester loop.
The Diagnostic Workflow: Identifying Your Slippage Point
Follow this three-branch diagnostic process to locate the exact cause of strap slippage.
Branch A: The Rope Pulls Out of the Cam Cleat Under Tension
If the strap suddenly lengthens when you press outward against spring tension, the mechanical hold is failing.
- Inspect the cam cleat jaws while the rope is slack.
- Check for dust, hair, or dried cleaning spray clogging the teeth.
- Look for grooves worn into the rope where it normally sits in the cleat.
If the rope is flattened or shiny at the contact point, the teeth cannot bite into the sheath.
Branch B: Your Feet or Hands Slide Out of the Loops During Movement
If the rope stays firmly anchored at the headrest but your foot shifts inside the loop, the problem is friction.
- Check your footwear. Bare feet and standard cotton socks slip easily on nylon webbing.
- Check loop positioning. The strap must sit across the widest part of your metatarsal arch, not near the toes.
- Check loop size. Using a long foot loop for hand exercises creates excessive slack that easily slides off the palms.
Branch C: Straps Creep Unevenly While Working Out
If both straps start at equal lengths but drift unevenly during a session, you have micro-slippage. This occurs when the rope is seated loosely in the cleat rather than driven deep between the ribbed cams. Dynamic pulling forces work the line outward millimeter by millimeter until pelvic alignment is compromised.
Step-by-Step Fixes for Cam Cleat and Hardware Slips
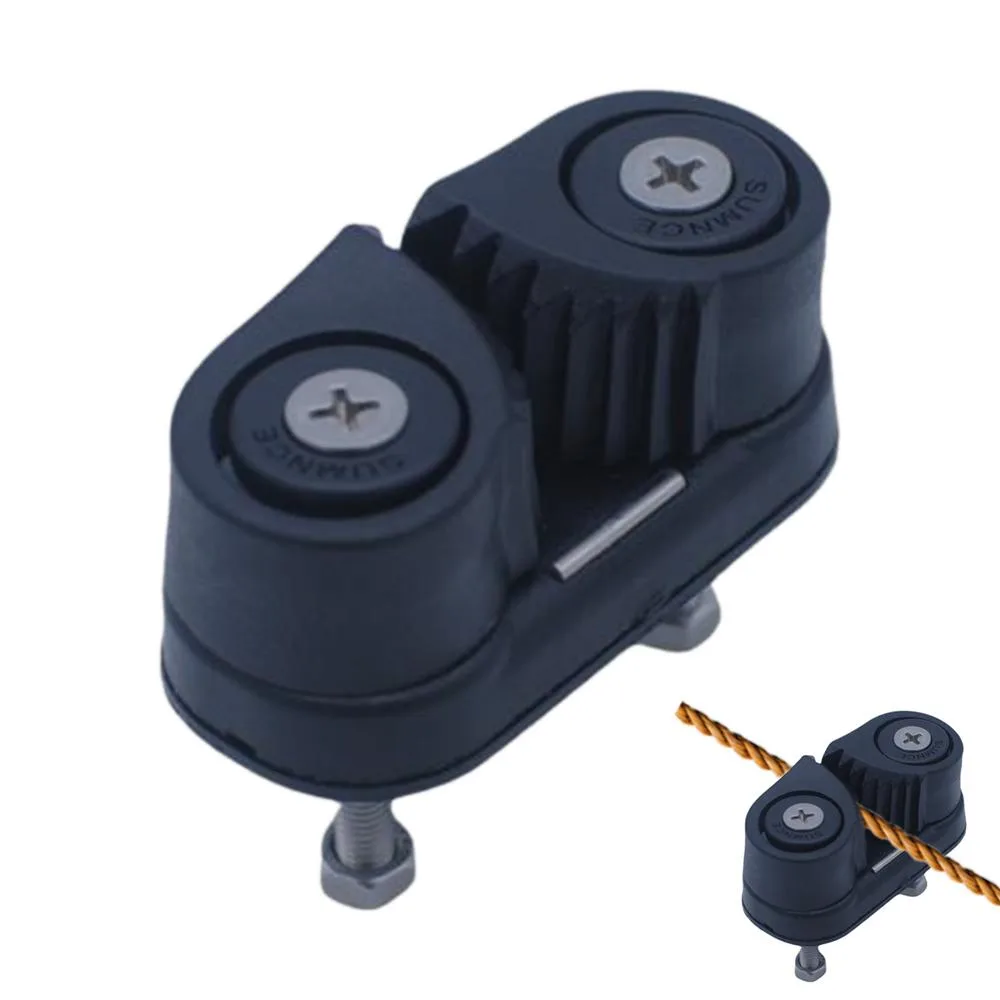
Image source: Web (Bing) / aliexpress.com (Web image (fair-use with source credit))
Mechanical slippage requires hardware adjustments to restore full clamping pressure.
Cleaning and Clearing Cam Cleat Teeth
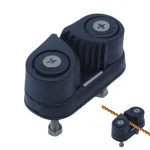
Dust, lint, and studio disinfectant sprays collect between cleat teeth over time. This buildup fills the ridges and prevents the spring-loaded cams from gripping the cordage.
- Grab a stiff-bristled nylon brush or an old toothbrush.
- Manually pry the two cam lobes apart against their internal springs.
- Scrub out all compacted lint and wax buildup from between the teeth.
- Wipe the teeth with a dry microfiber towel. Avoid silicone-based lubricants, as oils make ropes slip even worse.
Perfecting the Cleat Bite: The Down-and-Back Lock
Many users drop the rope into the top of the cleat and assume it is locked. Modern marine cam cleats require a deliberate loading motion.
Pull the free end of the rope straight down toward the floor, then yank backward toward the carriage. You should feel the teeth bite into the core and see both cam lobes swing inward. Give the loop end a sharp tug before getting on the carriage to verify that the cams do not spread open under tension.
Inspecting and Replacing Glazed or Compressed Ropes
Synthetic climbing and marine ropes compress after thousands of cycles. When the rope diameter flattens by more than 15 percent, the cleat jaws bottom out before applying full pressure.
Inspect the rope for glazing, which looks like hard, shiny patches on the outer sheath. If you find flat spots, trim 4 inches off the cleat end to introduce fresh, uncompressed rope to the clamping zone. If the entire rope is stiff or frayed, replace it with manufacturer-approved 8mm to 10mm double-braid polyester cordage.
Practical Fixes for Foot and Hand Slippage on the Loops
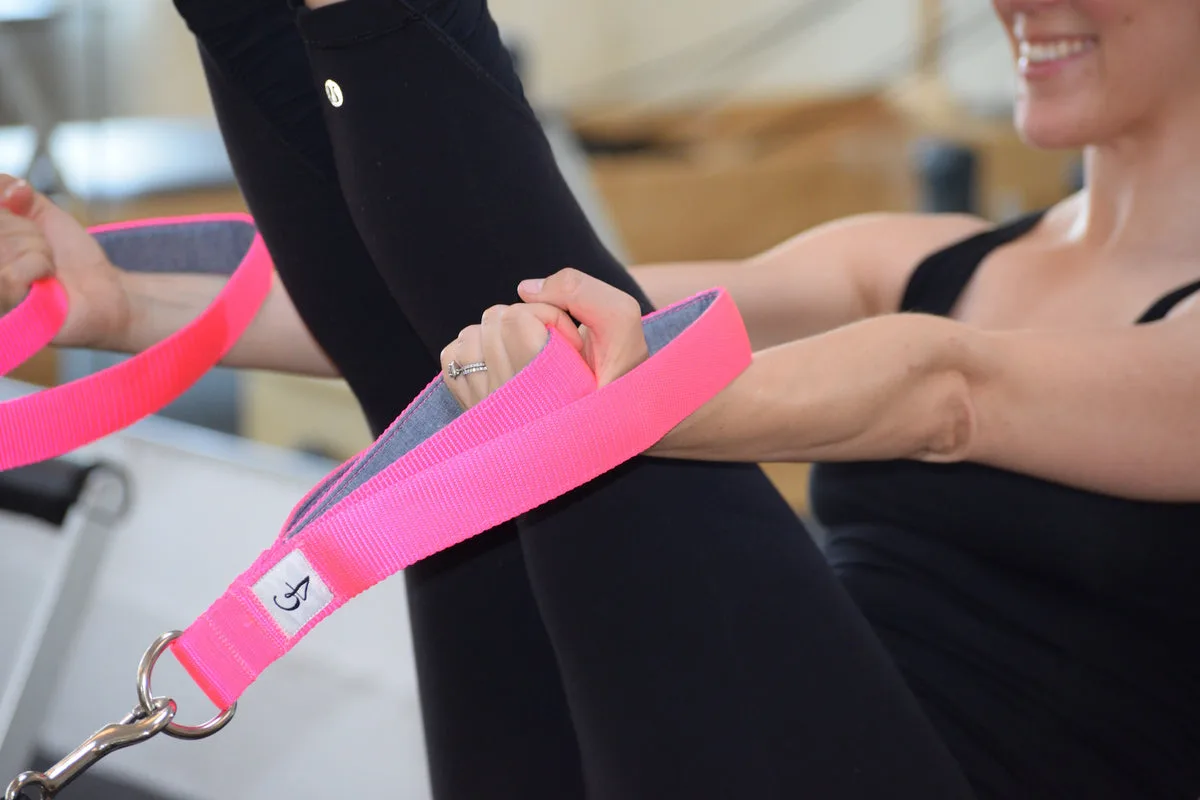
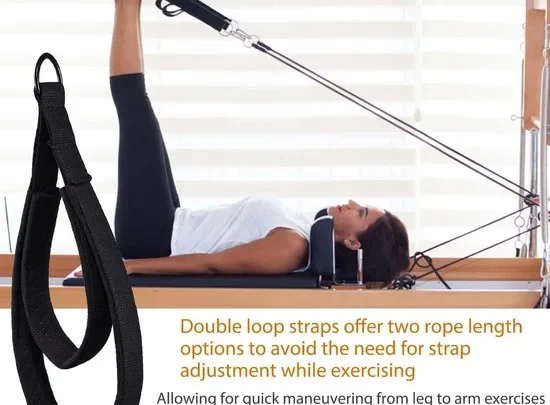
Image source: Web (Bing) / amazon.com (Web image (fair-use with source credit))
When hardware is solid but you are losing traction during movement, refine your setup and loop mechanics.
Proper Loop Sizing: The Double-Loop Rule
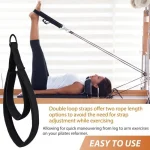
Most modern reformers feature integrated 2-in-1 double loops. The short inner loop measures roughly 10 inches, while the longer outer loop measures about 17 inches.
- Use the short inner loop for hands-in-straps work, such as chest expansion or tricep presses, to maintain constant wrist control.
- Use the long outer loop for feet-in-straps exercises like leg circles and frogs to allow full ankle articulation.
- For smaller feet, thread the long loop through the short loop to create a snug cinch that prevents heel escape.
Foot Placement Dynamics (Arch vs. Heel Lock)
Loop placement directly controls stability. Never place the strap across the ball of your foot or over your toes during heavy spring work.
Center the strap across the plantar arch just forward of the heel calcaneus. Flex your feet slightly to maintain tension on the strap during the return phase of movements. Pointing your toes too aggressively without maintaining spring resistance lets the loop slide straight off the heel.
Friction Hacks: Grip Socks, Cross-Looping, and Webbing Upgrades
If smooth synthetic straps continue to slide, use these proven grip adjustments:
- High-density grip socks: Wear socks with silicone treads extending from the heel all the way across the arch.
- The cross-strap method: Cross the left rope to the right foot and the right rope to the left foot for specific adductor exercises. This angle applies inward lateral pressure that locks the webbing in place.
- Cotton canvas straps: Replace slick polyester or vinyl straps with heavy-weave cotton canvas webbing, which offers significantly higher natural friction against bare skin and socks.
Routine Maintenance to Prevent Strap Creep Long-Term
Preventative care keeps your reformer safe and prevents sudden hardware releases mid-exercise. Equipment guidelines published by Balanced Body recommend checking rope and hardware integrity every month in home settings and weekly in commercial studios.
As of 2026, standard equipment auditing includes checking the spring tension inside the cam cleat bases. Over years of use, internal torsion springs lose elasticity and fail to snap the teeth shut quickly. Test this by pressing the cam open with your finger; it should snap back instantly against the stop post.
If it feels sluggish, replace the cleat assembly.
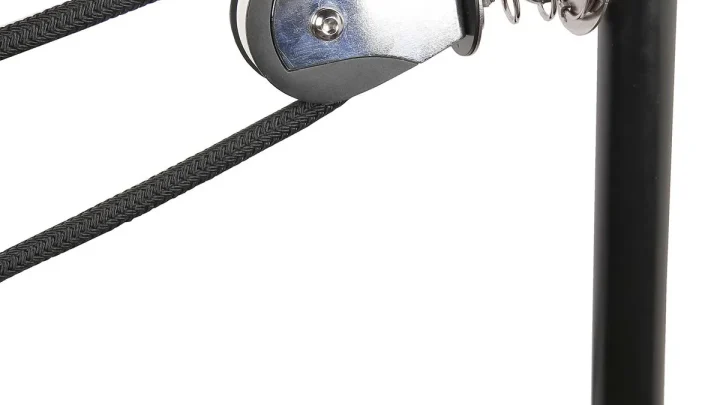
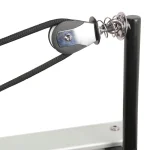
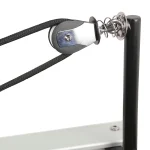
Regularly check the pulley risers at the back of the frame. Ensure the eyelet pulleys spin freely without wobble, as a jammed pulley creates drag that pulls ropes unevenly through the cleats. Wipe down ropes monthly with a damp cloth to remove sweat salts that break down core fibers over time.
Common Mistakes That Cause Unexpected Strap Release
Using the wrong rope entry angle is the most frequent operational mistake. Dropping the cord straight down from the top does not engage the spring-loaded cams. You must pull the rope back toward the carriage to force the teeth into the weave.
Another common error is applying too little spring resistance during loaded footwork. When you perform leg circles on a single ultra-light yellow spring, carriage momentum outpaces spring tension. The strap goes momentarily slack, slides off your foot arch, and snaps back when tension returns.
- Ignoring rope diameter specs: Installing undersized 6mm accessory cords instead of standard 8mm to 10mm marine lines prevents cleat teeth from pinching the core.
- Spraying cleaners near cleats: Overspraying alcohol or silicone cleaners onto the carriage frame coats hardware in slick residue that promotes slippage.
- Looping over the toes: Placing straps forward of the metatarsal joint lets the loop pop off during full ankle extension.
- Failing to check leveling: Uneven rope lengths place asymmetric load on a single cleat, forcing that line to slip under dynamic loads.
Reformer Strap Troubleshooting FAQs
Why do my reformer straps keep getting uneven?
Straps become uneven when one rope slips through its cam cleat or settles differently around the pulley riser. Clear debris from both cleats and seat each rope firmly with a downward pull. Check that both ropes are trimmed to identical resting lengths against the shoulder rests.
How tight should the cam cleats grip the rope?
Cam cleats should grip firmly enough that the rope cannot budge under your full body weight. When locked correctly, pulling hard on the loop end should cause the carriage to move toward the headrest without the rope sliding through the teeth at all.
Can I wash my reformer straps to restore grip?
Yes, washing cotton or canvas straps in cold water with mild detergent removes body oils and sweat residue. Air-dry them completely before use. Do not use fabric softeners or heat dryers, as conditioners coat fibers and reduce surface friction against grip socks.
How often should reformer ropes and cleats be replaced?
Commercial studios should replace ropes every 12 to 24 months, while home users usually get 3 to 5 years of safe use. Replace cam cleats immediately if the metal teeth look rounded or if the internal springs fail to snap the lobes shut.
Quick Reference Decision Guide for Rock-Solid Reformer Straps
| If You Experience This… | Check This Part First… | Take This Action… |
|---|---|---|
| Sudden rope release during pull | Cam cleat teeth and springs | Clear lint buildup, pull rope down and back, or replace worn cleat |
| Gradual strap lengthening | Rope sheath surface | Inspect for flat, glazed spots; trim or replace compressed cordage |
| Foot slides out in Leg Circles | Sock type and loop size | Switch to silicone grip socks; move strap from toes to deep plantar arch |
| Hands slipping in Arm Work | Loop selection | Switch from the 17-inch outer loop to the 10-inch inner hand loop |
| Ropes dragging or catching | Pulley risers at frame end | Align pulley wheels, clean bearings, and check rope alignment angles |

Similar Posts