How to Secure Reformer Riser Bolts: Easy DIY Guide
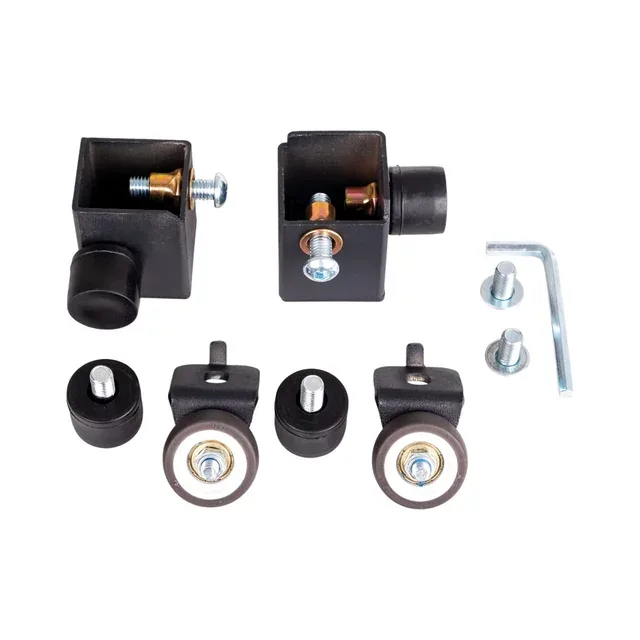
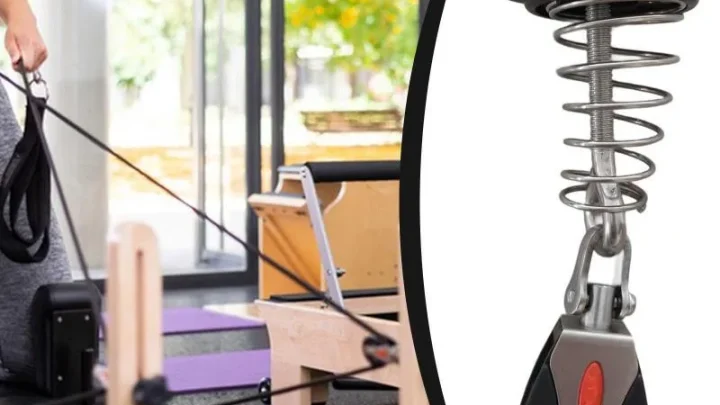
A wobbly pulley riser creates uneven rope friction and ruins smooth carriage glide during workouts. Knowing how to secure reformer riser bolts prevents dangerous hardware failures and eliminates annoying rattles during footwork. When pulley brackets shift under load, rope tracking suffers instantly.
Equipment guidelines indicate dynamic reformer spring loads can generate peak forces exceeding 200 pounds during athletic jumping. Proper fastener retention requires clean mating surfaces, correct washer stacking, and calibrated torque settings. Following the right diagnostic workflow keeps your reformer stable, quiet, and safe for every user.
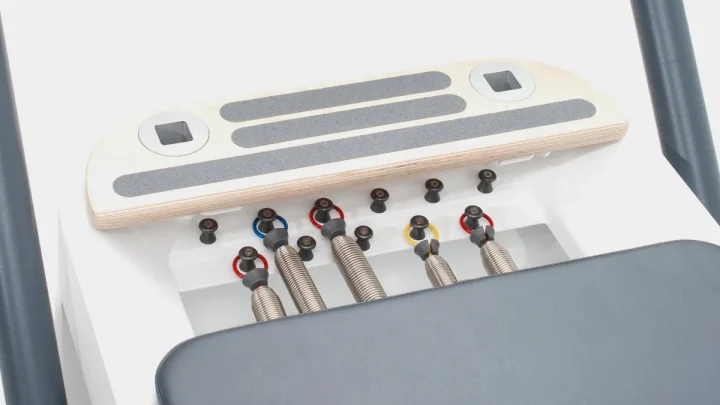
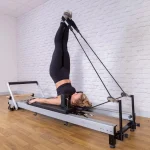
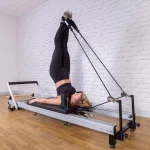
Image source: Web (Bing) / insportline.eu (Web image (fair-use with source credit))
Quick Answer
To know how to secure reformer riser bolts, clean the threads thoroughly with alcohol. Apply one drop of removable blue threadlocker compound directly to the bolt threads. Place a split washer over a flat washer on each bolt.
Torque aluminum frame bolts to 8 foot-pounds using a hex socket. Allow the threadlocker compound to cure for 24 hours before exercising.
Why Reformer Riser Bolts Loosen and How to Diagnose Play
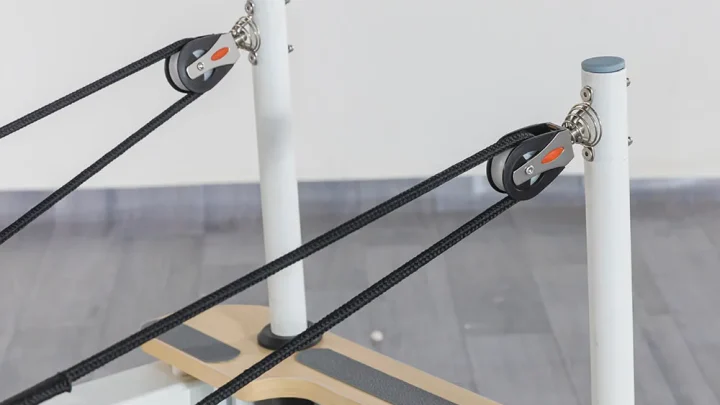
Reformer risers endure constant cyclic force. Every time a user pulls the straps, dynamic tension transfers directly from the swivel pulleys into the riser posts. This lateral shear force rocks the riser base back and forth against the machine frame.
Over time, this continuous motion causes rotational vibration loosening. Micro-movements break the initial friction holding the fastener threads together. Once a bolt backs out even a fraction of a millimeter, mechanical play accelerates quickly.
To diagnose play in your risers, grab the top of the riser post near the pulley bracket. Firmly push and pull the post laterally and longitudinally.
Listen for distinct clicking, creaking, or metallic tapping sounds. If the post base shifts against the frame, your bolts require immediate attention. Look closely at the fastener head while moving the post to verify whether the bolt is turning loose or the internal frame insert has separated.
Identifying Your Reformer Frame Type and Hardware Setup
Different frame materials require specific fastening approaches. Treating an aluminum extrusion like a solid hardwood frame will strip your threads or crack the mounting area.
Solid Hardwood Frames with Embedded Brass Inserts
Classic wooden reformers made from rock maple or beechwood rely on threaded brass inserts embedded into the wood grain. The riser mounting bolt threads directly into this internal brass collar. If your machine uses this design, avoid overtorquing.
Excessive force will pull the brass insert out of the hardwood timber, stripping the wood grain permanently.
Extruded Aluminum Frames with Channel Track Nuts
Modern commercial reformers often feature anodized aluminum channels. The riser bolts thread into steel channel nuts or slide plates held inside the track. If you have an aluminum frame, check for aluminum metal dust around the fastener base.
This dust indicates the steel bolt has been grinding against the softer aluminum channel.
Tubular Steel Frames and Through-Bolt Assemblies
Tubular steel and heavy-gauge steel clinical reformers typically use through-bolt assemblies. These feature a hex-head bolt running completely through the frame tube, secured on the other side with a washer and a locking nut. This setup handles higher torque ratings than wood or aluminum systems.
| Frame Material | Primary Fastener Type | Mating Component | Risk Factor |
|---|---|---|---|
| Hard Maple / Beech | Socket Head Cap Screw (1/4"-20 or M6) | Threaded Brass Wood Insert | Stripping wood threads via overtorquing |
| Extruded Aluminum | Hex or Button Head Bolt (5/16"-18 or M8) | Steel T-Nut / Channel Nut | Track galling and channel deformation |
| Tubular Steel | Grade 5 Through-Bolt | Nyloc Nut or Flange Nut | Frame tube compression from crushing force |
Choosing the Right Fasteners, Washers, and Threadlockers
Selecting the correct combination of chemical sealants and mechanical locking hardware guarantees long-term riser stability.
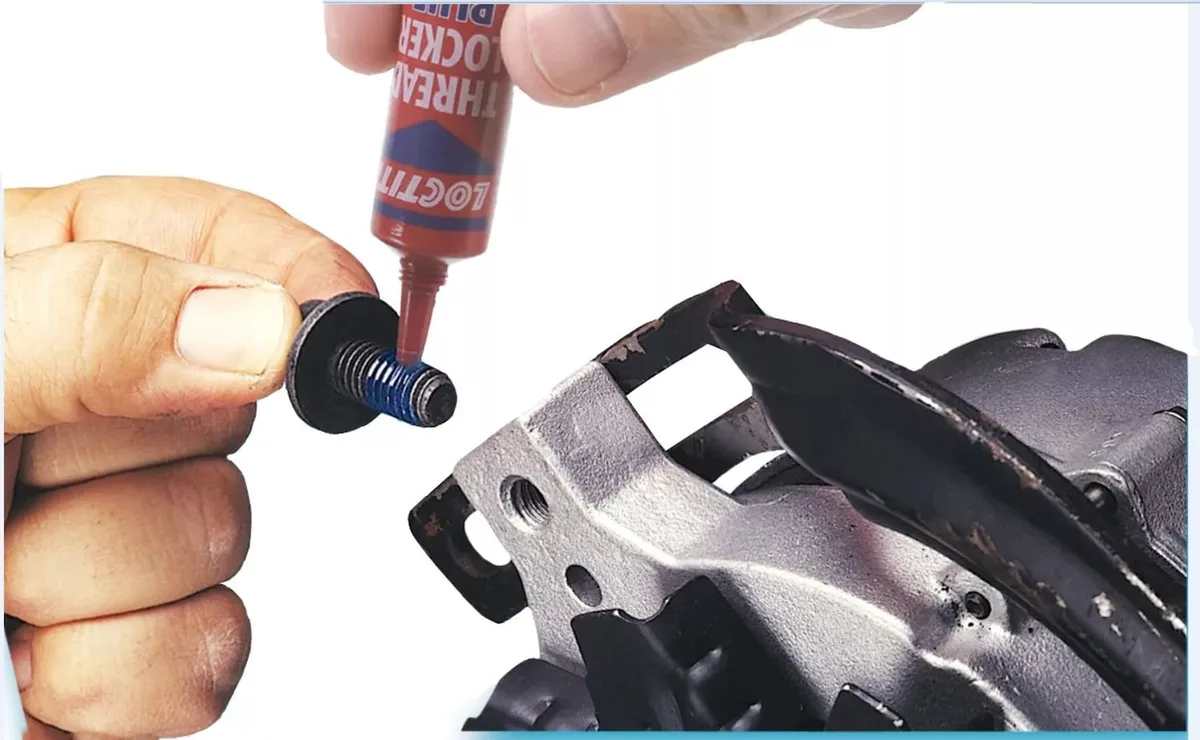
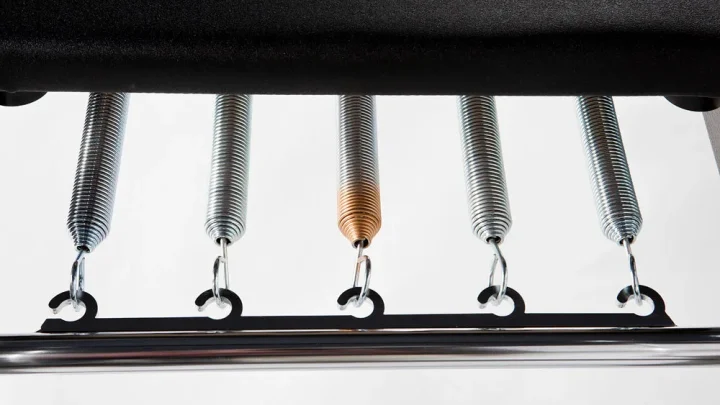
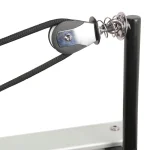
Image source: Bing (Web (fair-use with source credit))
Mechanical Locking vs. Anaerobic Chemical Sealants
Mechanical washers provide spring tension against the bolt head to resist vibration. However, dynamic lateral loads on exercise equipment often overpower simple washers alone.
Anaerobic chemical threadlockers fill the microscopic gaps between mating metal threads. Once sealed off from air, the liquid polymerizes into a tough solid plastic.
For Pilates equipment maintenance, always select a medium-strength removable formula such as Blue Loctite 242 or Vibra-Tite VC-3. Never use permanent red threadlocker on reformer risers. Red formulas require heating the components to 500 degrees Fahrenheit to release, which destroys wood finishes and warps aluminum tracks.
Hardware Compatibility: Sizing, Coatings, and Washer Order
Fasteners should meet ASME standards for socket head cap screws. Use 304 or 316 stainless steel hardware to prevent corrosion from sweat and studio humidity.
When assembling the hardware, follow this exact washer stacking order from top to bottom:
- Bolt head
- Helical split-lock washer (or external star washer)
- Wide flat washer
- Riser bracket flange
- Machine frame surface
The flat washer distributes the clamping pressure evenly across the riser base. The split-lock washer maintains constant tension against the bolt head, preventing initial back-out.
Step-by-Step Workflow: How to Secure and Torque Riser Bolts
Follow this sequential workflow to clean, mount, and properly torque your reformer riser hardware.
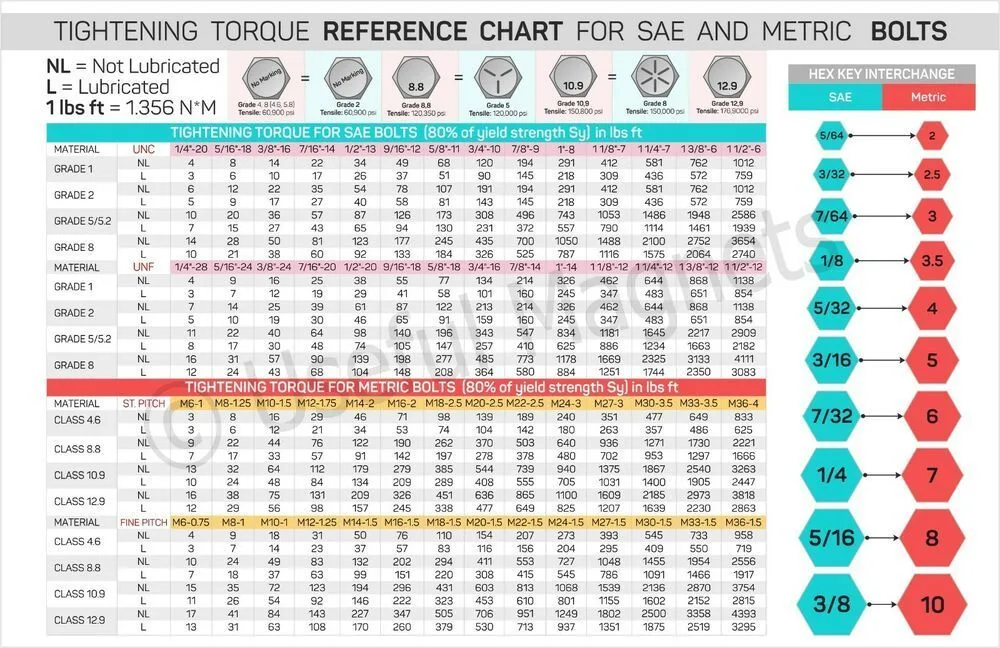
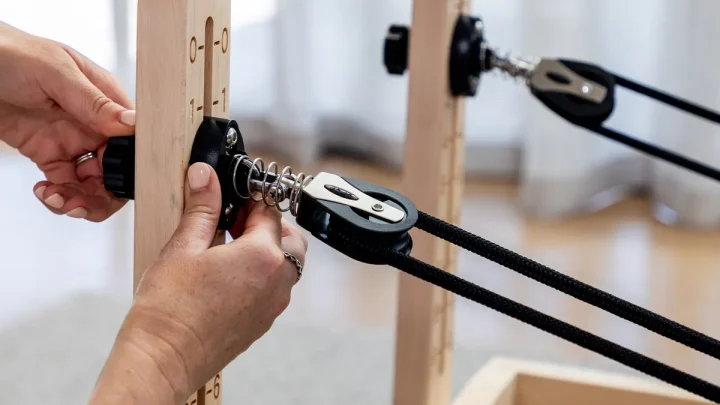
Image source: Web (Bing) / pinterest.com (Web image (fair-use with source credit))
Step 1: Disassembly, Cleaning, and Degreasing
Unthread the riser bolts completely and remove the riser post. Old threadlocker residue, manufacturing oil, and dust prevent new threadlocking fluid from bonding to the metal.
Spray the bolt threads and internal frame threads with 90% or higher isopropyl alcohol. Use a stiff brass wire brush to scrub away dried compounds from the bolt threads. Wipe all mating surfaces clean with a lint-free cloth and let them air dry for two minutes.
Step 2: Thread Inspection and Pre-Fit Check
Inspect the bolt threads for cross-threading, stretching, or flattened crests. Thread the bolt into the frame insert by hand without the riser bracket in place. The bolt should spin smoothly without binding.
If you feel gritty resistance or wobbling, replace the bolt immediately.
Step 3: Chemical Threadlocker and Washer Stack Application
Slide your split-lock washer onto the bolt, followed by the flat washer. Shake your bottle of blue threadlocker thoroughly.
Apply a single drop across the leading three to four threads of the bolt. You do not need to coat the entire shaft. Excess fluid will merely spill out around the washer and ruin cosmetic finishes.
Step 4: Calibrated Torquing and Seating
Position the riser post against the frame mounting point. Hand-thread both bolts into place to ensure they seat straight without cross-threading.
Use a calibrated torque wrench with an appropriate hex bit socket. Tighten the bolts in alternating stages to ensure flat, even clamping force across the riser base plate:
- Solid Wood Frames: Torque to 5 to 7 foot-pounds (6.7 to 9.5 Nm).
- Aluminum Track Frames: Torque to 8 to 10 foot-pounds (11 to 13.5 Nm).
- Steel Through-Bolt Frames: Torque to 12 to 14 foot-pounds (16 to 19 Nm).
Step 5: Curing and Load Testing
Anaerobic threadlockers require time to set. As of 2026, standard maintenance protocols recommend letting medium-strength threadlocker fixture for 20 minutes before handling. Allow a full 24-hour cure cycle before subjecting the reformer to high-load jumping or heavy spring resistance.
Once cured, perform a firm manual wiggle test on the riser top to confirm zero play.
Troubleshooting Stripped Inserts, Damaged Tracks, and Spinning Bolts
If a bolt spins continuously without tightening, you have a stripped mounting assembly. The repair path depends entirely on the type of frame damage.
For spinning brass inserts in wooden frames, remove the bolt and pull the loose brass collar out. Clean the timber hole of loose wood dust. Coat the outer threads of a new brass insert with structural wood epoxy, then thread it flush into the frame.
Allow the epoxy to cure for a full 24 hours before reinstalling the riser hardware.
For stripped aluminum track channels, replace the damaged internal channel nut. If the track lip itself has deformed from excessive force, slide the riser assembly 1 inch forward or backward to an undamaged section of the track. If position adjustments are impossible, install an oversized backing plate inside the channel to distribute the clamping load over undamaged metal.
When a bolt head strips, hammer a slightly oversized Torx bit into the rounded hex socket. The sharp splines bite into the soft metal, allowing you to unthread the damaged fastener safely. Always discard and replace stripped fasteners immediately.
Critical Mistakes That Damage Frames and Strip Hardware
Using the wrong techniques can crack expensive wood frames or ruin precision aluminum extrusions permanently.
Avoid using impact drivers or cordless drills to install riser bolts. Power tools deliver uncontrolled, rapid rotational torque that easily strips soft brass inserts and tears aluminum track channels. Always start fasteners by hand and finish them using manual hand tools or a calibrated torque wrench.
Never substitute permanent high-strength red threadlocker for medium-strength blue threadlocker. Red formulas create an aggressive chemical bond that cannot break free without high heat. Applying an open flame or high-temp heat gun to a reformer chars the timber finish and ruins the structural temper of aluminum rails.
Do not skip the flat washer in your hardware stack. Tightening a split-lock washer directly against the riser base gouges the powder-coated metal and causes uneven clamping force. Skipping the flat washer also concentrates stress onto a tiny surface area, which leads to premature loosening.
- Using power drills or impact wrenches instead of manual hand tools
- Applying permanent red threadlocker instead of removable blue formulas
- Omitting the flat washer underneath the split-lock washer
- Overtorquing fasteners past manufacturer torque limits
- Tightening bolts into dirty, oil-covered frame threads
Routine Fastener Maintenance Schedule for Studios and Home Gyms
Regular preventative maintenance catches loose hardware before catastrophic failure occurs during a workout. Fastener inspection frequency depends on your daily session volume.
Commercial Pilates studios running multiple group reformer classes daily should perform visual and physical hardware checks weekly. Home users can inspect their equipment quarterly.
Maintain a written or digital service log for every machine in a commercial studio setting. Tracking fastener maintenance protects client safety and creates an official service record that verifies adherence to equipment maintenance standards.
| Environment | Daily Machine Use | Inspection Frequency | Key Maintenance Actions |
|---|---|---|---|
| Commercial Studio | 5 to 10+ hours | Weekly | Manual wiggle test, visual check for metal dust, alignment audit |
| Semi-Private / Boutique | 2 to 4 hours | Bi-weekly | Check bolt tension, inspect rope wear, wipe pulley channels |
| Home Gym | Under 1 hour | Quarterly | Full bolt torque check, reapply threadlocker if removed, inspect inserts |
During scheduled inspections, look for telltale signs of movement. Black aluminum dust around bolt heads indicates active metal friction from loose fasteners. If a bolt requires more than a quarter turn during a routine check, remove it, clean the threads completely, and apply fresh blue threadlocker.
Frequently Asked Questions
What type of threadlocker should I use on reformer riser bolts?
Use a medium-strength removable blue anaerobic threadlocker like Loctite 242. Blue threadlocker prevents fasteners from vibrating loose under spring tension while still allowing standard hand tools to break the bond during future maintenance. Never use red threadlocker, which requires extreme heat to remove.
How tight should reformer riser bolts be?
Tighten aluminum frame track bolts to 8 to 10 foot-pounds. For wooden frames with brass inserts, tighten bolts to 5 to 7 foot-pounds to avoid stripping the wood grain. Steel through-bolt frames can handle 12 to 14 foot-pounds safely.
Why do my reformer risers wobble even after tightening the bolts?
Wobbling usually points to stripped internal brass inserts, worn channel track nuts, or missing flat washers. If the hardware is tight but the post moves, inspect the frame surface to ensure the internal mounting threads have not separated from the frame material itself.
Can I use power tools to tighten reformer hardware?
No, never use power drills or impact drivers on reformer risers. Power tools generate excessive speed and uncontrolled torque that quickly strip brass inserts, cross-thread fasteners, and crack wooden carriage frames. Always tighten and torque your hardware using manual hand tools.
How long should I wait to use my reformer after securing bolts with threadlocker?
Wait at least 20 minutes for the threadlocker to fixture, and allow a full 24 hours for complete chemical curing. Using the reformer before the compound cures breaks the polymerizing liquid seal, causing the riser bolts to loosen quickly under spring tension.

Similar Posts