How to Replace Reformer Hand Straps: Step-by-Step
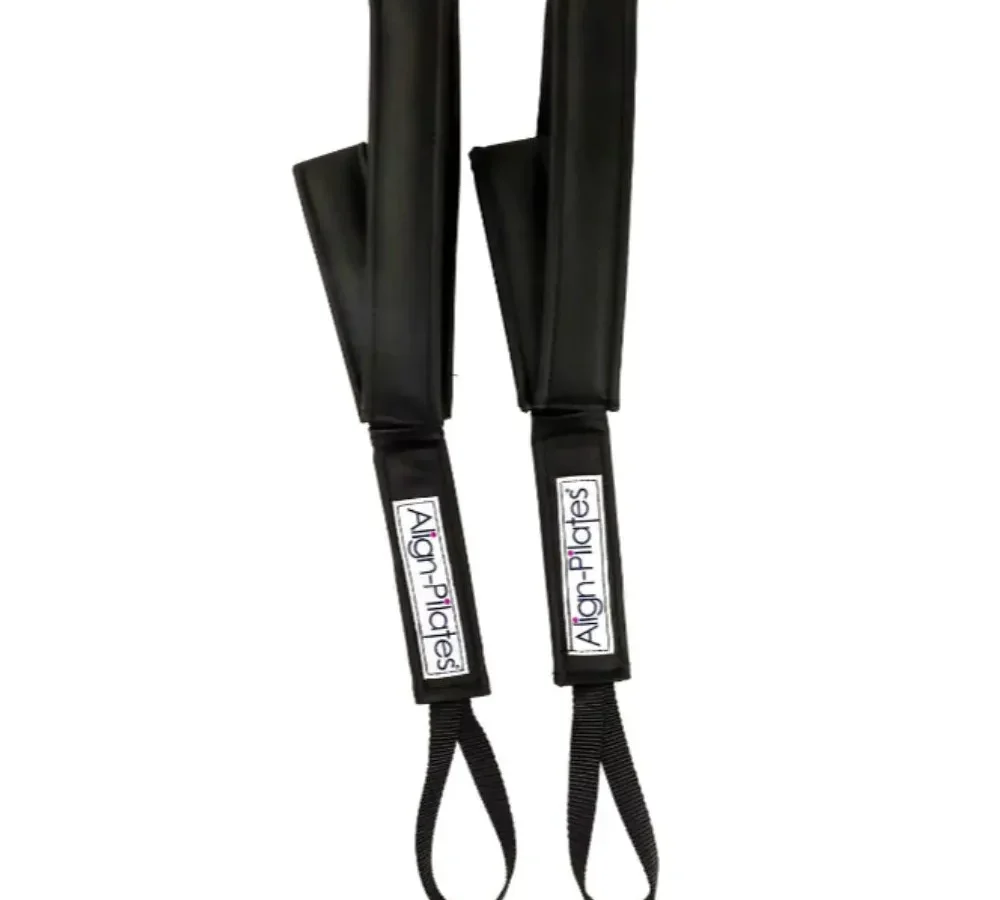
Worn reformer straps can ruin your grip, disrupt body alignment, and create real safety hazards during high-tension exercises. Knowing how to replace reformer hand straps keeps your workouts safe and your carriage moving smoothly. The replacement process takes less than ten minutes once you know which hardware system your reformer uses.
Equipment guidelines from manufacturers like Balanced Body recommend checking your straps and ropes regularly for signs of wear. Standard commercial hardware is rated for working loads of over 300 pounds, but worn stitching or sticking spring clips cut that strength fast. Swapping out old straps restores full stability and gives you a much better workout experience.
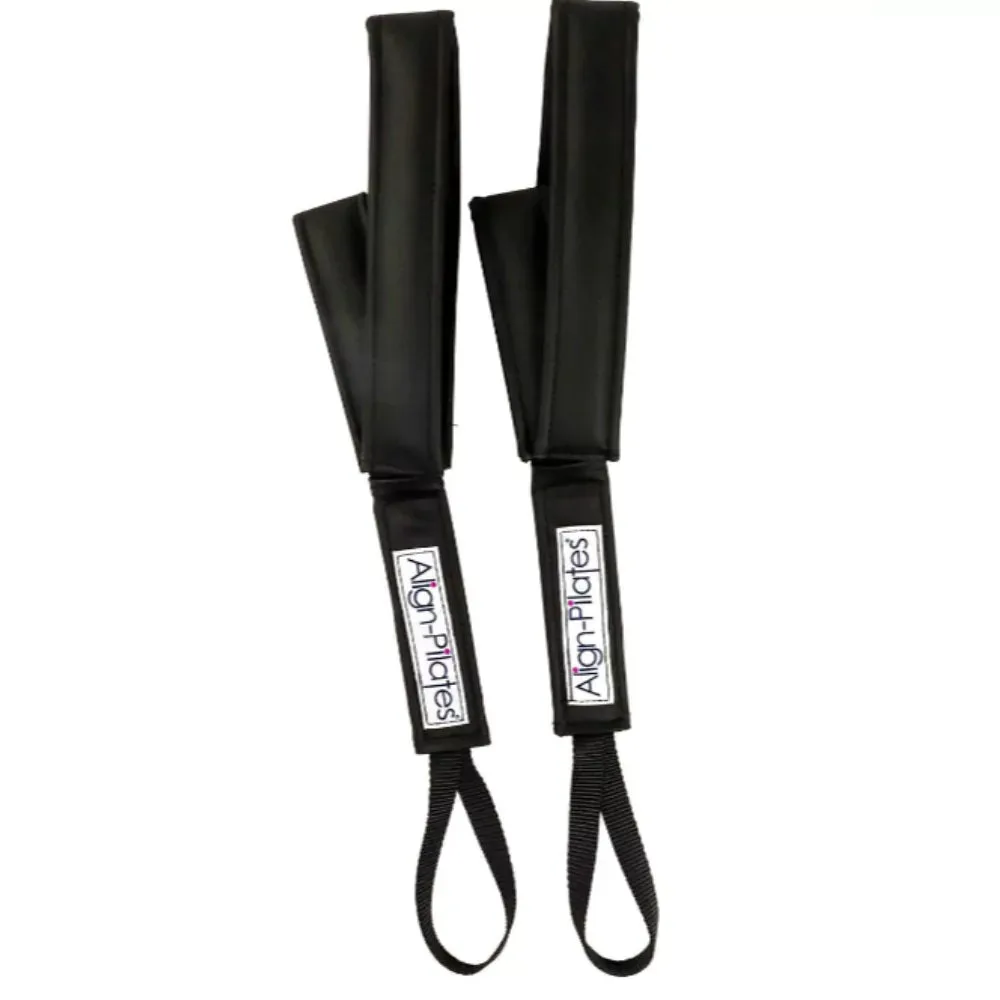
Image source: Web (Bing) / pilatesreformersaustralia.com.au (Web image (fair-use with source credit))
Quick Answer
To replace reformer hand straps, anchor your carriage with all springs engaged. Unclip the old strap from the snap hook, or unthread the rope loop. Attach the new strap to the rope end using your hardware.
Check both straps at the shoulder rests to confirm equal length.
Signs Your Reformer Hand Straps Need Immediate Replacement
Pilates straps take direct tension during every arm and leg series. Over time, friction, sweat, and constant pulling wear down the fibers and metal components. Catching wear early protects you from sudden snaps during supine or standing work.
Watch for these clear warning signs during your routine maintenance checks:
- Frayed Webbing or Loose Stitching: Look closely at the seam where the webbing loops through the metal D-ring. Any broken threads or fuzzy, thinning fabric mean the strap has lost structural strength.
- Sticky or Loose Clip Gates: Snap hooks and carabiners must snap shut instantly. If the internal spring hesitates or the gate wobbles sideways, retire the hardware immediately.
- Flattened or Torn Padding: Neoprene and foam padding compress over time. When the inner cushion breaks down, straps dig painfully into your hands and feet.
- Odor and Surface Buildup: Porous cotton straps absorb sweat, skin oils, and cleaning chemicals. If washing no longer eliminates smells or stiffness, fresh straps are overdue.
| Component | Normal Condition | Warning Sign (Replace Soon) | Critical Failure (Replace Immediately) |
|---|---|---|---|
| Webbing Seams | Tight, uniform thread lines | Minor surface fuzzing | Broken stitches or tearing at D-ring |
| Hardware Gate | Snaps closed instantly | Slight resistance when opening | Loose gate or broken internal spring |
| D-Ring / O-Ring | Smooth, rounded metal | Minor cosmetic plating wear | Deep grooves or metal thinning from friction |
| Inner Padding | Springy, firm, even | Compressed or hardened spots | Exposed foam core or torn fabric lining |
Identifying Your Reformer Attachment System: Clips, Loops, or Buckles
Reformer designs vary across commercial and home models. Before ordering replacements or grabbing tools, check how your strap connects to the rope.
Most modern studio reformers use one of three main attachment methods:
- Snap Hooks and Carabiners: The strap features a sewn-in metal D-ring that clips directly onto a spring-loaded snap hook at the end of the rope. You will see this setup on most Balanced Body, Merrithew, and Peak Pilates reformers.
- Soft-Loop Rope Systems: Instead of metal clips, the rope ends in a stitched loop. The strap attaches using a knot that passes the fabric through itself. This design eliminates metal clanking against the frame.
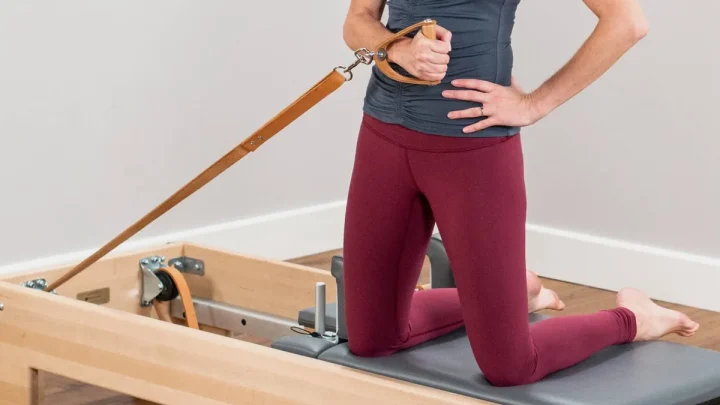
- Classical Leather Straps with Buckles: Traditional reformers, such as Gratz or classical wood models, use solid leather straps with punched holes and metal roller buckles. These do not use climbing ropes at all.
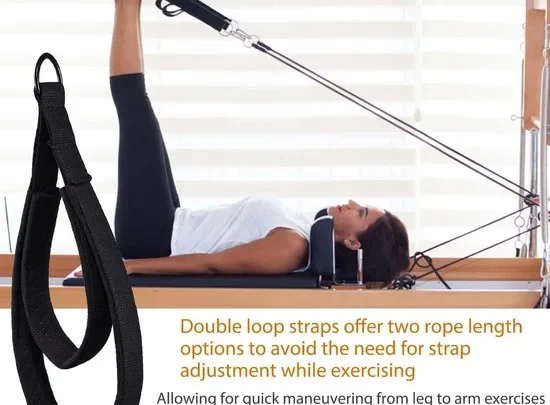
Identifying your connection type makes finding the correct replacement parts simple. As of 2026, most fitness studios prefer double-loop straps with quick-clip snap hooks for fast transitions between hand and foot exercises.
Step-by-Step: How to Replace Hand Straps Based on Your Hardware
Replacing your straps is straightforward once your reformer carriage is safely locked in place. Follow the specific instructions below for your equipment style.
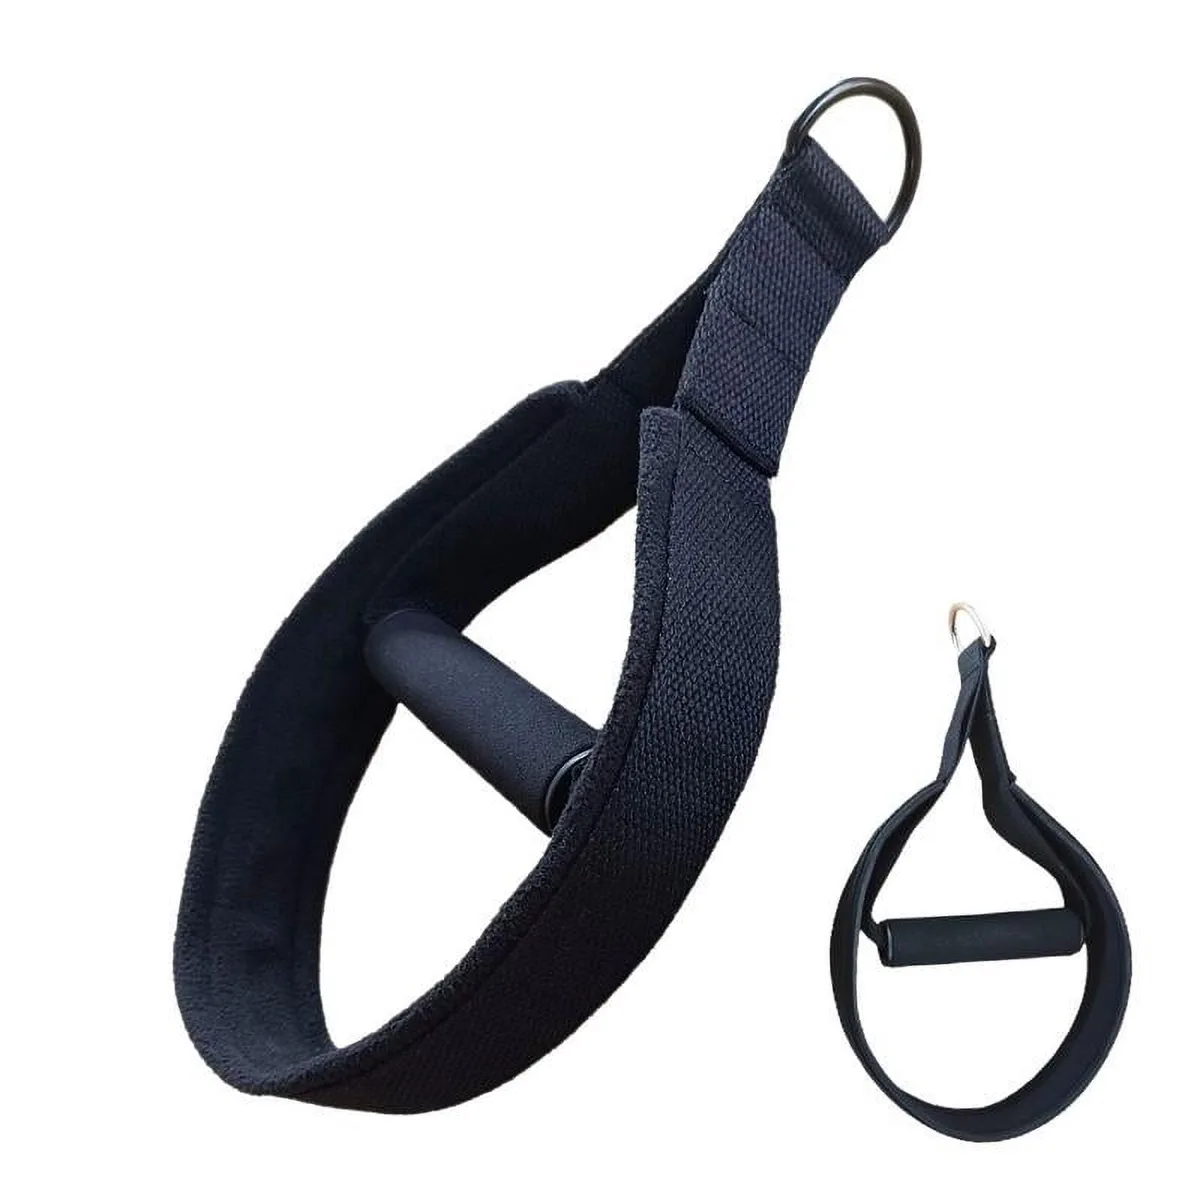
Image source: Web (Bing) / walmart.com (Web image (fair-use with source credit))
Method 1: Snap Hooks and Carabiners (Balanced Body, Merrithew, Peak)
This is the fastest system to service. It requires no hand tools.
- Lock the Carriage: Hook all reformer springs onto the springbar. This prevents the carriage from rolling while you handle the ropes.
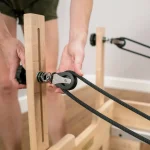
- Open the Snap Hook: Press the spring gate inward to open the carabiner or swivel snap hook.
- Remove the Old Strap: Slide the metal D-ring off the hook. Inspect the hook interior for sharp burrs or grooves caused by metal-on-metal friction.
- Attach the New Strap: Slide the D-ring of your new strap into the hook opening. Release the gate and ensure it snaps fully shut.
- Repeat on the Opposite Side: Swap the second strap using the exact same steps.
Method 2: Soft-Loop Lark's Head Knot (Rope-Through Systems)
Soft loops use a knot called a Lark's Head (or cow hitch) to connect without noisy metal hardware.
- Secure the Reformer: Lock the carriage with all springs attached.
- Loosen the Existing Knot: Locate the loop at the rope end. Push the strap webbing backward through the rope loop to loosen the friction grip.
- Unthread the Strap: Pull the entire body of the old strap through the loosened loop until it separates from the rope.
- Thread the New Strap: Squeeze the attachment loop of your new strap and push it through the rope loop by about three inches.
- Pull Through to Lock: Feed the handle end of your new strap completely through its own attachment loop. Pull firmly on the handle to cinch the knot tightly around the rope loop.
Method 3: Traditional Leather Straps and Buckles (Gratz and Classical Reformers)
Classical setups require threading thick leather through frame buckles underneath or behind the carriage.
- Secure the Carriage: Attach all classical springs to anchor the carriage against the stoppers.
- Unbuckle the Old Leather: Release the tongue of the roller buckle beneath the carriage frame. Slide the leather strap out through the buckle frame.
- Thread the New Strap: Run the tail of your new leather strap through the pulley or eyelet, keeping the smooth grain side facing out.
- Set the Buckle Position: Feed the strap tail into the buckle under the carriage. Choose the hole that matches your standard classical baseline length.
- Secure the Tongue: Press the buckle tongue firmly through the hole and tuck the excess leather strap into the keeper loop.
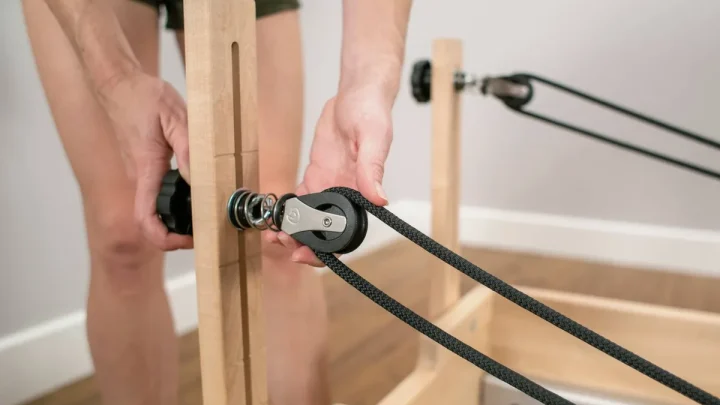
Calibrating and Leveling Rope Length for Symmetrical Carriage Pull
Uneven straps cause poor exercise form and place unequal loads on your shoulders and hips. Every time you swap straps, you must calibrate the ropes to ensure both sides match perfectly.
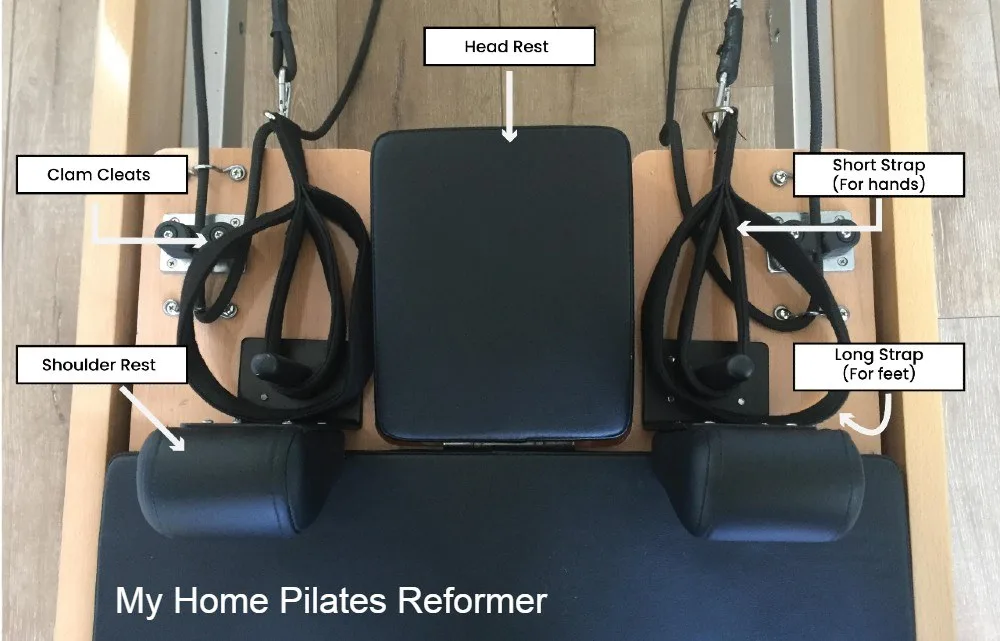
Image source: Web (Bing) / myhomepilatesreformer.com (Web image (fair-use with source credit))
Follow this simple calibration workflow:
- Set Springs to Standard Tension: Attach one medium or heavy spring to hold the carriage resting naturally against its base stoppers.
- Pull Both Straps Forward: Take both hand loops and pull them forward toward the headrest along the center of the carriage.
- Compare Alignment: Lay the ends of both loops flat against the edge of the shoulder rests or headrest. The handles should meet at the exact same seam line.
- Adjust at the Cleats: If one side is longer, open the cam cleat or loosen the rope lock under the carriage. Pull or release rope until both handles rest evenly.
- Test Under Tension: Sit on the carriage and perform three slow chest expansion pulls. Verify that the carriage tracks smoothly without pulling toward one side.
Strap Materials Compared: Cotton Webbing vs. Wipeable Vinyl vs. Leather
Picking the right strap material depends on where your reformer lives and how many people use it daily. Studio environments need sanitizable surfaces, while home users often favor softer fabrics.
Review this comparison to match your workout needs:
| Feature | Cotton Webbing with Fleece | Antimicrobial Vinyl / Synthetic | Traditional Raw Leather |
|---|---|---|---|
| Best Use Case | Home reformers, personal comfort | High-volume commercial studios | Classical studios, Gratz setups |
| Cleaning Ease | Low (requires machine washing) | High (quick spray and wipe) | Medium (leather conditioner only) |
| Grip Comfort | Very soft against bare skin | Smooth, slightly firm | Firm, requires break-in period |
| Durability | 1 to 2 years of heavy use | 3 to 5 years of heavy use | 5 to 10+ years with conditioning |
| Hardware Type | D-Rings, Soft Loops, or Clips | D-Rings with Snap Hooks | Integrated Buckles and Billets |
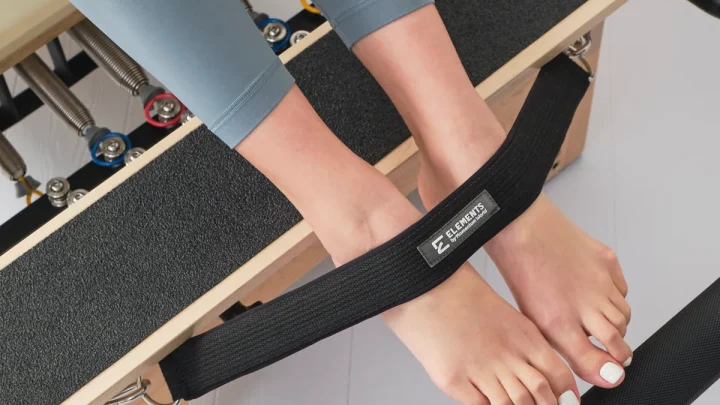
Cotton webbing provides the softest feel for bare feet during short spine and leg circles. However, sweat and sanitizing sprays break cotton down quickly. Synthetic wipeable straps have become the standard in modern studios because you can clean them completely between clients in thirty seconds.
Critical Safety Mistakes to Avoid During Strap and Rope Swaps
Swapping straps seems simple, but small oversights can lead to serious accidents during workouts. A loose clip or slipping rope can snap back under full spring load.
Facility safety guidelines from the National Pilates Certification Program emphasize regular hardware inspections to prevent studio injuries. Avoid these common mistakes during your replacement process:
- Leaving the Carriage Unanchored: Always attach all springs before unclipping anything. If the carriage rolls freely while you pull on the ropes, it can slam your fingers against the frame or pull you off balance.
- Using Non-Rated Hardware: Never use standard craft store clips or decorative key ring carabiners. Replacement hardware must use marine-grade stainless steel or solid brass with a working load rating of at least 300 pounds.
- Ignoring Rope Core Wear: Inspect the rope right where it loops around the D-ring or passes through the riser pulley. If the inner core fibers are exposed or bunched, replacing the strap alone is not enough. You must replace the rope too.
- Skipping the Under-Load Test: Never jump straight into complex movements like Short Box or Long Spine after a swap. Always sit on the carriage and do five firm pulls at medium spring tension to verify that knots and cleats hold tight.
Frequently Asked Questions About Reformer Strap Maintenance
How often should you replace reformer hand straps?
Commercial studios should replace fabric straps every 6 to 12 months, depending on class volume. For home use, straps typically last 2 to 3 years. Replace them sooner if you see frayed stitching, thinning fabric, or damaged metal clips.
Can you use universal straps on any reformer brand?
Yes, most aftermarket straps fit any reformer that uses snap hooks or D-rings. Check your rope attachment style before buying. If your reformer uses classical leather buckles or specialized soft loops, you will need brand-compatible straps.
What is the difference between single and double-loop straps?
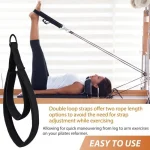
Single-loop straps have one handle loop for your hands or feet. Double-loop straps feature a shorter inner loop for hands and a longer outer loop for feet. Double-loop setups save time during classes because you do not need to adjust rope lengths between exercises.
How do you clean cotton reformer straps without ruining them?
Wash cotton straps inside a mesh laundry bag on a gentle cycle with mild detergent. Use cold water to prevent shrinking. Always air dry your straps completely, as high machine heat can melt inner foam padding and warp metal D-rings.
Why do my new reformer ropes squeak after changing straps?
Squeaking usually happens when metal clips rub against eyelet bolts or dry pulley wheels. You can eliminate the noise by adding soft fabric sleeves over the clips. Alternatively, apply a tiny drop of silicone dry-spray lubricant directly to the pulley wheel bearings.

Similar Posts