How to Safely Release Reformer Spring Tension
Knowing how to release reformer spring tension safely prevents painful hand injuries and keeps your carriage under control. Pilates springs store significant kinetic energy, so a sudden slip can cause violent snapback. In our research across studio safety guidelines, uncontrolled spring releases are among the most common causes of pinched skin and damaged hardware.
Per ASTM International fitness equipment safety standards, maintaining positive mechanical control during resistance adjustments is essential for injury prevention. Heavy springs can exert over 40 pounds of pull each when extended. Understanding how these mechanical components interact ensures you can adjust resistance smoothly and confidently every session.
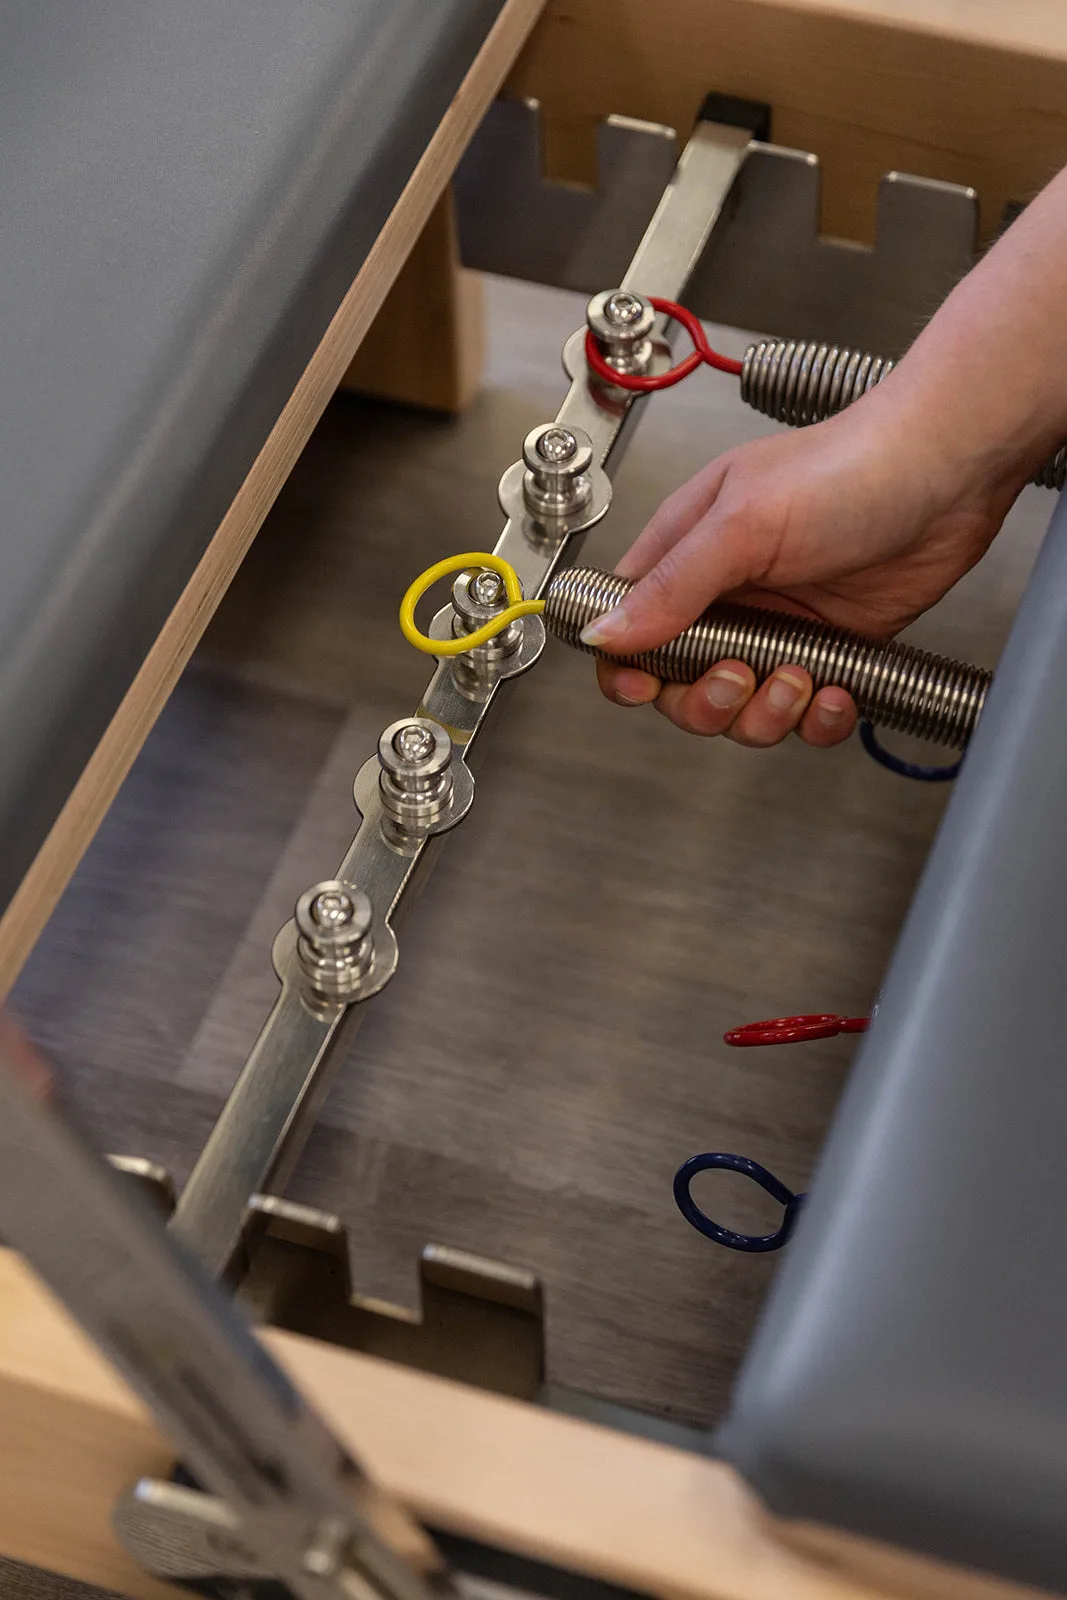
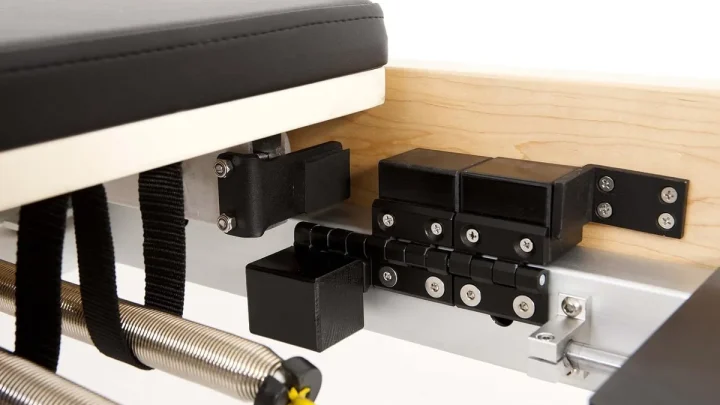
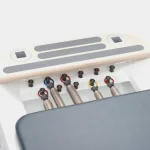
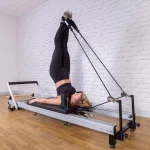
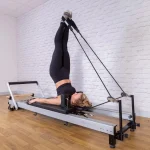
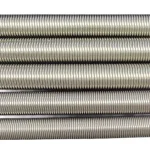
Image source: Web (Bing) / lopepilates.co.nz (Web image (fair-use with source credit))
Quick Answer
Bring the carriage completely home against the rubber stoppers.
Stand beside the reformer with a stable stance.
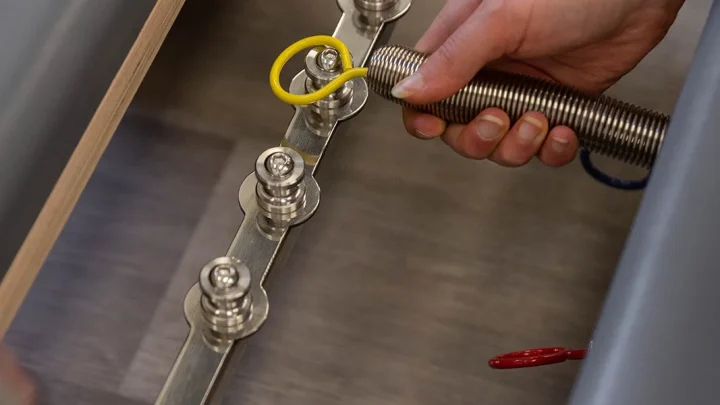
Grasp the spring ring using a firm underhand grip.
Lift the ring up and backward off the gearbar pin.
Lower the spring gently into its resting well.
Never let go until tension is completely neutral.
Why Reformer Spring Safety Matters: Understanding the Mechanical Risks
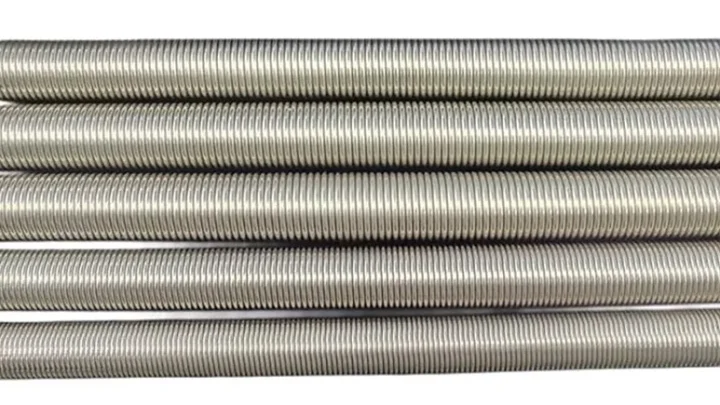
Pilates reformer springs are heavy-duty carbon or nickel-plated steel coils designed to produce progressive resistance. When stretched, they store mechanical energy that constantly pulls the carriage toward the front platform. Releasing a spring while the carriage is extended creates an instant snapback risk.
If your fingers slip while unhooking a loaded spring, the coil snaps forward at high velocity. This rapid recoil can crush fingertips against the gearbar, lacerate skin, or chip metal plating. It can also cause the carriage to slam violently into the frame, misaligning the wheel tracking.
Reformer safety protocols emphasized by the Pilates Method Alliance highlight that equipment handling requires the same focus as the exercises themselves. As of 2026, modern commercial reformers incorporate deeper resting wells and rounded hooks, but human error during quick exercise transitions remains the primary hazard. Taking three extra seconds to manage tension correctly protects both your hands and your machine.
Anatomy of the Spring System: Hooks, Gearbars, and Resistance Levels
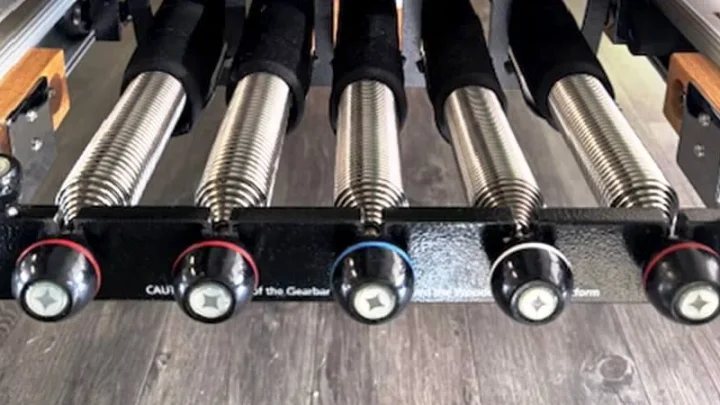
Understanding your reformer hardware makes adjustments straightforward and predictable. The spring assembly connects the underside of the movable carriage to a stationary gearbar at the base of the frame.
Here are the primary components involved in every spring change:
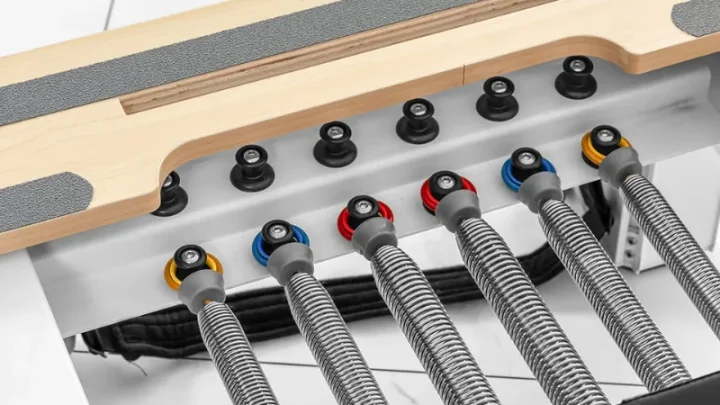
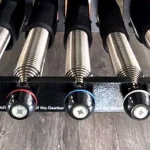
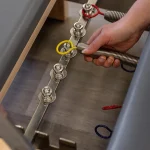
- Spring Eyelet or Collar: The teardrop ring or textured knob attached to the end of each coil for your fingers to grip.
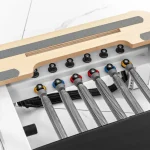
- Gearbar or Cactus: The notched metal bar or pin bracket that anchors the springs to the frame.
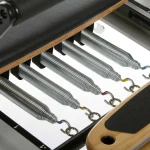
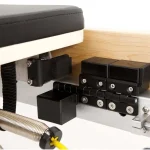
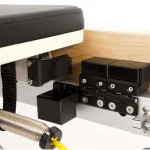
- Spring Well: The resting bracket where detached springs sit when they are not in active use.
- Carriage Stoppers: Dense rubber bumpers that limit carriage travel and establish the resting baseline.
| Spring Color (Common Standard) | Resistance Level | Approximate Tension at Full Stretch | Primary Exercise Purpose |
|---|---|---|---|
| Yellow | Extra-Light | 10 to 12 lbs (4.5 to 5.5 kg) | Arm series, core stability, rehab |
| Blue | Light | 15 to 20 lbs (6.8 to 9 kg) | Abdominal work, spinal articulation |
| Red | Medium | 30 to 35 lbs (13.6 to 16 kg) | General resistance, footwork |
| Green | Heavy | 40 to 45+ lbs (18 to 20+ kg) | Heavy leg presses, pelvic stability |
Resistance values vary slightly across manufacturers, but the mechanical principles remain identical. Higher-tension springs require deliberate grip control to unseat cleanly.
The Golden Rule: Securing the "Home" Position Before Touching a Spring
The single most important rule in reformer operation is simple. Never touch a spring unless the carriage is fully at home. The home position means the carriage rests flush against its front rubber stoppers with zero gap.
When the carriage sits against the stoppers, the springs are at their minimum resting length. While they may still hold a slight resting preload, they are not actively stretched under heavy load. Attempting to unhook a spring when the carriage is even two inches away from the stoppers means you are fighting active kinetic tension.
If you release a hook while the carriage is drifted out, the carriage will either rocket forward into the stoppers or roll away from you. This creates a severe pinch hazard. Before your hand reaches for any collar, look down at the frame bumpers.
If you see daylight between the carriage and the stoppers, pull the carriage all the way home first.
Step-by-Step: How to Safely Release Spring Tension on Any Reformer
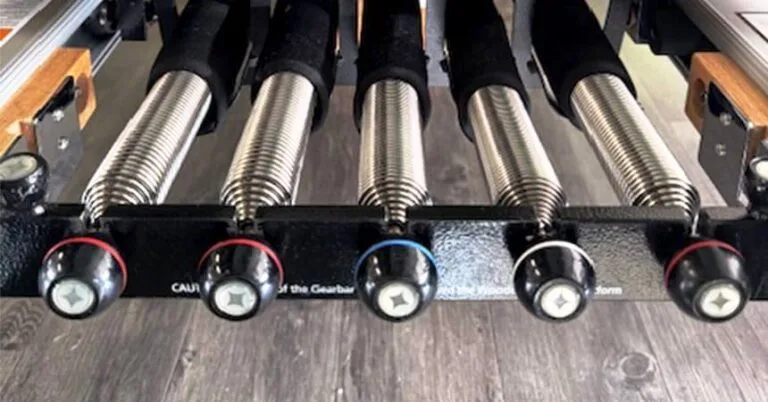
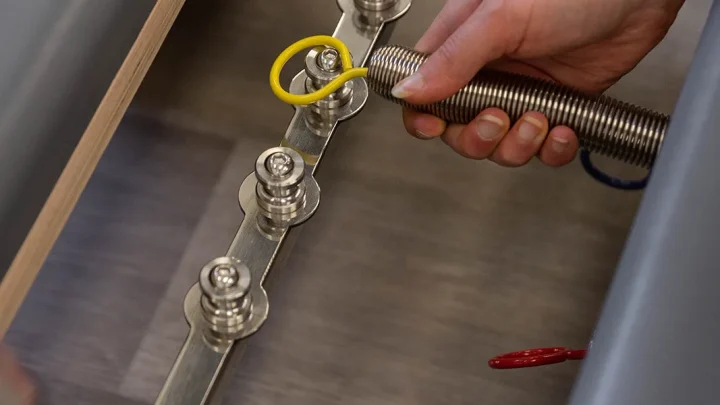
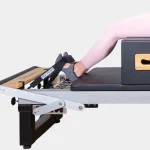
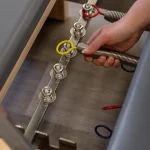
Image source: Bing (Web (fair-use with source credit))
Follow these mechanical steps every time you need to reduce resistance or remove a spring completely.
1. Dismount and Position Your Body
Step off the machine completely. Stand next to the spring well with both feet planted shoulder-width apart. Never kneel on a live carriage while reaching down to change springs.
2. Verify Carriage Position
Check that the carriage is firmly touching the front bumpers. If necessary, place one hand on the carriage edge to keep it steady while you adjust with the other.
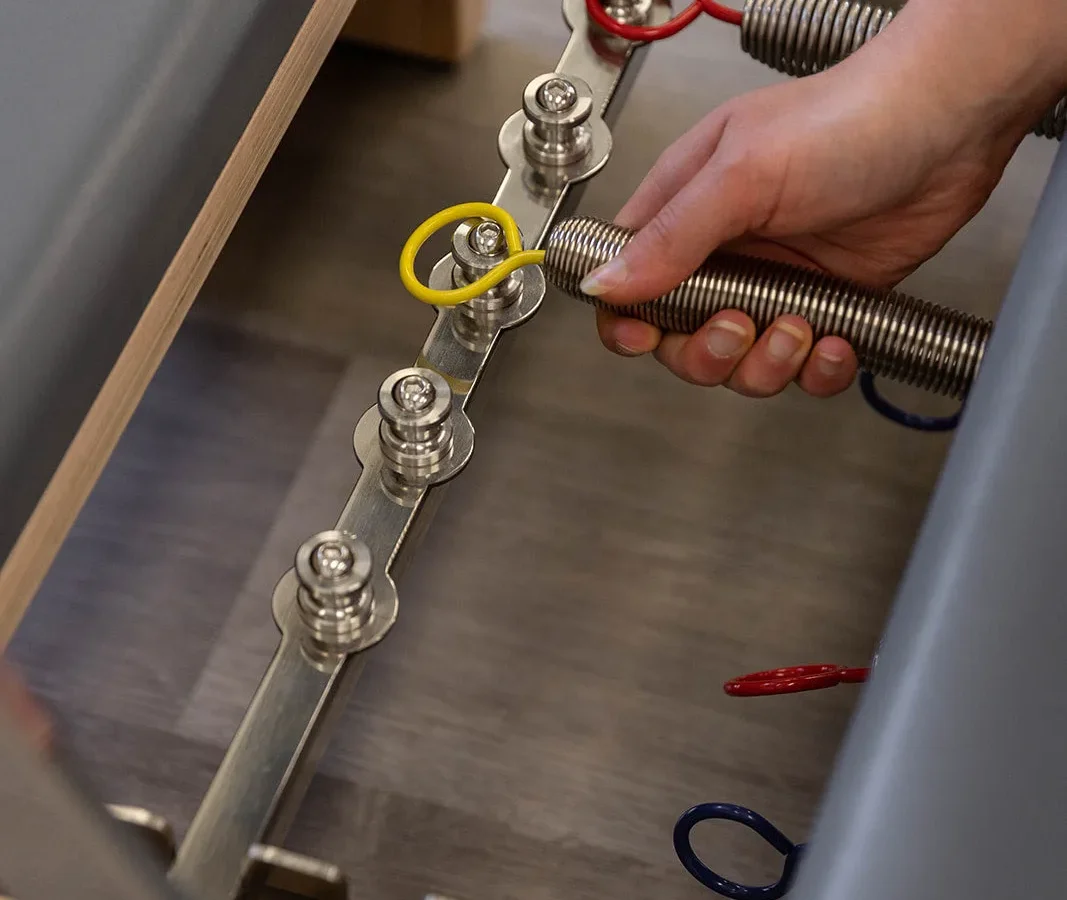
3. Apply an Underhand Grip
Slide your fingers under the spring collar or ring from below. An underhand grip provides far more leverage and palm support than pinching the top with your fingertips.
4. Lift Up and Draw Slightly Back
Lift the ring straight up off the gearbar pin. Pull back just enough to clear the metal lip without bending or twisting the spring sideways.
5. Guide the Spring to Rest
Do not let go once the ring clears the pin. Smoothly guide the spring down until it rests flat in its designated resting channel.
6. Confirm Disengagement
Check that the loose spring is not resting across adjacent pins where it could snag during the next movement.
Dangerous Mistakes to Avoid When Unhooking Springs
Most studio accidents happen during hurried exercise transitions. Avoiding a few common mechanical mistakes ensures smooth, injury-free sessions.
- The Flick and Drop Release: Flipping the spring ring off the pin with your thumb and letting it snap down damages the finish. It can also bounce the spring back onto the gearbar. Always guide the spring by hand until it rests quietly.
- Adjusting from the Carriage Deck: Reaching down to unhook a spring while sitting or kneeling on the carriage creates immediate instability. If the remaining springs cannot support your weight, the carriage can roll out from under you.
- Leaving Zero Springs Attached Without Warning: If you release all springs, the carriage becomes completely free-floating. Always keep at least one spring attached unless an exercise specifically calls for zero resistance.
- Over-Stretching During Removal: Pulling a spring several inches past the gearbar just to lift it causes unnecessary metal fatigue. Lift only as high as needed to clear the pin.
Handling Different Reformer Brands: Classical vs. Contemporary Systems
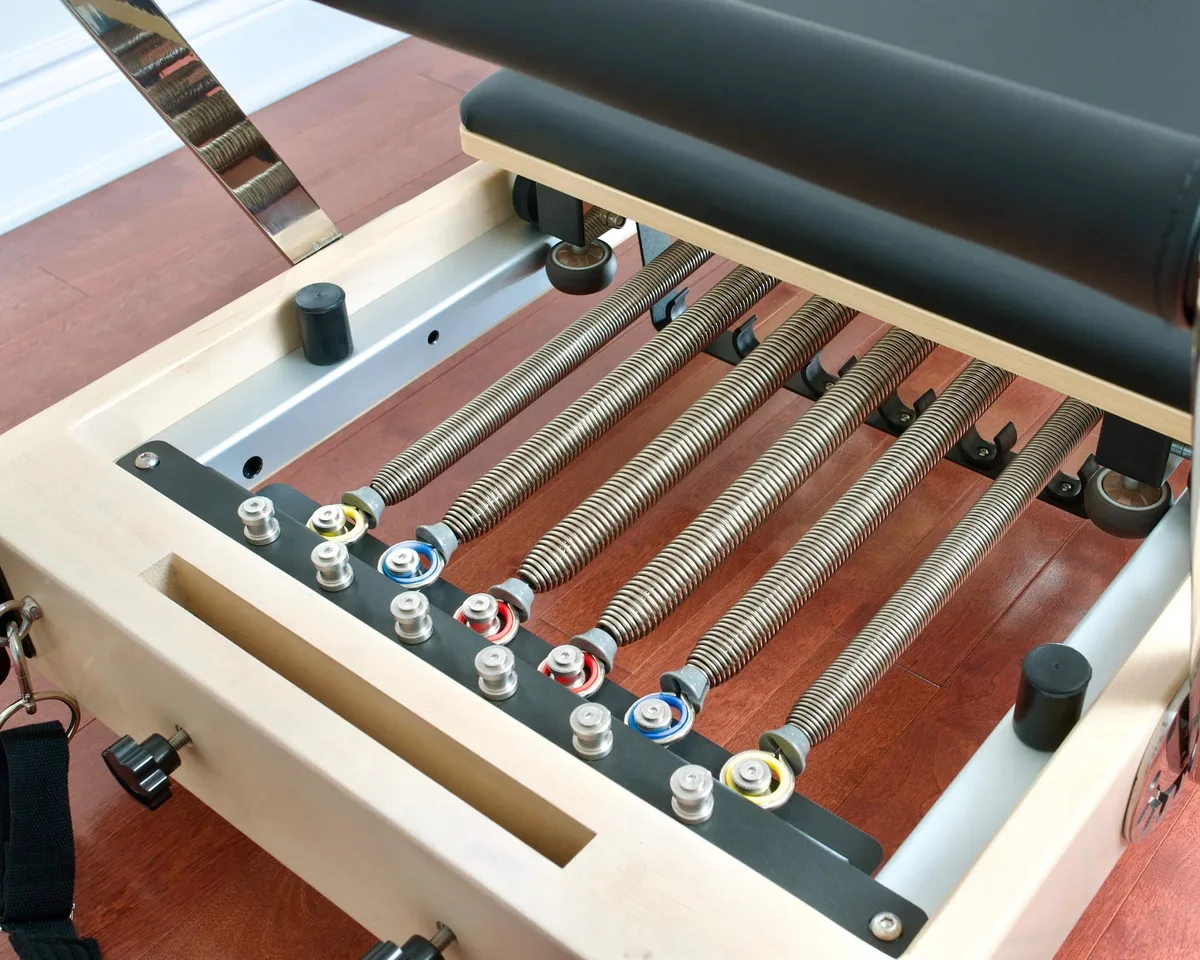
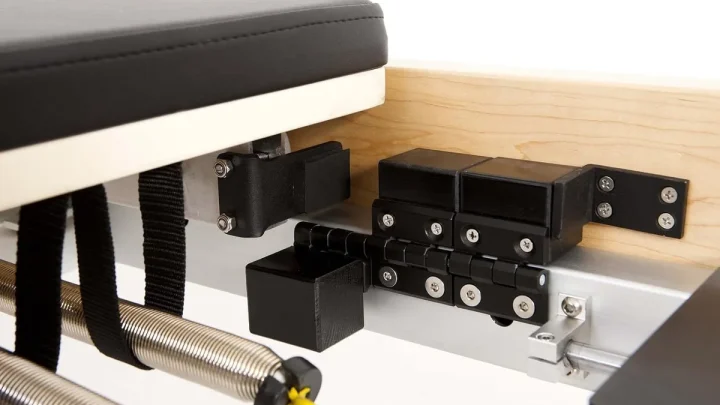
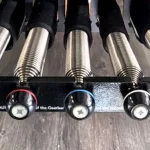
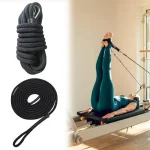
Image source: Bing (Web (fair-use with source credit))
Different equipment manufacturers use distinct gearbar designs. Understanding how your specific model operates ensures you release tension without damaging hardware.
Classical reformers like Gratz use traditional heavy-gauge springs with open metal hooks attached to stationary eyebolts. With these systems, always unhook springs using a dedicated two-finger upward roll. The lack of color coding means all springs carry uniform heavy tension, requiring steady grip strength during removal.
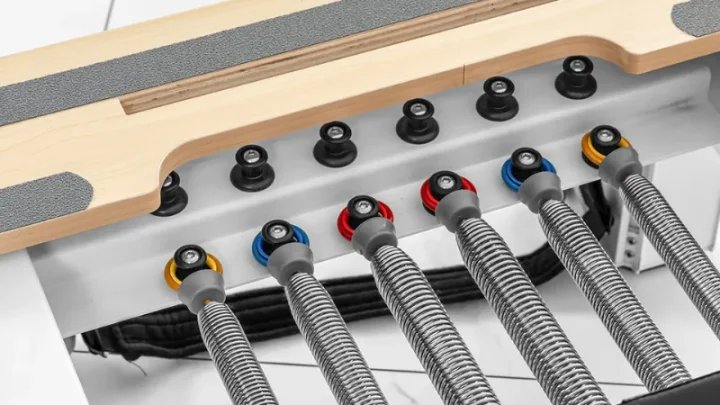
Contemporary reformers like Balanced Body Allegro models or Merrithew SPX machines use sliding gearbars or cactus brackets. Many feature color-coded teardrop tabs or shaped collars that sit over vertical pins. When adjusting these models, lift straight up along the pin axis to prevent bending the attachment brackets.
If your reformer uses an adjustable gearbar to alter carriage starting positions, always disengage all active spring tension before sliding the bar. Shifting a loaded gearbar can slip out of its frame notches, causing sudden mechanical shock.
Equipment Care and Routine Safety Checks for Springs and Pins
Routine maintenance prevents catastrophic spring failures during heavy use. Steel springs naturally experience metal fatigue over thousands of stretch cycles.
Inspect your spring system monthly for these key wear indicators:
- Coil Separation (Gapping): Check the resting springs for visible light passing between individual coils. Any spring showing permanent gaps or waviness has lost its structural integrity and must be replaced immediately.
- Hook and Pin Wear: Examine where the spring ring contacts the gearbar pin. Look for deep grooving, metal burrs, or thinning metal that could snap under peak loads.
- Oxidation and Rust: Inspect the spring surface for reddish-brown corrosion. Rust weakens the wire core and significantly increases breakage risk.
- Attachment Security: Check the underside carriage eyelets to ensure mounting bolts remain tight and rattle-free.
Commercial studios should replace all springs every 12 to 24 months depending on client volume. Home users should plan for replacement every two to three years. Replacing springs as a complete set ensures balanced carriage resistance across all positions.
Frequently Asked Questions About Reformer Spring Adjustments
Can I change reformer springs while sitting on the carriage?
No, you should never change springs while sitting or kneeling on the carriage. Removing resistance reduces carriage support instantly, which can cause you to lose balance or pinch fingers. Always stand beside the frame on solid ground.
What should I do if a spring gets stuck on the pin?
First, verify the carriage is touching the front stoppers to relieve excess tension. Place one hand firmly on the carriage to keep it steady. Use your other hand to wiggle the spring collar gently upward without forcing it sideways.
Is it safe to leave a reformer with no springs attached?
Leaving zero springs attached turns the carriage into an unsecured rolling platform. Anyone stepping onto the machine unaware can suffer a serious fall. Always leave at least one heavy or medium spring engaged when the reformer is unattended.
How do I know if my reformer springs need replacement?
Look for uneven coil spacing, visible rust, or physical deformities in the steel coils. If a spring produces a harsh creaking noise or feels loose in its resting bracket, replace it right away to maintain safe operation.

Similar Posts