How to Stop Pilates Reformer Rope Rubbing for Good
Scratchy ropes and buzzing friction can ruin an otherwise smooth Pilates session. Learning how to prevent reformer rope rubbing comes down to diagnosing where the contact happens. Once you locate the exact friction point, simple hardware and postural adjustments solve the issue immediately.
Commercial reformer cordage typically uses an 8mm to 10mm synthetic double-braid design that creates fast skin abrasion when misaligned. Official setup guidelines from the National Pilates Certification Program emphasize proper equipment alignment to maintain user comfort and prevent premature gear wear. Understanding these basic mechanical angles stops unwanted chafing and protects your reformer upholstery.
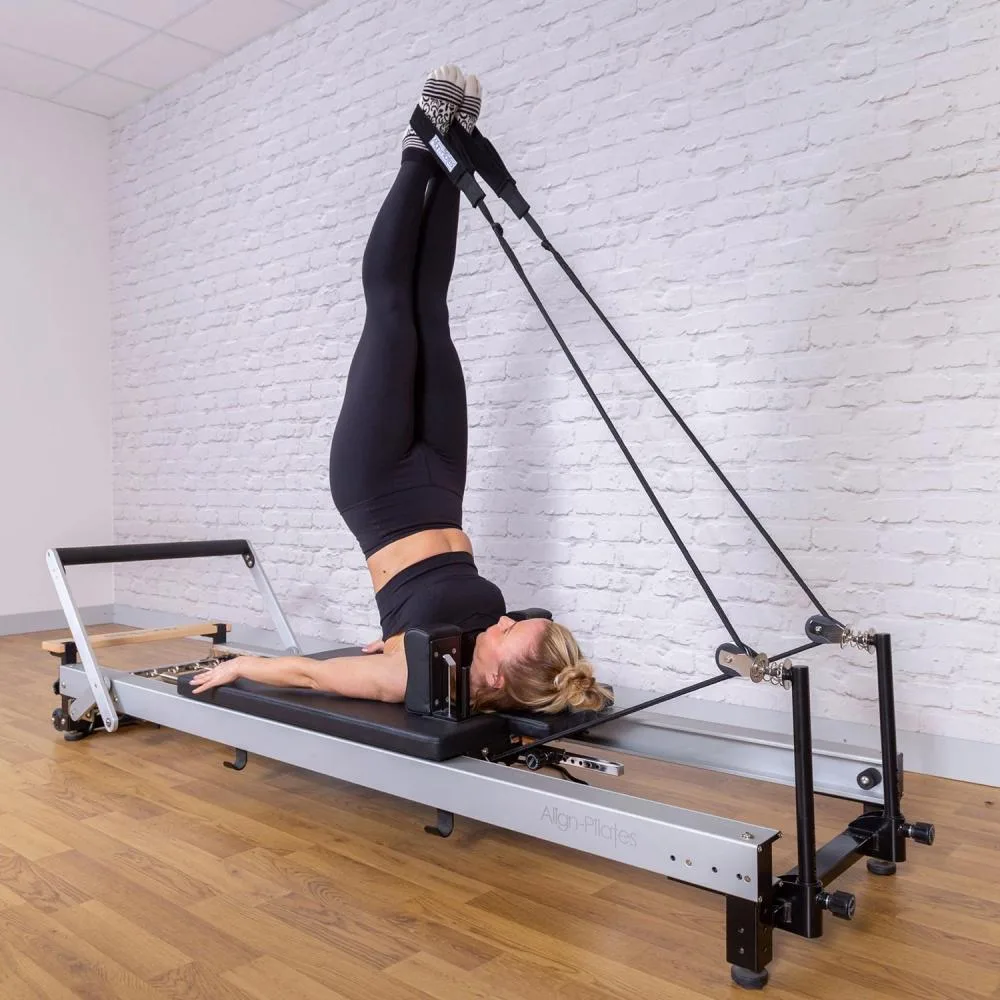
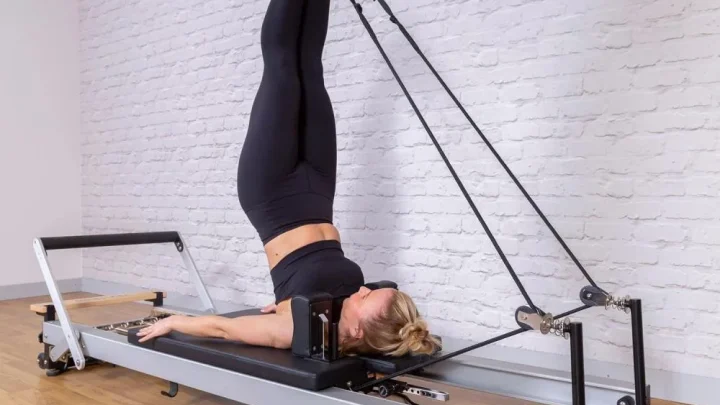
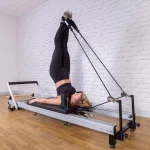
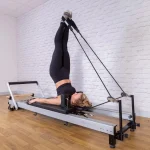
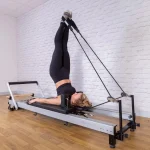
Image source: Web (Bing) / bodynova.de (Web image (fair-use with source credit))
Quick Answer
To learn how to prevent reformer rope rubbing, first identify the contact point. Raise pulley risers one notch for leg exercises. Lower risers for flat arm exercises.
Align your limbs with the natural rope angle. Add padded fleece sleeves to eliminate direct skin friction.
Why Reformer Ropes Rub (And Where the Friction Starts)
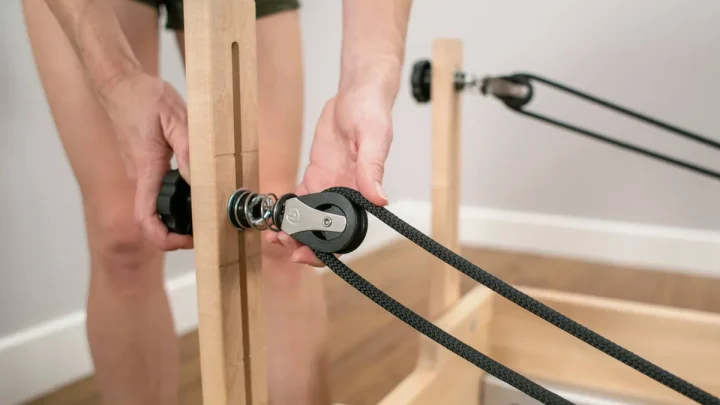
Reformer rope friction happens when the line of pull crosses a solid boundary. That boundary might be the client's shoulders, the carriage frame, or the pulley housing itself.
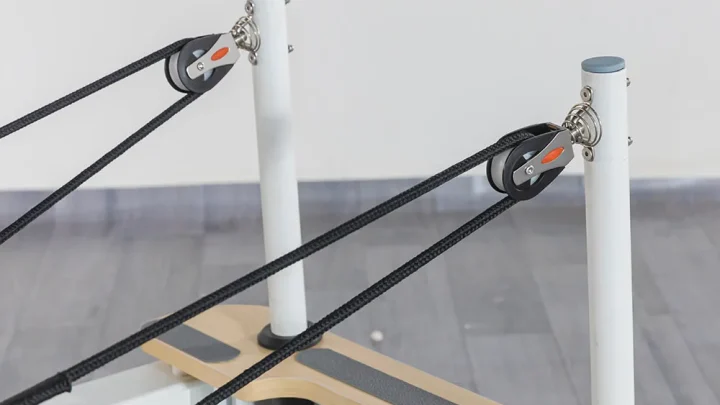
Modern reformers rely on braided synthetic cordage routed through elevated pulleys. When the angle between the carriage and the pulley narrows, the rope drops closer to the frame. When the user has broad shoulders or moves wide of the frame, the rope makes direct contact with skin.
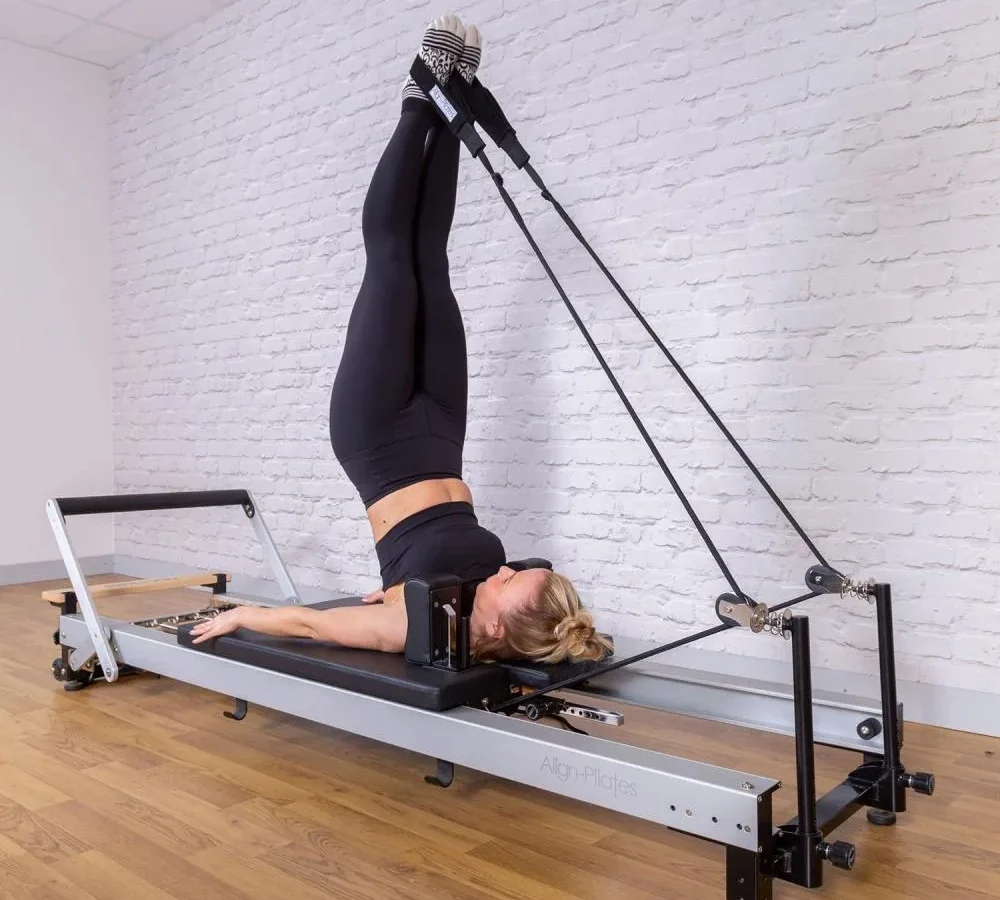
Understanding vector alignment helps you eliminate the issue. The rope must have an unobstructed path from the eyelet or pulley wheel directly to the hand or foot. Any contact along that line creates drag, wears out cord fibers, and distracts from the exercise.
The Rope Rubbing Diagnostic Workflow: Identify Your Exact Issue
Use this diagnostic workflow to pinpoint the root cause of the friction before adjusting any hardware.
| Friction Location | Likely Cause | Primary Fix |
|---|---|---|
| Upper arms or neck | Pulley risers set too low | Raise risers by 1 to 2 notches |
| Wooden frame or vinyl | Pulley risers set too high | Lower risers or flatten headrest |
| Inside pulley wheel | Rope twisted or misthreaded | Untwist rope and check cleat alignment |
| Outer shoulders | Narrow shoulder rest setting | Widen shoulder rests if adjustable |
Scenario A: Ropes Scraping the Carriage Frame or Woodwork
If you hear a dull sawing sound during carriage return, the rope is dragging across the frame. This usually happens during exercises where the carriage moves close to the pulley risers.
Lowering your pulley risers slightly often levels the rope path. You should also verify that the rope is routed straight through the center of the guide loop without crossing over adjacent hardware.
Scenario B: Ropes Sawing Against the Client's Skin and Shoulders
If the rope rubs the client's triceps, deltoids, or neck, the entry angle is too flat. This is especially common during the Hundred or seated arm series.
Raising the pulley risers lifts the rope plane above the body. Widening the hands by two inches can also clear the shoulder line without compromising exercise mechanics.
Scenario C: Ropes Grinding or Squeaking Inside the Pulley Swivels
If friction occurs inside the pulley block, the swivel mechanism is sticking. When the pulley fails to pivot with the movement, the rope grinds against the metal cheek plates.
Inspect the swivel post for debris or hair. A dry silicone spray restores free rotation without attracting dirt or dust.
Mechanical Adjustments: How to Set Up Your Hardware Correctly
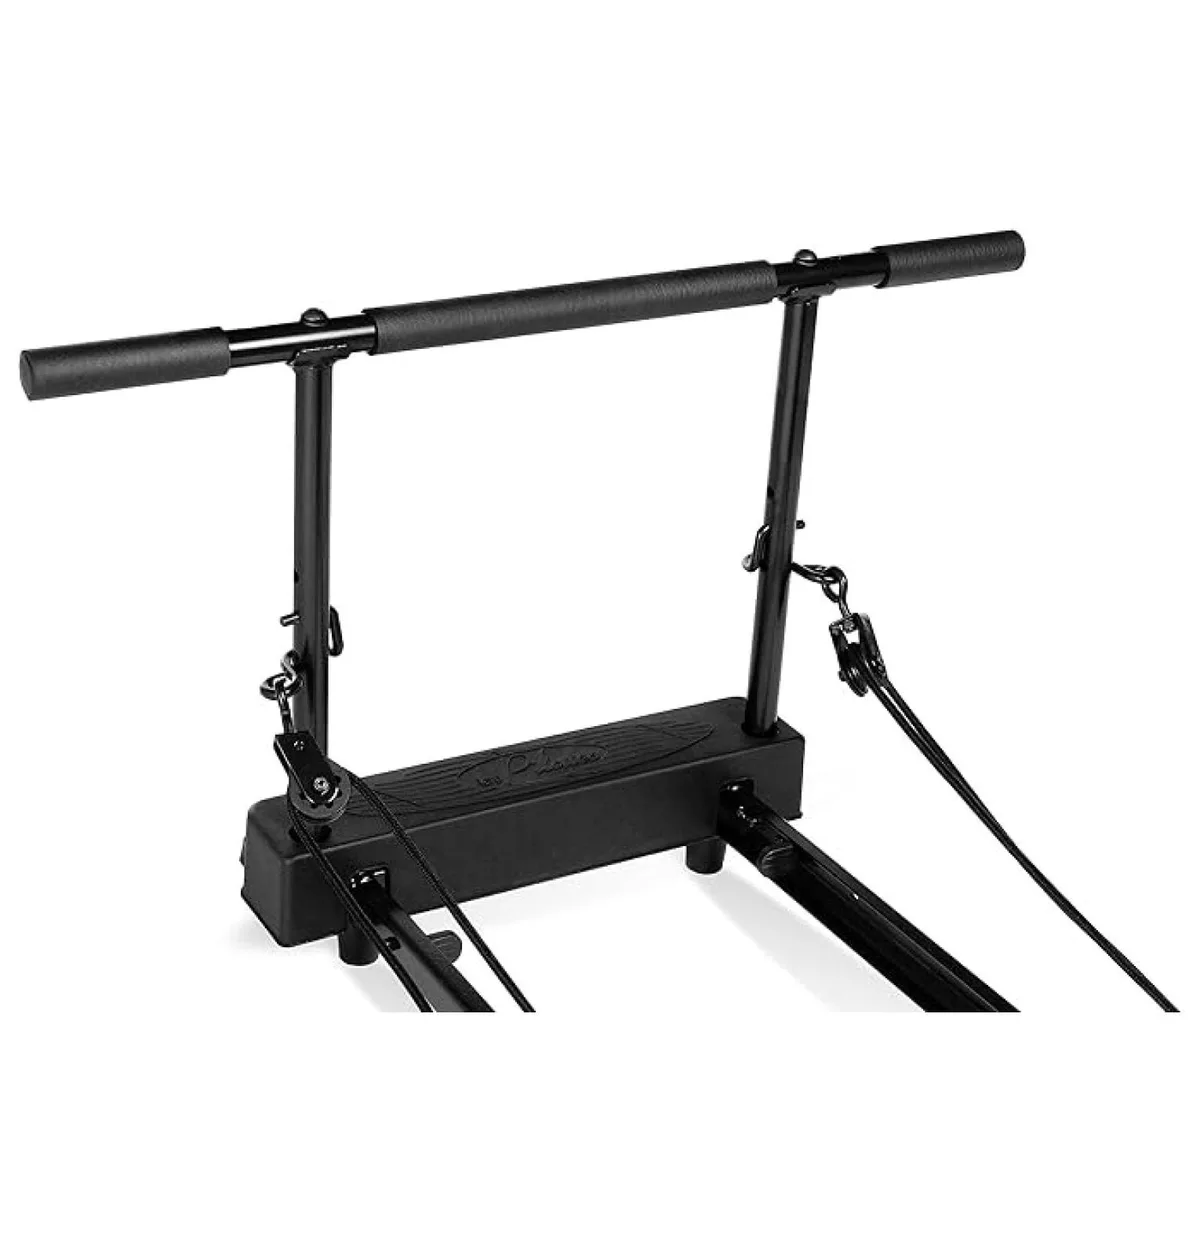
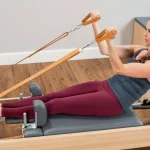
Image source: Web (Bing) / walmart.com (Web image (fair-use with source credit))
Correct mechanical setup eliminates most friction before a workout even begins. Standard studio equipment, such as frames built by Balanced Body, provides multiple adjustment points to customize the line of pull for different body sizes.
Raising and Lowering Pulley Risers
Pulley risers control the vertical angle of the rope path. Adjusting their height changes where the rope travels relative to the carriage bed.
- Set risers to the highest position for Feet-in-Straps and Long Spine to clear the legs.
- Set risers to mid-height for general supine arm work and Long Box routines.
- Set risers to the lowest pin position for seated Short Box work or traditional flat-angle exercises.
Shoulder Rest Spacing and Headrest Positions
The distance between the shoulder blocks affects rope clearance around the upper torso. Many contemporary reformers allow you to configure shoulder rests in standard or wide positions.
If ropes constantly brush your neck, move the shoulder rests to the outer mounting holes. Furthermore, dropping the headrest to the flat position prevents the rope from catching the headrest vinyl during arm arcs.
Cleat Threading and Rope Length Balancing
Uneven ropes force one side of the body to compensate, pulling the carriage off-center. Check your nautical cam cleats beneath or behind the carriage regularly.
Ensure the ropes seat firmly into the center channel of the cleat teeth. A rope locked off-center can drift sideways and rub against the riser uprights.
Movement and Form Tweaks That Clear the Rope Line
Hardware adjustments solve half the problem, but movement execution accounts for the rest. Small biomechanical shifts keep the body clear of the rope track.
Fixing Arm Arcs and Chest Expansion Tracking
During supine arm work, maintain a slight downward press into the straps. This keeps tension on the pulleys and prevents the rope from going slack and drooping onto the shoulders.
For Chest Expansion on the Long Box, focus on reaching the knuckles slightly outward toward the reformer rails rather than pulling straight back into the ribcage. This creates an extra inch of clearance on both sides.
Adjusting Leg Angles in Feet-in-Straps
During Leg Circles and Frog movements, avoid letting the knees splay wider than the rope path. If the hips rotate too far outward, the inner rope will rub against the shins and thighs.
Cue the movement so the feet remain inside the vertical plane of the ropes. Keeping the movement track compact maintains spring tension and eliminates rope slap against the legs.
Accessories and Retrofits for Persistent Friction
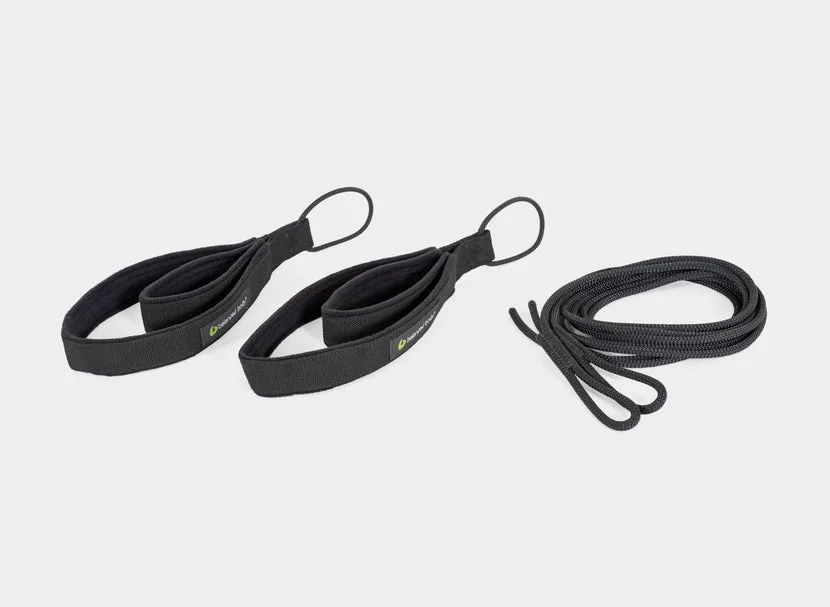
Image source: Bing (Web (fair-use with source credit))
When mechanical adjustments and cueing do not fully resolve contact, retrofit accessories provide immediate comfort. As of 2026, modern studios commonly use specialized strap barriers to protect both clients and equipment.
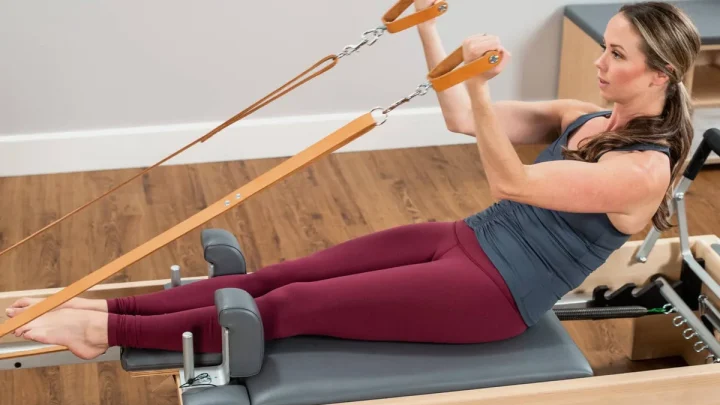
- Fleece Strap Covers: Plush synthetic or sheepskin sleeves wrap around the lower rope segment to prevent skin irritation.
- Neoprene Guards: Slim, washable wraps that slide over the cord to reduce friction burn during high-repetition series.
- Double-Loop Straps: Using the longer loop gives taller users extra clearance, shifting the metal D-ring away from sensitive skin.
- Articulating Pulley Retrofits: Upgrading fixed eye-bolts to 360-degree swivel blocks ensures the rope self-aligns with every movement angle.
Common Setup Mistakes That Make Ropes Rub Worse
Even experienced practitioners make subtle setup errors that cause unnecessary rope friction. Avoiding these common oversights keeps your carriage gliding smoothly.
- Leaving Risers at One Fixed Height: Many users never adjust their pulley risers after initial assembly. Leaving risers locked at maximum height during flat arm exercises creates an awkward, rubbing pull angle.
- Ignoring Twisted Cordage: Reformer ropes naturally twist over time through repetitive movement. A twisted rope thickens, binds inside the pulley wheel, and rubs aggressively against the carriage rails.
- Raising the Headrest During Long Arm Arcs: Leaving the headrest propped up during overhead arm circles places the vinyl directly in the rope path. Always lower the headrest flat when performing wide overhead movements.
- Setting Unequal Rope Lengths: If one rope is even an inch shorter than the other, the carriage tracks crookedly. This slight diagonal pull forces the longer rope to drag across the frame edge.
Maintenance Routine: Keeping Ropes, Cleats, and Pulleys Friction-Free
A regular maintenance routine prevents hardware degradation and friction build-up. Manufacturer service schedules recommend inspecting high-friction components on a monthly basis.
Start by examining the rope core. Run your fingers along the entire length of both ropes, feeling for flat spots, bunching, or frayed fibers. If the outer sheath shows fuzzing or the inner core feels thinned out, replace both ropes immediately to prevent snapping.
Clean the pulley assemblies every few weeks. Dust, hair, and studio lint accumulate inside the swivel housings, causing pulleys to freeze at rigid angles.
Spray the pulley bearings with a dry PTFE lubricant or silicone spray. Never use standard WD-40 or wet grease. Wet lubricants attract studio dust and create a sticky paste that grinds down hardware over time.
Finally, check the cam cleats underneath the carriage. Clear out any stray fabric lint caught between the cleat teeth. Clean teeth grip the rope firmly without chewing through the synthetic sheath.
Frequently Asked Questions About Reformer Rope Friction
Why do reformer ropes rub against my neck during the Hundred?
Ropes rub against the neck during the Hundred when pulley risers sit too low. This low angle pulls the cord directly across your shoulders. Raise the pulley risers one or two notches.
You can also widen your hand placement slightly to give your neck and upper chest clear space.
How often should I replace worn Pilates reformer ropes?
Commercial studios should replace reformer ropes every 12 to 24 months depending on class volume. Home users can typically wait 2 to 3 years. If you spot frayed outer fibers, thinning sections, or core bunching, replace the ropes immediately to maintain safety and prevent friction.
Can I lubricate squeaky reformer pulleys with WD-40?
No, you should never use standard WD-40 or wet oils on reformer hardware. Standard oil attracts hair, dust, and clothing fibers, creating a gummy grime that locks the swivel. Use a dry silicone lubricant or PTFE spray instead to keep pulley bearings spinning freely without mess.
Why are my reformer ropes uneven on one side?
Ropes become uneven when they slip through cam cleats or stretch unevenly over time. Pull both handles together toward the footbar to check alignment. Release the cleats underneath, level the handles precisely, and press the ropes back into the center teeth to reset balanced tension.
Do leather reformer straps rub less than braided ropes?
Traditional leather straps have a flatter profile and do not twist like round cordage. However, unconditioned leather can feel stiff and abrasive against bare skin. Braided synthetic ropes paired with fleece covers generally provide a smoother, more adjustable feel for modern cross-body movements.

Similar Posts