How to Fix a Pilates Reformer Clip That Won’t Close
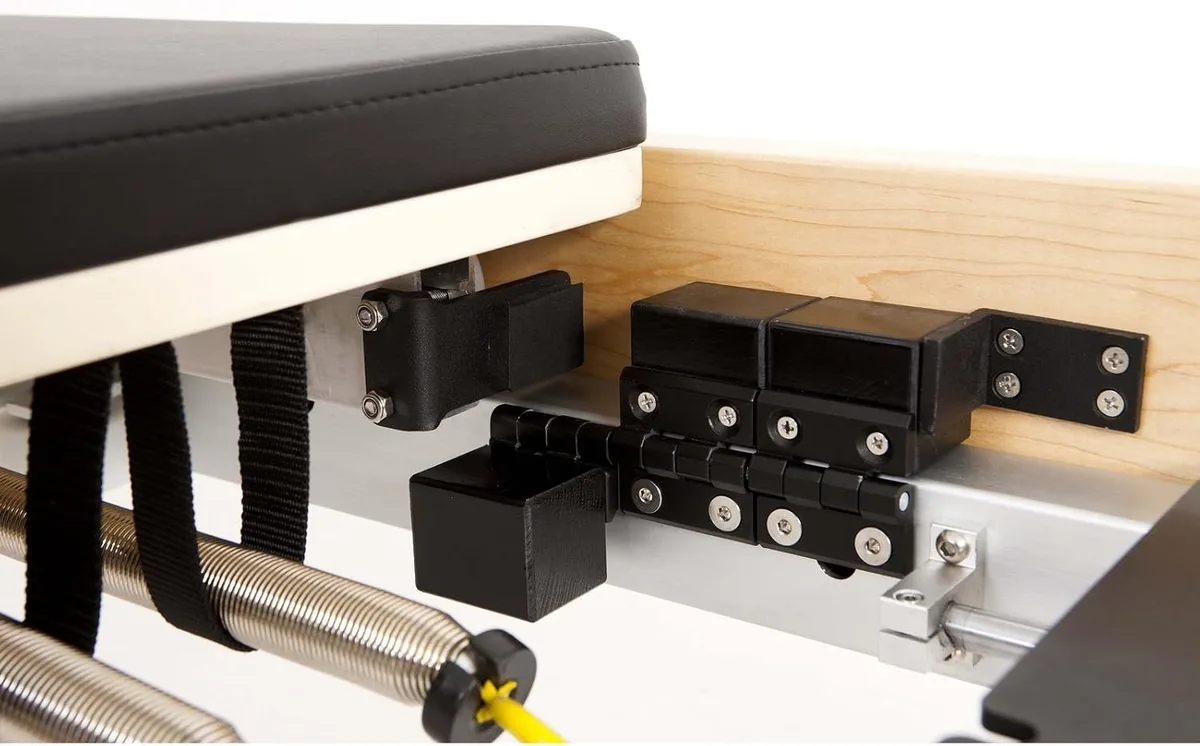
A stuck spring gate ruins your flow during a workout. Learning how to fix a reformer clip that won't close helps you keep your Pilates equipment safe and functional without buying unnecessary replacement parts. Most stuck clips happen when hair, lint, or dried sweat get trapped inside the hinge barrel.
Commercial fitness standards like ASTM F2276 require spring hardware to maintain secure latching under repeated cycling. If the internal torsion spring loses its mechanical tension, the entire clip must be replaced immediately. Here is the exact diagnostic workflow to get your carriage springs snapping shut again.
Quick Answer
Clean the hinge pin thoroughly with 90 percent isopropyl alcohol.
Scrub away trapped hair and grip-sock lint with a stiff brush.
Apply one drop of dry PTFE lubricant to the pivot.
Wipe away all excess fluid immediately.
Replace any clip that has a broken internal spring.
Image source: Bing (Web (fair-use with source credit))
Why Your Reformer Clip Sticks (and the Safety Risk of Ignoring It)
Pilates reformer clips endure heavy dynamic tension. Every carriage movement exerts rapid loading and unloading forces across the springbar. When a clip gate fails to close automatically, the spring can easily unseat itself during exercise.
A loose spring turns into a high-speed projectile or causes the carriage to jerk unevenly. This puts the user at immediate risk of joint strain or sudden falls.
Why do these clips stick in the first place? Reformers sit low to the ground. Carriage wheels and foot traffic constantly stir up dust, studio floor lint, and hair.
This debris settles directly into the clip hinge. Over time, sweat drops introduce salt minerals into the pivot barrel. These minerals crystallize and lock the mechanical gate in place.
The 30-Second Diagnostic: Can You Clean It, or Must You Scrap It?
Before grabbing tools, determine if your clip is dirty or structurally dead. Not every malfunctioning clip can be saved.
Push the gate open with your thumb and let go. If it moves sluggishly or stops halfway, the issue is likely dirt or friction. If the gate swings freely without any spring tension at all, the internal torsion wire is broken.
| Diagnostic Test | Physical Observation | Root Cause | Required Action |
|---|---|---|---|
| Manual Push Test | Gate stays open, swings freely | Broken internal torsion spring | Replace clip immediately |
| Snap Lag Test | Gate closes slowly with weak snap | Grit, hair, or dried sweat in hinge | Deep clean and dry lube |
| Alignment Check | Gate hits the hook nose sideways | Bent hinge pin or warped frame | Replace clip immediately |
| Surface Inspection | White chalky crust on metal | Salt crystallization from sweat | Alcohol flush and dry lube |
Step-by-Step: Deep Cleaning and Reviving a Sticky Spring Gate
Image source: Bing (Web (fair-use with source credit))
If your diagnostic points to debris, a thorough flush will restore the mechanical snap. Never clean clips while they are under load or attached to the springbar.
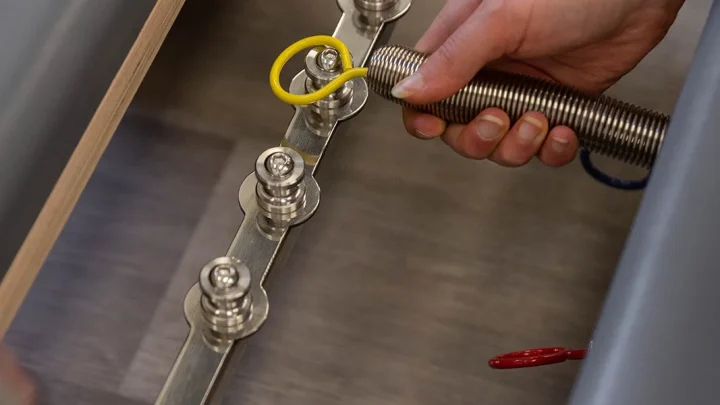
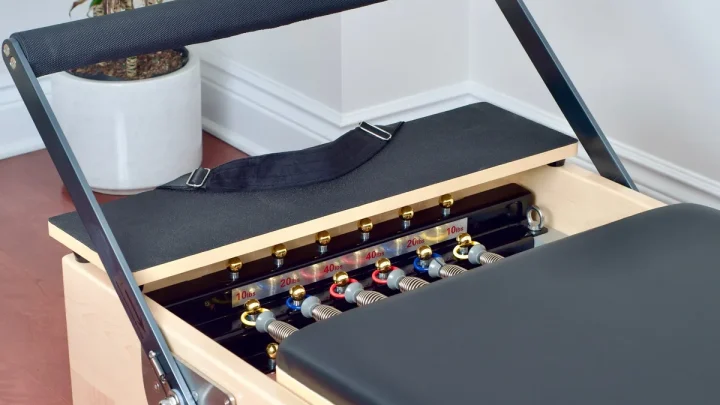
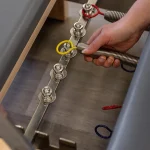
- Remove the spring assembly: Unhook the spring from the carriage eyebolt and gearbar. Work over a clean towel so you do not drop hardware on the floor.
- Flush with solvent: Apply 90 percent or higher isopropyl alcohol directly into the hinge barrel. The alcohol dissolves body oils and breaks down salt deposits without degrading the metal finish.
- Scrub the hinge gap: Use a stiff-bristle nylon brush to work debris out of the hinge joint. Manually pump the gate open and closed twenty times while wet to dislodge packed lint.
- Dry with compressed air: Blast the hinge gap with canned air to blow out dislodged grit and remaining solvent. Let the clip air dry for 10 minutes.
The Lubrication Rule: What to Use and What Destroys Your Hardware
Applying the wrong oil is the fastest way to ruin studio hardware. Standard wet household lubricants like petroleum sprays or multi-use machine oils are magnets for dust.
Wet oils attract grip-sock fuzz and carriage wheel dust. Within two weeks, a wet-lubricated clip creates an abrasive grinding paste that wears down the hinge pin. Even worse, petroleum oils migrate onto reformer straps, footbars, and vinyl upholstery, causing permanent material breakdown.
Instead, use a dedicated dry-film PTFE spray or dry silicone lubricant. These formulas apply wet to penetrate the joint, then flash off completely. They leave behind a microscopic, non-stick lubricating layer that repels dirt.
Apply only a single micro-drop to the pivot pin. Wipe away every trace of surface residue with a clean rag.
When to Retire the Clip: Hard Replacement Thresholds and Load Ratings
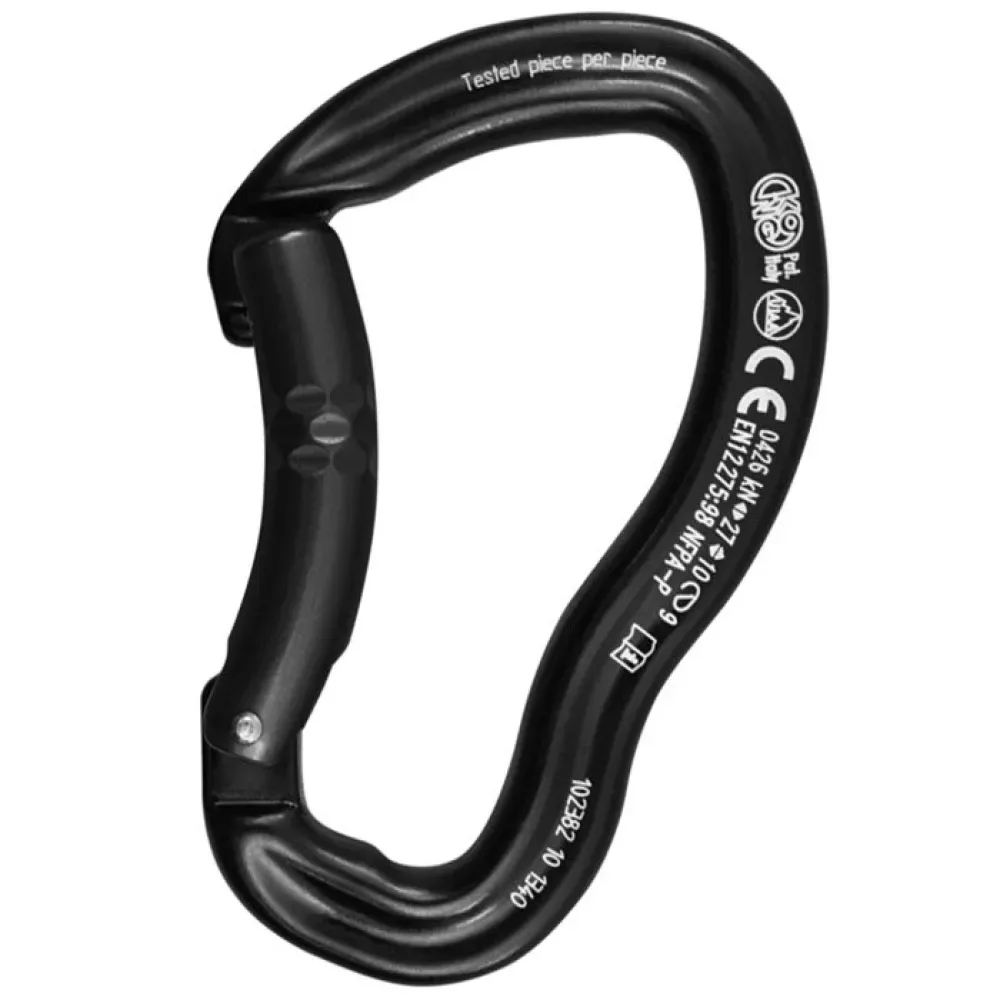
Image source: Bing (Web (fair-use with source credit))
Cleaning has practical limits. High-use commercial studios running multiple daily sessions experience metal fatigue over time.
According to fitness equipment guidelines from ASTM International, load-bearing hardware must maintain structural integrity under peak dynamic stress. Reformer snap hooks are typically rated with a working load limit between 300 and 500 pounds. As of 2026, most commercial studios retire clips every one to two years depending on client volume.
Scrap and replace the clip immediately if you notice any of these four red flags:
- Zero return tension: The gate flops loosely with no spring resistance.
- Excessive lateral play: The gate wiggles side-to-side by more than 1 millimeter.
- Deep contact grooving: The inner hook shows distinct wear notches cut by the eyebolt.
- Bent hook nose: The gate pin misses the alignment slot on the hook body.
Never attempt to bend a deformed clip back into shape. Bending compromises the structural integrity of the metal and guarantees sudden failure under tension.
Routine Maintenance Checklist to Prevent Jammed Spring Clips
Preventative care stops hardware jams before they interrupt a workout. A consistent cleaning schedule keeps your spring hooks moving freely and protects against metal-on-metal wear.
- Weekly Lint Removal: Wipe down the spring collar and eyelet connections with a dry microfiber cloth. Studio dust and grip-sock fluff settle in the hinges very quickly.
- Monthly Solvent Wipe: Dab a cotton swab in 90 percent isopropyl alcohol and run it around the gate pivot pin. This dissolves body sweat and salt crust before it hardens.
- Quarterly Lubrication: Apply one small drop of dry PTFE lubricant to each spring clip hinge pin. Open and close the gate ten times, then wipe off every bit of excess fluid.
- Bi-Annual Load and Gate Inspection: Unhook each spring completely and check the gate alignment by hand. If any clip lags behind the others or shows side play, take it out of service.
Hardware upkeep guidelines from equipment manufacturers like Balanced Body emphasize that clean clips also protect the spring eyelets and gearbar. When a clip binds, it twists the entire spring coil sideways. That uneven torque weakens the metal at the base of the spring over time.
Frequently Asked Questions About Pilates Hardware and Safety
Can I use WD-40 to fix a stuck reformer clip?
No, standard multi-use WD-40 should never be used on reformer clips. It leaves a wet, sticky residue that attracts floor lint, hair, and dust. That residue quickly forms an abrasive paste inside the hinge.
Use a dry PTFE spray instead.
How often should reformer spring clips be replaced?
Commercial Pilates studios should replace spring clips every one to two years under heavy daily use. Home reformers can go three to four years if maintained properly. Any clip that shows gate lag, visible metal wear, or lateral wobble must be replaced immediately.
Why does my reformer clip stick open even after cleaning?
If cleaning with solvent does not restore the snap, the internal torsion spring is broken or worn out. Mechanical spring fatigue cannot be repaired with lubricants. The only safe fix is to discard the damaged clip and install a new rated replacement.
Are all Pilates reformer clips the same size?
No, clip sizes and load ratings vary across different equipment brands. Most reformers use heavy-duty snap hooks with a throat opening between 0.35 and 0.5 inches. Always verify the manufacturer specifications and dynamic weight rating before ordering replacement hardware.

Similar Posts