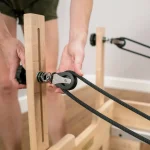
How to Equalize Reformer Straps: Step-by-Step Guide
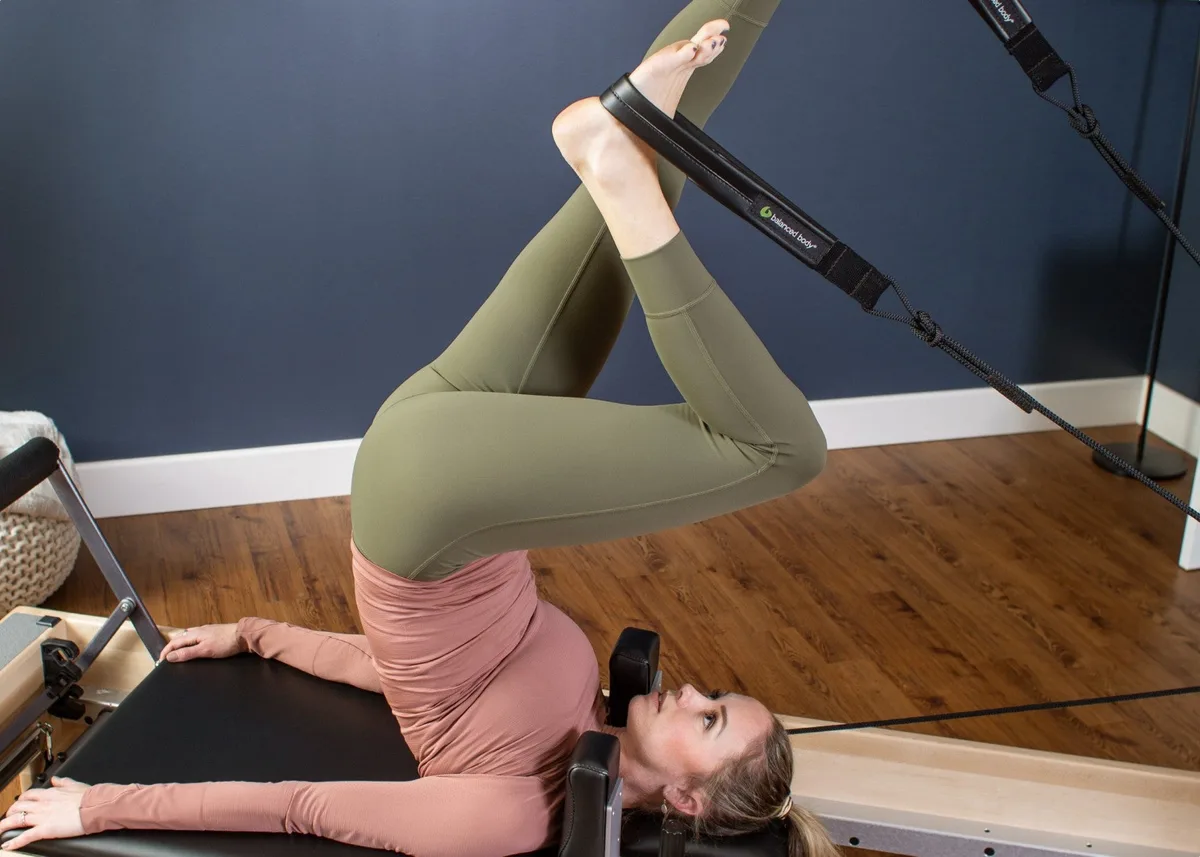
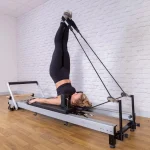
Few things disrupt a workout faster than lopsided resistance on a Pilates carriage. Learning how to equalize reformer strap length is essential if you want clean movement and balanced muscle activation. When one strap hangs lower than the other, your spine and pelvis twist under load to compensate.
Per equipment guidelines from the National Pilates Certification Program, even a 0.5-inch (12 mm) variance alters force distribution across your hips and shoulders. Getting both sides dialed in takes just two minutes once you know the proper mechanical baseline.
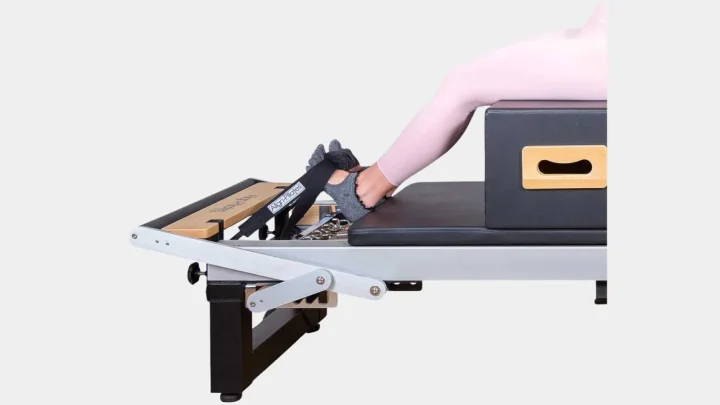
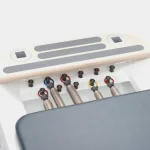
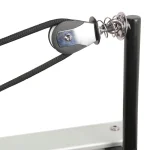
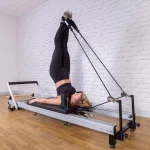
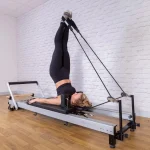
Image source: Web (Bing) / pilates.com (Web image (fair-use with source credit))
Quick Answer
To equalize reformer strap length, first lock your carriage against the front stoppers using two heavy springs. Next, pull both straps forward until the hand loops or D-rings meet at the carriage center. Release the cleat or buckle on the longer strap.
Adjust the cord until both loop seams align perfectly. Finally, press the ropes firmly back into the locking cleats.
Why Uneven Reformer Straps Ruin Your Alignment (and Your Joints)
Asymmetrical straps create uneven mechanical pull across your entire kinetic chain. During unilateral movements like the Hundred or Feet in Straps, your body unconsciously shifts to balance the load. The arm or leg on the shorter strap works significantly harder, which causes rotational torque in your pelvis and lumbar spine.
This imbalance also harms your equipment over time. When tension pulls harder to one side, the carriage twists slightly on its tracks. This causes carriage racking, where the guide rollers scrape against the aluminum rails instead of gliding smoothly.
Correct strap leveling protects both your body and your machine. By equalizing tension, you ensure that every bilateral exercise delivers identical muscular loading to both sides of your core.
The Pre-Adjustment Baseline: Springs, Stoppers, and Gearbars
Before touching the ropes, you must set a fixed zero-point baseline. If your carriage moves even a fraction of an inch during adjustment, your measurements will fail.
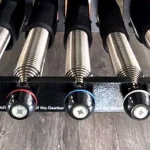
Start by hooking at least two heavy springs (typically red springs) onto the gearbar. This holds the carriage firmly against the front frame stoppers. Ensure both carriage stoppers touch the frame evenly with zero gap on either side.
Next, check your pulley riser settings. If one riser is set at eyelet three and the other sits at eyelet four, your straps will never deliver equal tension. Match both pulley heights exactly before measuring your rope length.
| Component | Baseline Setting | Why It Matters |
|---|---|---|
| Carriage Springs | 2 Heavy (Red) Springs engaged | Keeps the carriage docked against stoppers |
| Carriage Stoppers | Flush against front frame | Establishes the mechanical zero point |
| Pulley Risers | Identical pin height on both sides | Prevents unequal cable pull angles |
| Gearbar Position | Standard slot (Position 1 or 2) | Normalizes overall track travel |
Step-by-Step Decision Tree: Equalizing Straps by Reformer Type
Different reformer designs use distinct locking mechanisms. Follow the specific branch below that matches your machine hardware.
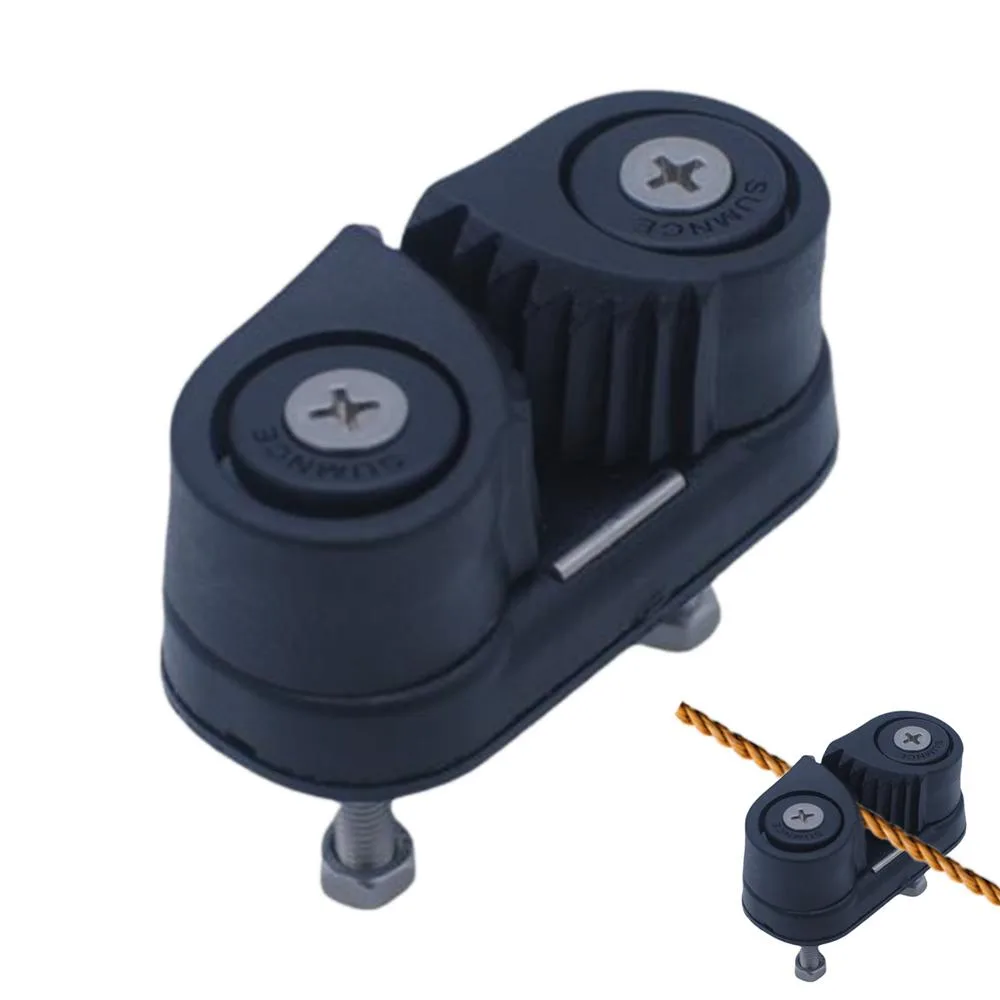
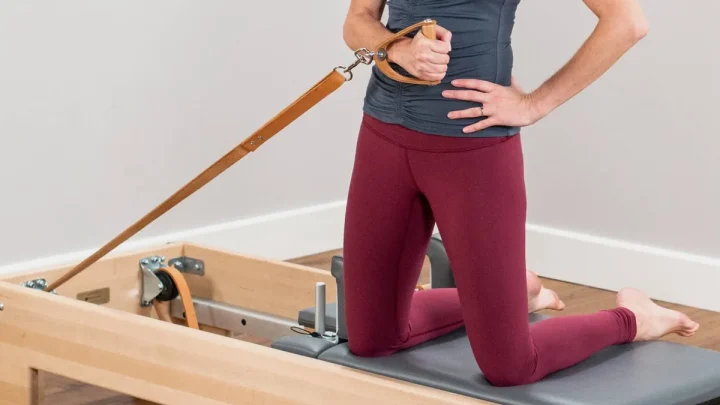
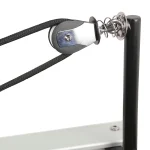
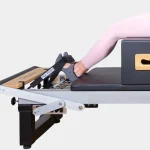
Image source: Web (Bing) / aliexpress.com (Web image (fair-use with source credit))
Branch A: Top-Mounted Cam Cleats (Balanced Body Studio & Allegro Series)
Most contemporary commercial reformers use nautical cam cleats mounted behind the shoulder rests. According to manufacturer documentation from Balanced Body, these spring-loaded cams hold synthetic climbing cord under heavy dynamic loads.
- Dock the carriage against the stoppers with two heavy springs.
- Pull both rope loops forward to the center line of the carriage.
- Lift the longer rope upward out of its cam teeth to release tension.
- Slide the rope forward or backward until the metal D-rings or stitched loop seams align side by side.
- Push the rope straight down between the cam cleat jaws until the ribbed teeth bite into the braided sheath.
- Tuck the excess rope tails into the under-carriage storage brackets.
Branch B: Under-Carriage Cleats and Push-Button Locks (Merrithew SPX & V2 Max)
Many studio reformers place adjustment mechanisms beneath the carriage deck to keep the top surface clear.
- Secure the carriage with two heavy springs against the frame stoppers.
- Reach under the headrest end of the carriage to locate the spring-loaded rope locks.
- Depress the thumb release lever to allow the cord to slide freely through the housing.
- Pull the loop tops to the base of the shoulder rests to check alignment.
- Release the thumb lever to lock the internal toothed brake once lengths match.
- Give a firm pull on each loop from above to verify that the internal lock engaged fully.
Branch C: Classical Leather Straps and Buckle Studs (Gratz, Peak, Contrology)
Classical apparatus uses thick leather straps with pre-punched holes instead of ropes and cleats.
- Ensure the carriage rests fully home against the bumper blocks.
- Check the hole numbers where the leather straps hook onto the under-frame studs.
- Unhook the teardrop hole of the longer strap from its brass stud.
- Shift the strap to the matching numbered hole that mirrors the opposite side.
- If the leather has stretched unevenly from age, adjust by one half-hole setting on the turnbuckle if your model includes one.
The 3-Point Tension & Visual Verification Protocol
Visual checks at rest can trick you because slack often hides inside the pulley wheels. Use this three-step verification method to confirm true mechanical symmetry.
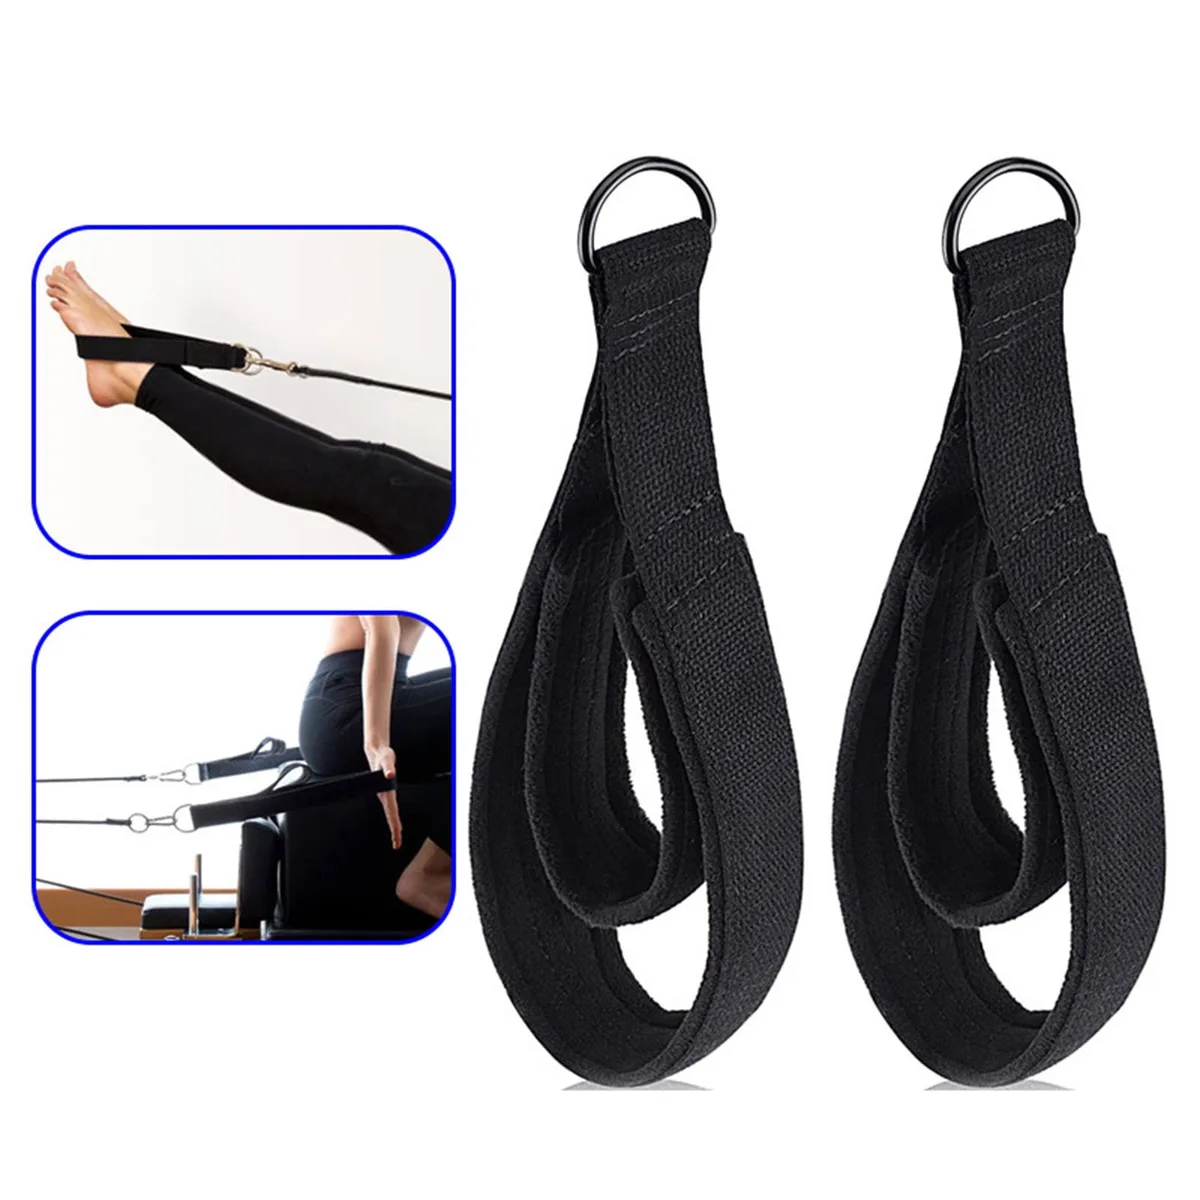
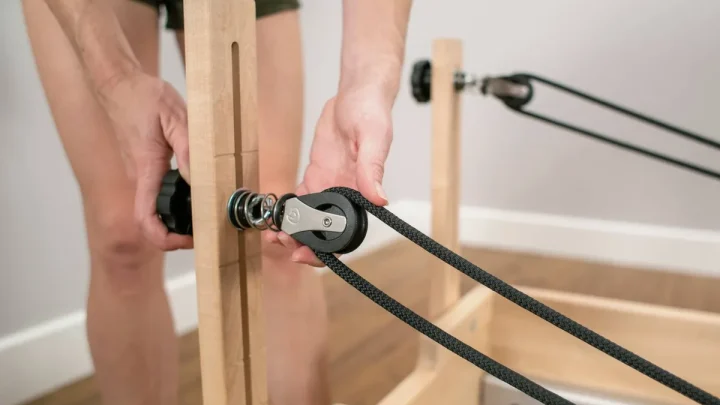
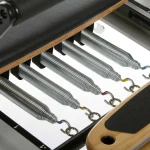
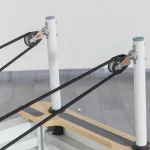
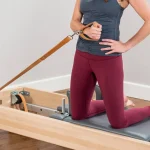
Image source: Web (Bing) / walmart.com (Web image (fair-use with source credit))
1. The Shoulder Rest Touchpoint Check
Drape both loops over the top of the shoulder rests. The metal carabiners or stitched handles should rest at the exact same physical spot on the upholstery. If one loop hangs lower toward the carriage bed, open the corresponding cleat and take up the slack.
2. The Midline D-Ring Match
Grab both loops and walk them to the center of the carriage. Press the metal D-rings flat against each other. The rings should align within 0.25 inches (6 mm) of each other without pulling the carriage away from its stoppers.
3. The Overhead Tension Pull
Lie down on the carriage and hold both handles straight up over your chest toward the ceiling. Press upward until you feel the springs start to open. Both springs must engage at the exact same millisecond.
If one side clicks or extends before the other, your ropes still have unequal slack.
Common Calibration Mistakes That Create Hidden Slack
Even experienced studio instructors occasionally fall into setup traps that lead to false measurements.
- Adjusting on light springs: If you adjust straps with only one blue (light) spring attached, pulling the ropes will pull the carriage forward. This throws off your zero-point baseline completely.
- Ignoring rope stretch: Braided synthetic ropes stretch over time, especially on the dominant user's favored side. As of 2026, many commercial studios replace synthetic ropes annually to prevent permanent tension variance.
- Failing to push cord into cam teeth: Merely laying the rope across the top of a cam cleat does not seat it. You must push down firmly until the spring cams snap closed around the cord diameter.
- Mismatched pulley riser angles: If the swivel pulleys sit at different tilt angles, the cord experiences varying friction levels. Always ensure the pulley housings rotate freely.
Routine Maintenance: Keeping Ropes, Cams, and Carabiners Balanced
Regular maintenance prevents mechanical wear from silently throwing off your strap alignment between workouts. Synthetic ropes experience continuous friction as they travel across the riser pulleys. Over time, friction flattens the braided core and causes dynamic stretch under body weight.
Inspect your rope sheathing weekly for signs of fraying or core exposure, especially where the cord sits inside the cam cleat teeth. If the teeth bite into the same rope section during every session, that spot will thin out. Rotate the usable section of your rope every six months to distribute contact wear evenly.
Check your hardware connections to ensure hardware symmetry:
- Carabiners and clips: Verify that spring gates snap shut instantly without sticking. Replace any clip showing metal-on-metal groove wear where it meets the D-ring.
- Cam cleat jaws: Clean lint and hair out of the internal cam teeth using a dry nylon brush. Sticky cams fail to grip the cord securely under load.
- Pulley bearings: Spin the pulley wheels by hand with the ropes removed. They should rotate freely without squeaking, sticking, or wobbling on their mounting pins.
- Leather strap condition: Treat classical leather straps with a non-greasy leather conditioner twice a year. Dry leather cracks and stretches unevenly under tension.
Frequently Asked Questions About Reformer Strap Calibration
How often should you check and equalize reformer strap length?
Check strap alignment before every workout session. Commercial studios should run a daily calibration check during opening procedures. Routine adjustments take under thirty seconds and prevent postural compensation during training.
What is the acceptable tolerance for uneven reformer straps?
The maximum acceptable variance between straps is 0.25 inches (6 mm). Any difference greater than a quarter inch creates noticeable rotational torque on your pelvis and shoulders. Match the D-rings or handle seams as closely as possible.
Why do my reformer ropes keep slipping out of adjustment?
Ropes slip when cam cleat teeth become packed with lint or when the rope diameter wears too thin. Synthetic cord flattens over years of use, reducing the bite force of the cleat jaws. Clean your cleats or replace worn ropes.
Should I equalize straps with the headrest raised or flat?
Always equalize your straps with the carriage docked against the stoppers, regardless of headrest position. However, keeping the headrest flat gives you a clear visual line across the carriage center to align the loops accurately.
Can uneven reformer straps cause lower back pain?
Yes. Uneven straps force one side of your core and pelvis to stabilize against more tension than the other. This asymmetrical load rotates the lumbar spine under resistance, which can trigger muscle spasms and sacroiliac joint irritation.

Similar Posts